How to Make a Countdown Chain
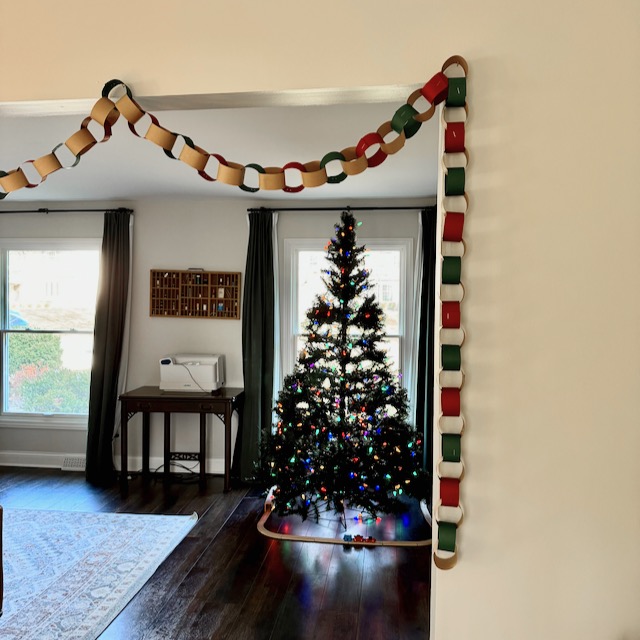
A countdown chain is a classic and fun craft perfect for marking the days leading up to special events, holidays, or milestones. These simple-to-create chains are customizable and add a decorative touch to your space. Whether you’re counting down to Christmas, a birthday, or the first day of vacation, this DIY project is easy enough for all ages.
How to Source Paper for Your Countdown Chain
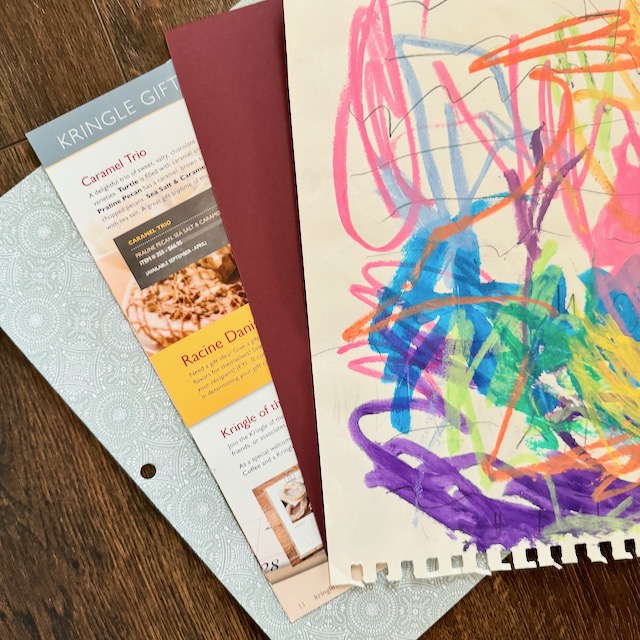
When you make a countdown chain, you don’t have to rely solely on new materials. Here are some creative and sustainable options for sourcing paper:
1. Repurpose Paper You Already Have:
- Old magazines or catalogs can add a pop of color and interesting patterns.
- Wrapping paper scraps are perfect for festive chains and help reduce waste.
- Leftover cardstock or scrapbook paper from previous craft projects works great, especially for sturdy loops.
2. Shop Sustainably:
- Visit thrift stores for affordable paper pads, old maps, or unused gift wrap.
- Use recycled paper products for an eco-friendly option. Look for 100% recycled paper at craft stores.
3. Get Creative:
- Ask friends or family for leftover craft supplies they no longer need.
- Collect paper shopping bags from stores; their thicker material makes durable chains.
- Use kids’ artwork to transform their creations into something interactive and fun.
By exploring these options, you’ll not only save money but also give new life to materials you already have, making your project both economical and eco-friendly.
What You’ll Need
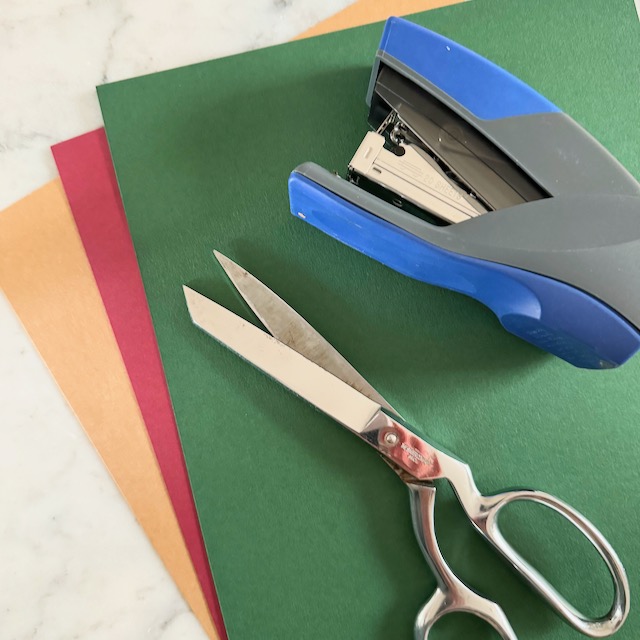
- Colored paper or cardstock
- Scissors or a paper cutter
- Stapler
- Markers, stickers, or stamps for decoration (optional)
Step-by-Step Instructions
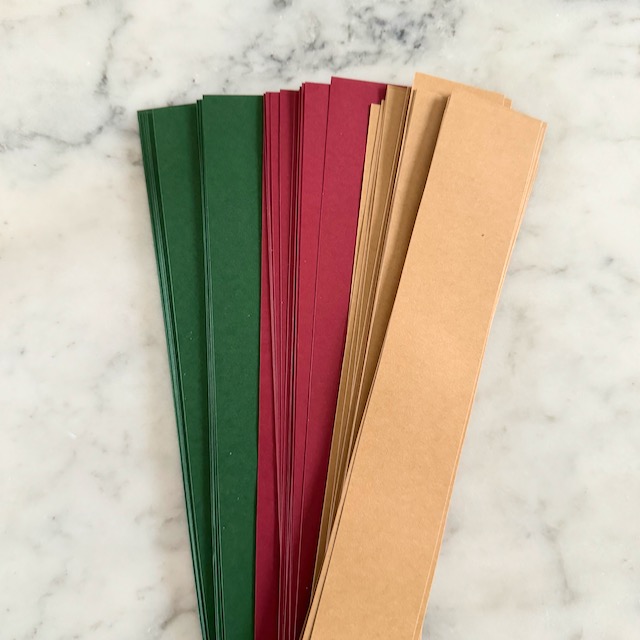
Step 1: Choose Your Colors
Decide on a color scheme for your countdown chain. Bright, bold colors work well for festive occasions like birthdays, while softer hues might be better for weddings or baby showers. You can also choose colors that match the theme of the holiday or event, like red and green for Christmas or orange and black for Halloween.
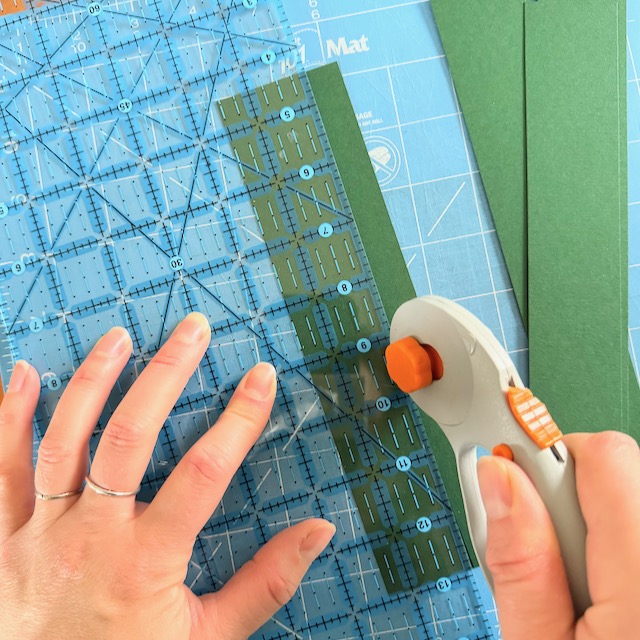
Step 2: Cut the Paper
Using scissors or a paper cutter, cut your paper into strips. My strips were 8.5 inches x 1.5 inches. I also created a mini chain with 4.25 inches x 0.5 inches. They were small enough that I had to hot glue them instead of staple.
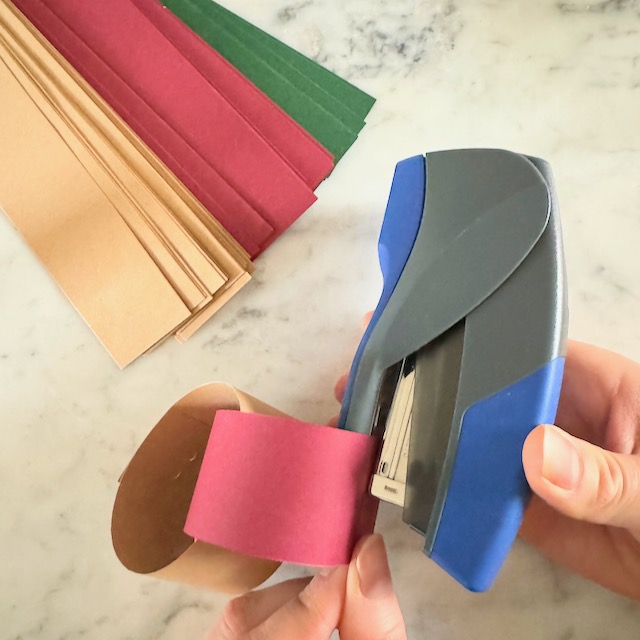
Step 3: Create the First Loop
Take one strip of paper and curl it into a loop. Use hot glue, tape, or a stapler to secure the ends together. This will be the starting point for your chain.
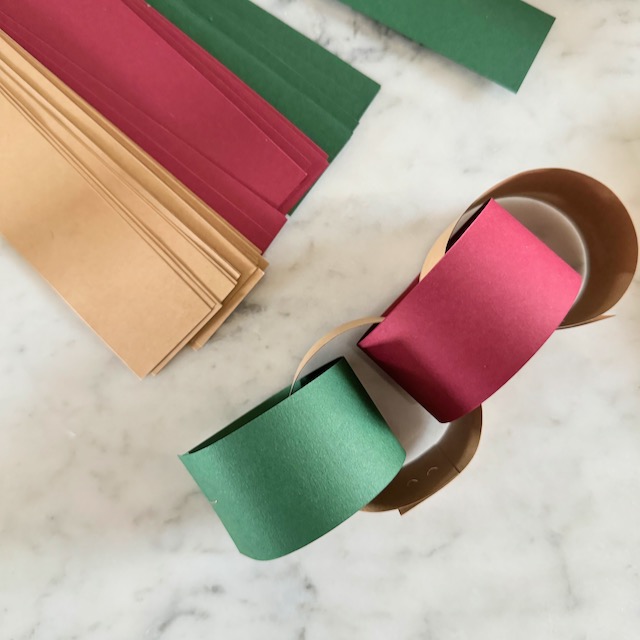
Step 4: Add More Loops
Slide another strip of paper through the first loop, then curl it into a circle and secure the ends. Continue this process, linking each new strip through the previous loop until your chain is the desired length.
Step 5: Decorate (Optional)
If you’d like, personalize the chain by decorating each link. Write numbers on the loops to mark the countdown days, or add fun stickers, doodles, or stamps.
How to Use Your Countdown Chain
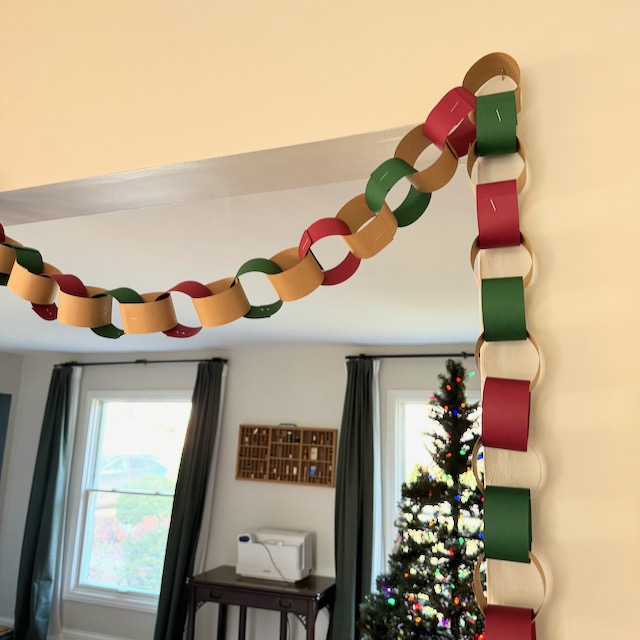
Holidays:
- Christmas Countdown: Use festive colors like red, green, and gold. Hang the chain on your Christmas tree, mantle, or along a wall. Remove one link each day as Christmas approaches.
- Valentine’s Day: Make a countdown chain in shades of pink and red, writing love notes or kind words on each link.
- Easter: Use pastel-colored paper and hide a small surprise or sticker inside each loop for kids to discover.
Special Events:
- Birthdays: Create a countdown chain for the guest of honor to build anticipation. Use paper in their favorite colors and decorate it with drawings or messages.
- Vacations: Build excitement for an upcoming trip by making a countdown chain in tropical colors or themed designs (like airplanes or palm trees).
- Weddings: Create an elegant chain with metallic or neutral tones to count down the days to the big event.
Everyday Fun:
Use a countdown chain to motivate kids for back-to-school season, track the days of a fitness challenge, or even as a fun way to look forward to a new hobby or project.
Using Your Countdown Chain as Decor
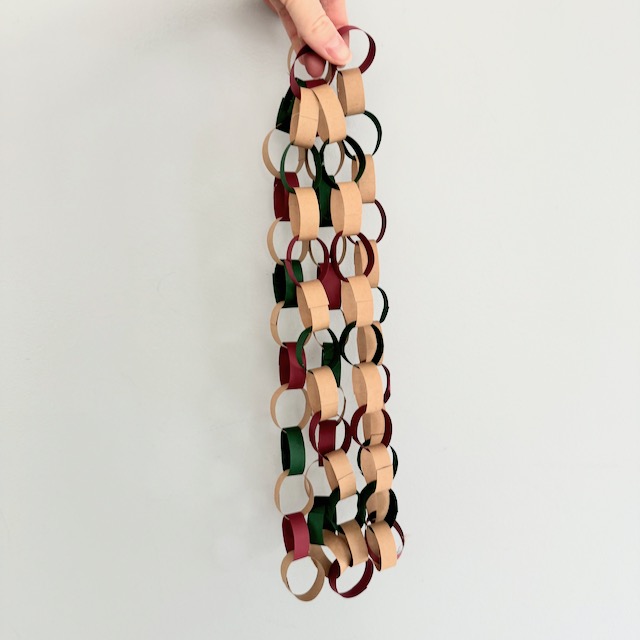
Countdown chains aren’t just practical—they can also serve as charming decor. Here are a few ideas:
- Wall Garland: Drape the chain across a wall or doorway for a whimsical touch.
- Table Centerpiece: Arrange the chain around a vase, candles, or other decorations to create a festive table setting.
- Room Divider: Hang multiple chains vertically to create a playful and colorful divider in a room or outdoor space.
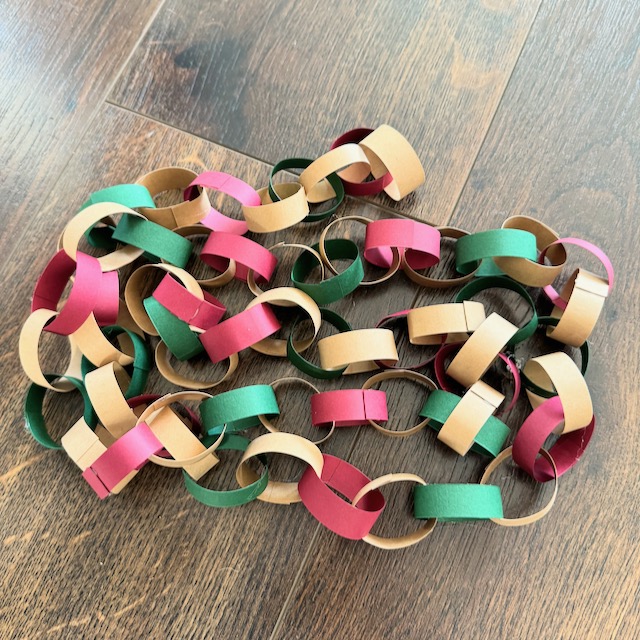
Countdown chains are not only functional but also a creative and budget-friendly way to celebrate life’s moments. With just a few materials and a little imagination, you can make a countdown chain that’s both meaningful and decorative.
Whether you’re counting down to a holiday, a party, or a special day, this DIY project adds a personal and festive flair to any occasion.
