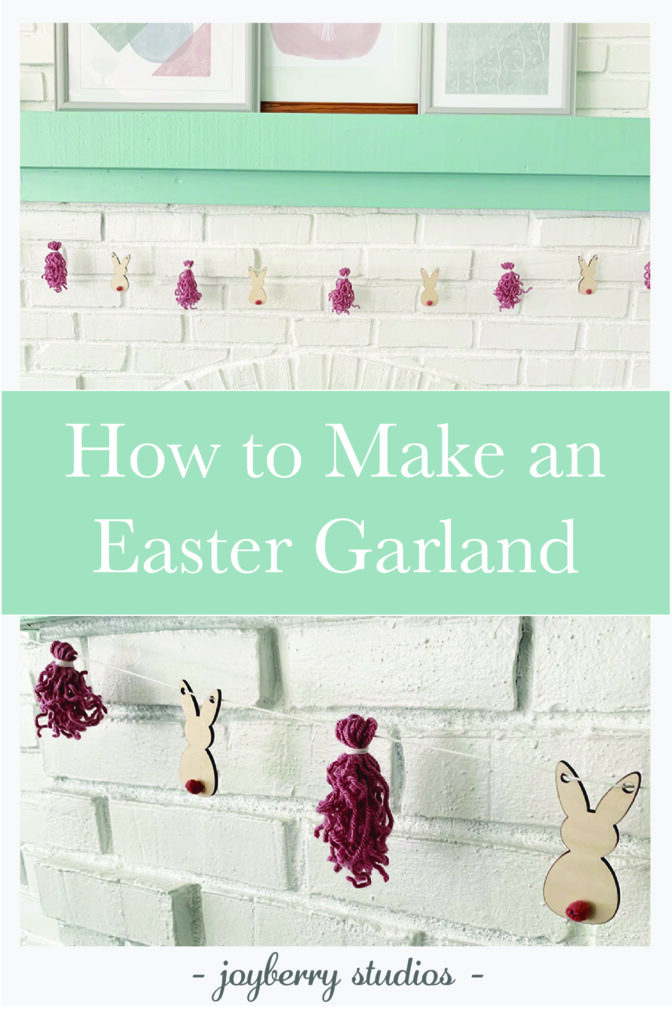
How to Make an Easter Garland
How to Make an Easter Garland – With Materials You May Already Have
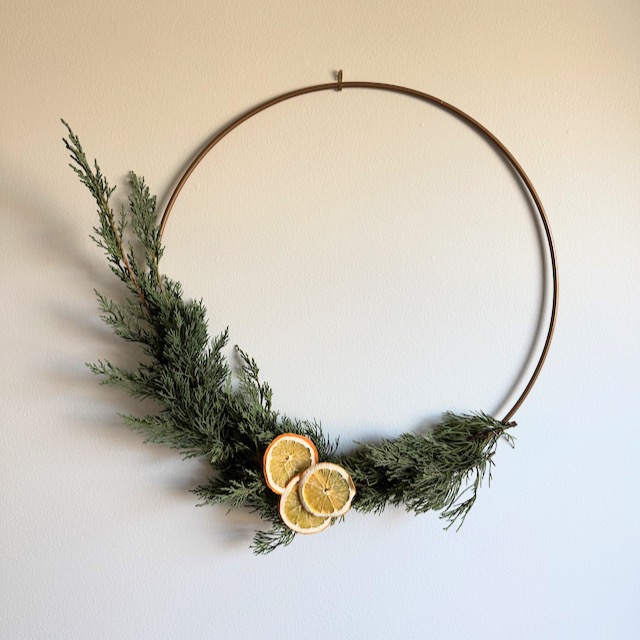
Who doesn’t love a quick, simple, and fun way to decorate for the holidays? I threw together this Easter garland in an afternoon. I love the details of the bunny tails.
We spend a lot of time in our great room and kitchen. When looking into the great room from the kitchen you get a full view of our mantel. After decorating it a few weeks ago, I feel like it is really starting to shine.
During Thanksgiving and Christmas I have two different buntings that I hang from the mantel. They are so fun and I wanted to make an Easter garland for spring.
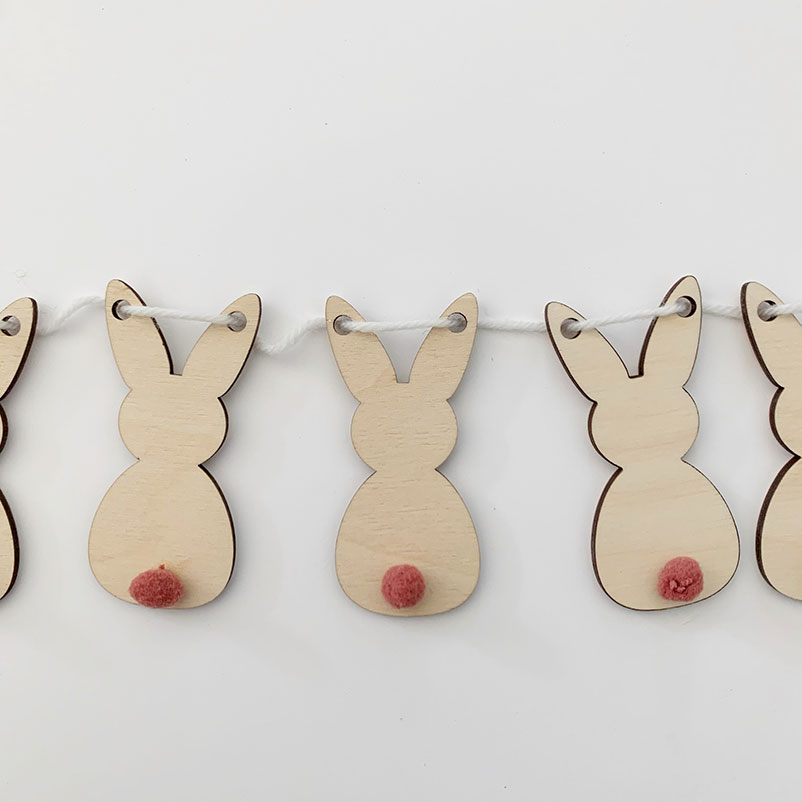
I’ve been making quite a few Easter basket tags. I love these cute little bunnies and I thought they would be adorable as a garland!
Materials
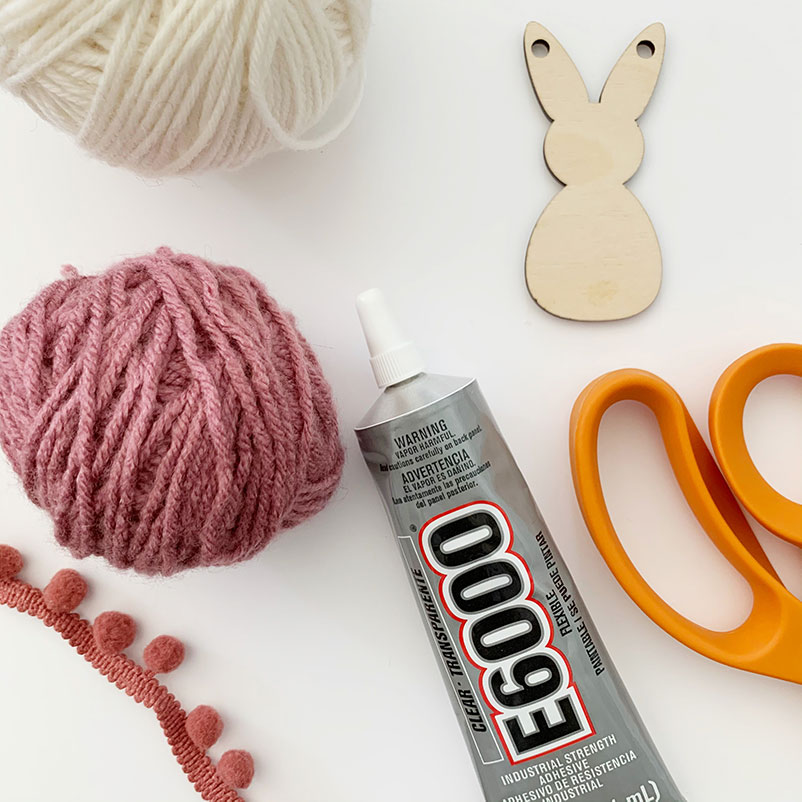
- scissors
- glue
- pom poms
- yarn
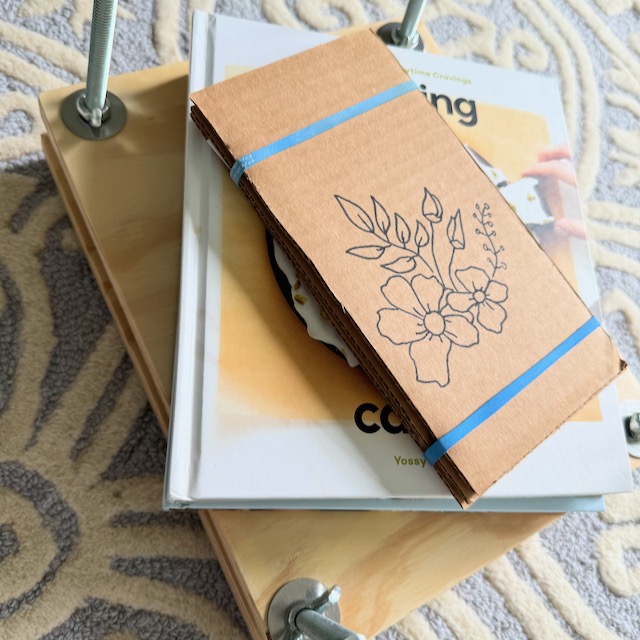
- small book or box
- bunny cut outs
Make the Bunnies (or carrots or eggs)

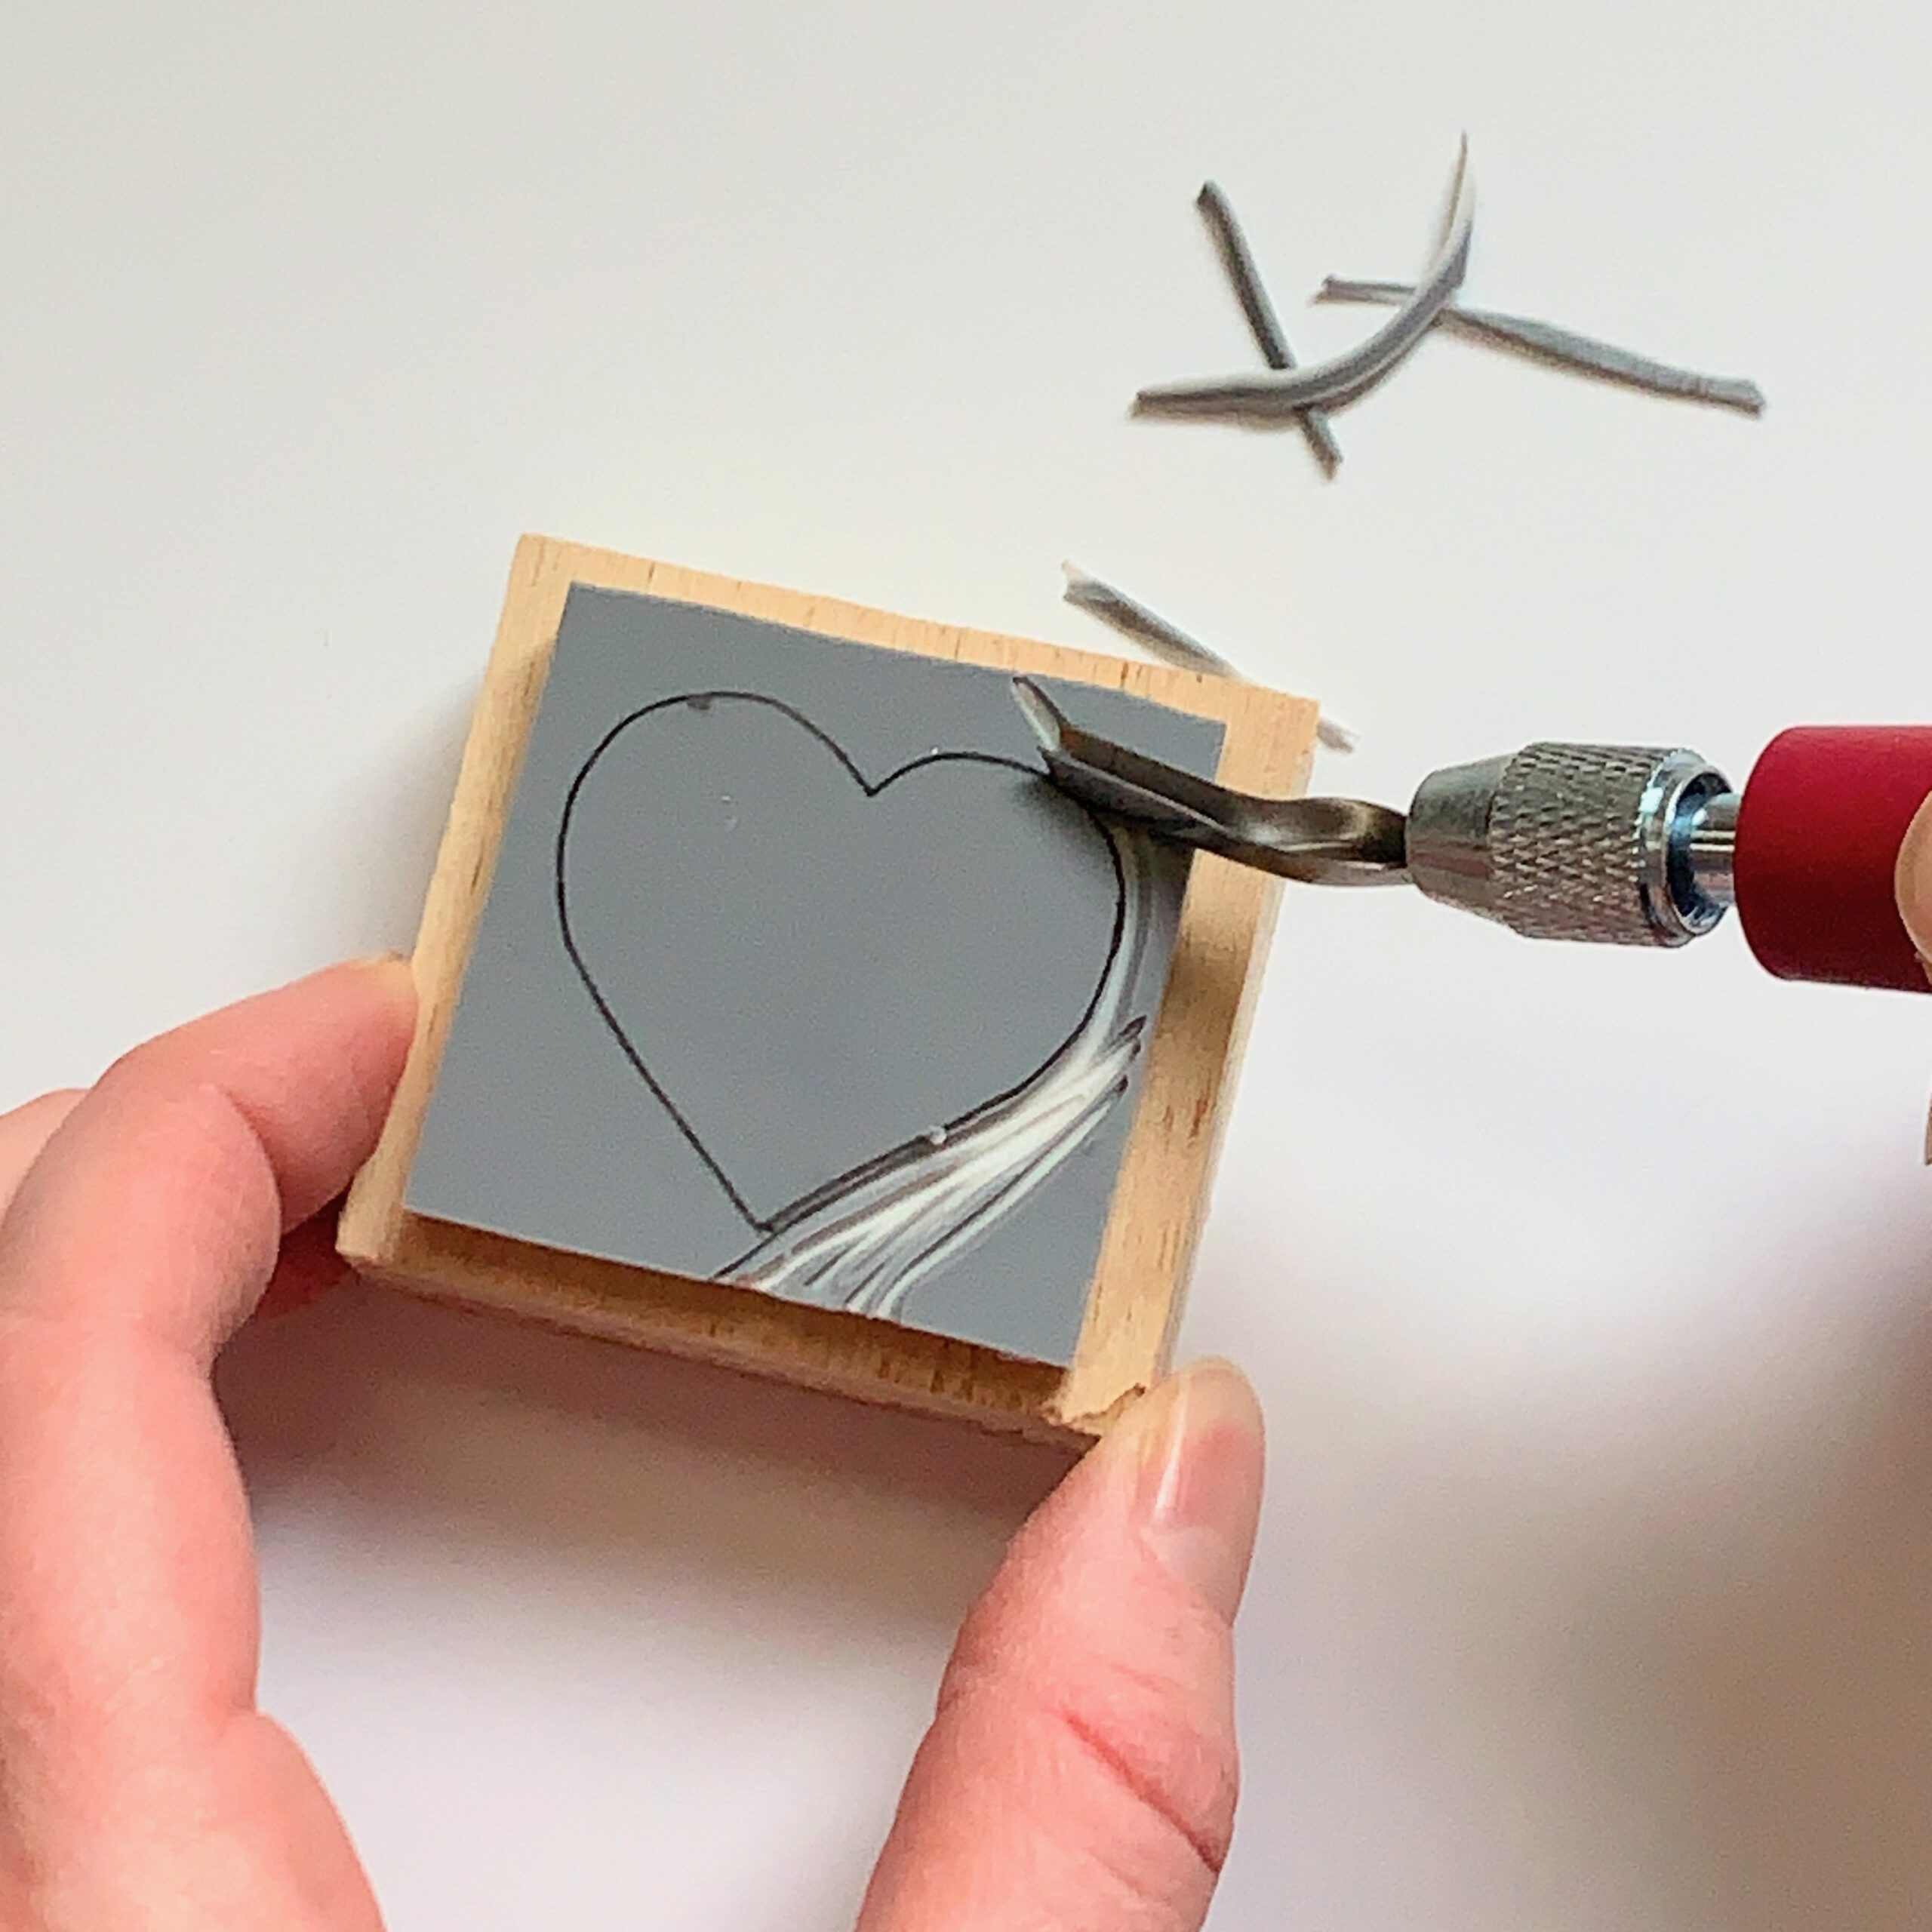
These four different SVG files are located in my freebies library (access granted to anyone who subscribes to my emails). Feel free to download one (or all) of these SVGs and cut out whichever ones in wood, chipboard, or card stock.
I used my Glowforge to cut these ones and add engraving on a few for Easter basket tags! You could use a Cricut as well.
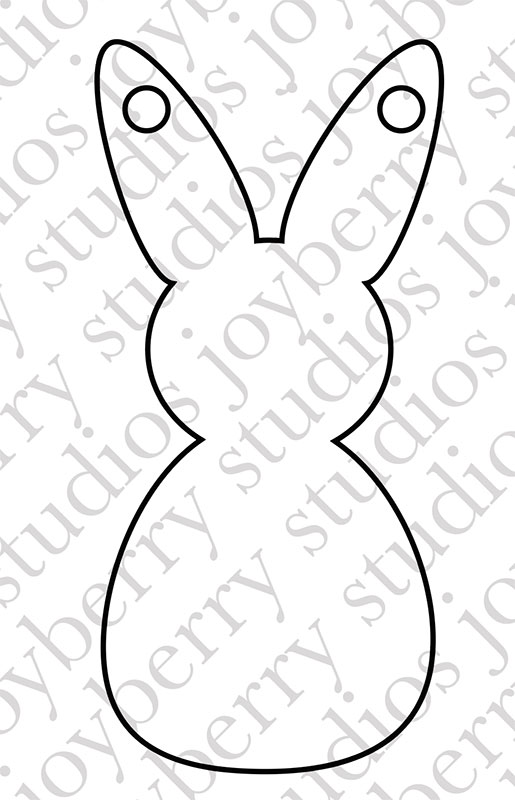
If you don’t have either of those machines, feel free to print out the above image and use it as a template to cut card stock by hand. (When printing you can change the print scale % to print at whatever size you want.)
Begin Assembling your Easter Garland
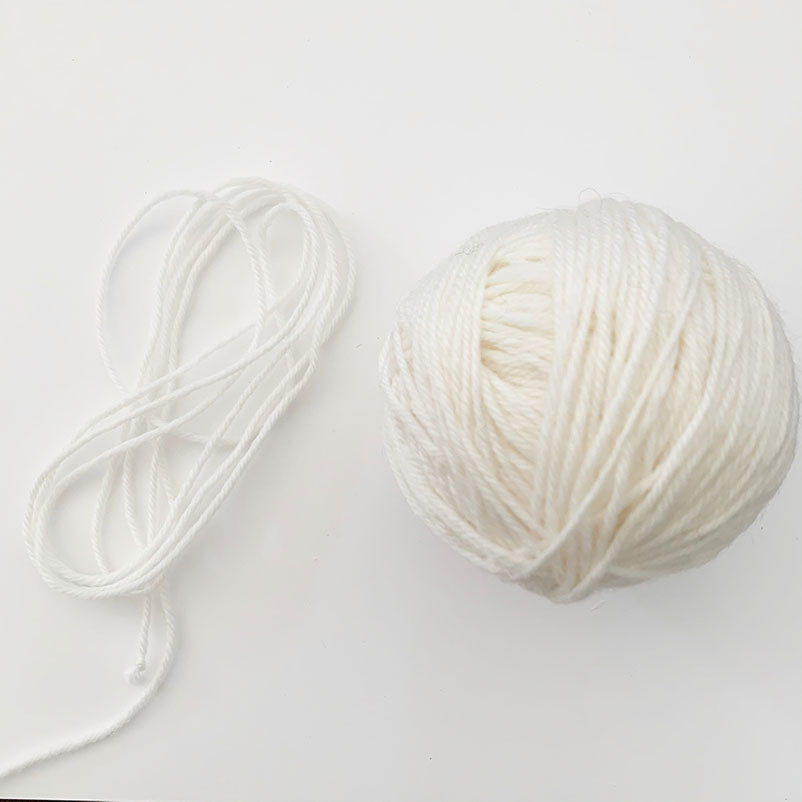
Take your yarn and measure out a piece that will span where you want to put the garland. Make sure to give it the string a little slack. You can always make it shorter, you can’t make it longer.
Tie knots on each end to prevent your yarn from fraying. String your little bunnies onto the string and place them where you would like them to be on the final garland.
Make the Tassels
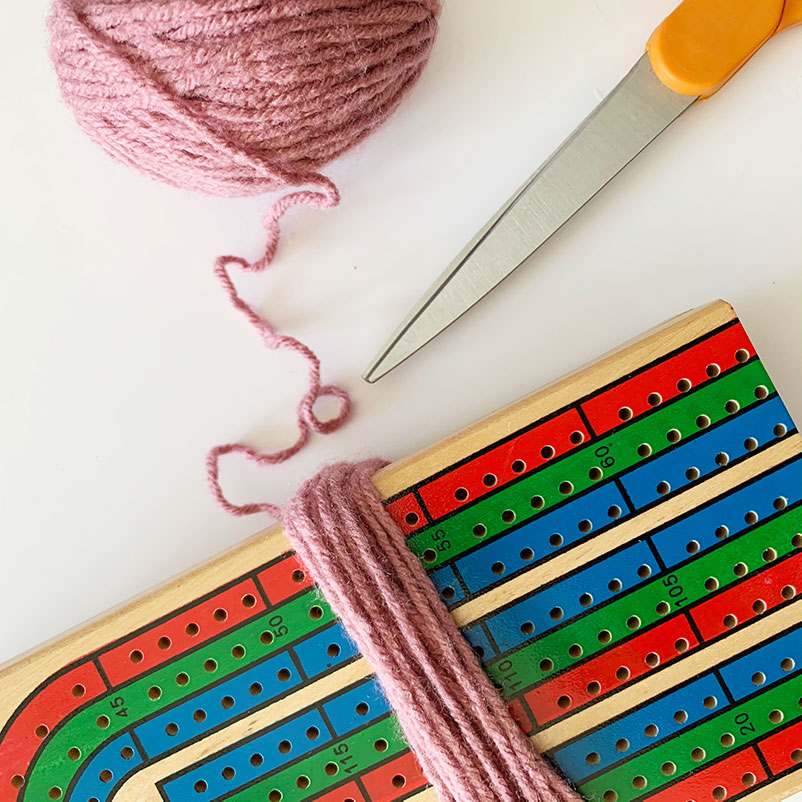
For each tassel, cut an extra ~8 inch piece of yarn. This will be the yarn that you wrap around the tassel.
To make the tassel take your small book or box and wrap your yarn around it 15 times. You can do more or less wraps to change the fluffiness of your tassel. Cut all of the wraps of yarn on one side of your box/book. You should be left with strands of yarn that are all around the same length.
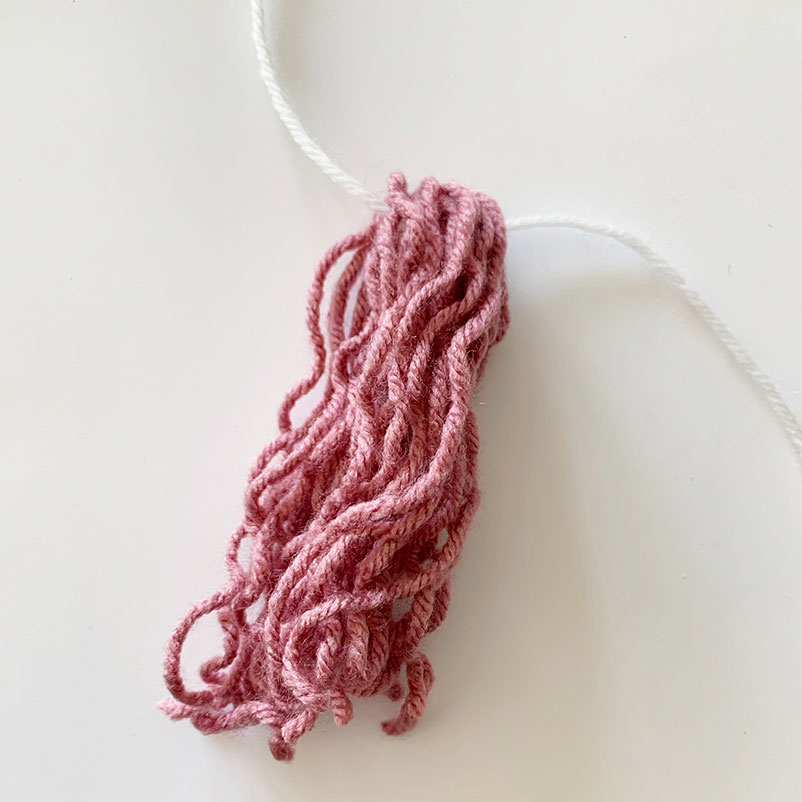
Overlap this bunch of yarn with your garland main string where you would like the tassel to be placed. Double check that the ends aren’t lopsided.
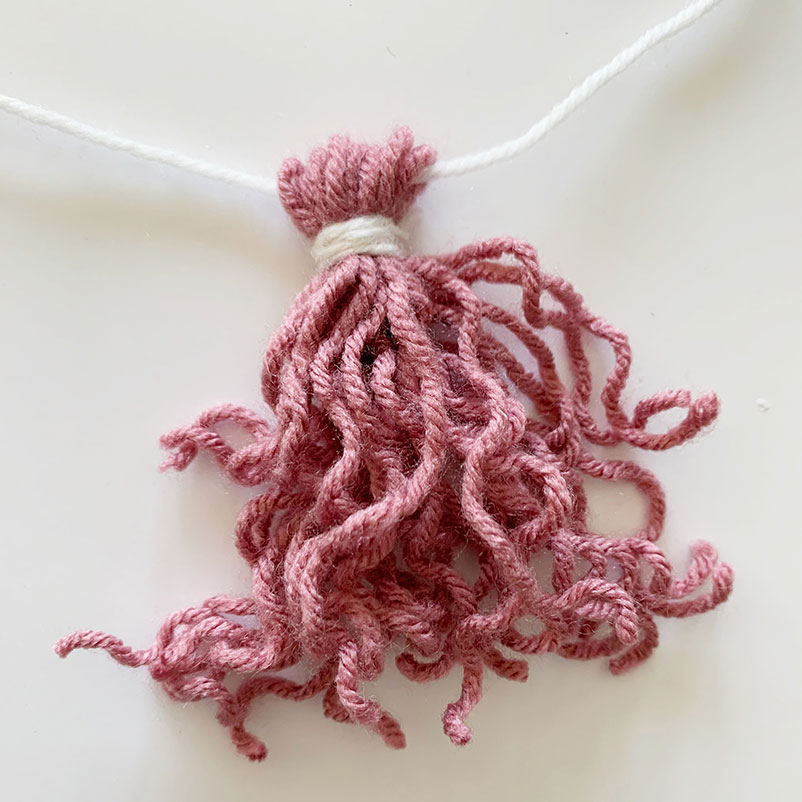
Take your ~8 inch piece of yarn and use it to tie a knot right below the garland main string. (This helps keep it in place.) Continue to wrap the yarn around the tassel until just small pieces of yarn remain. Tie them off with 2-3 knots and clip the ends.
Repeat until all of your tassels are made!
Hanging Your Easter Garland
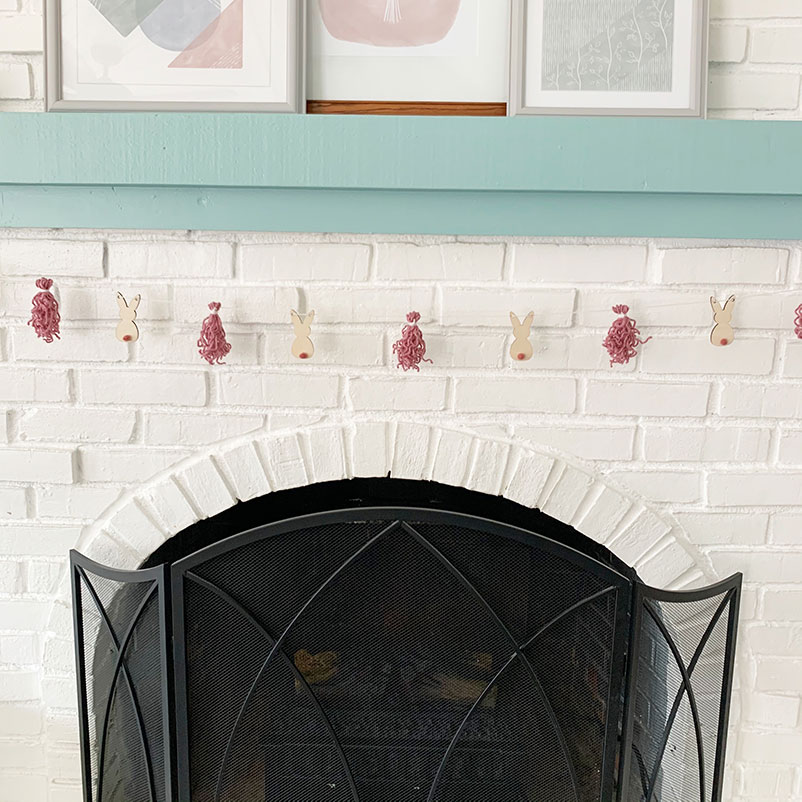
If you’re interested in hanging garlands under your mantel, or over a bookshelf, or in another spot in your home more than once I think installing eye hooks is a great idea.
They are small screws that go into wood that make hanging garlands super easy. I installed two on each end of my mantel. I also think they are small enough that I don’t really see them when they’re not in use.
You could also use command hooks, like these, if you are looking for a less permanent hanging option.
Tie a knot a few times around the first eye hook. When you go to hang the other side you might find you have more slack than you originally planned for. The extra weight of the bunnies and tassels can stretch out the yarn. Tie it on the other side and trim the yarn if you want.