Faux Ceramic Pottery
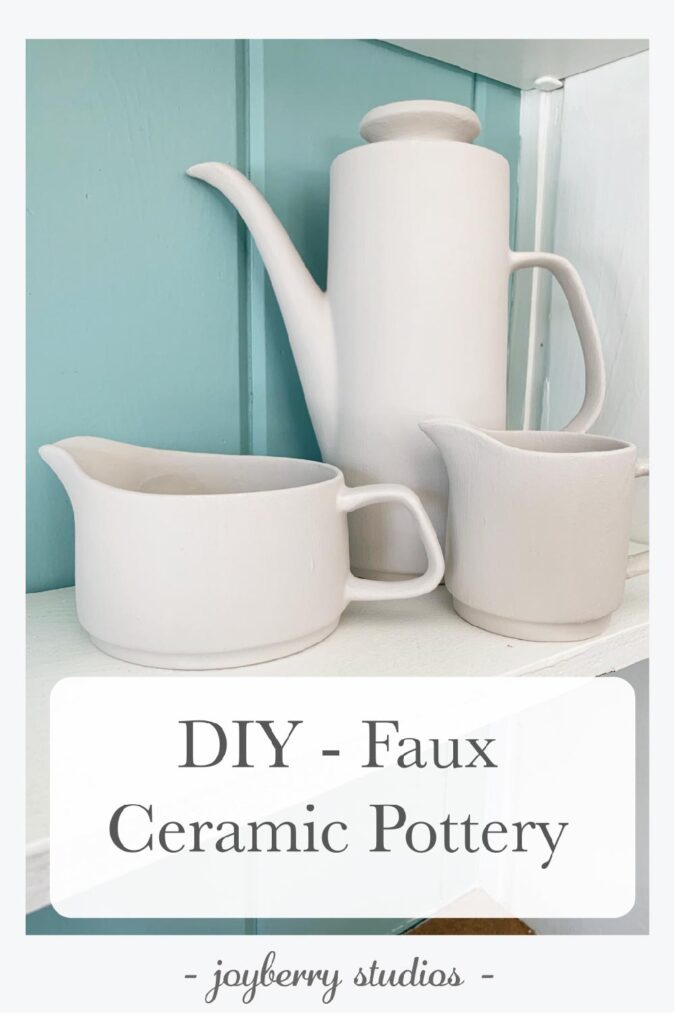
Want Ceramic Pottery without the Price?
When we moved into our new home we suddenly had a lot of open shelves to display all of our beautiful things. The only issue was that at the moment we didn’t have a whole lot of beautiful things or a whole lot of money to buy beautiful things from Anthropologie. So instead, I made faux ceramic pottery.
With a bit of Paint, Make Faux Ceramic Pottery
Faux ceramic pottery is a great way to elevate thrifted pieces where you may love the shape, but not the color or pattern. Join me in DIYing your way to Instagram worthy shelves.
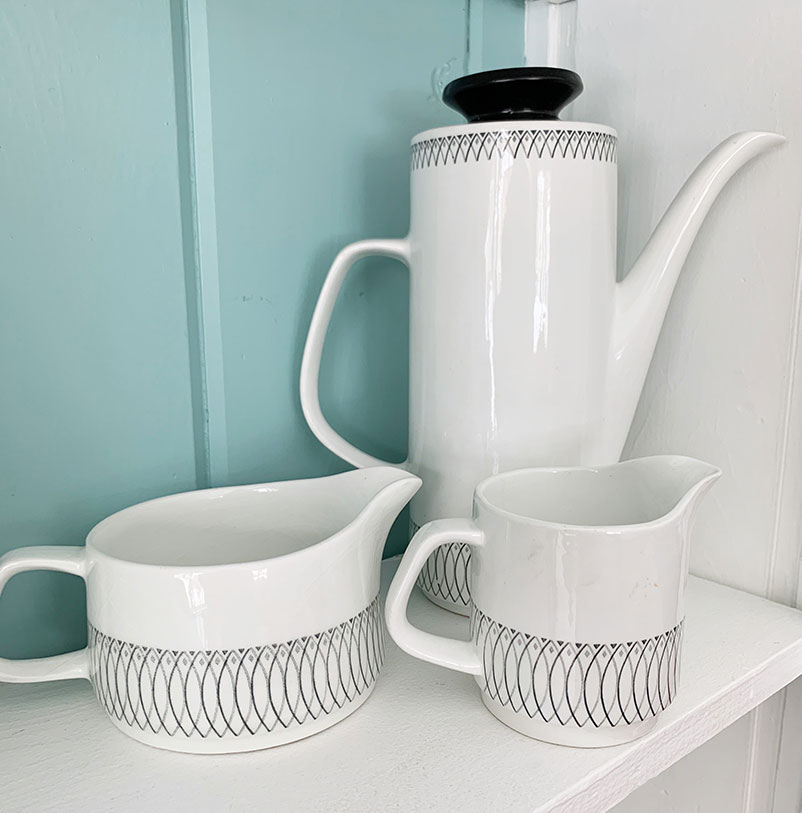
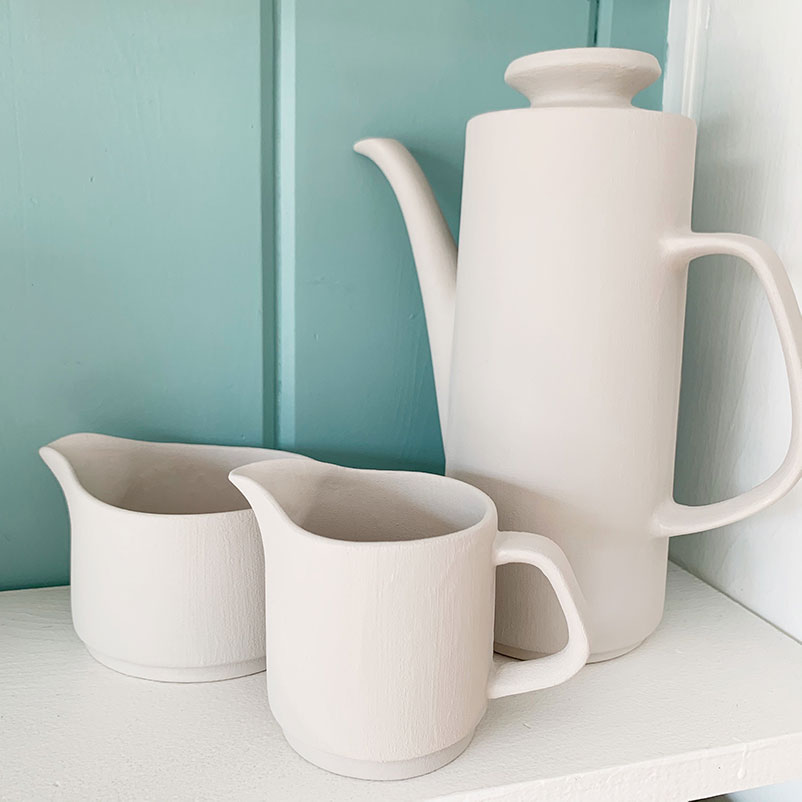
This is a tea set that we’ve had on our shelves for about a year. We will never use it, but I liked the shape of the teapot and the matching little pots. I also know that things look best in threes, so I kept them all. Look for fun vases or chotskies at your local thrift store to elevate to faux ceramic with just a bit of paint.
Materials
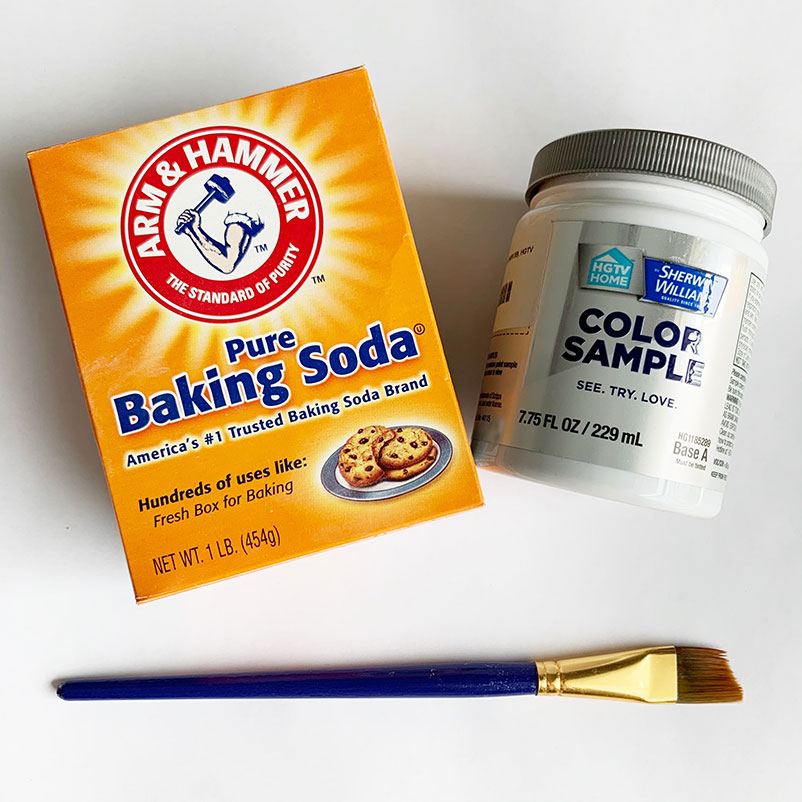
- a paint sample from a hardware store (could also use acrylic paint from the craft store)
- baking soda
- paint brush
- glass or ceramic pieces to paint
Getting paint from a hardware store may seem a little daunting. But you can get paint in literally any color that you can dream of for $3. (Note though, you can’t simply throw out old latex paint you don’t want. You have to let it dry or you can buy a hardener for it.)
Step 1 – Mix Paint
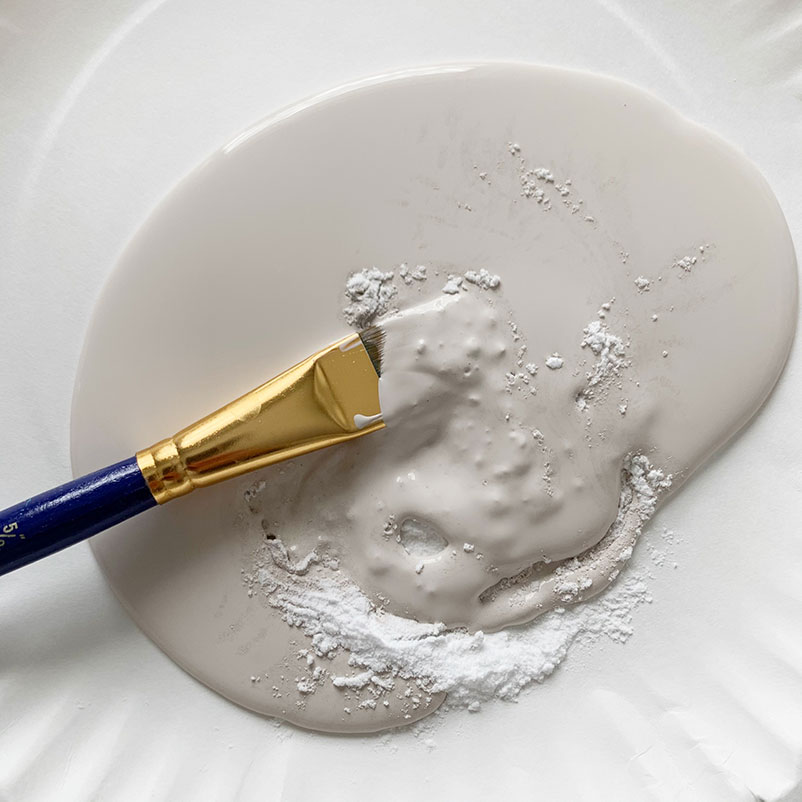
I did all of my mixing on a paper plate. You could also use an old yogurt container with a lid if you wanted to have more drying time between your coats.
To mix I added around ¼ cup of paint with 1-2 tablespoons of baking soda. The more baking soda you add the more chalky and textured the finish will be. Start by adding a little, and continue to add more if you want. You can also do a first coat and adjust the paint mixture for a second coat.
Be sure to also clean your piece first. If there is any residue or dirt the paint may have trouble adhering.
Step 2 – Paint
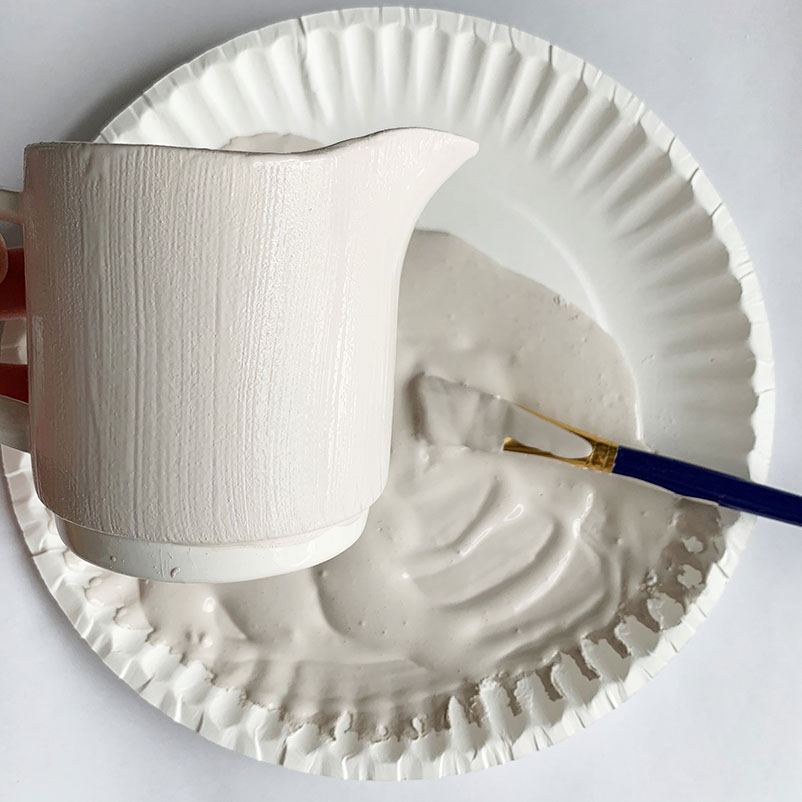
I found that the best technique is to fill the brush full of paint and do a nice smooth brush stroke across the piece. To make the most uniform finish, work quickly, make sure the brush is always full of paint, and do full brush strokes from the top to the bottom of the piece.
If you find your paint is getting tacky and gummy. Stop painting. Let that coat dry and reassess once it is dry. If there are big chunks, you can try to sand off some of the paint. (Be sure to work outside and with a mask on. You don’t want latex paint in your lungs!) If it’s just a bit of a funky texture, try blending it with a second coat of paint.
The temperature and humidity will dictate how long it takes each coat to dry. It is the middle of winter here, so my house is at 70 with a skin cracking 22% humidity. Within ten minutes my pieces were dry to the touch and I was able to apply a second coat.
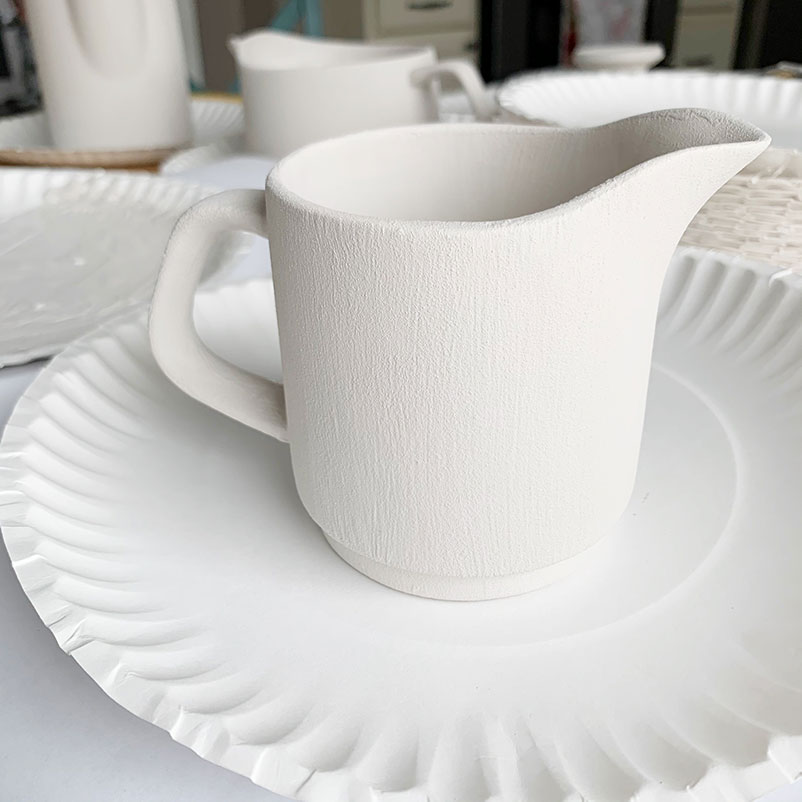
Step 3 – Admire & Repeat
Take a step back, pat yourself on the back, and admire your work. Hopefully much better than before!
This is such a fun and quick way to add a splash of color and texture to your home. It is also a great way to give new life to thrifted pieces that may have a fun/interesting shape, but not a great finish.