How to Sew a Crown for Kids
How to Sew a Crown for a Child: A Fun and Easy DIY Project
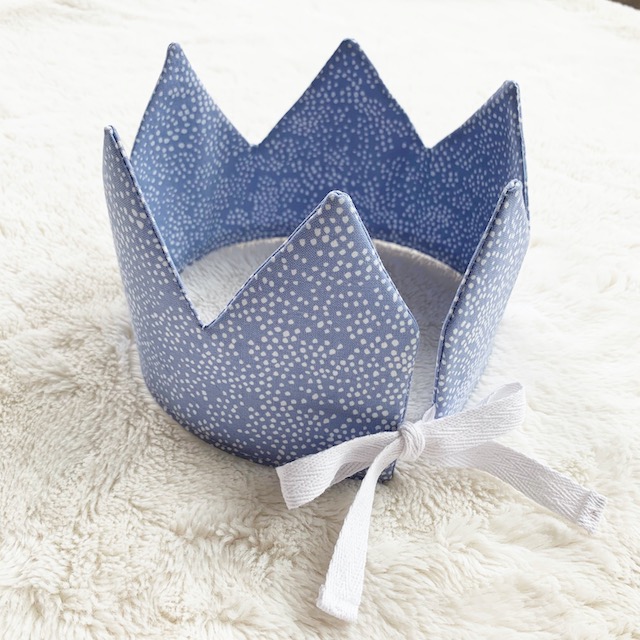
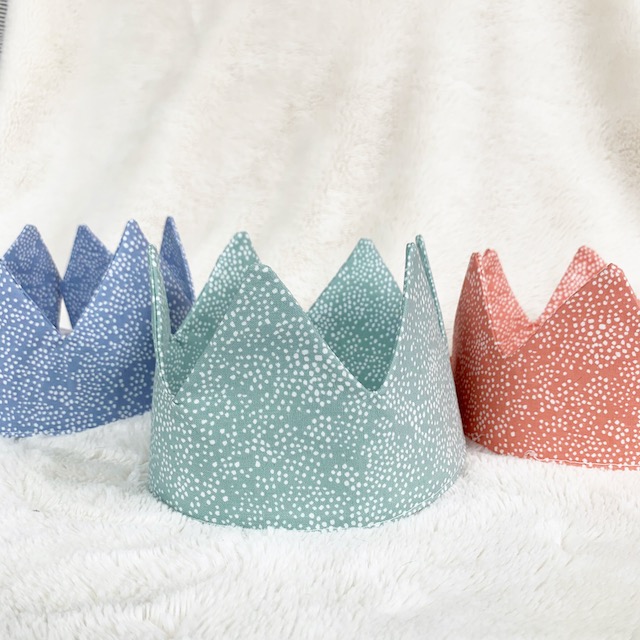
Creating a handmade crown for a child can be a delightful project that results in a charming accessory for birthdays, dress-up play, and Halloween. This guide will walk you through the steps to sew a crown that any child would love to wear and gives suggestions on how to personalize them or add more embellishments.
SAFETY: A quick note about safety. A small child should never be allowed to play with the crown unattended. Be aware that the crown does not somehow get around a child’s neck, which could be very dangerous.
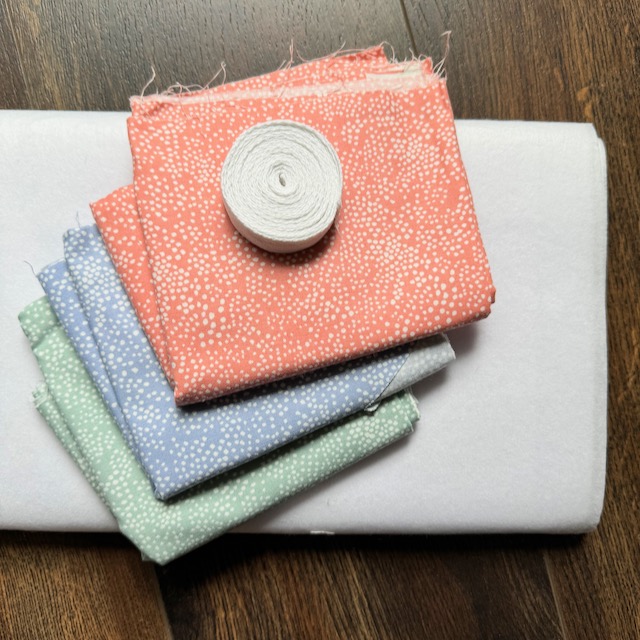
Materials Needed:
- Crown pattern (in my freebies library, which is available to anyone on my email list!)
- Woven fabric of your choice (preferably cotton – could use a woven shirt, sheet, or even tea towel)
- Fusible interfacing (I used Pellon 809 Decor Bond, I’ve also used a piece of flannel and fleece and had good results!)
- Cotton webbing or bias binding or ribbon for the ties
- Basic Sewing Supplies (machine, thread, scissors, etc.)
Step-by-Step Instructions:
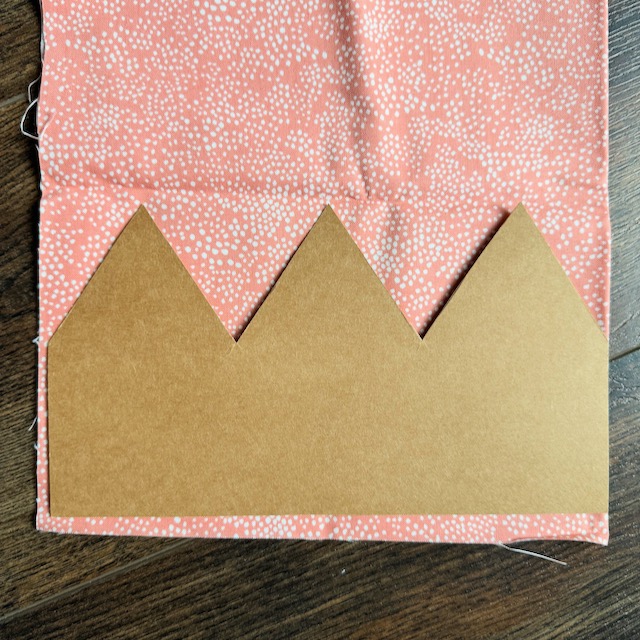
1. Trace & Cut Fabric and Interfacing
The pattern pieces for the crown can be found in my FREEBIES library, which is available to anyone who signs up for my email list.
Using the template for the fabric crown, cut TWO pieces of cotton fabric out. Be sure to align the side marked “fold” on the fold of the fabric.
Using the template for the interfacing, cut ONE piece of interfacing out. (The interfacing pattern piece is slightly smaller from the fabric. I found that if they were the same size, the crown became a little more bulky and was harder to turn right side out.)
2. Attach the Interfacing
Iron the fusible interfacing onto the wrong side of one of the fabric pieces, centered so it is just around 1/4 inch away from the fabric edge. Follow the manufacturer’s instructions for adhering the fusible interfacing.
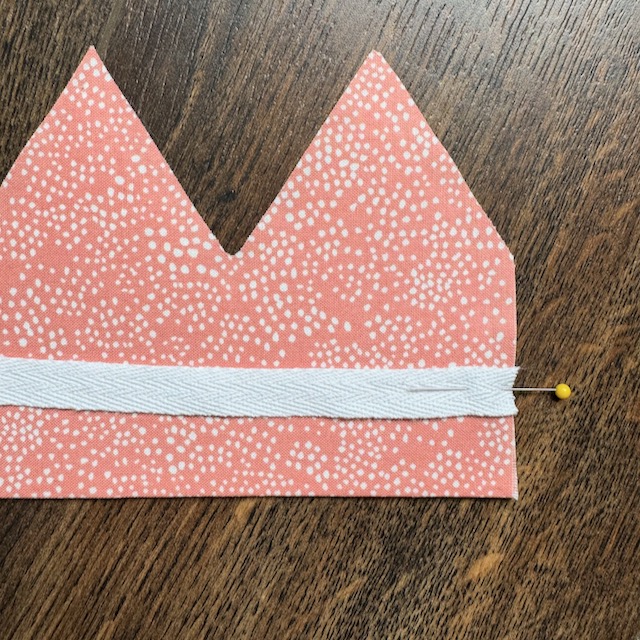
3. Prepare and Attach the Ties
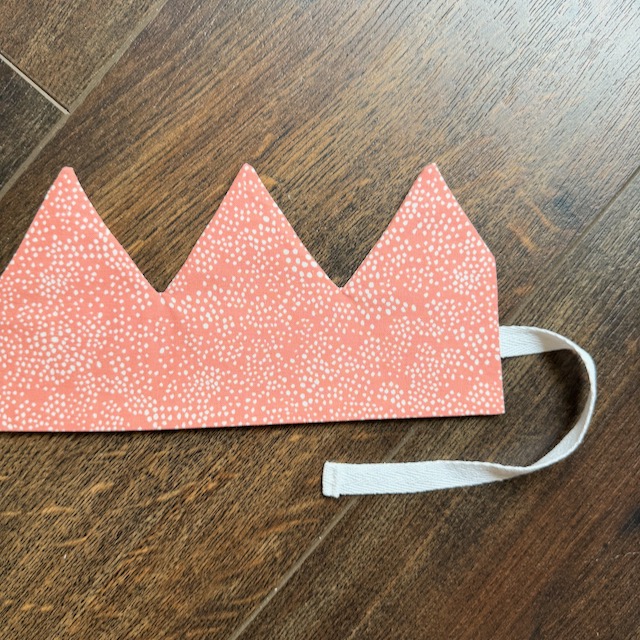
- You can choose your preferred length of ties. I found that around 8 inches was a good enough length to tie a bow and not too long to be in the way. Cut two lengths of ties in whatever you are using (cotton webbing, bias binding, ribbon, string, yarn).
- If using cotton webbing or bias binding, hem the outside edge of the tie so it doesn’t fray. If using bias binding, also hem down the length of the tie so it doesn’t unravel.
- Place the tie two inches or so up on the outside of the crown, aligning the edges. Pin in place and quickly baste sew into place.

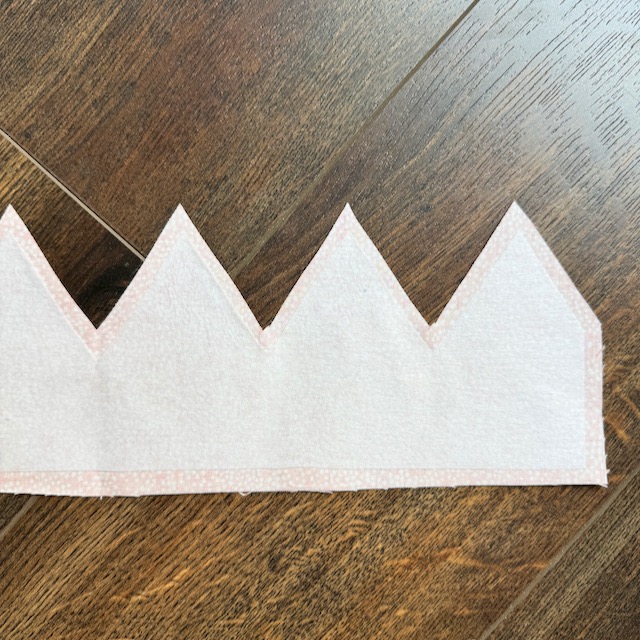
4. Sew the Crown
- Place the two fabric pieces right sides together, with the interfacing side facing out. Pin in place.
- IRON the bottom edge up over the interfacing. Flip the crown over and iron the other side with the same hem, matching the bottom edges as you go. If you iron in this step, it will be much easier for you down the road!
- Sew along the sides and top of the crown, following the interfacing as a guide for where to stitch. Leave the bottom edge open.
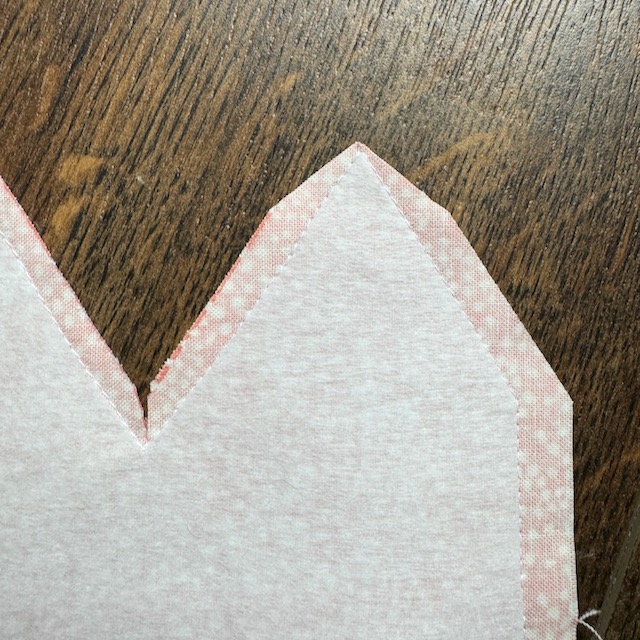
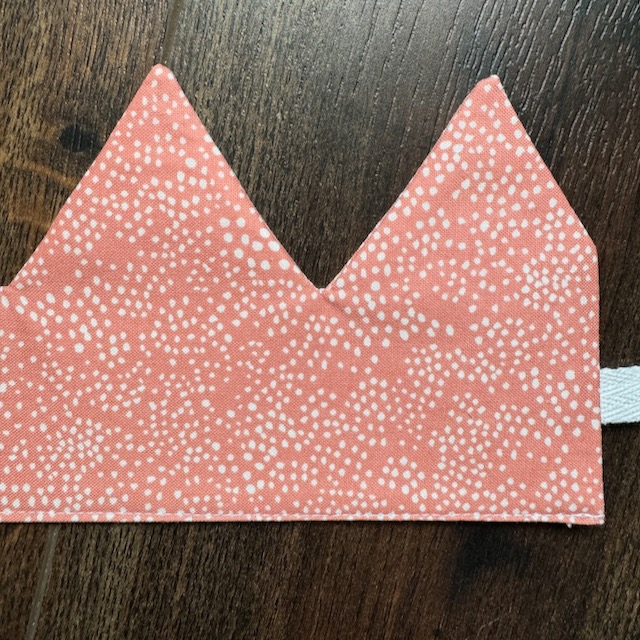
5. Clip the Points
Carefully cut around the crown points, leaving a small seam allowance. In the bottom dips of the crown make a single cut close to, but not through, the stitching
This clipping will help the crown lay flat and not pucker when turned right side out.
6. Turn Crown Right Side Out
- Turn the crown right side out through the open bottom edge. Use a blunt tool, like a skewer, knitting needle, or unsharpened pencil, to gently push out the points. If needed you can use a pin to gently pull the tips of the crown out.
- Press the crown with an iron to flatten it and ensure crisp edges.
7. Finish the Bottom Edge
Once ironed well, take it back to the sewing machine one last time. Sew the bottom edge closed with a small 1/8 inch seam allowance.
Embellishments To Add
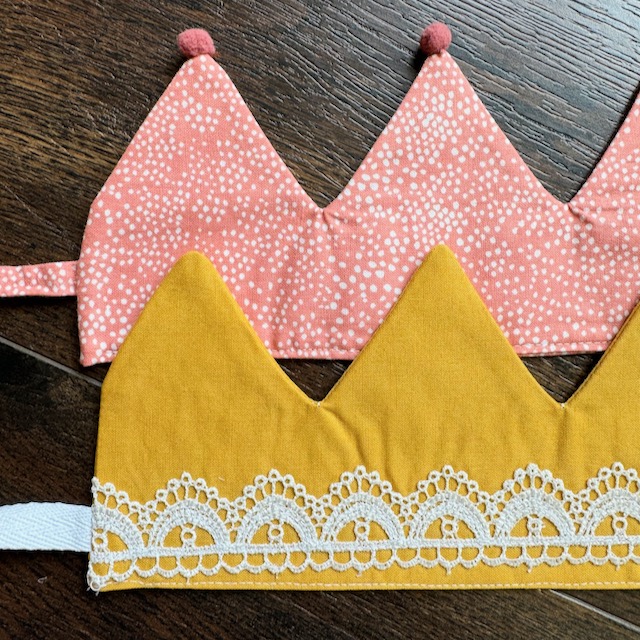
Getting creative can be so fun with these crowns. Here are just some ideas:
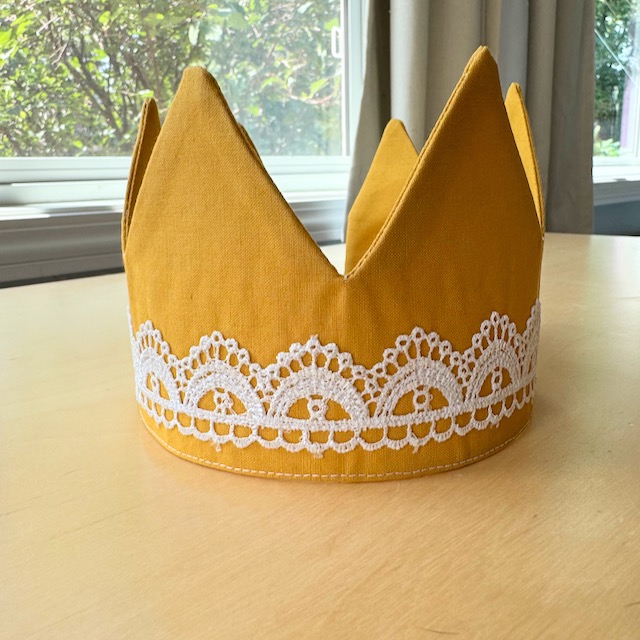
- Add a lace trim (can be sewn or glued into place)
- Add embroidery to customize it for the child or event
- Add small pom pots to the top points (I love the felt pom poms from Benzie Felt Design, or you could make your own!)
- Have your child to decorate the crown with fabric paint
- Make a custom stamp and use paint to stamp a fun design!
- Add beading or sequins
Fun Ways to Use These Crowns
Birthdays: A handmade crown adds a special touch to birthday celebrations. Whether it’s for the birthday child or party guests, these crowns can be customized with names, ages, or favorite colors. It serves as a memorable keepsake and makes the birthday child feel extra special. They would also be relatively easy to batch sew!
Dress-Up Boxes: Adding a crown to a dress-up box encourages imaginative play. Children can become royalty, superheroes, or magical creatures, expanding their creativity and storytelling skills. A sturdy, well-made crown will withstand many play sessions, providing endless fun.
Halloween: A crown is a versatile accessory for Halloween costumes. It can complete a variety of outfits, from a king or queen to a prince, princess, or fairy. Making your own crown allows for customization to match any costume theme, ensuring your child stands out in their unique, handmade accessory.
Let the Play Begin!
Sewing a crown for a child is a simple yet rewarding project. With a bit of fabric and some basic sewing skills, you can create a beautiful and durable crown that will be cherished for years. This DIY crown not only serves as a charming accessory for special occasions but also promotes creativity and imaginative play. Happy sewing!