How to Sew a Drawstring Bag
With No Exposed Seams or Lining
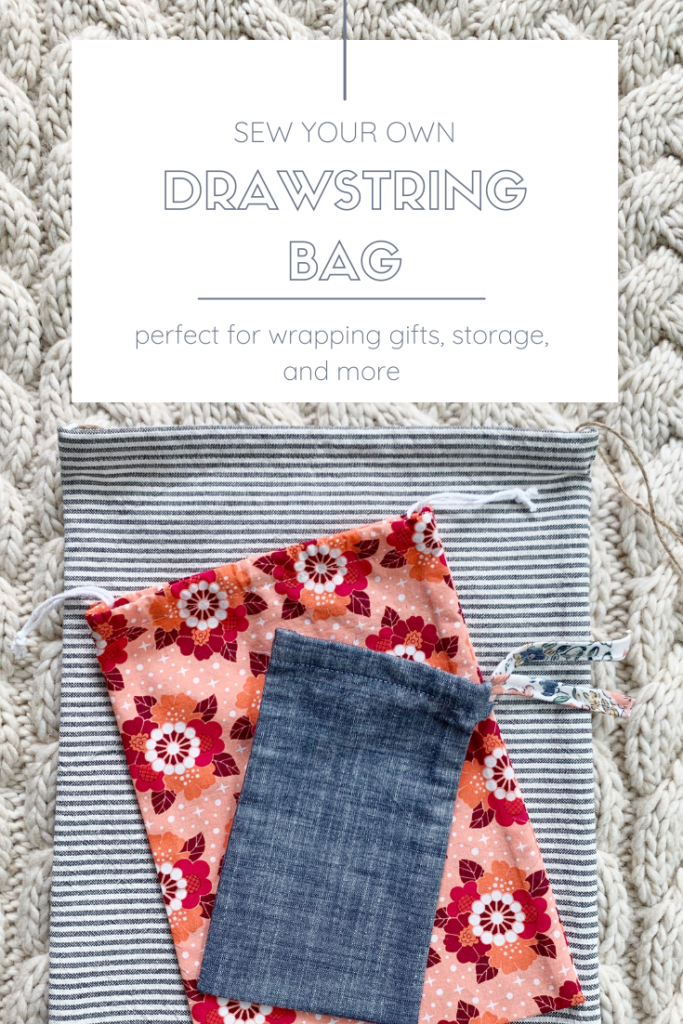
Learn to sew a drawstring bag and you will find so many uses for them. They are easy to sew, can be made with any size of scraps, and nearly any type of woven fabric.
There are so many uses for these simple drawstring bags. Here are my top three uses, but I’m sure you can think of ways to use them that fit your lifestyle!
Purse/Bag Storage
Sometimes my purse can become a stressful collection of random objects. When this happens I like to group similar things together and put them into these bags. Face mask, wallet, cell phone in one bag. Kids water bottle, snacks, and travel wipes in another.
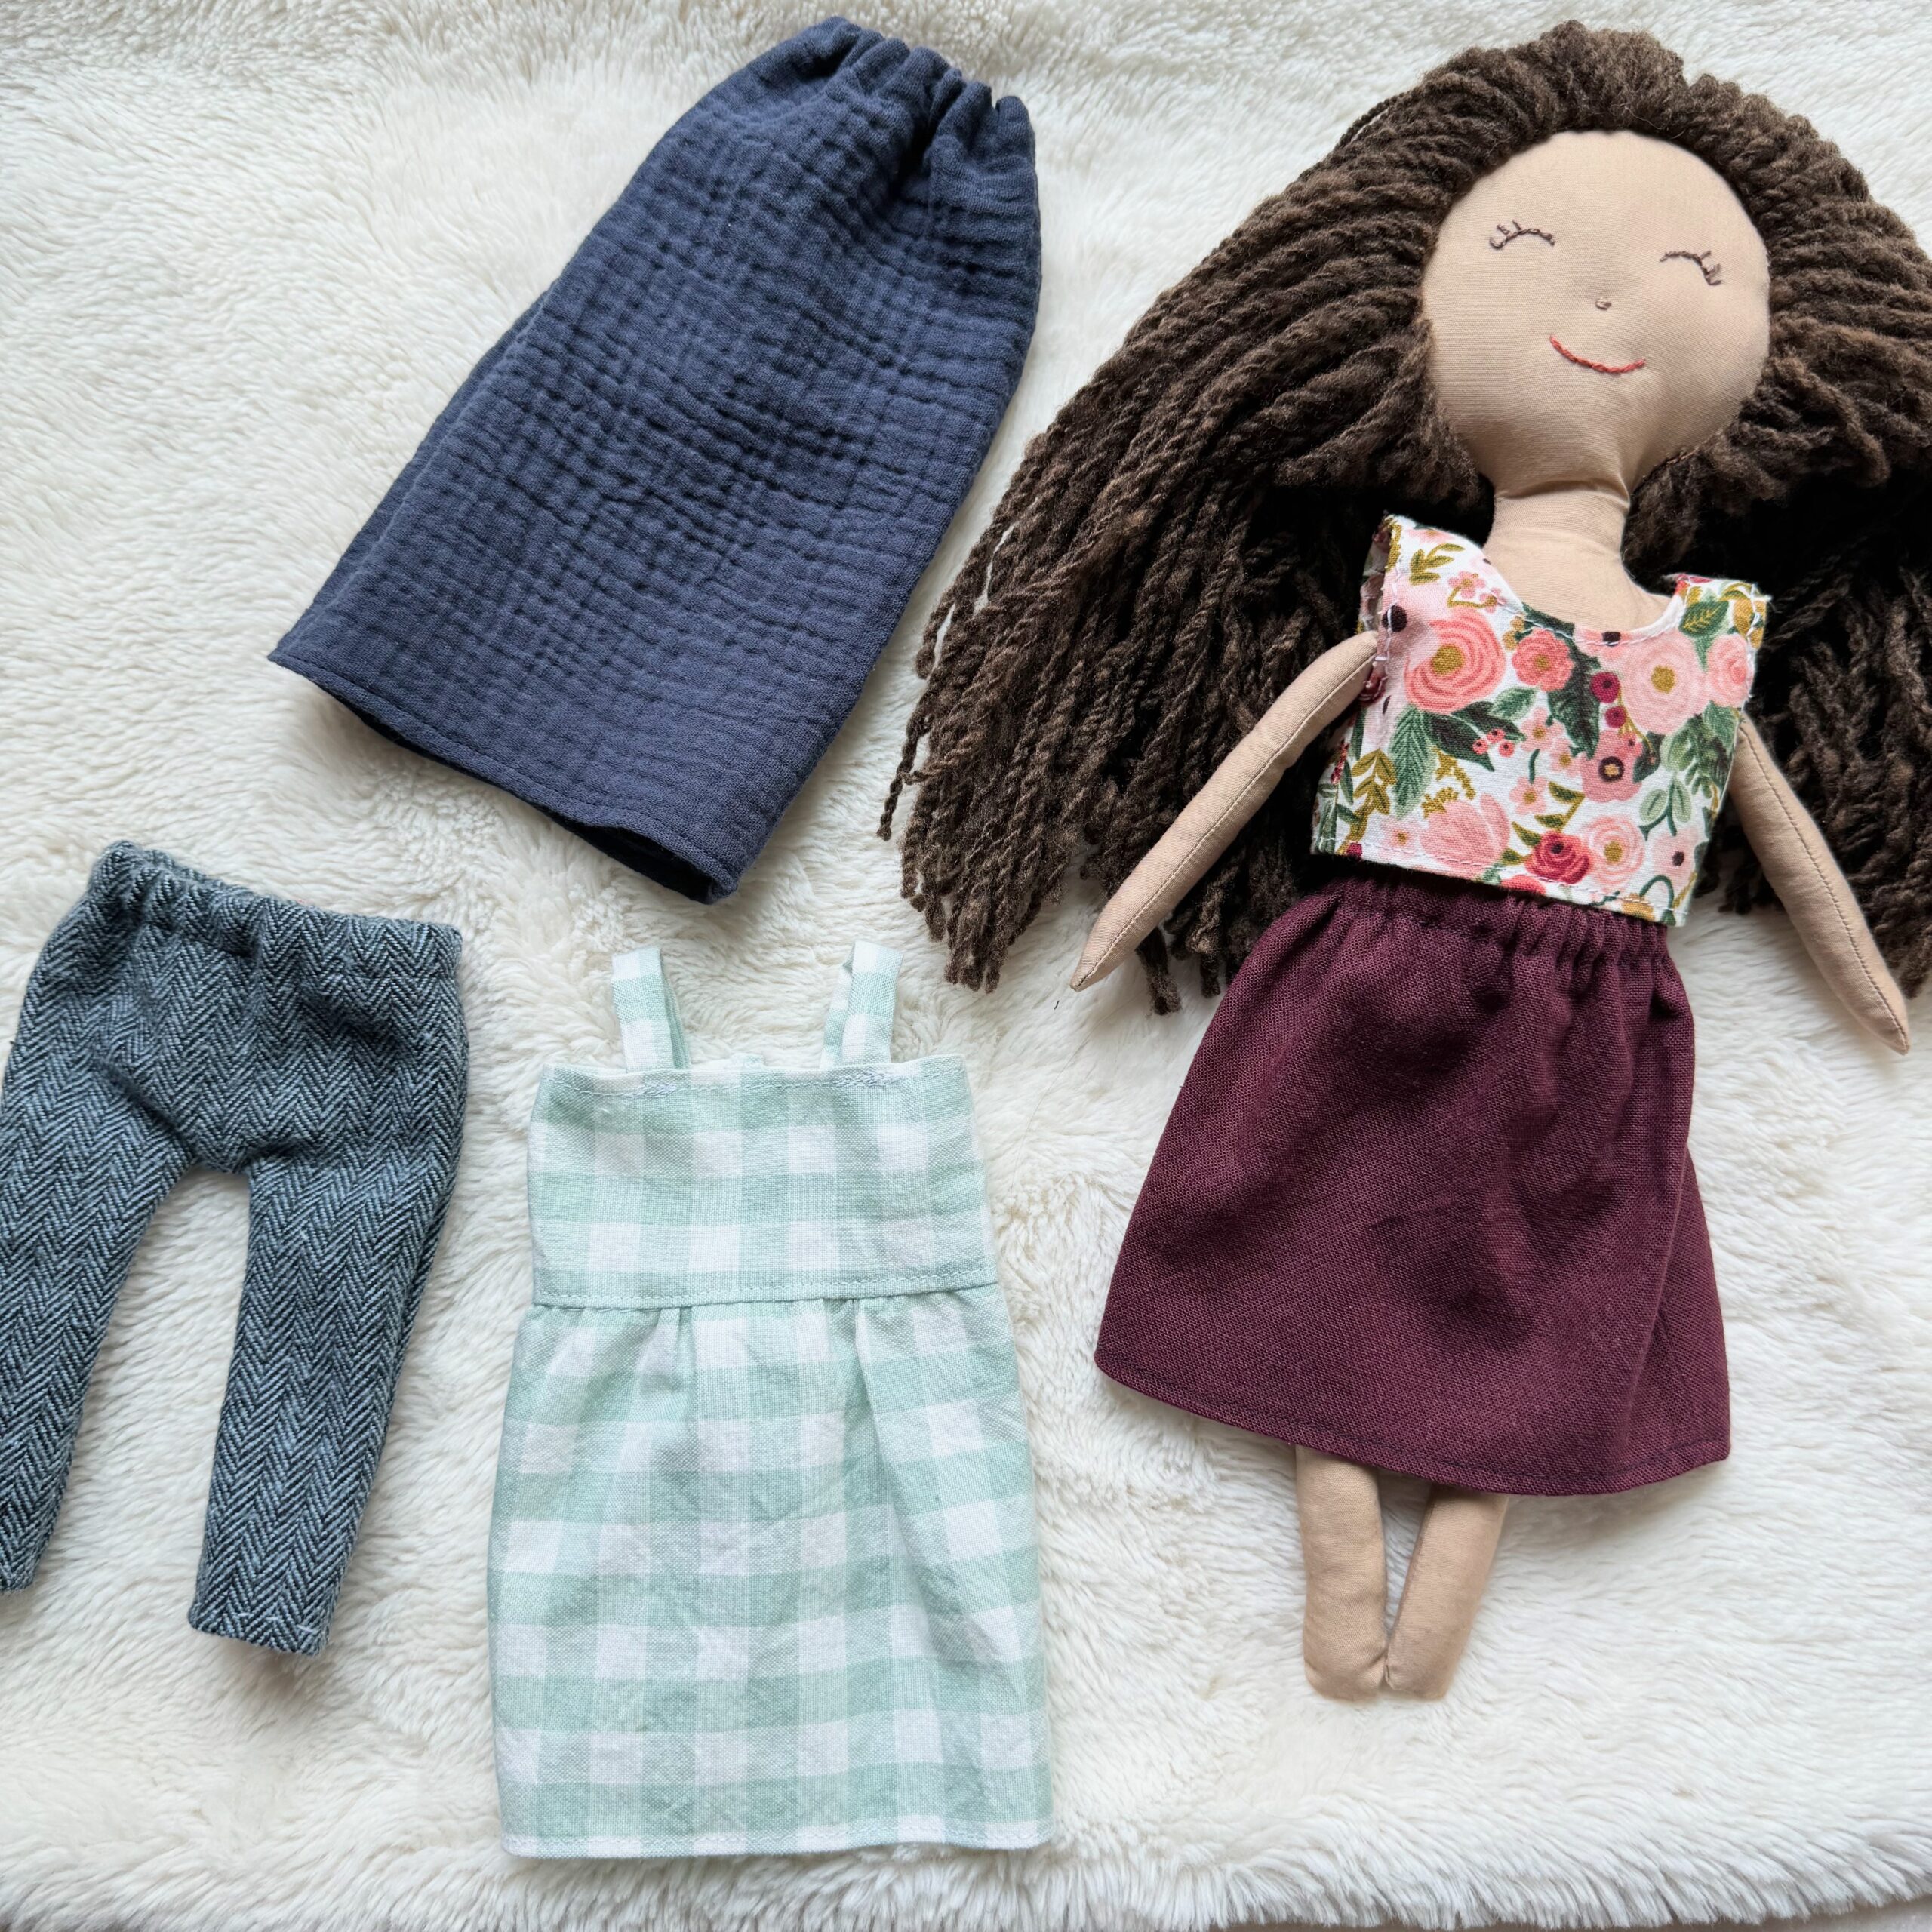
Toy Storage
My daughter is in a phase where she loves putting things in bags and carrying them around. These drawstring bags are perfect for her. I’ve made them in a variety of sizes for her and she uses them everyday.
They are also great for storing toys that come in multiples: blocks, small animals figurines, musical shakers, and dolls. When I do a toy rotation everything is organized.
Sustainable Gift Wrap
As you all know, I love to find creative and new ways to be more sustainable.
Furoshiki is a popular trend where a present is wrapped with fabric instead of paper. This is a great way to cut down on waste, but it only makes sense to me if the recipient will use the fabric or whatever it is wrapped in. Maybe the gift is wrapped in a scarf or dinner napkins. Scrap fabric only makes sense to me if the recipient also likes to sew.
Instead of wrapping presents in scrap fabric, think about turning that scrap fabric into a bag first. This way, it is more likely the recipient will get more use out of it.
Drawstring Bag with No Exposed Edges or Lining
When I first started sewing I had difficulties finding a simple drawstring bag tutorial. I wanted one that was quick to sew up and didn’t have a lining. But I also wanted one that didn’t have exposed edges on the inside that would fray with use.
So I came up with my own. This bag features no lining (which makes it great for scrap busting) and enclosed seams (no fraying!).
Choosing a Fabric to Sew a Drawstring Bag
Nearly any woven fabric will work well for this project. Try to stay away from knits or anything that has stretch to it. You don’t want to fill your bag and have it awkwardly start to grow in size as you use it.
Since this drawstring bag does feature french seams, heavy denims and canvases may also not be the best choice for fabric. The folded tops and sides may become too bulky and hard to work with.
Medium and lightweight fabrics are the best fabric choices for these bags.
Choosing and Sizing the Drawstring
There are a lot of different options for drawstrings: yarn, string, or bias tape work well in my experience. If you are using bias tape or a chunkier yarn, just make sure it will be able to thread through the top casing before you sew it.
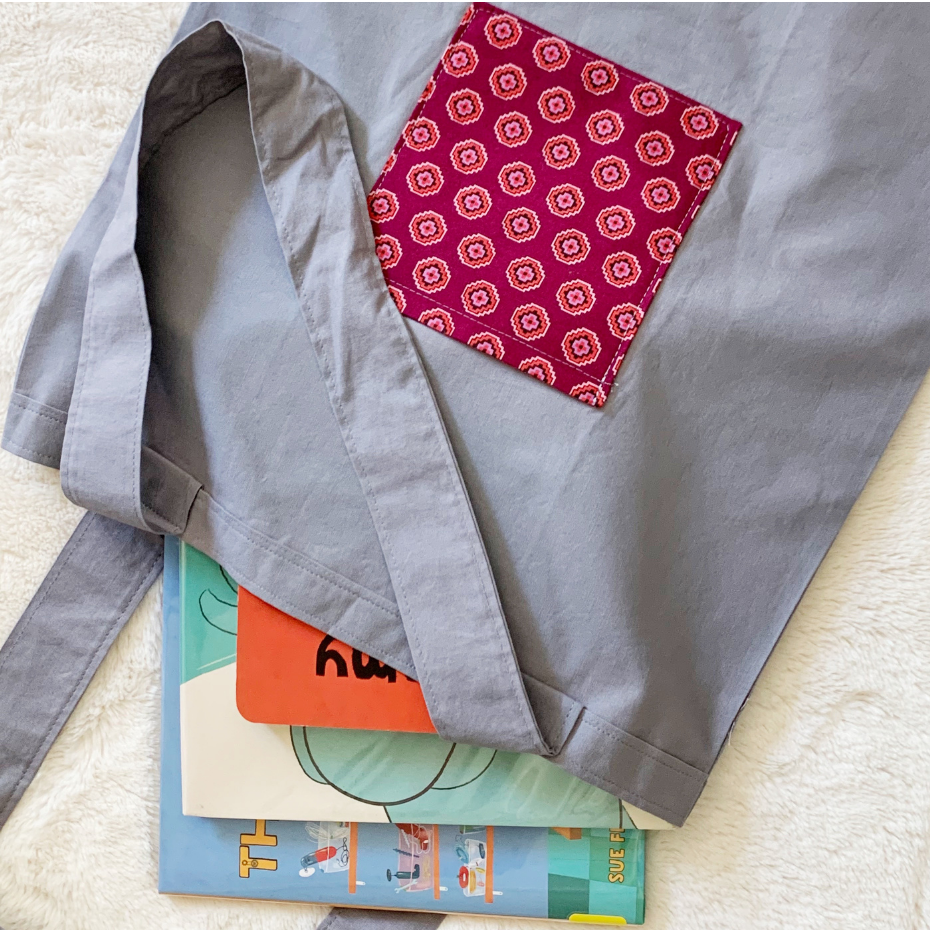
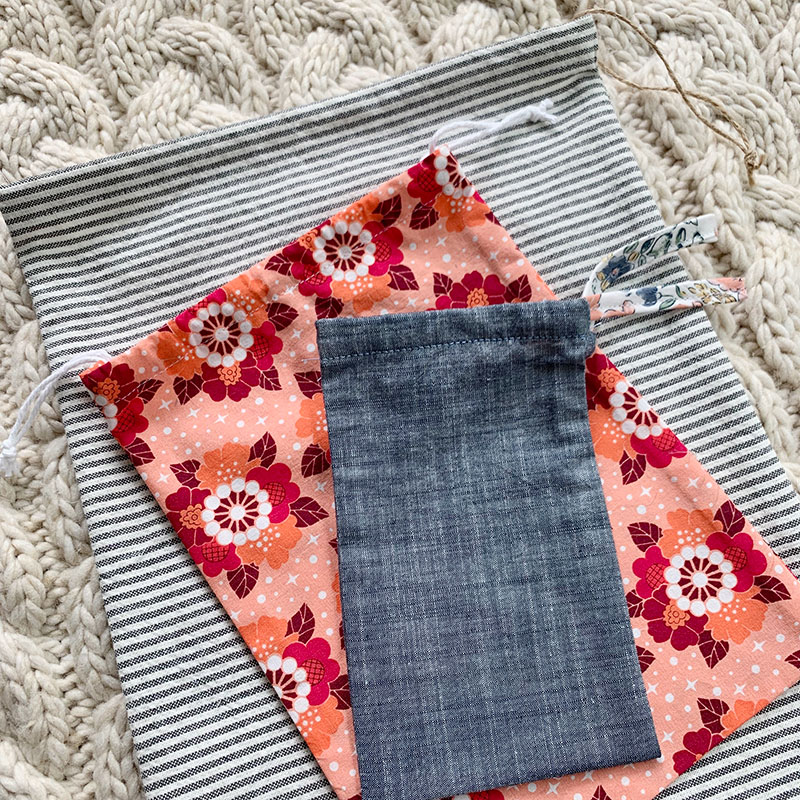
Next you have to decide if you want the drawstring to peek out both sides (see floral bag in above picture) or just one side (see denim bag in above picture).
Once you’ve decided the material, cut it to length. I like to eyeball it by just pulling the drawstring over my finished bag. Typically you want to add around 4-6 inches per side that it hangs out.
If you are using yarn or string, you should also put little knots on the ends so it doesn’t unravel.
Sizing Your Drawstring Bag
The great thing about these drawstring bags is you can make them in whatever size you would like! Small, medium, large, tall, short – it’s up to you!
Here is my little formula for the size rectangle that you need to cut:
Cut Fabric Width = Finished Width + 1.25 inches
Cut Fabric Length = Finished Length + 1.5 inches
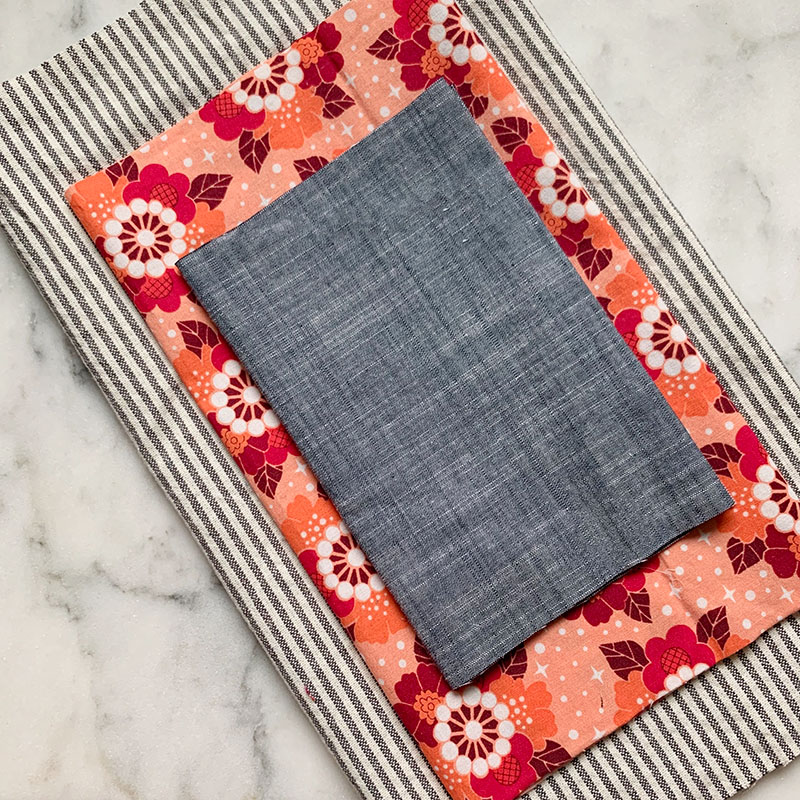
If those equations are a little hard to think about at the moment, or you would like a suggested size, here are the sizes of the three bags that I made:
Small
-Finished Size: 4 in x 6.5 in
-Cut Size: 5.25 in x 8 in
Medium
-Finished Size: 6.5 in x 9.5 in
-Cut Size: 7.75 in x 11 in
Large
-Finished Size: 10 in x 12.5 in
-Cut Size: 11.25 in x 14 in
How to Sew a Drawstring Bag
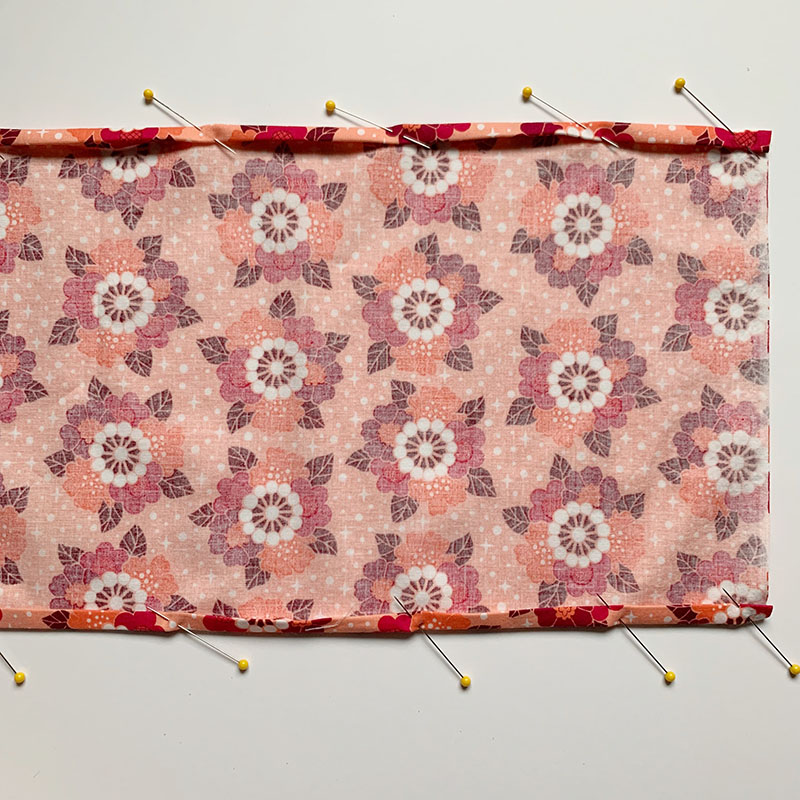
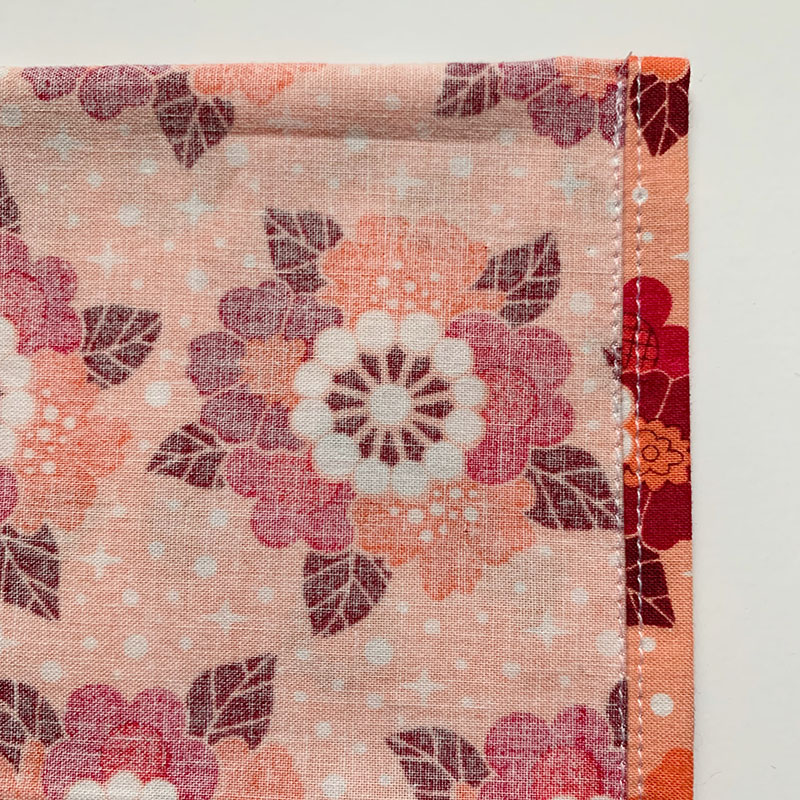
1.Fold and press each long side of the fabric in ¼ inch. Repeat the fold and press again. Pin the sides.
2.Sew the long pinned edges.
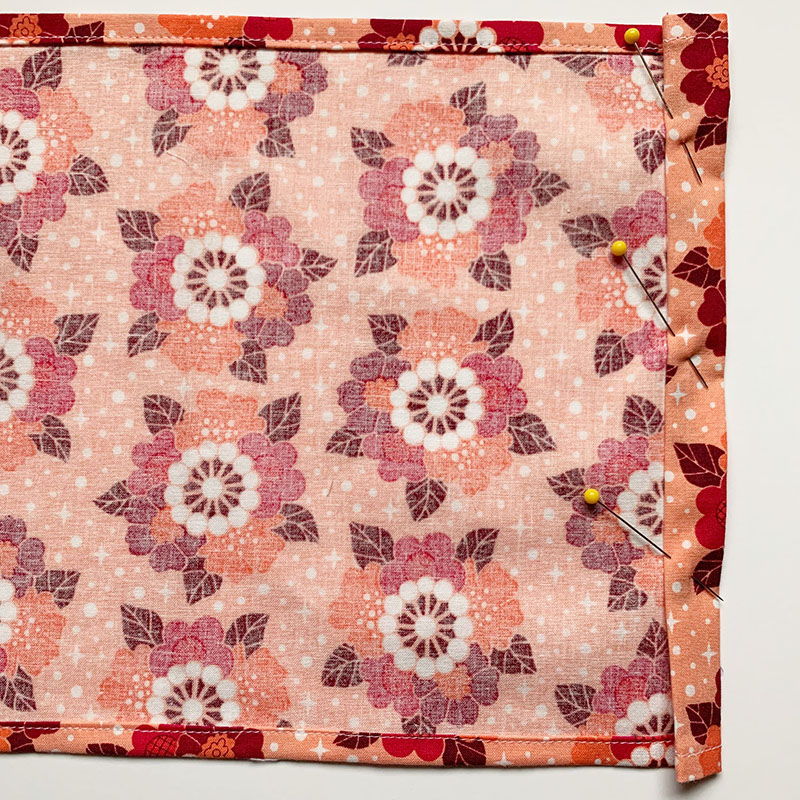
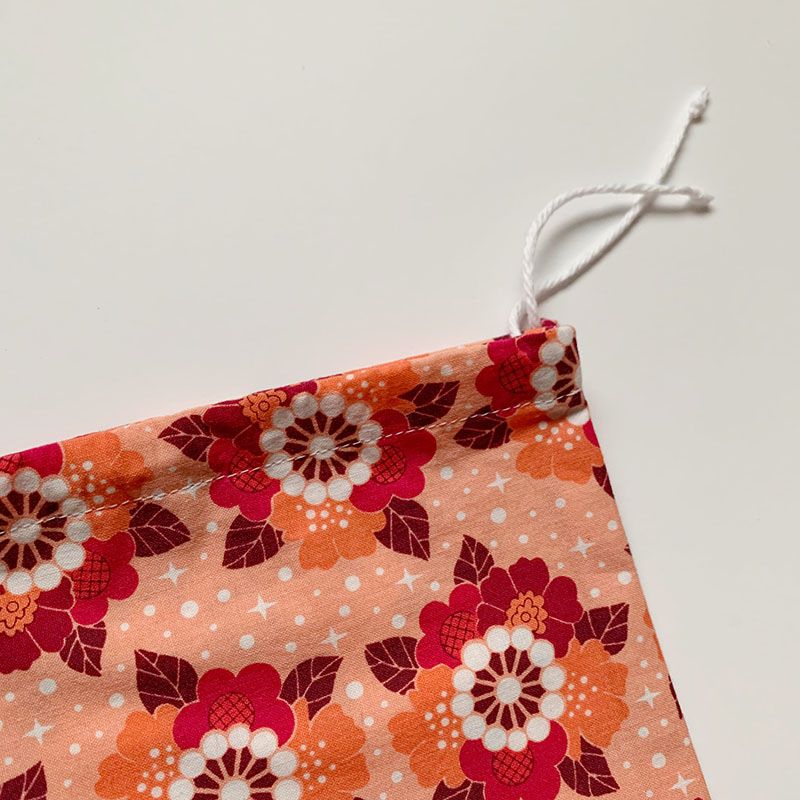
3.Fold and press the short ends of the bag in ¾ inch. Repeat the fold and press again. Pin. (This is the top of the bag where the closure string will go through.)
4.Sew each short side individually, making your stitches as close to the open side of the fold as possible. (You want to create ample room for the string to pass through. If you are new to sewing and this is challenging, feel free to make the casing larger, by folding and pressing 1 inch.)
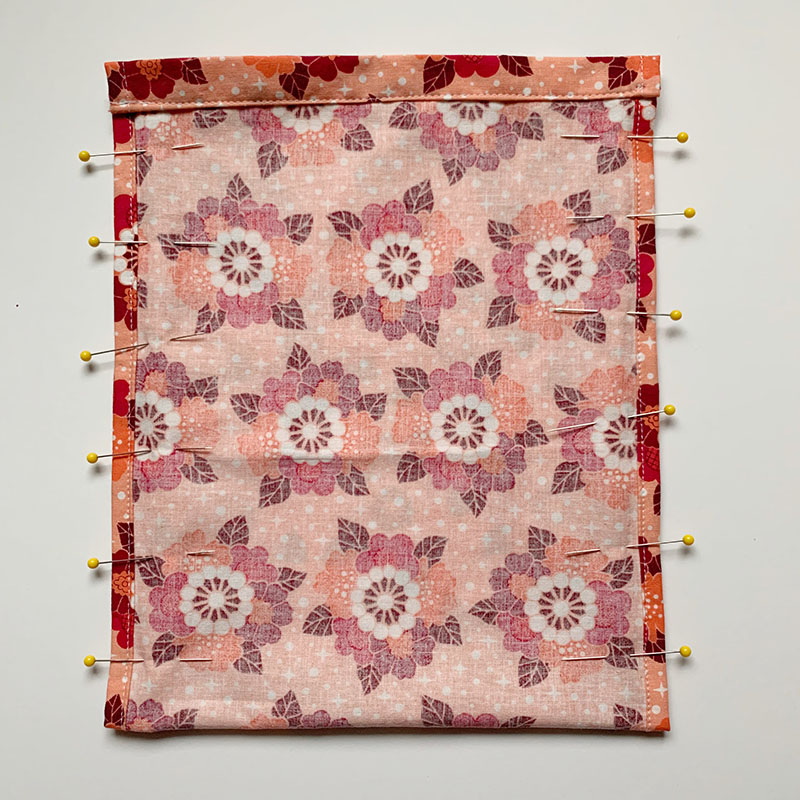
5.Fold your fabric so the right sides are together with the short sides touching one another. Pin the sides.
6.Sew the pinned sides together as close to the folded edges as possible, stopping right before the top drawstring casing.. (Don’t sew through the folded edges. You should be sewing through two layers or fabric, not six.) (If you sew all the way up to the top, through the drawstring casing, you won’t be able to insert your drawstring.)
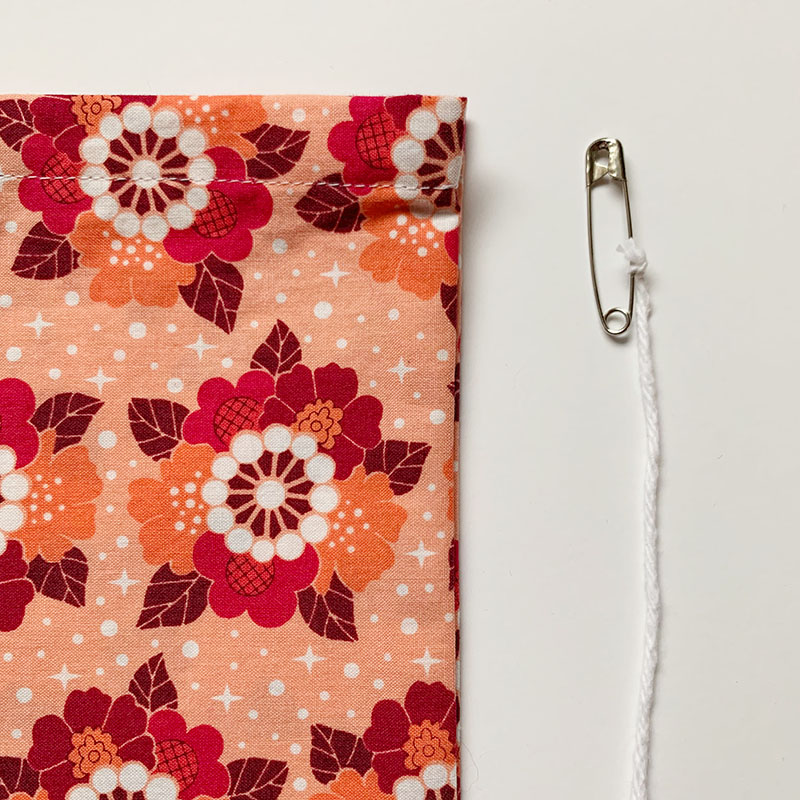
7.Congrats! You’ve made the body of the bag! That was the hardest part! Now you just have to insert the drawstring. Take a larger sized safety pin and attach it to one side of your drawstring. (This safety pin gives you something to grip onto when threading your drawstring through the bag.)
8.Thread the safety pin and attached drawstring through the bag. You can choose to have the drawstring peek out of one side or both. You may also choose to knot your drawstrings together to prevent them from sliding back into the bag or keep them loose.
Possible Additions, Modifications, & Uses
Once you learn to sew a drawstring bag I’m sure you’ll find many uses for them! Here are just a few ideas:
- Instead of just fabric you could quilt the fabric with batting to make a cushioned drawstring bag. Perfect for a bottle or wine or sunglasses.
- Box out the corners so your bag has a wider bottom. (This will shorten the overall length of your bag, take that into account when you are cutting your fabric!)
- These bags are perfect for holidays. Make them out of a seasonal fabric when putting together an Easter basket, take home treats for a party, or overflowing stocking stuffers.