Beginner’s Guide: Sew an Envelope Pillow Cover
In this beginner-friendly guide, I will walk you through the steps to create a versatile pillow cover that’s perfect for adding a pop of color or pattern to any room. With basic sewing skills and a few materials, you’ll learn to sew an envelope pillow cover and be on your way to crafting custom pillow covers that are as functional as they are fun.
Materials to Sew an Envelope Pillow Cover
- Fabric: Choose a durable fabric for your pillow cover. Cotton, linen, or upholstery fabric works well for this project.
- Pillow Insert: Measure your pillow insert to determine the size of your pillow cover. Standard pillow inserts are typically 18×18 inches or 20×20 inches, but you can customize the size to fit your specific pillow. The larger down pillows are my favorite and are relatively inexpensive at IKEA.
- Matching Thread: Find a matching thread for your fabric. If your fabric has bold designs, match to the dominant color. The thread will only show on the top stitching on the back of the pillow.

Sizing and Cutting Fabric
Determine the dimensions of your pillow cover based on the size of your pillow insert. For a standard 20×20 inch pillow insert, cut one fabric square measuring 20×20 inches for the front of the pillow cover.
Additionally, cut two fabric rectangles for the envelope closure. Each rectangle should be the width of the pillow cover (20 inches) and approximately two-thirds of the length of the pillow cover (length*2/3, which would be 13.3 inches for an 20×20 inch pillow cover).
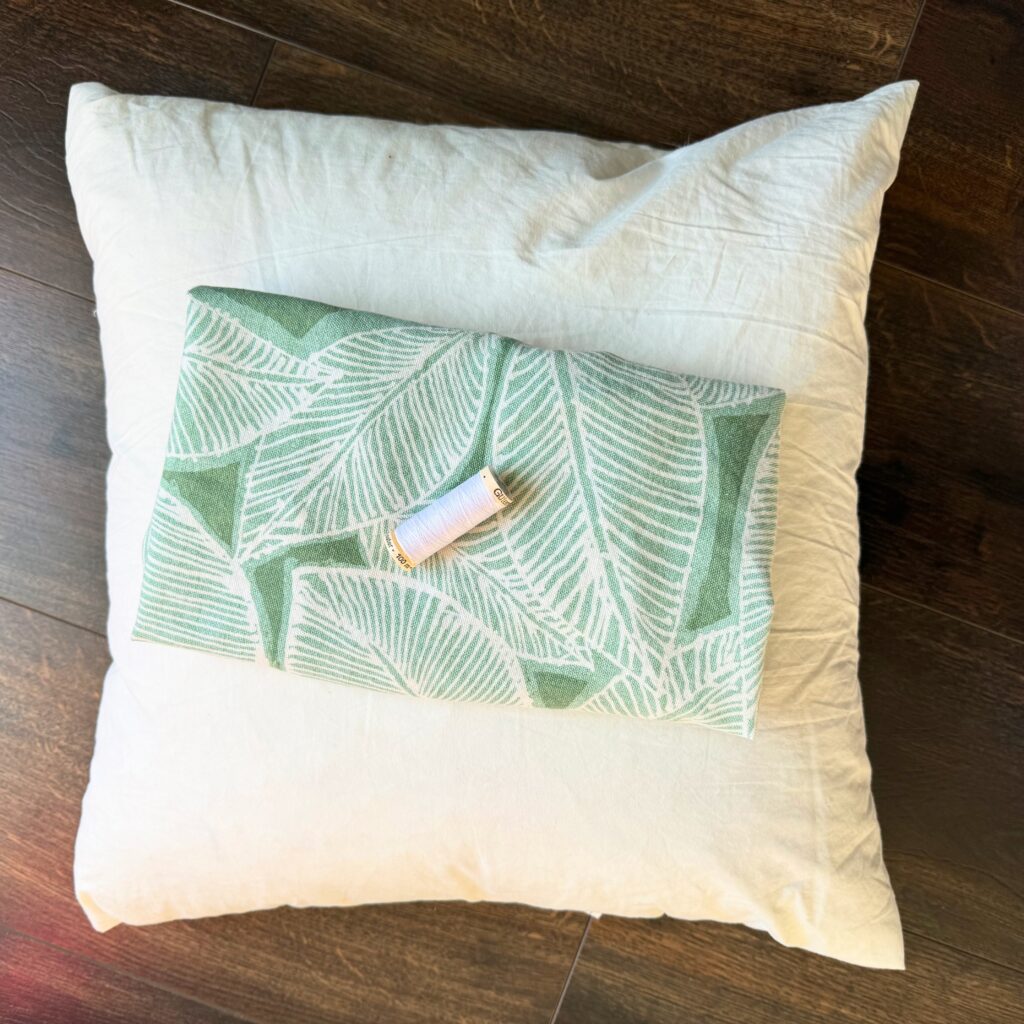
Sewing an Envelope Pillow Cover
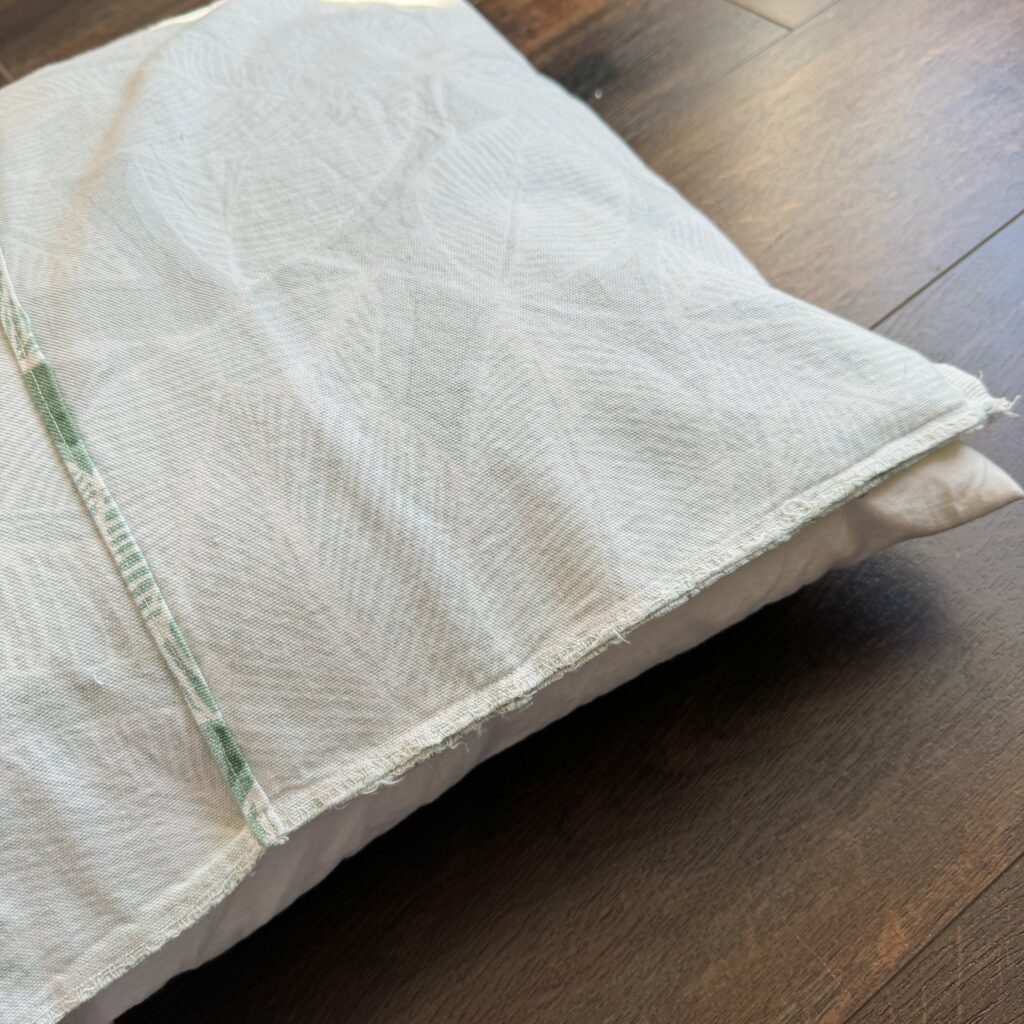
1.With wrong side of the fabric facing up, fold and iron one long edge of each rectangle down 1/4 inch. Repeat the folding and ironing again to create a narrow hem. Place pins to hold hems. Sew along the hem to secure it in place.
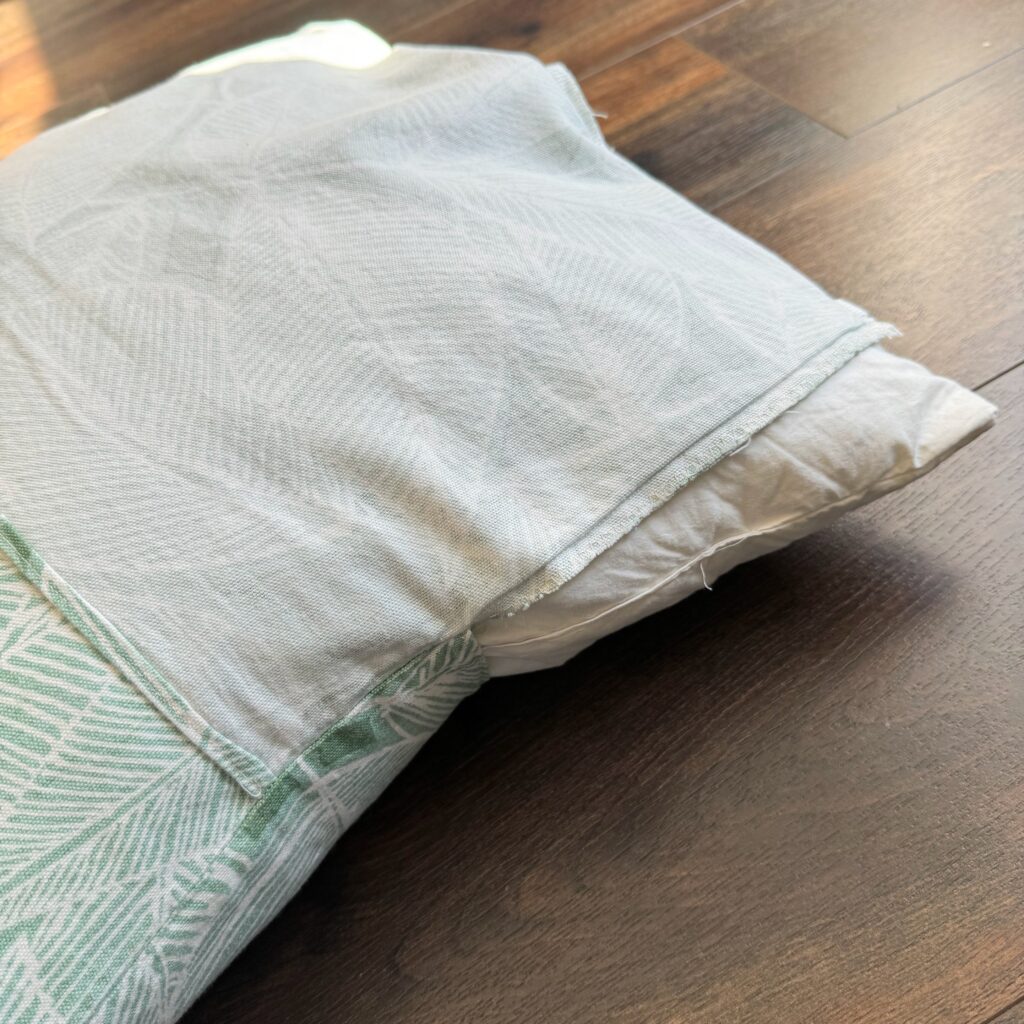
2.Place the front fabric square right side up on your work surface. Position the hemmed rectangles on top of the front fabric square, aligning the raw edges along the top and bottom edges of the square. The hemmed edges should overlap in the center to create the envelope closure. Pin everything in place. Sew all the way around the outside with a 3/8 inch seam allowance.
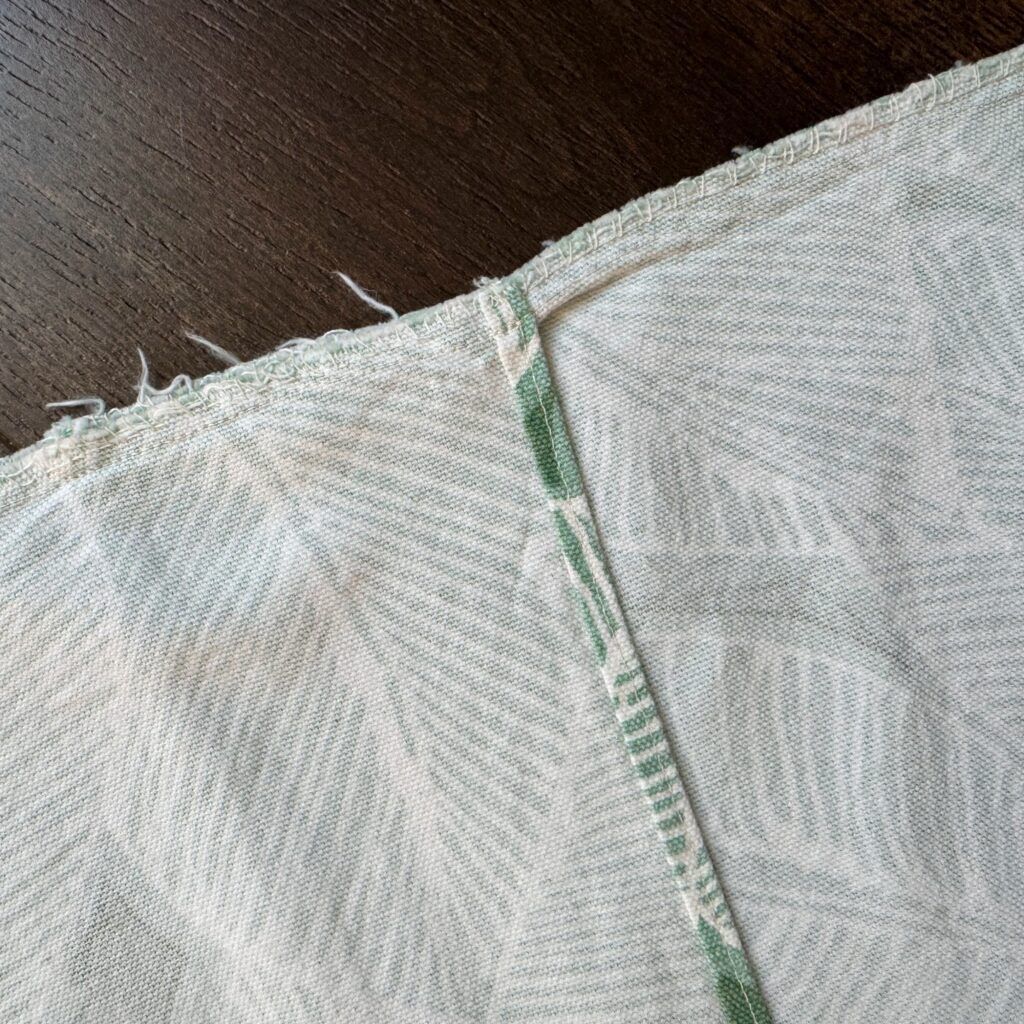
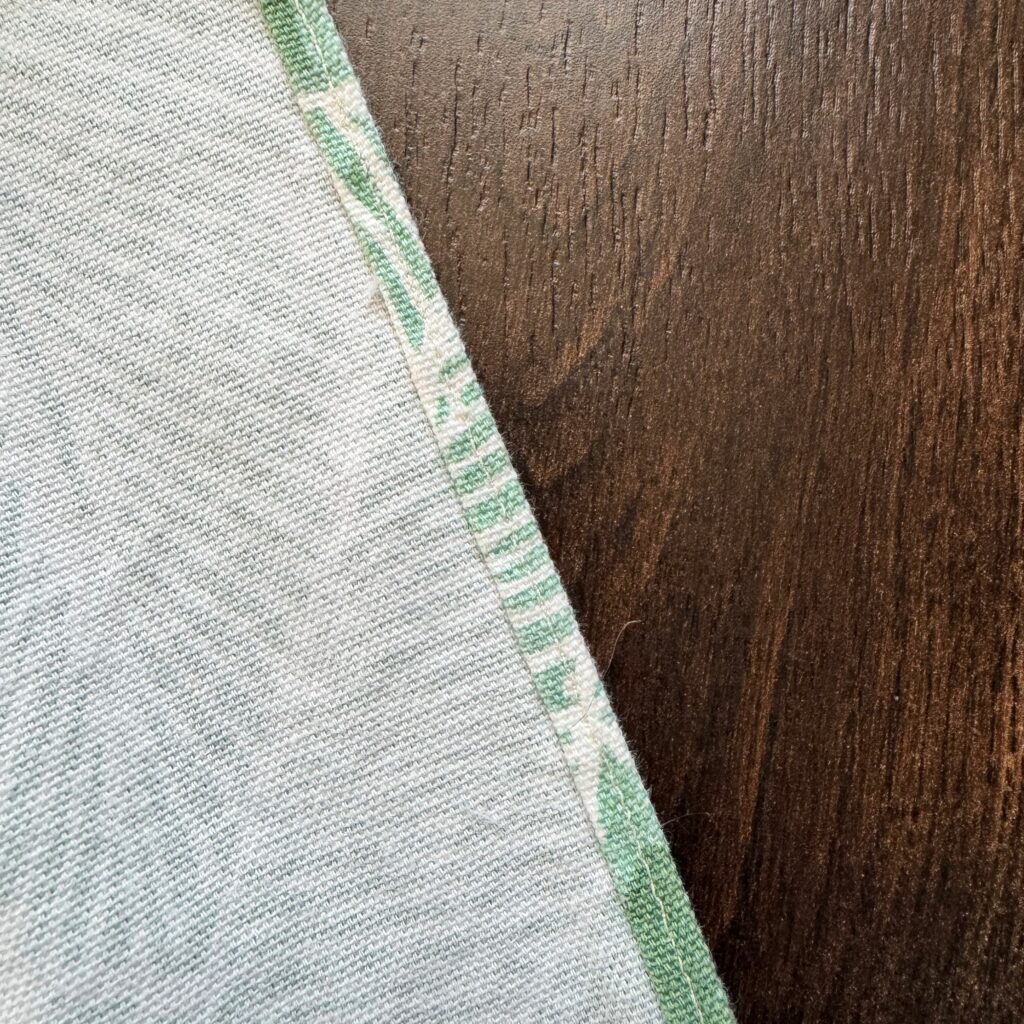
3.The last step! To prevent fraying you need finish the raw edges of the pillow. You can use a serger to finish the seams, or you can use one of four different methods I wrote about in this blog post. I used an overcast stitch on my basic sewing machine to finish the edges in the above pillow.
How to Use your Envelope Pillow Cover
Turn the pillow cover right side out through the envelope closure. Use a blunt object, such as a knitting needle or chopstick, to gently push out the corners for a neat finish. You can also iron the seams open for a more crisp finish.
My favorite way to insert a pillow is to turn the envelope closure inside out. Lay the front of the envelope pillow cover on top of the pillow, place two hands into the envelope pillow closure to grab the corners, and flip right side out.
Turn the pillow over, and repeat again with the last side of the envelope enclosure.
This little “grabbing corners” method helps ensure that the pillow is straight inside the pillow cover.
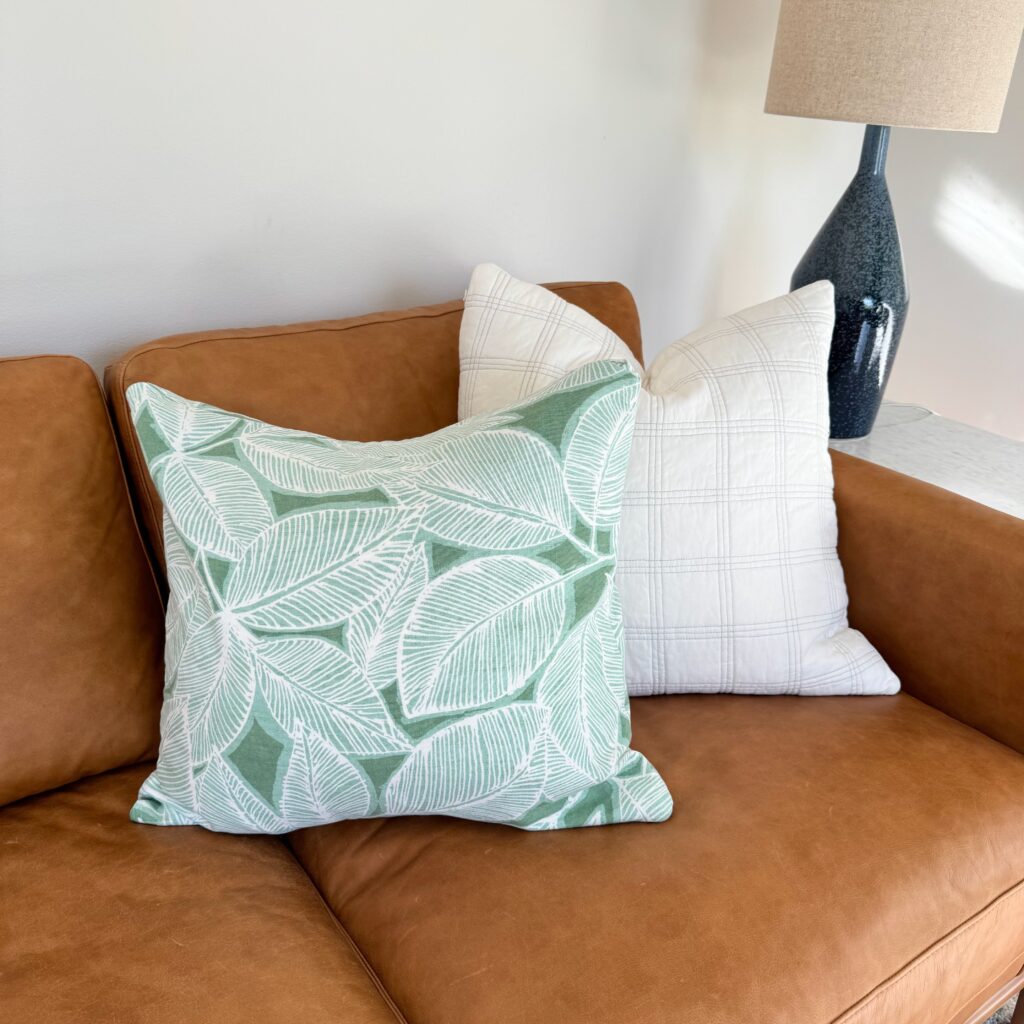
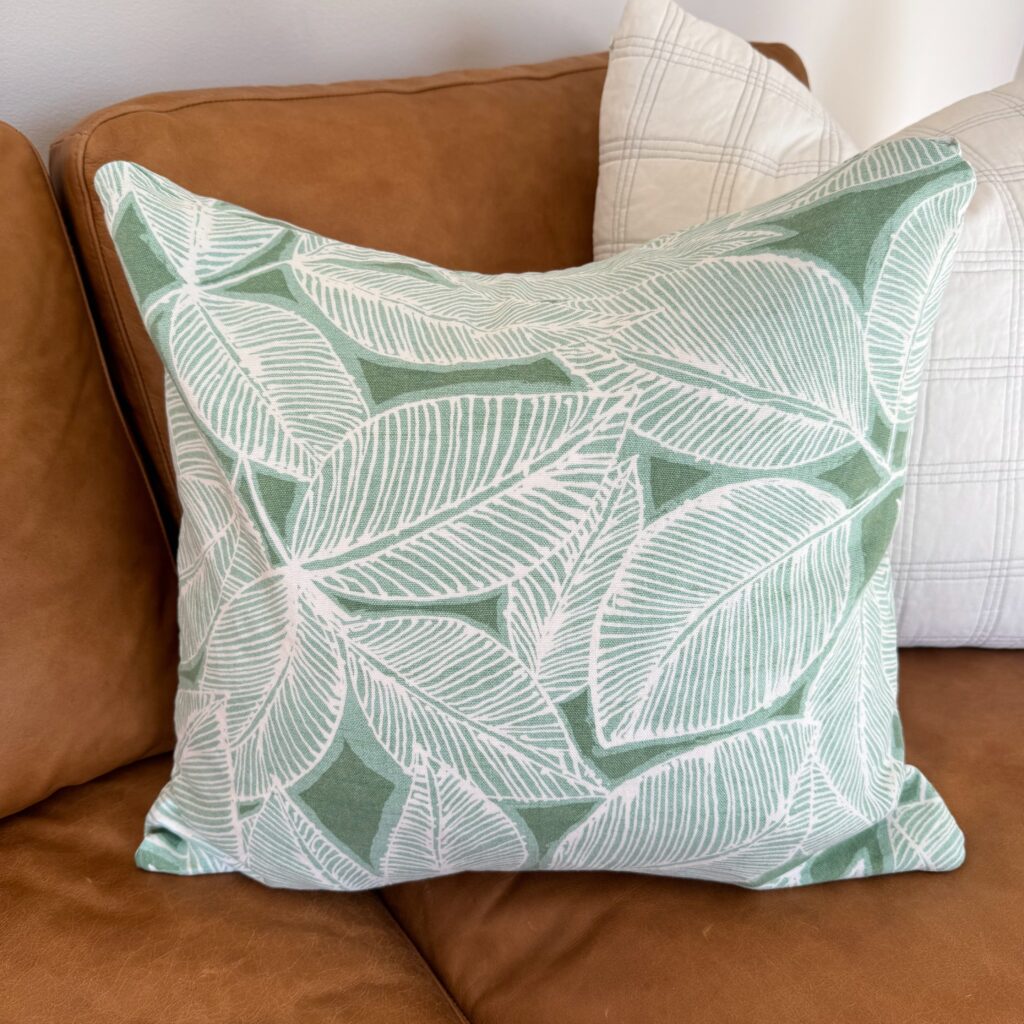
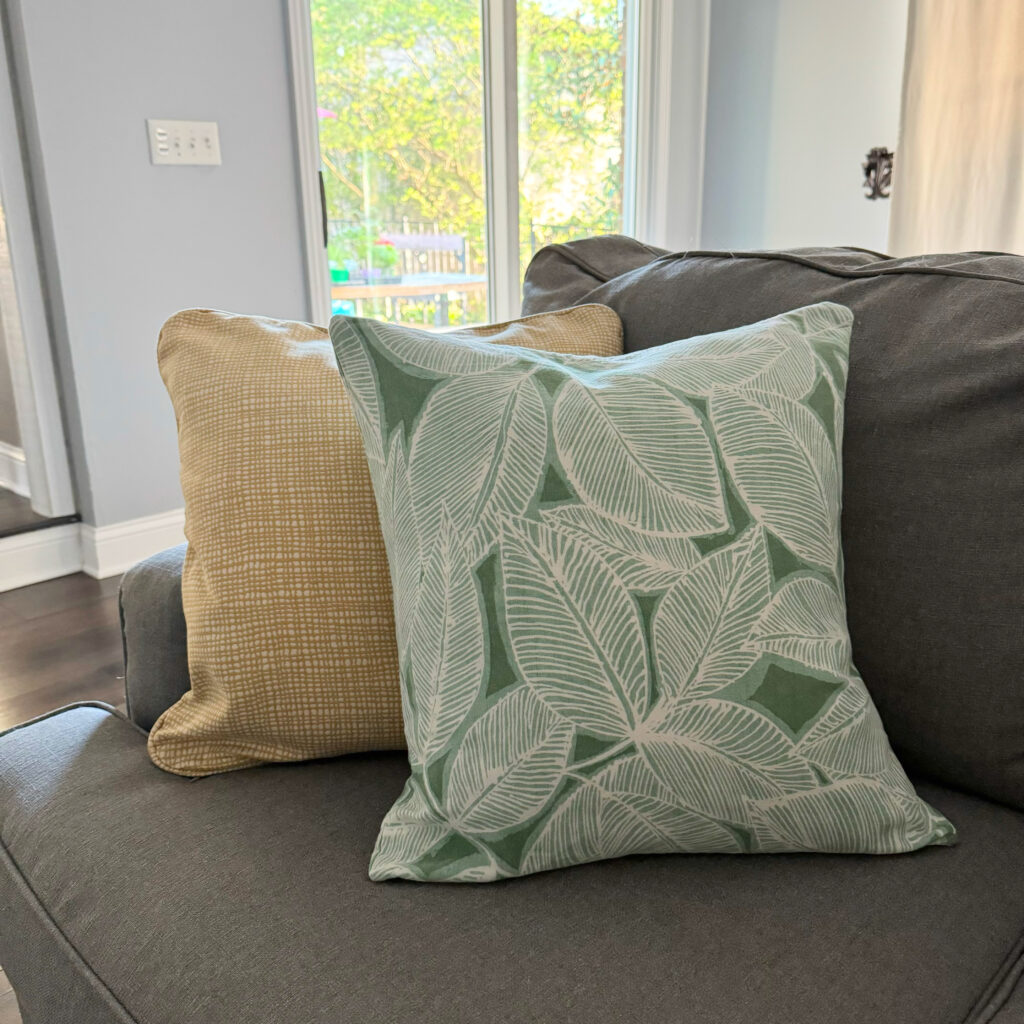
Styling with Pillows
I am so happy that learning to sew an envelope pillow cover is such a beginner friendly project! They are a perfect way to add styling to your sofa.
Another plus, they are a great way to change out decor for the season in a way that doesn’t look cluttered and doesn’t take up too much room in storage.
For styling, it is best to mix and match. It is fun to add different textures of fabrics. Maybe you could sew a quilted envelope pillow cover or use different textured fabric (velvet, corduroy, linen) or bold designs. There are so many options!
Celebrate! You Learned to Sew an Envelope Pillow Cover
Congratulations, you’ve successfully sewn your own envelope pillow cover! With just a few materials and simple sewing techniques, you’ve created a stylish and functional addition to your home decor. Whether you’re a beginner or seasoned sewist, this project is sure to add character to your home. Happy sewing!