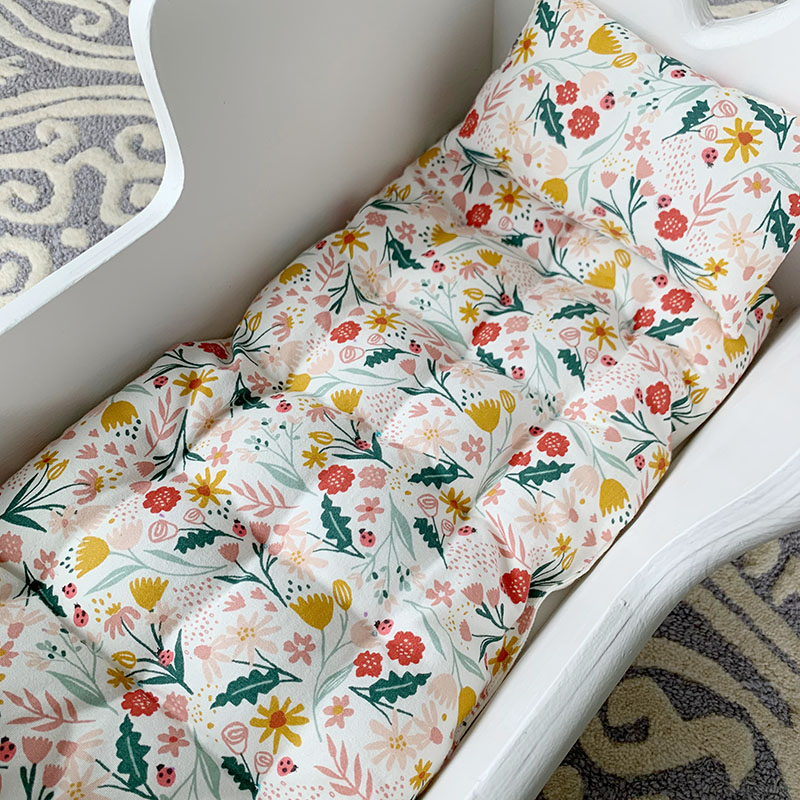
How to Sew a Doll Bed Mattress
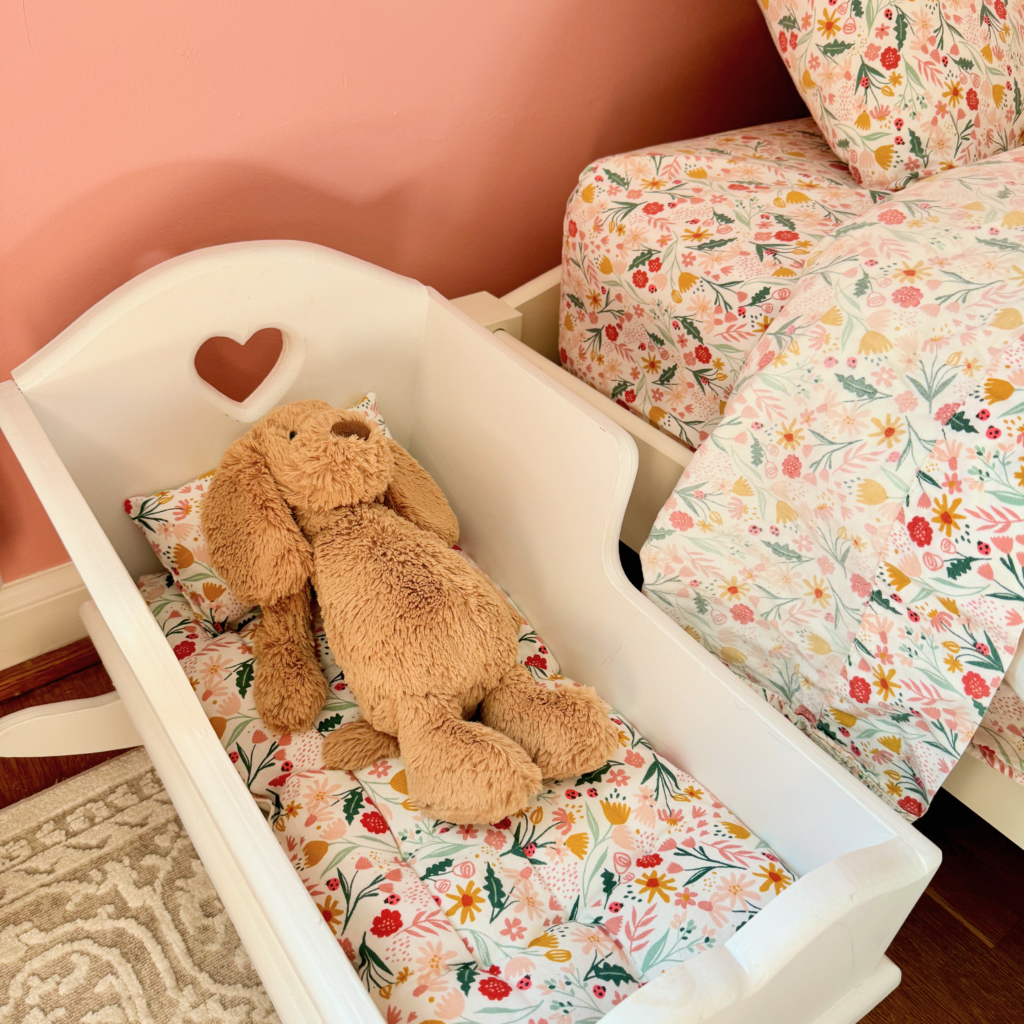
My daughter has an adorable handmade doll bed from my childhood, but, unfortunately, the bedding didn’t make it past my generation. Thankfully, this mama knows how to sew, so I was able to sew a doll bed mattress with some scrap fabric in just an afternoon.
This pattern has simple straight lines to sew. It is perfect for beginners and could also be done with just a needle and thread. The project is small enough that you don’t need a sewing machine to complete it.
Materials
- Fabric
- Thread
- Fiber Fill (could use stuffing out of an old pillow or use poly-fil)
- Hand Sewing Needles
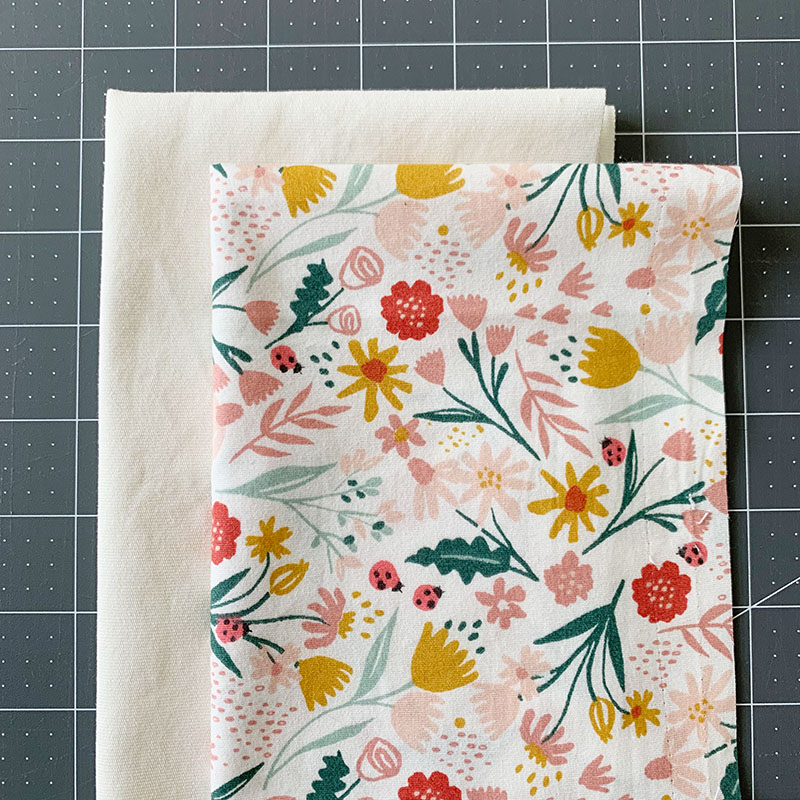
For fabric, I suggest you use any medium weight woven fabric. You will need two rectangles that are 2 inches bigger than your measured doll bed dimensions.
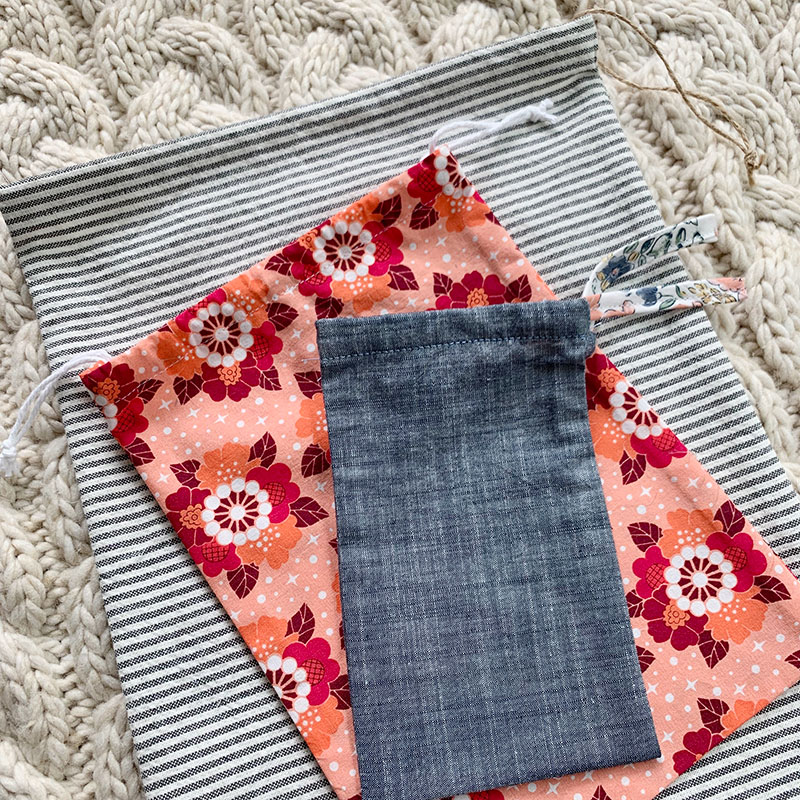
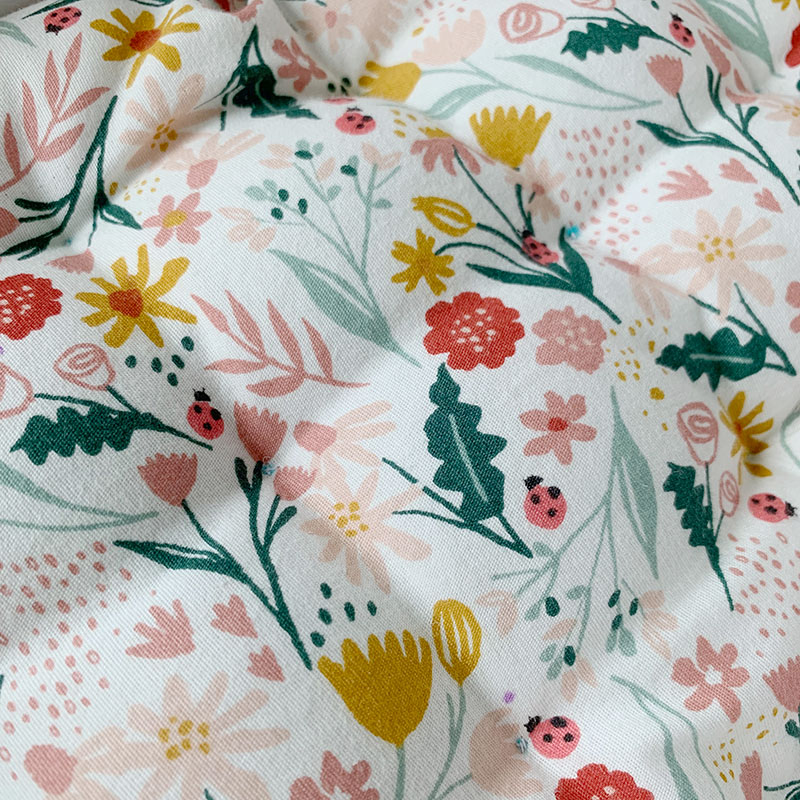
I bought my daughter sheets from Target, that came in a fabric bag. I picked the seams out of the bag and was able to use the bag for the top of the mattress and I have enough to make a small doll pillow. It is so fun that my daughter and her doll have sheets that match! (I used some scrap white fabric for the back of the mattress.)
How to Sew a Doll Bed Mattress – Side Seams
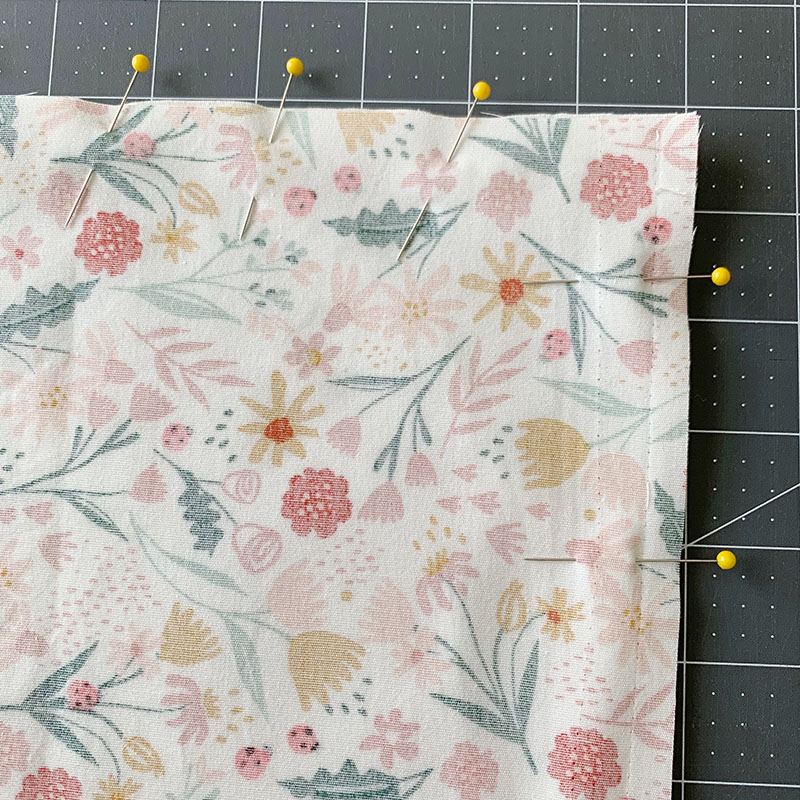
Cut two rectangles of fabric that are two inches bigger than your doll mattress. (If your doll bed is 12 in x 19 in, then cut a 14 in x 21 inch rectangle.)
Pin the rectangles right sides together. Sew around all four sides at a 1/4 inch seam allowance. Leave a 2-4 inch gap on the middle of one side of the mattress. (This gap will allow you to stuff the mattress later.)
How to Sew a Doll Bed Mattress – Box the Corners
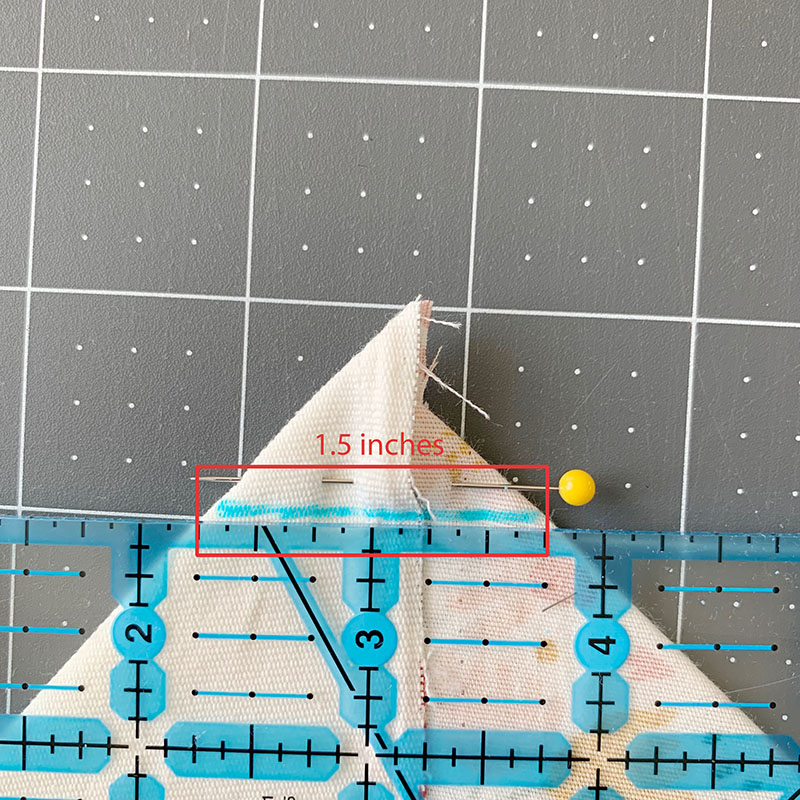
Boxing the corners gives the mattress a more uniform height.
To box the corners, fold each corner in half, so the seam is in the middle. Try you best to line up the seams. Pin the corner down, and make a mark that spans 1.5 inches across. As shown in the diagram. Mark each of the four corners.
Sew along the marks.
How to Sew a Doll Bed Mattress – Filling and Closing
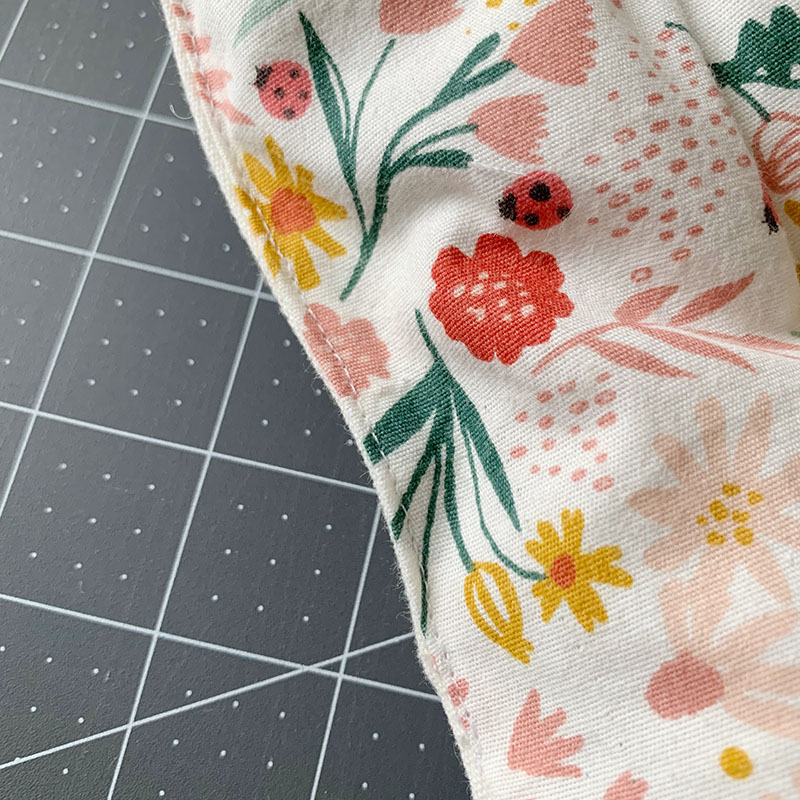
Turn the pillow right side out. You can stick a pencil, skewer, or knitting needle into the mattress to push out the corners.
Iron the opening of the mattress, so the fabric lines up and sits flat. (It is best to iron the mattress before filling it, since Poly-fil can melt.)
This is the best time to add small marks in a water-soluble marker, chalk marker, or Frixon pen for the puckers. I placed a grid of marks for the puckers 2 inches apart.
Fill the mattress with Poly-fil. Be sure to not fill it too much, if it is overstuffed it will be hard to add the puckers and won’t sit flat.
Once filled, stitch the open side seam shut.
How to Sew a Doll Bed Mattress – Add Puckers
To add the puckers, thread a needle with some thread and knot it off. Place the knot on the backside of the mattress and thread up and down through each marking in a small X pattern. After a few stitches, tie off the thread and
These puckers will help the mattress lay in a more rectangular shape versus a rounded pillow.
Finished!
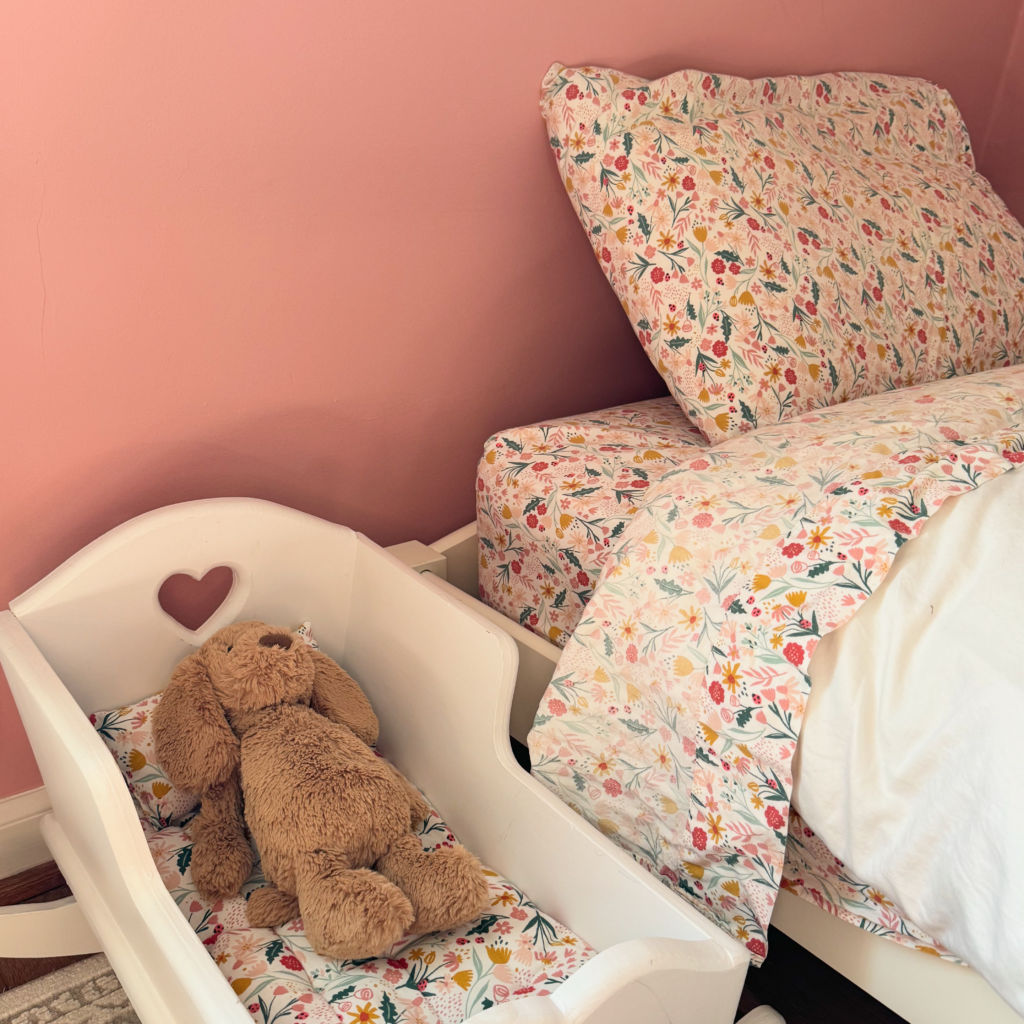
Great job on sewing your own doll bed mattress! It is such a fun way to add some character to a doll bed and a great way to match your kiddos sheets if their sheets came in a fabric bag.
Next you could add a matching pillow and a blanket!