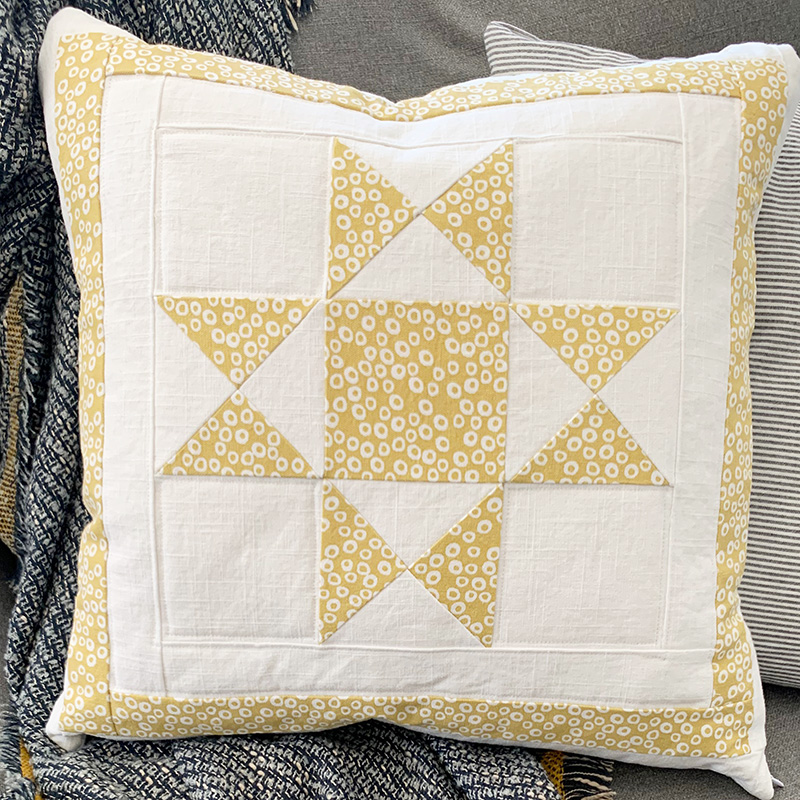
How to Sew an Ohio Star Quilted Pillowcase

How to Sew a Quilted Pillowcase – with an Ohio Star Quilt Block
If you’ve never quilted before and want to dip your toes in, you should learn how to sew a quilted pillowcase. They are a great first project! Their smaller size means they can easily be completed in a weekend and don’t need as much supplies as a full quilt. An easy win to start your quilting journey!
This blog post covers how to sew QST’s (quarter square triangles), assemble an Ohio Star quilt block, add a border, a quick overview on quilting the pillow top, and adding an invisible zipper.
If you want to sew another quilted pillow design, feel free to replace the Ohio Star quilt block for another or simply just skip to the end of the post to read more about quilting and sewing the pillowcase.
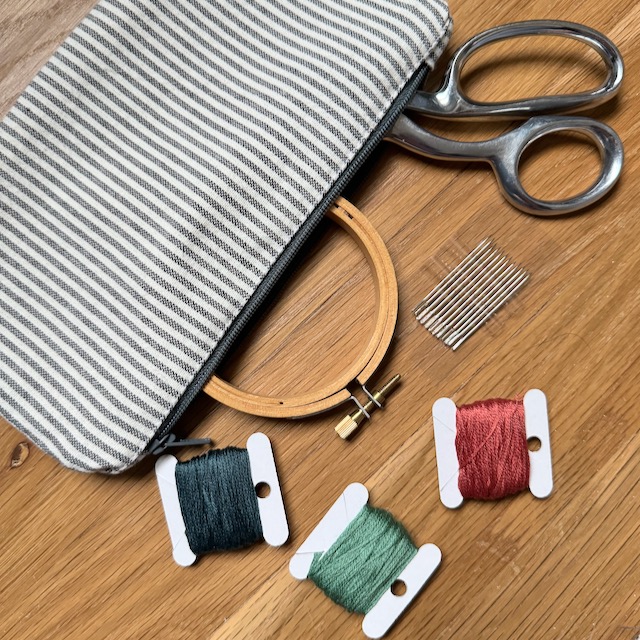
Materials needed to Sew a Quilted Pillowcase
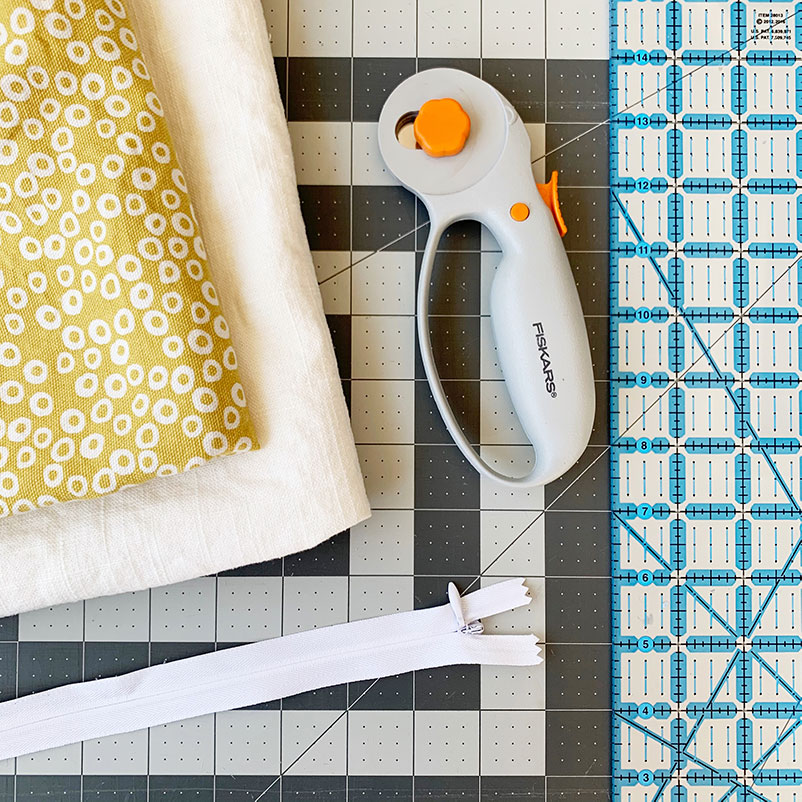
- main fabric
- contrasting fabric
- quilt batting
- matching thread
- zipper (length of pillowcase or bigger)
The amount of fabric will depend on your pillow size. Read through the instructions first and try to plan out how much you will need. If you are nervous, you can always purchase more to be safe.
Ohio Star Quilt Block Dimensions
This Ohio Star Quilt bock is 12.5″ x 12.5″. To make that you will need the following cut squares
- 2 – background fabric – 5.25″ x 5.25″
- 2 – contrast fabric – 5.25″ x 5.25″
- 4 – background fabric – 4.5″ x 4.5″
- 1 – contrast fabric – 4.5″ x 4.5″
Border Dimensions
This pillow design has an Ohio star quilt block in the center with a border around it. The border allows you to have a bit more wiggle room to easily size the pillowcase to your pillow.
If you want to keep things simple, you can just frame out the block with larger pieces of background fabric and there is less calculation for the size of each strip of border. To give my mind a break, I tend to just sew on borders and cut down to size after.
If you’re planning on sewing a border, like mine, you will need to do some calculations to make sure it matches your final pillow size. My pillows are 21 inches, so I made a 12 inch quilt block, which gave me 9 inches in width to work with the border, 4.5 inches on each side of the quilt block.
Whenever you sew with ¼ inch seam allowances, you lose ½ an inch on each block’s width and height. I made my border out of three 2 inch wide pieces of fabric. When sewn together, each block will be 1.5 inches, making all three blocks be a total width of 4.5 inches.
When cutting the length of your border strips you will also need to figure out how long they need to be. I had extra fabric, so I cut mine from ~16 to 22 inches long, this just gave me some wiggle room when piecing everything together. (Use the smaller pieces on the inside border.) Just remember to add ½ an inch for seam allowances to the length as well!
Cut your fabric
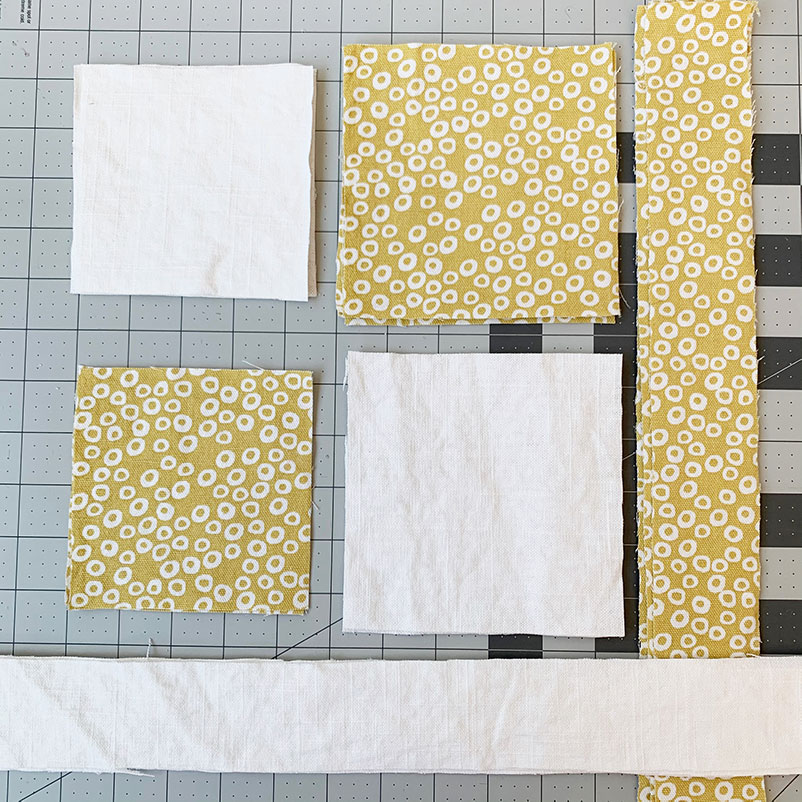
Consulting the Ohio Star Quilt Block list above and your border calculations, cut the fabric for the pillowcase quilt top.
You will also need a batting and backing fabric for your quilt, and another piece of fabric for the backside of your pillow.
Your quilted front piece, batting, quilt backing (can be scrap fabric), and backside should all be cut to the same size. It is common to trim the quilt batting a little bigger than the size of the pillow and trim it down after you’ve quilted.
Assemble QST’s (Quarter Square Triangles)
You will do these steps twice to make the four different QSTs. Feel free to do them both at once (saves time) or one and then the other if you are feeling a little timid.
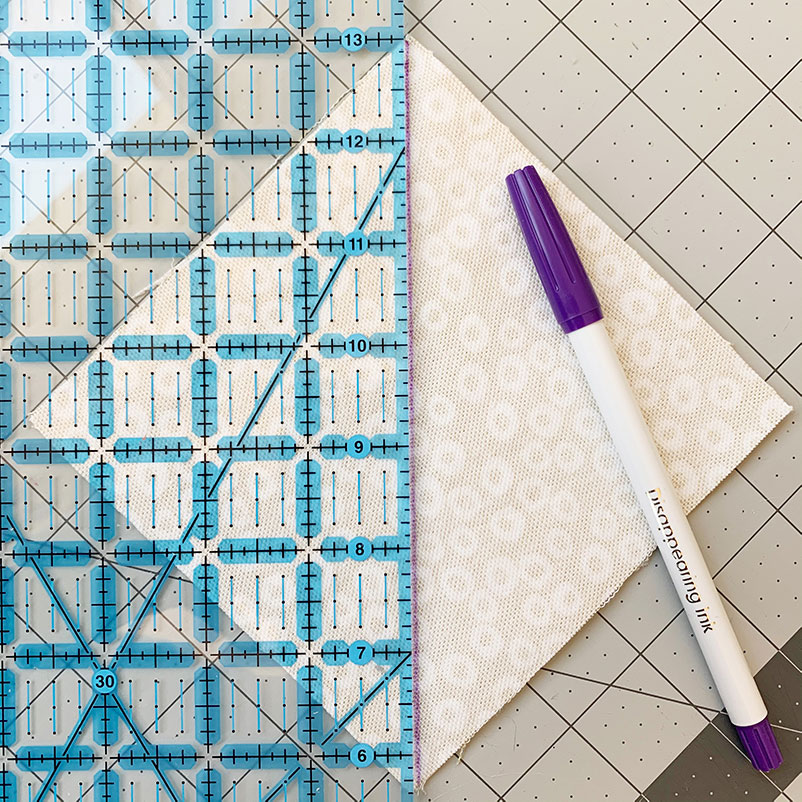
Take the larger size of your two different fabric squares and place them RST (right sides together). Draw a diagonal line from one corner to another.
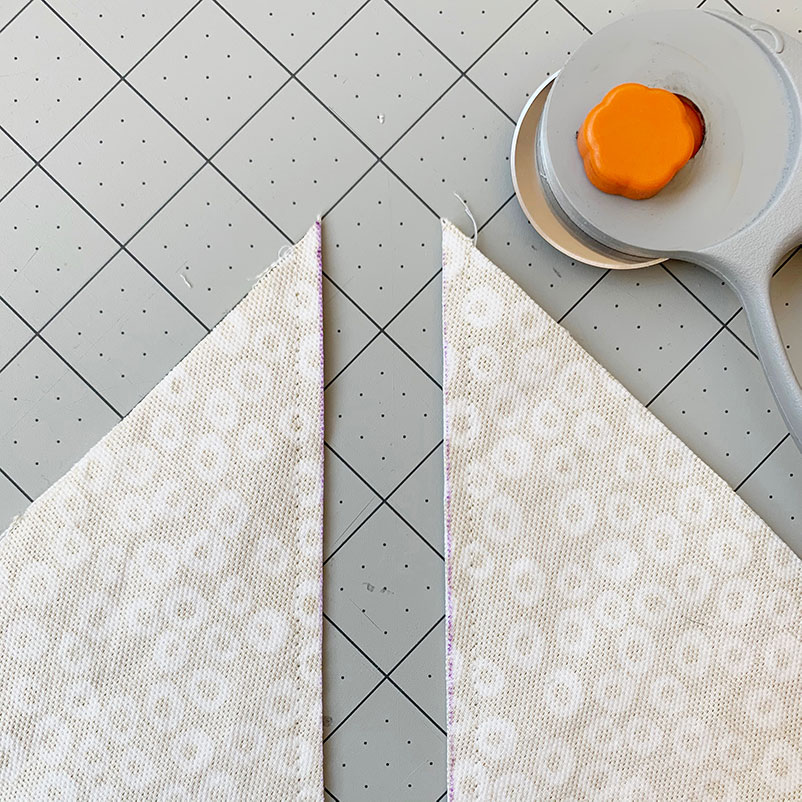
Take it to your sewing machine and sew two lines, each a ¼ inch away from the diagonal line. Cut down your diagonal line mark.
Press open. If you are using a lighter fabric, like me, always press your fabric towards the darker fabric to prevent the fabric from being seen through the lighter colored fabric.
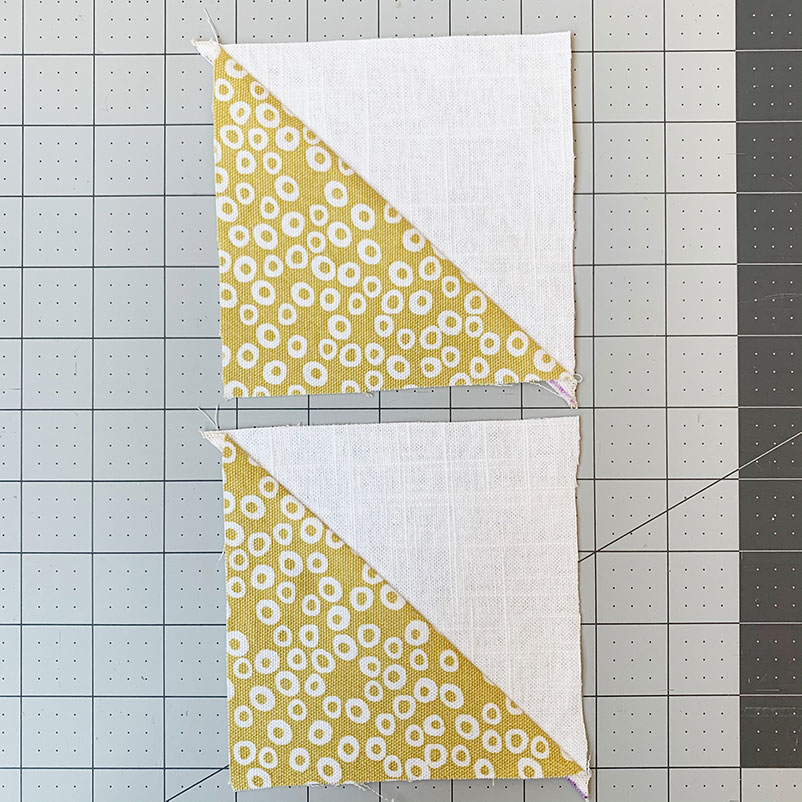
Take these opened pieces and place them right sides together, matching opposite fabrics. (For me the ochre fabric triangle was touching the white fabric triangle.) Be sure to nest the seams together, so the fabric pieces lie as smoothly as possible. To have a professional finish, try to get the seams to lie as tightly as possible together.
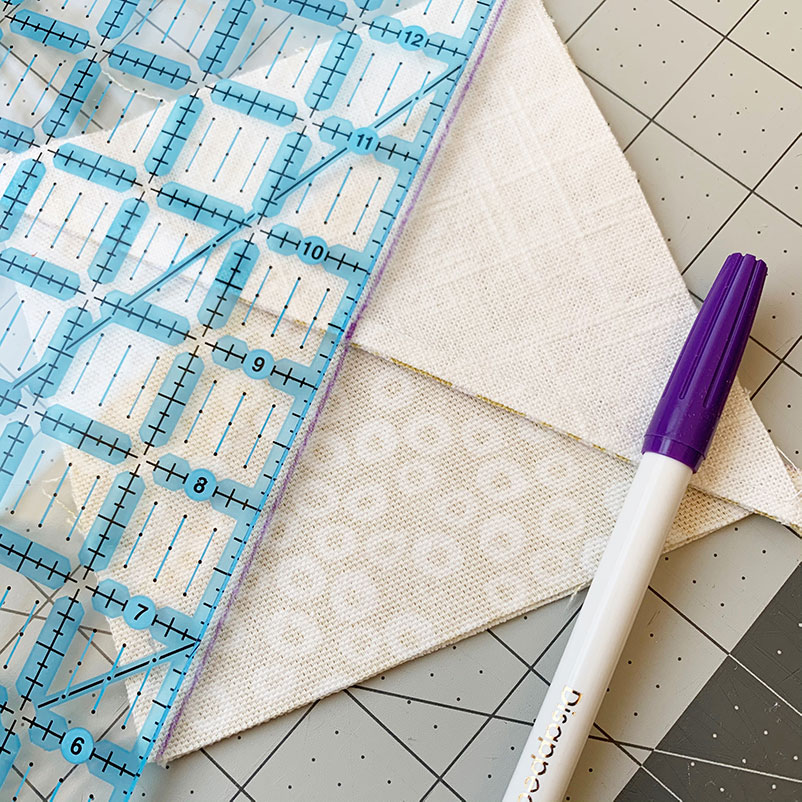
Draw another diagonal line again, splitting your new triangles in half. Repeat sewing down ¼ inch away from the marked line. (When you are at your machine, be sure to check the seams before you sew over them!)
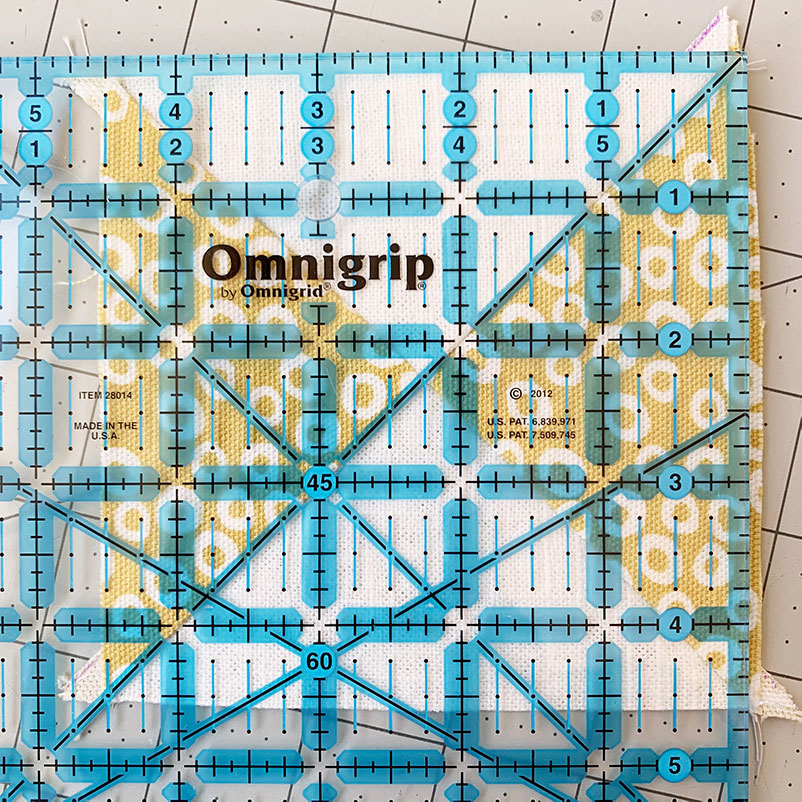
Press your quilt blocks open and trim your block so it is the intended block size. This final trim helps square everything up and gets rid of the little triangles on the ends. My final block size was 4.5”, so I placed the dot of 2.25” on my quilting guide in the middle, lined the seam up with the 45 degree angle, and trimmed the sides.
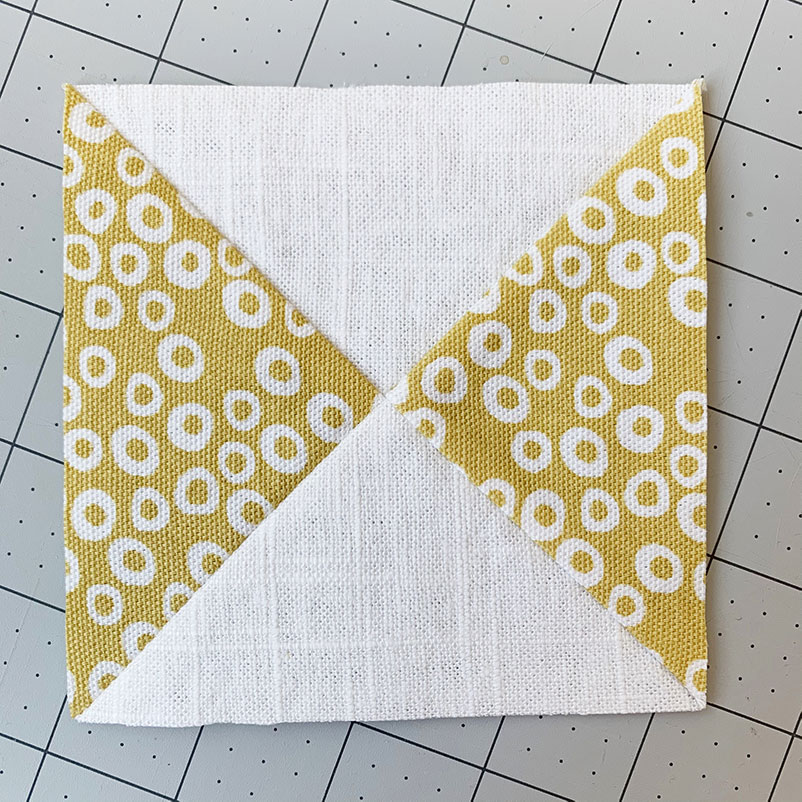
You made a QST. Repeat again so you have a total of four QST blocks.
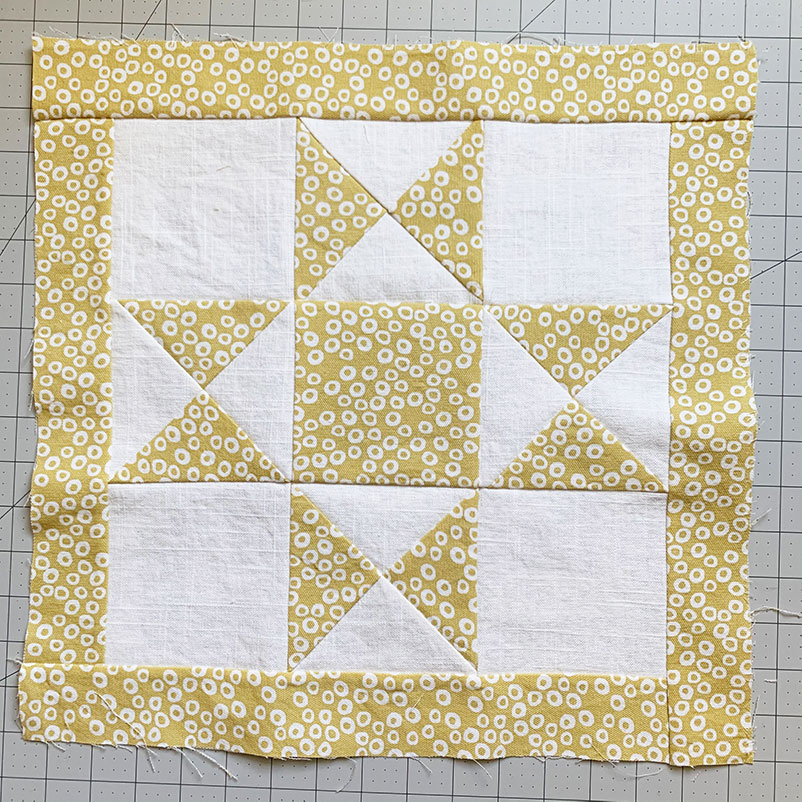
Piece Together the Rest of your Ohio Star
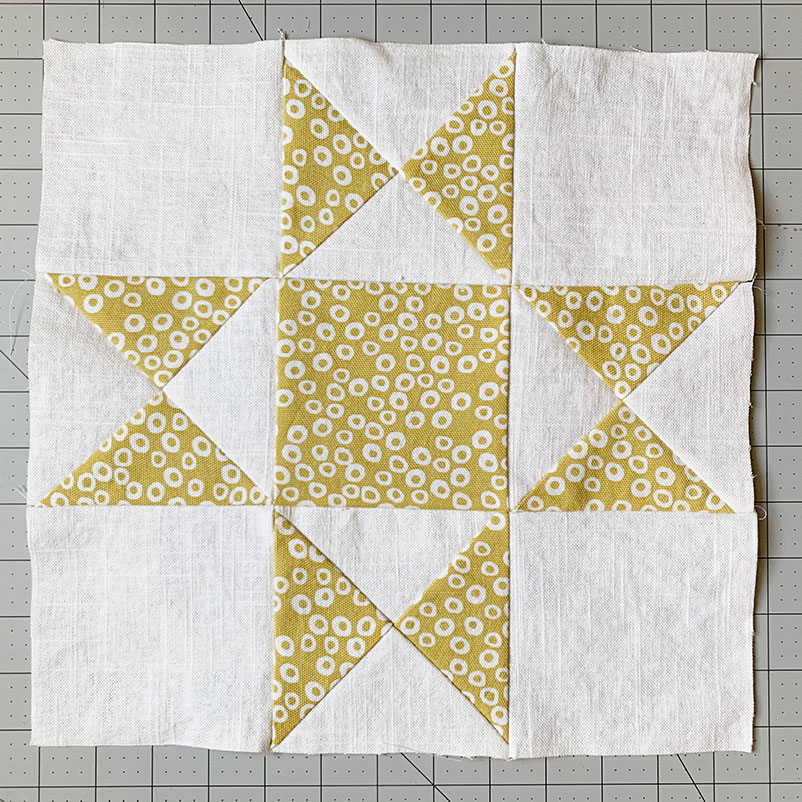
Line up your other slightly smaller squares with your QSTs. No two alike fabrics should be touching.
Once you have everything lined up, sew each block together with a ¼ inch seam allowance and press. I like to sew each row together, take everything to my iron to press, then sew the three rows together and press.
Try to minimize the amount of trips you make between your sewing machine and iron! It saves a surprising amount of time.
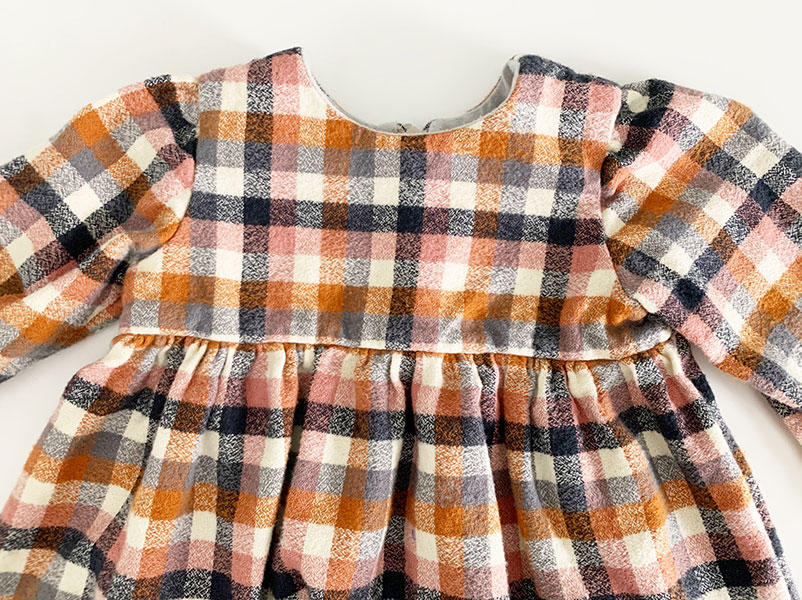
Add Border
You may decide to do one large border around your quilt block. If so, just repeat the following process once. If you are making multiple borders, like I did, you will need to repeat this process.
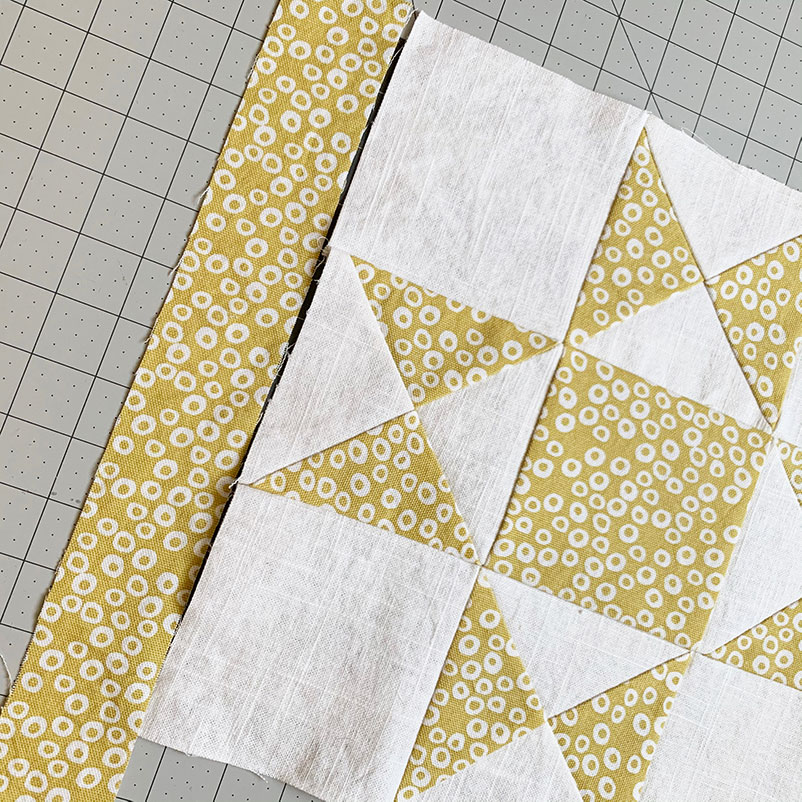
Remember that your first border pieces will be the smallest in length, so if you have different lengths of border pieces, use your smallest ones first!
Take one of your border pieces and align it with one of the edges of your quilt blocks. (You will notice that my fabric is a little long, this just gave me some wiggle room with the fit.) Place RST and sew with a ¼ inch seam allowance.
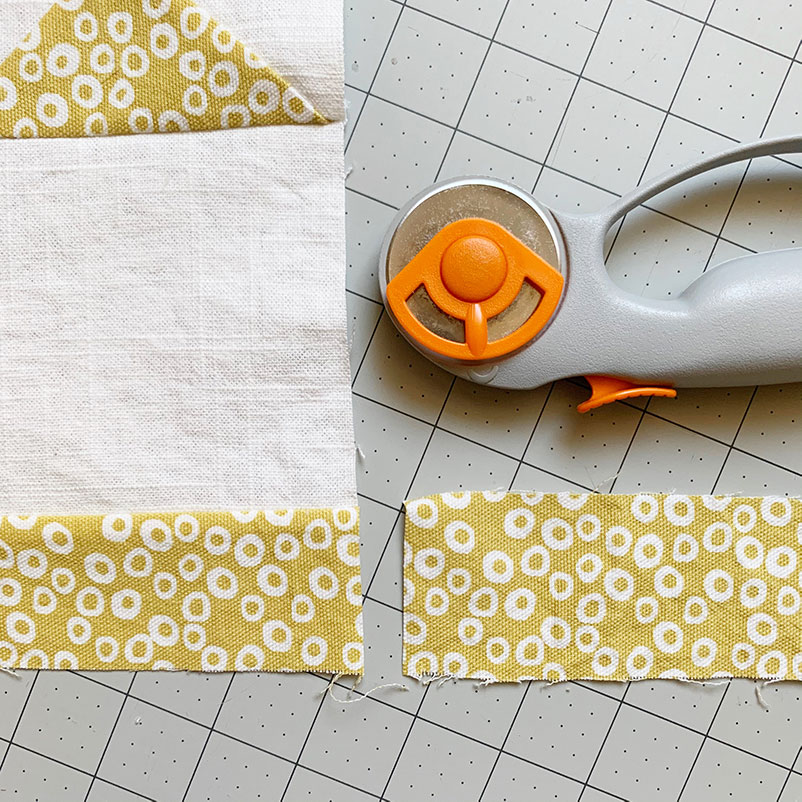
Press open and trim off remaining fabric.
Repeat this process. You will soon complete your first border. If you are adding more than one border, continue to repeat the process until finished. (If the lengths of your border pieces become too small, feel free to piece together some smaller scraps until it’s long enough.)
Quilt Your Pillowcase
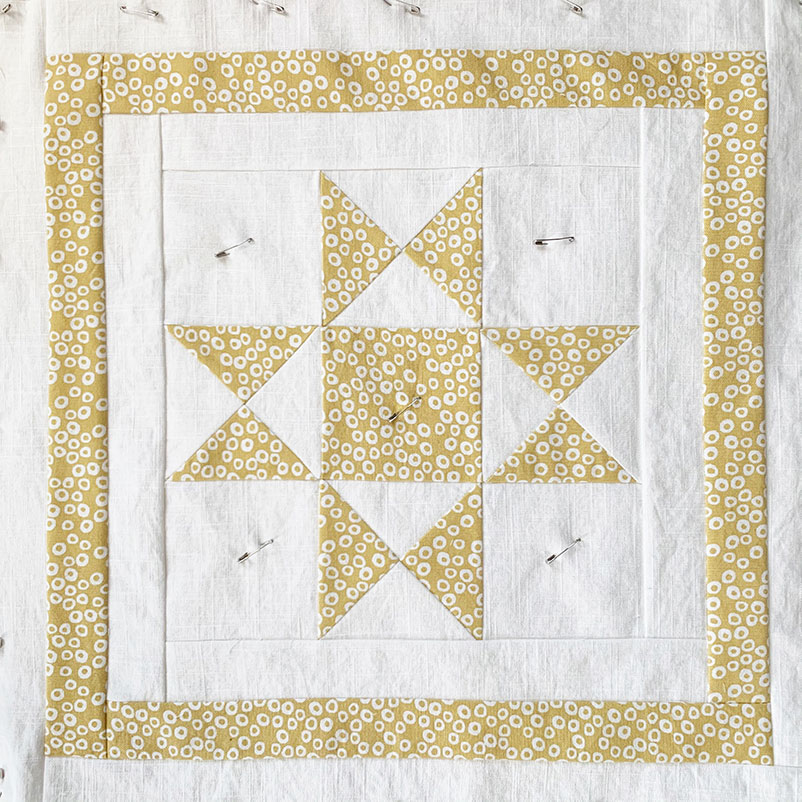
Now it’s time to actually quilt everything together. First you need to make your quilt sandwich: backing, batting, quilt top. Using scrap fabric for your quilt backing is a great way to use up scrap fabric! This backing will be on the inside of your pillow, so no one will see it.
Pin your sandwich together to make sure the layers don’t shift. Do you best to line up the edges!
Take it to your sewing machine and do some quilting. You can simply stitch in lines across the quilt top. I outlined the border pieces and the white squares in the quilt block. You could also just sew a 1/4″ away from the seam line down each row and column. The purpose of these stitches is to hold everything together. It can be as detailed or as simple as you like!
Adding the Zipper
Next we will add the zipper. You can use an envelope style closure as well. If you want a more in depth dive to sewing pillows with invisible zippers, you can check out this blog post.
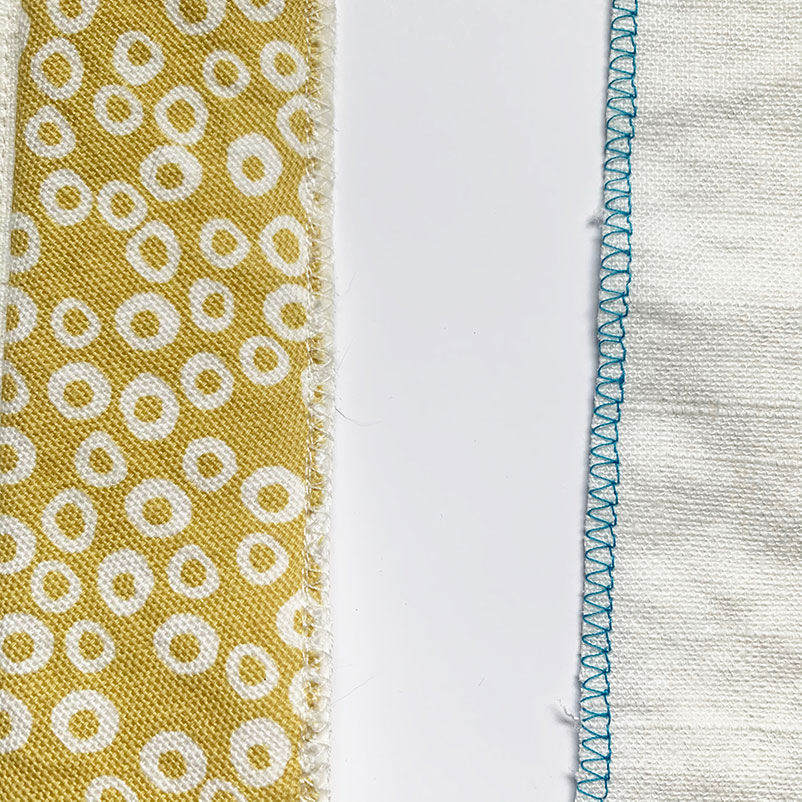
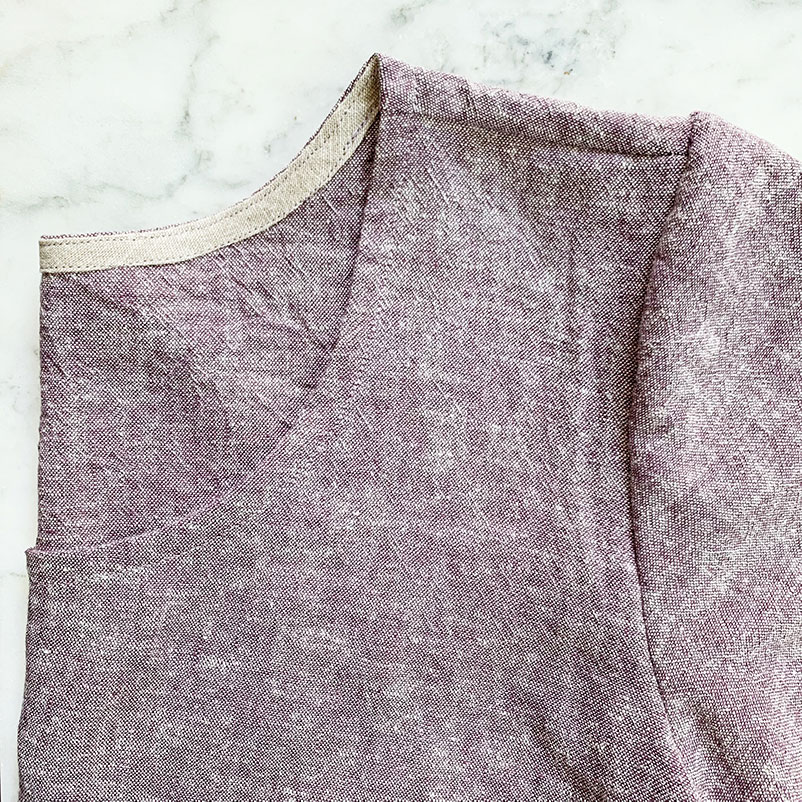
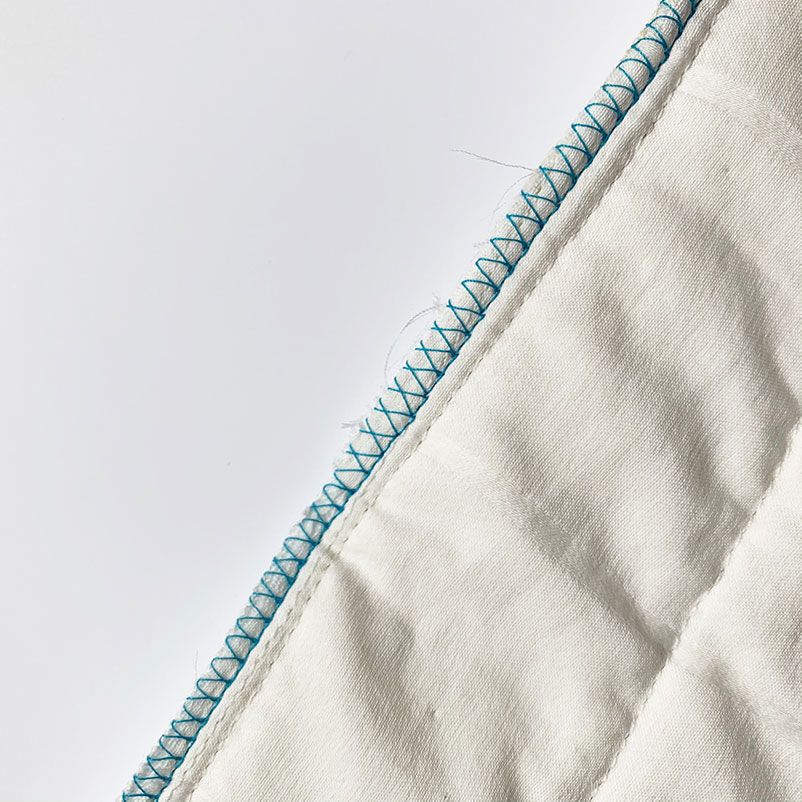
First you need to finish the edges where you will be inserting the zipper. This prevents the fabric from unraveling. I used an overcast stitch, feel free to use a zig zag stitch or pinking shears as well.
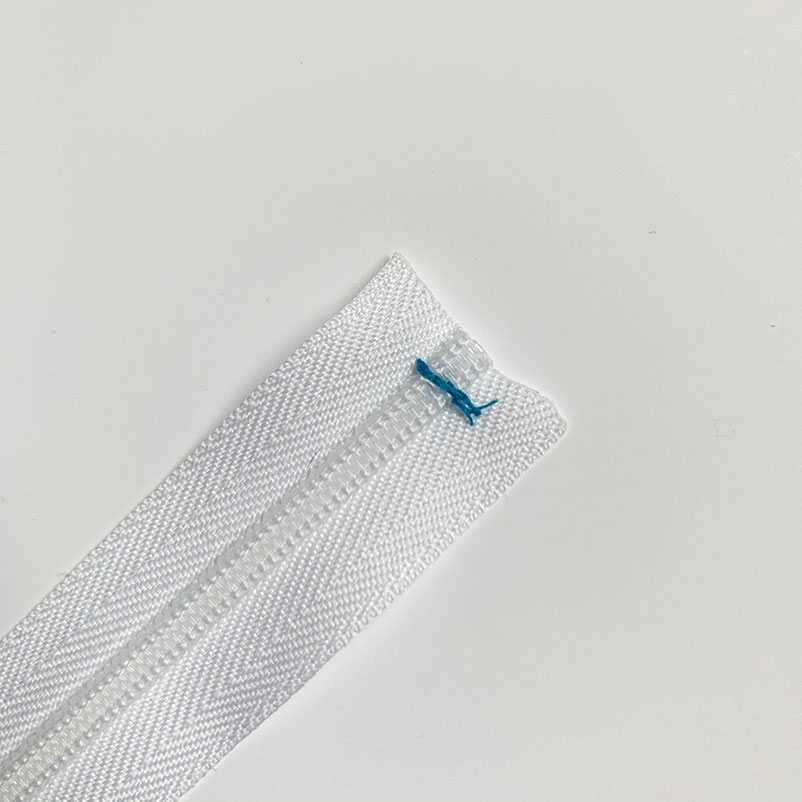
Before you insert your zipper you need to adjust its size. Lay your closed zipper against your pillow. Line up the zipper pull just slightly before one edge of the fabric and make a mark on your zipper around 1/2 inch before the edge of your pillow. Slowly stitch over the zipper at this mark. This gives the zipper a new stopping point. Cut the end of the zipper off and you can use a lighter to gently melt the end of the zipper fabric so it doesn’t fray. (Do this over a sink, go slowly, and be careful!)
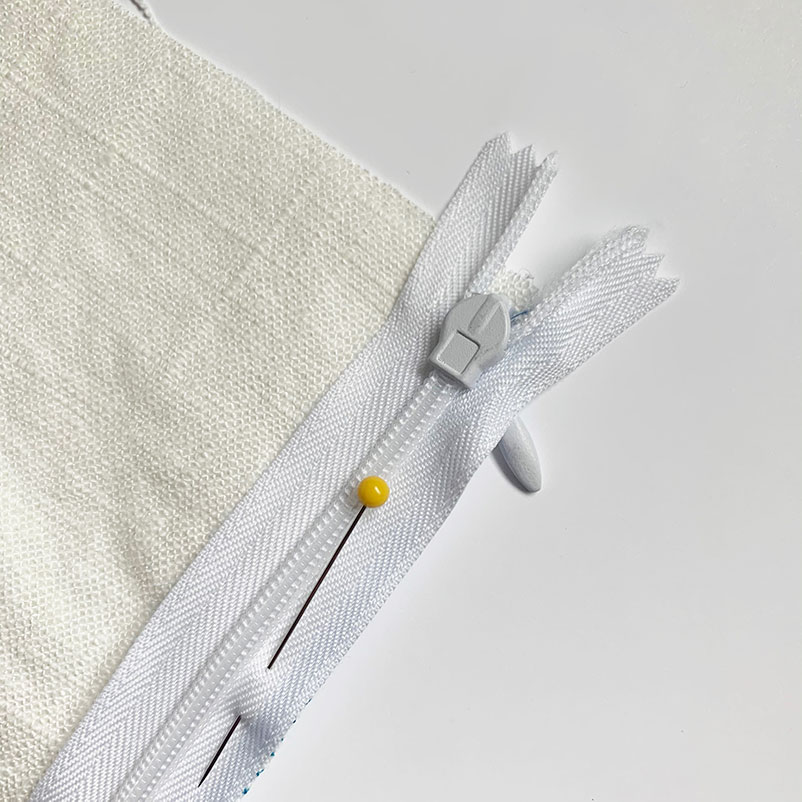
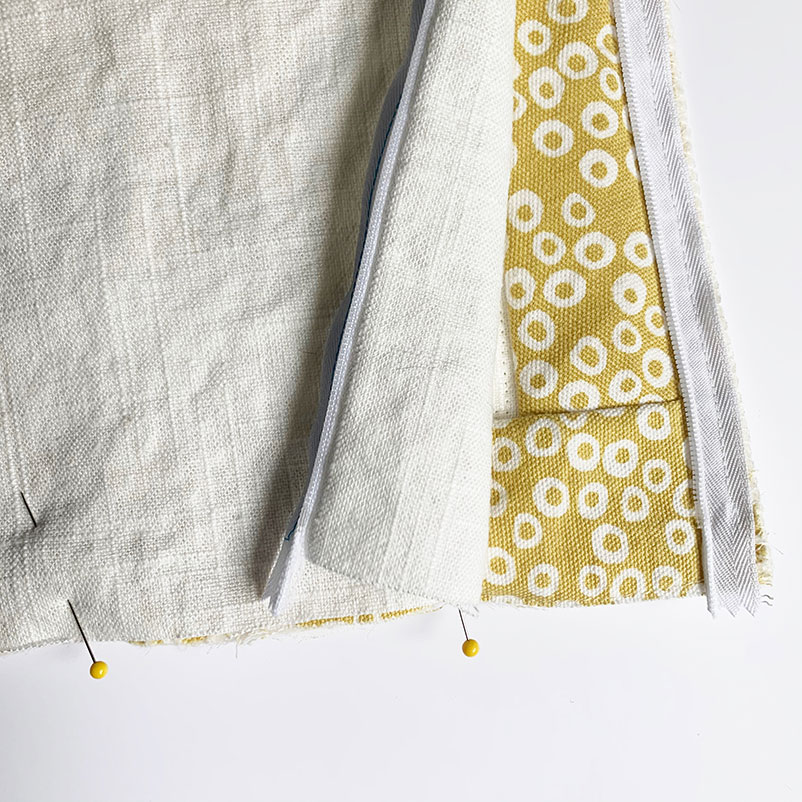
Pin your zipper to just one of your pieces of fabrics, RST, aligning the edges. The zipper should be face down, like in the photo above.
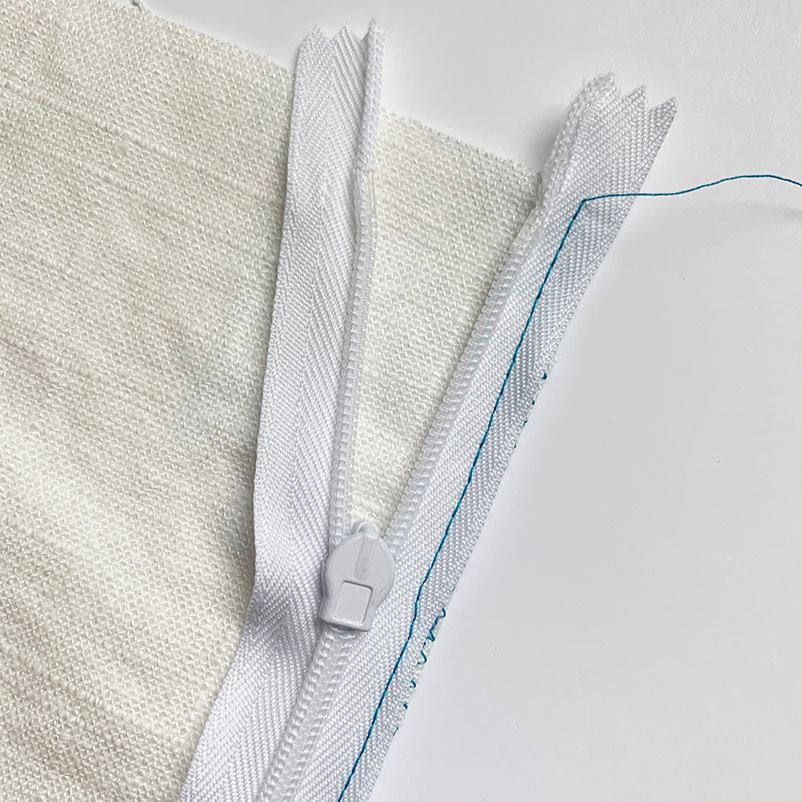
Baste your zipper into place. This stitching is not supposed to be perfect. It is just supposed to hold your zipper for the final sewing of your zipper.
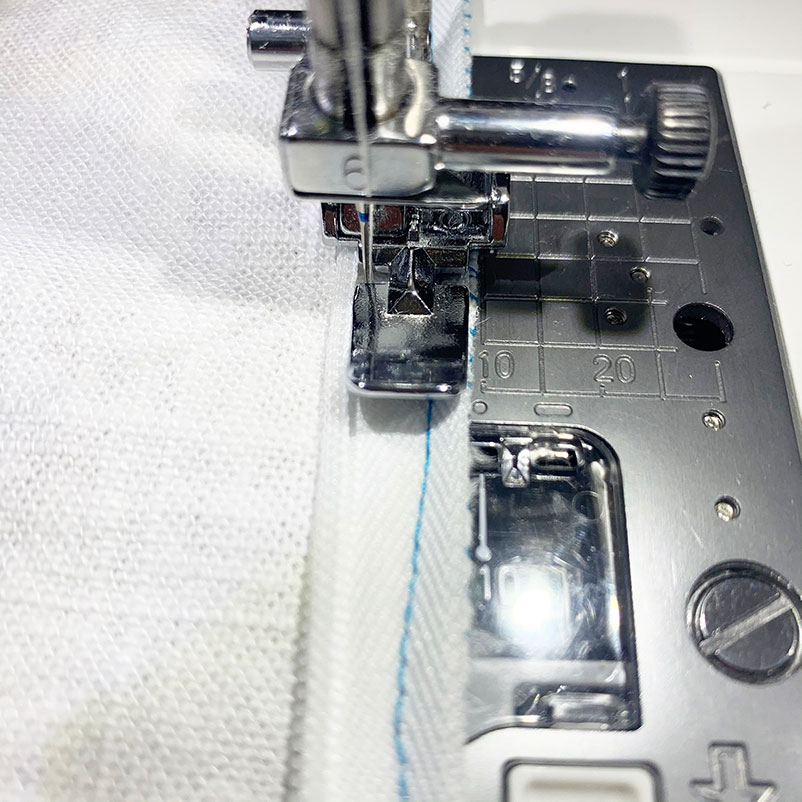
You should use a zipper foot to sew your zipper in place. You want your needle to get as close to the zipper teeth as possible (but not touching the teeth, because then your zipper won’t open.)
Next you need to sew the other side of the pillow to the zipper. Place the front and back pieces of the pillow RST. Repeat the pining, basting, and sewing in the second side of the zipper. You are almost done!
Sew Remaining Sides of Quilted Pillowcase
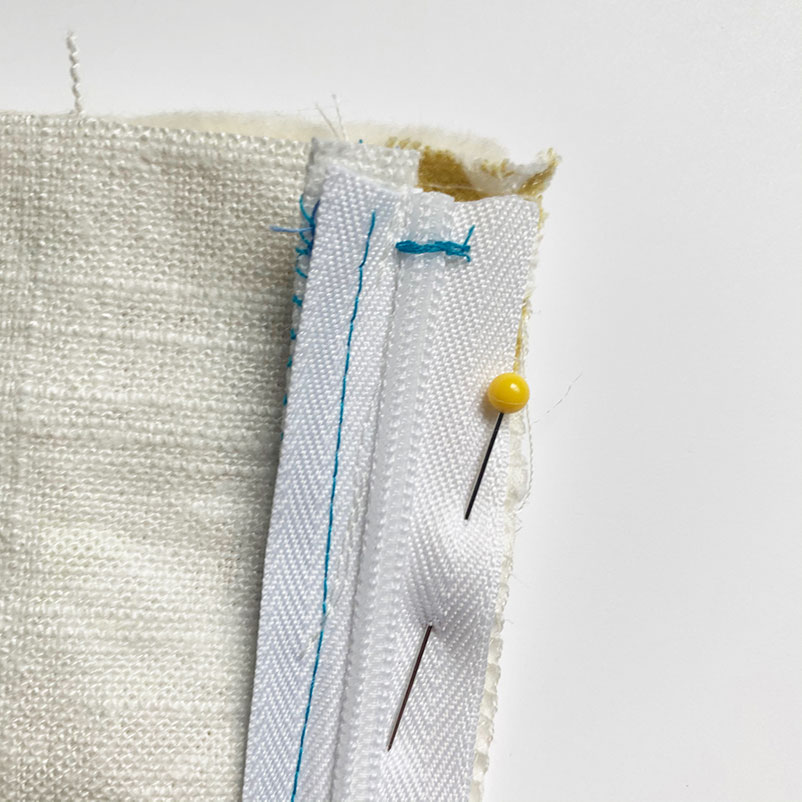
YOU NEED TO OPEN THE ZIPPER
If you don’t open the zipper and you carry on, you will sew yourself a lovely square, which cannot be used as a pillow cover. Opening the zipper allows you to turn the pillow right side out after you’re done sewing.
Pin the remaining three sides of your pillow together. Note how in the above picture it is very apparent that my zipper is open! When you pin, make sure that the open parts of your zipper align.
Sew around the three sides of your pillow with a ¼ inch seam allowance.
Finally, you want to finish the remaining edges. This is so important. If your fabric begins to fray, your seams can easily come apart and you won’t be able to use your pillow!
Enjoy! And Sew a Quilted Pillowcase Again!
I hope you enjoyed this tutorial. If you followed along, please reach out to me on Instagram or comment below!