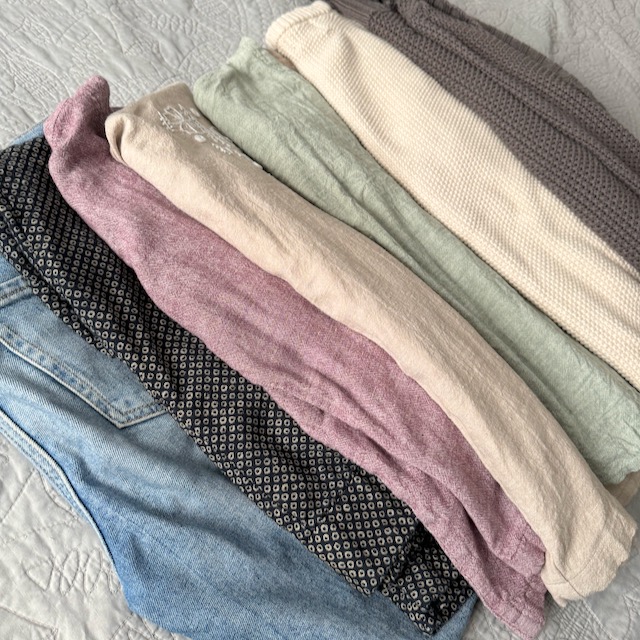
4 Ways to Finish Seams Without a Serger
Finish Seams Without a Serger
If you’re new to garment sewing, finishing seams may seem not that exciting or necessary. You already did the fun and hard part of cutting and piecing together your garment. Now you have to iron and sew some more in a place that no one will ever see? And someone is suggest you buy another machine to do it? Great news, you can finish seams without a serger!
If you want your new garment that you spent time, money, and effort on to survive the washing machine, you absolutely have to finish your seams.
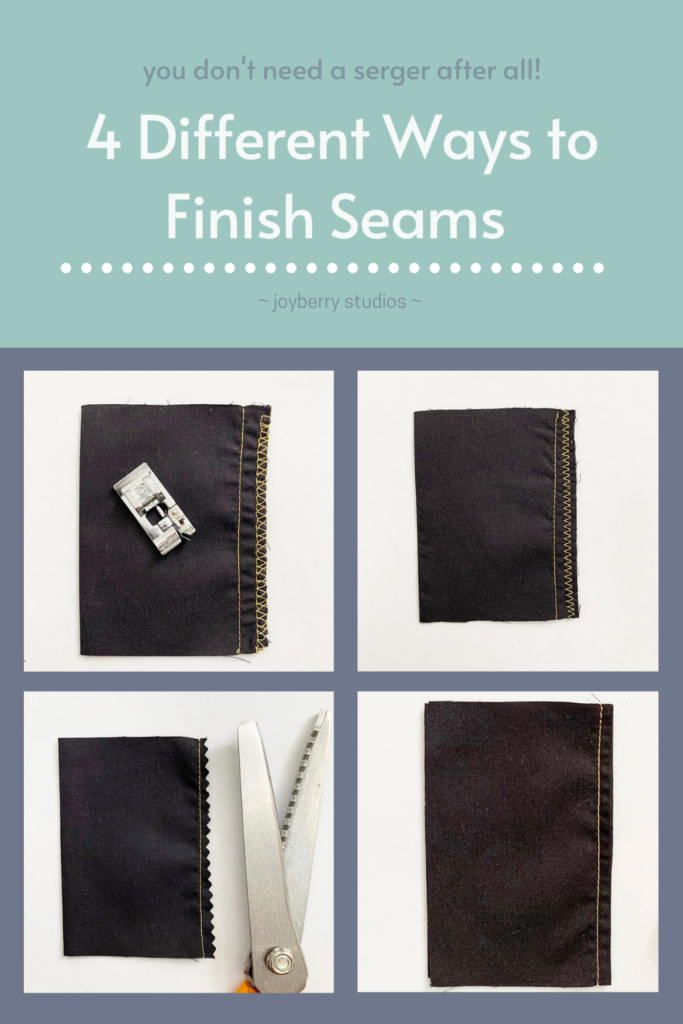
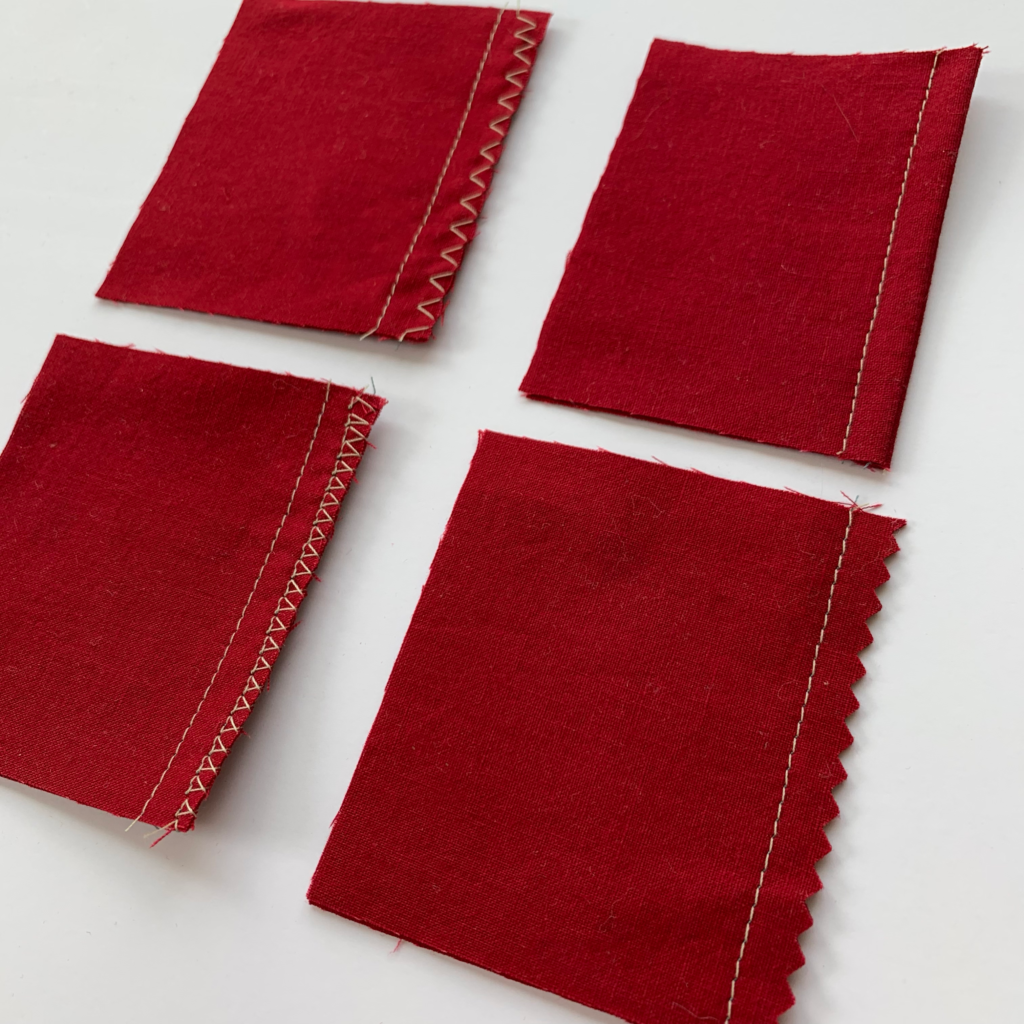
In this post I quickly review four of my favorite basic types of seams finishes and when you should use them. Remember, whichever one you choose, practice on a piece of scrap fabric from the project you are working on. You want to make sure you understand how your machine is going to react to sewing so close to the edge of your fabric.
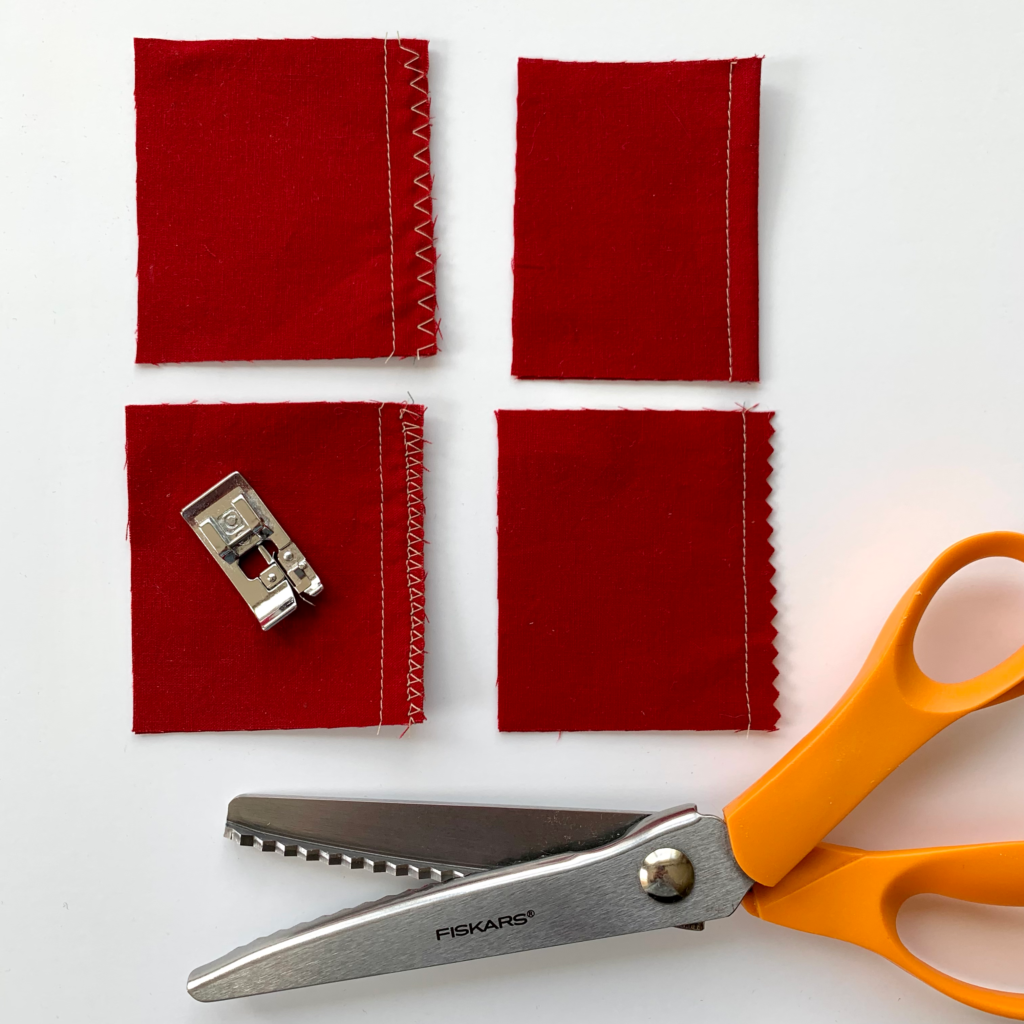
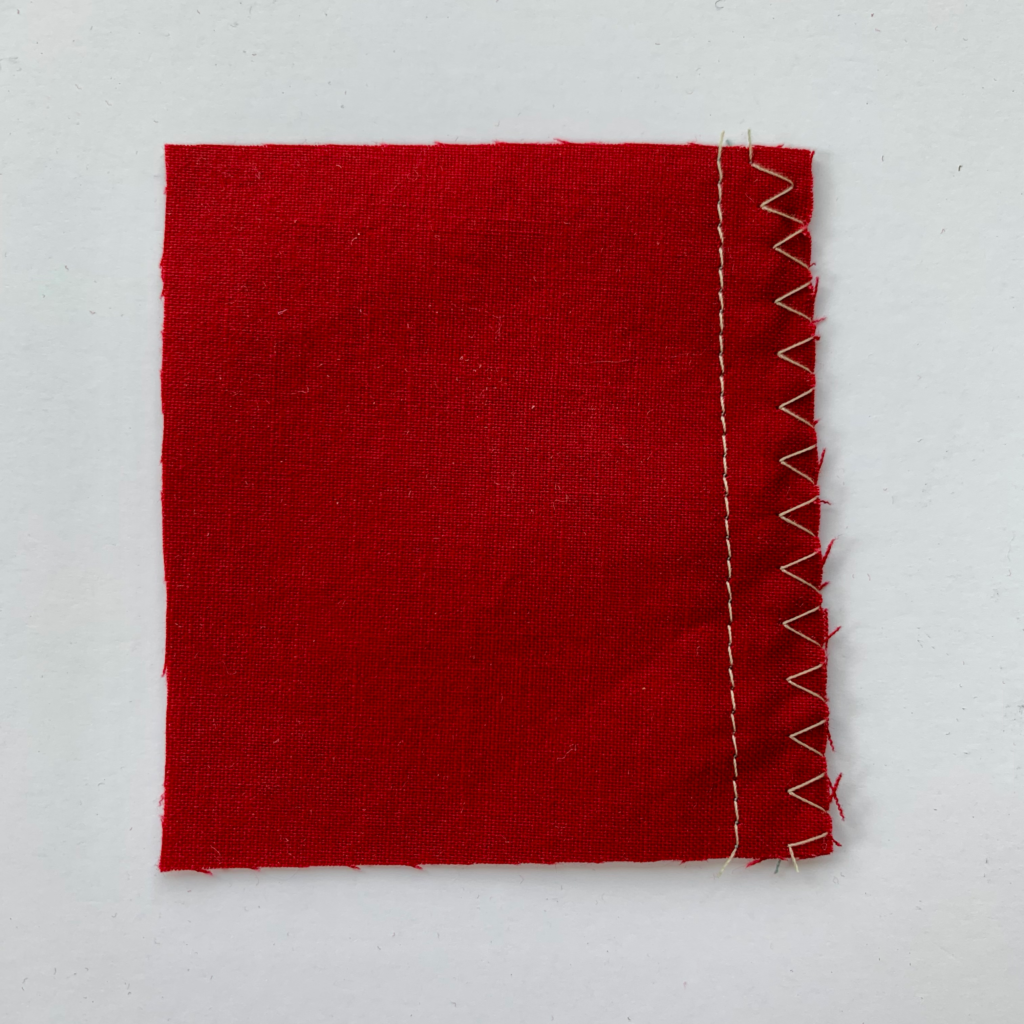
Overcast Stitch – My Favorite
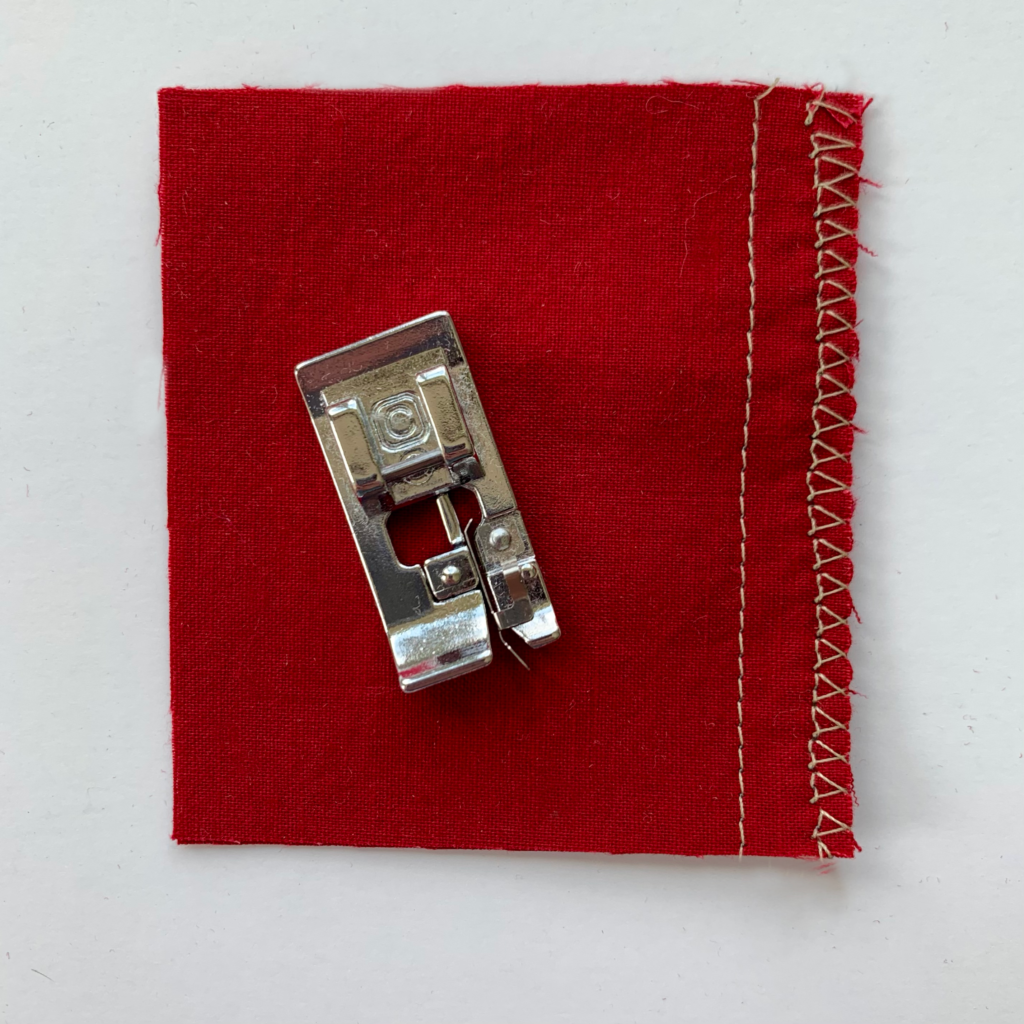
The overcast stitch is my go to favorite. I love how much the thread pops against the fabric. (I like to use a contrasting color thread, great use for scrap thread!) It is the strongest way to finish seams. It is similar to what a serger does. I currently don’t have a serger.
To do an overcast stitch you need a computerized machine and an edge foot. Take a look in your manual with how to access the stitch. The edge foot has a little line of metal that perfectly aligns the edge of the fabric so your stitches are even and loop across the edge. The only downside to this stitch is that it does take some time and quite a lot of thread. Which makes it a great opportunity to use up leftover thread from a previous project!
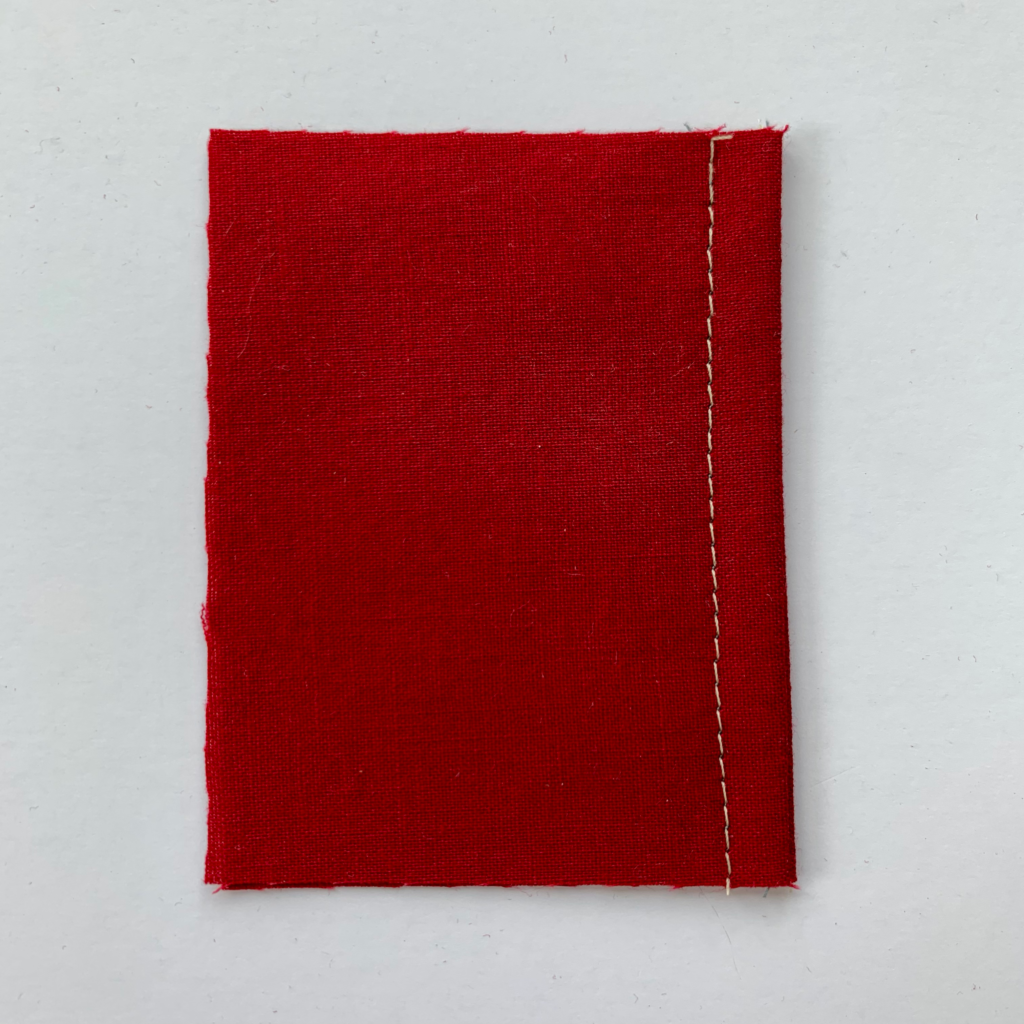
Zig Zag Stitch – Quick & Simple
The zig zag stitch is a pretty standard way to finish seams. It is faster than the overcast stitch and it still prevents your fabric from fraying pretty well! You simply sewing with a wide and longer zigzag stitch over the edge of the fabric.
This is my preferred method for finishing the edges of fabric I just bought before I prewash it. If I don’t finish the edges of new fabric I find that it can really begin to deteriorate and fall apart in the wash. Once again, putting to use my scrap thread stash!
French Seams – Beautiful & Bulky
French seams are regarded as beautiful and sometimes bulky. If you are using a heavier weight of fabric or sewing something like a tight fitting garment, a french seam may not be a good idea. If on the other hand, you are sewing a loose fitting summer dress out of cotton lawn or double guaze, this would be a perfect way to finish your inside seams.
I wrote a blog post just about French seams, which you can read here.
In sewing I feel like we are hardwired to always sew the right sides together. If you want to sew french seams you need to sew the wrong sides together first, press the seam, turn the piece inside out, press again, and then sew your final row of stitches. This approach ensures that your seams are neatly tucked away inside the fabric.
If you do a french seam you have to be careful about seam allowances! There are different ways to do this. Here is one example, if you pattern calls for ⅝ inch seam allowance you could sew a ⅜ inch seam at first, trim it down, and then sew a ¼ inch seam. (Adds to ⅝.) Other people will sew a ¼ inch seam and then a ⅜ inch seam. Other people will sew a ¼ inch seam, trim, and another ¼ inch and assume they lost that ⅛ inch in the making of the french seam. Seems a little tricky! But just make sure you total seam allowances add up to what the pattern calls for.
I love using this finishing technique on my favorite boxy tops, Shirt No. 1 by 100 Acts of Sewing and the Wiksten Shift Top (no longer being sold).
Pinking Shears – Quick & a Bit of a Gamble
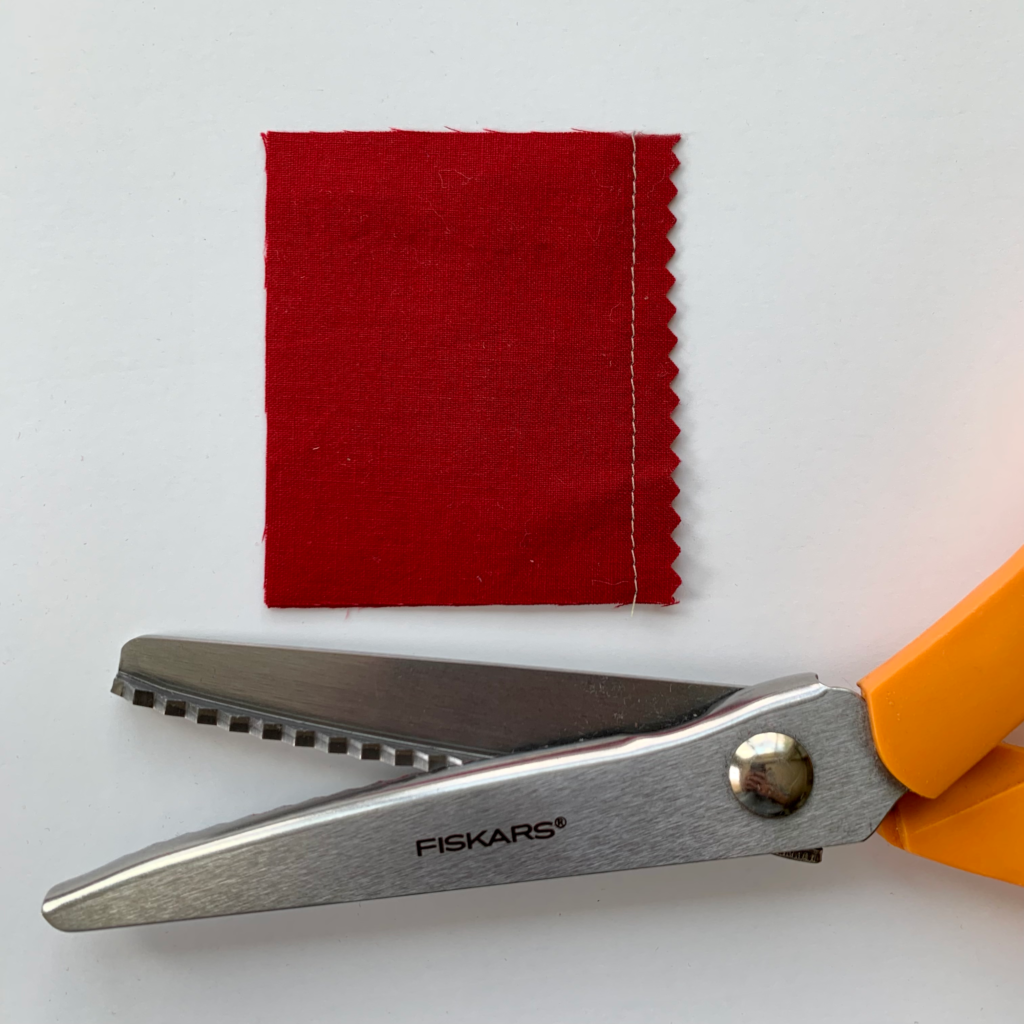
The final way to finish seams are with pinking shears. This is by far the fastest way to finish seams. It can come off as a little quick and a little unprofessional, but if you’re new to sewing and this is how you want to finish the seams of your first few garments, then go for it.
Pinking shears cut the fabric in a zigzag. When the fabric frays with this kind of cut, it frays in small pieces and not long pieces that can really start to unravel your woven fabric. If you’re planning on wearing/washing the garment frequently, this is not the best option.
Final Thoughts
Turns out you can jump right into garment sewing and finish seams without a serger!
A serger is a great tool for finishing seams, but it can seem so daunting to have to invest in another machine when sewing can be a costly hobby to begin. Thankfully, there are beautiful and easy ways to finish seams without a serger.
If you’re looking into a more in depth dive on French seams, check out this blog post.
There are also more advanced seam finishes: bias binding (like in my Tamarack jacket), Hong Kong, flat felled, and of course a serged seam.