How to Sew Fabric Easter Eggs
Easter is a time for fun, creativity, and handmade touches that make the holiday feel extra special. Instead of using plastic eggs, why not sew fabric Easter eggs?
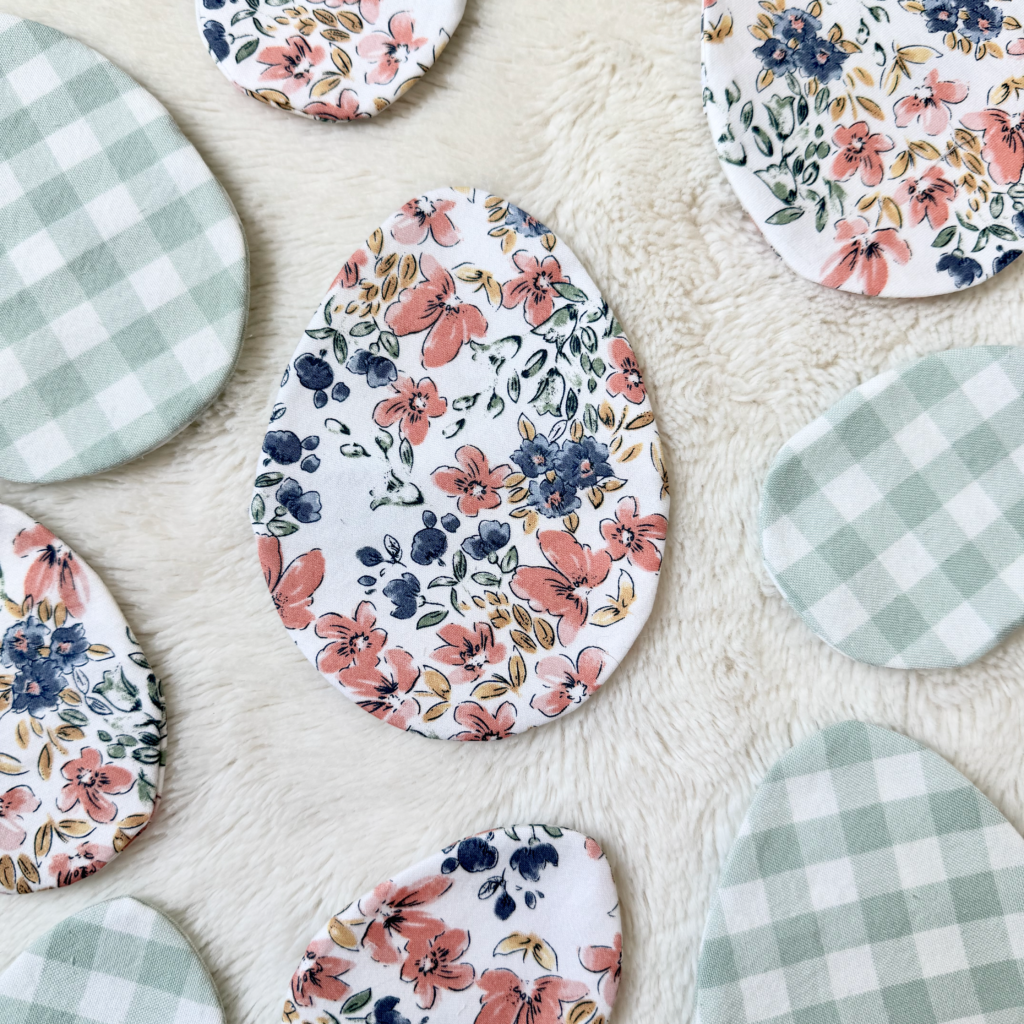
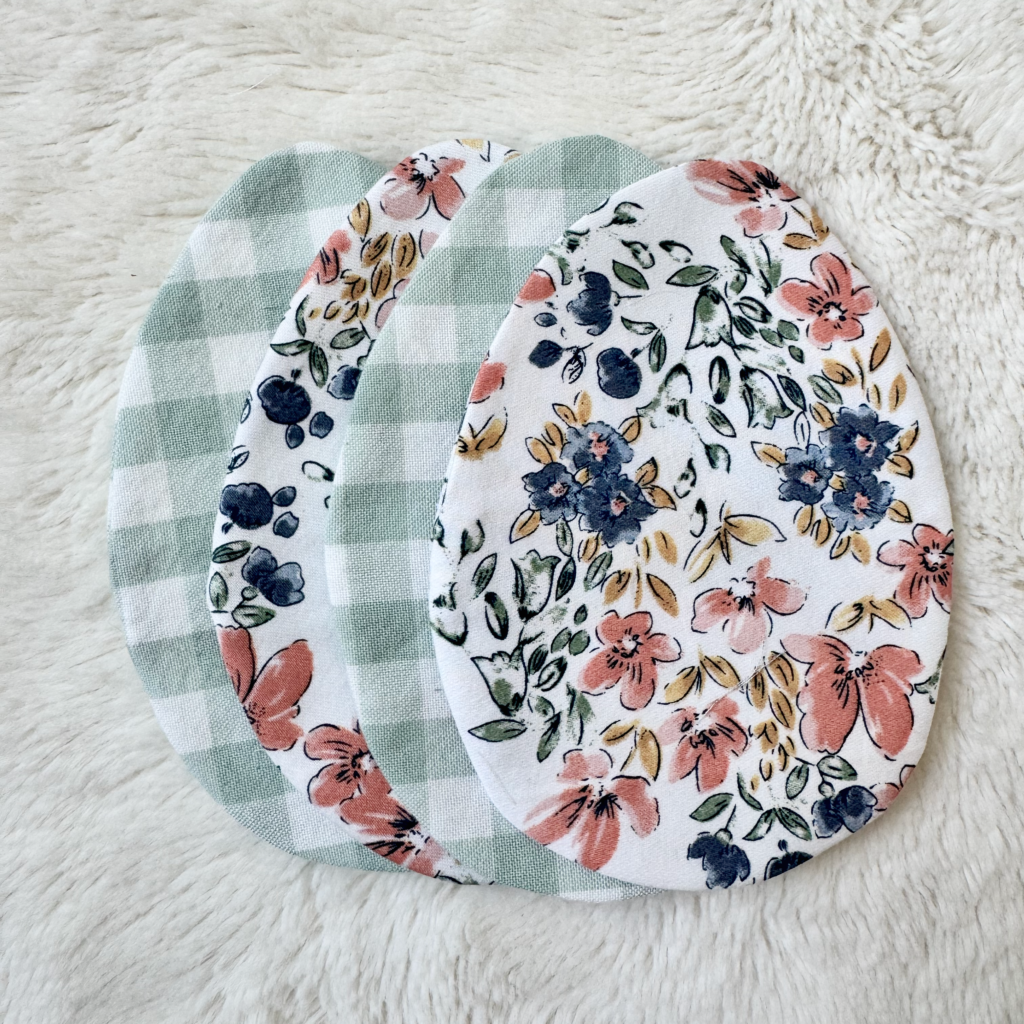
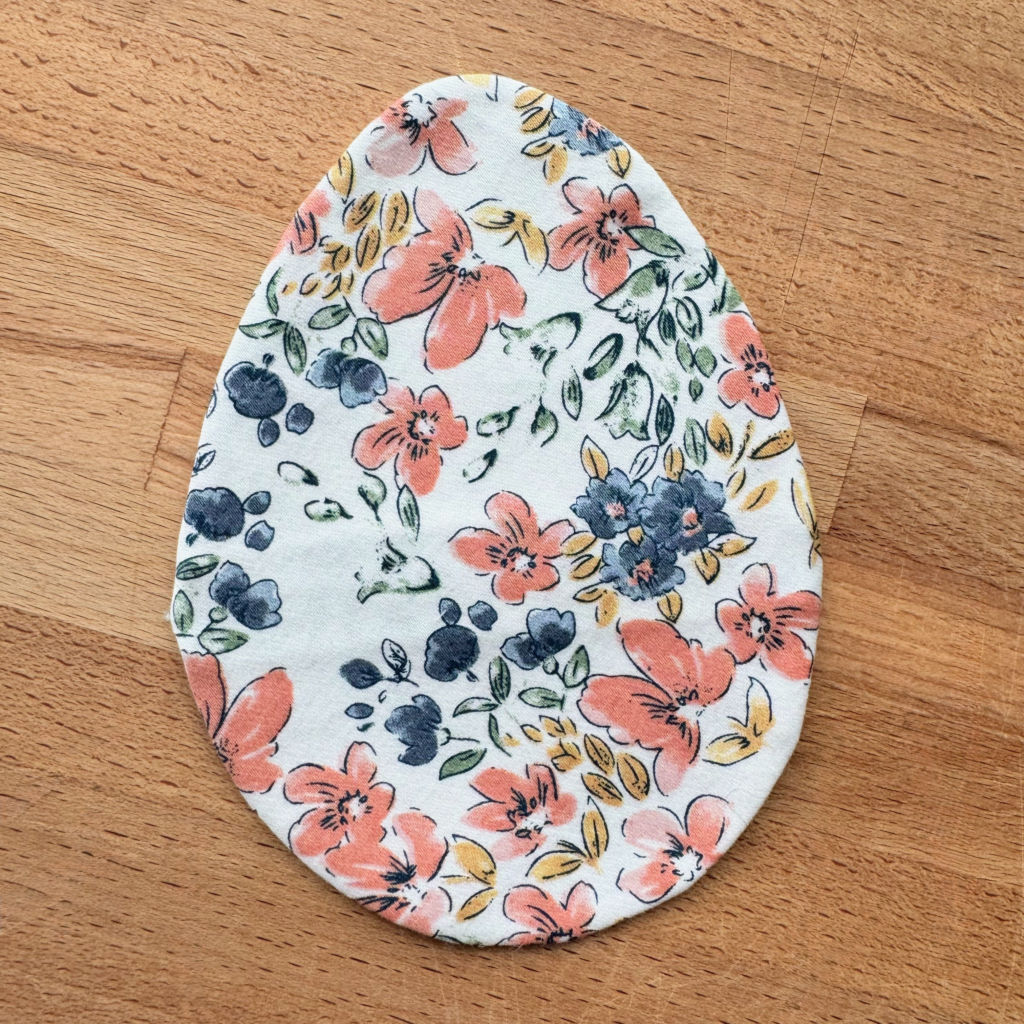
These reusable fabric eggs are sewn like an envelope pillow in the shape of an egg, with an opening at the back to tuck in small treats or candy. They are a sustainable, resourceful, and adorable way to celebrate Easter.
Why Sew Fabric Easter Eggs?
If you love sewing and want an eco-friendly alternative to plastic eggs, fabric Easter eggs are the perfect project. They are great for:
- Reducing waste – No need to buy plastic eggs
- Customization – Choose your favorite fabric patterns and colors
- A beginner-friendly sewing project – Even those new to sewing can enjoy this simple craft
- Reusable Easter traditions – Bring them out year after year
Materials Needed

To sew fabric Easter eggs, you’ll need:
- Easter Egg Pattern – Download in my Freebies library (subscribe to emails here for password)
- Cotton fabric (scraps work great!)
- Scissors or rotary cutter
- Sewing machine or needle & thread
- Pins or clips
- Iron
- Optional – Pinking Shears
Step-by-Step Instructions

Step 1: Cut Your Fabric
Using the templates provided in my freebies library, cut out each pattern piece. I like to trace the pattern pieces onto the fabric and then cut them out. These lines will be cut through eventually, so it’s okay if you don’t use a disappearing ink.
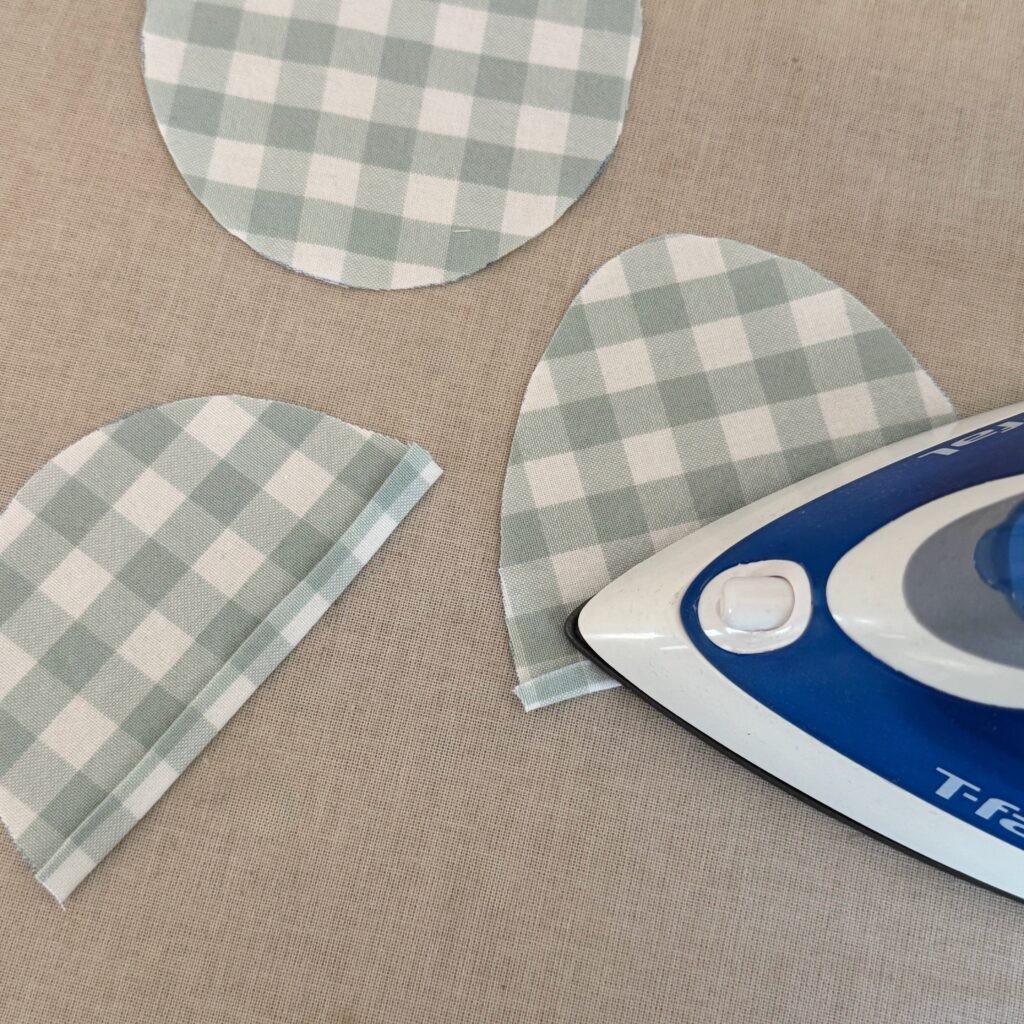
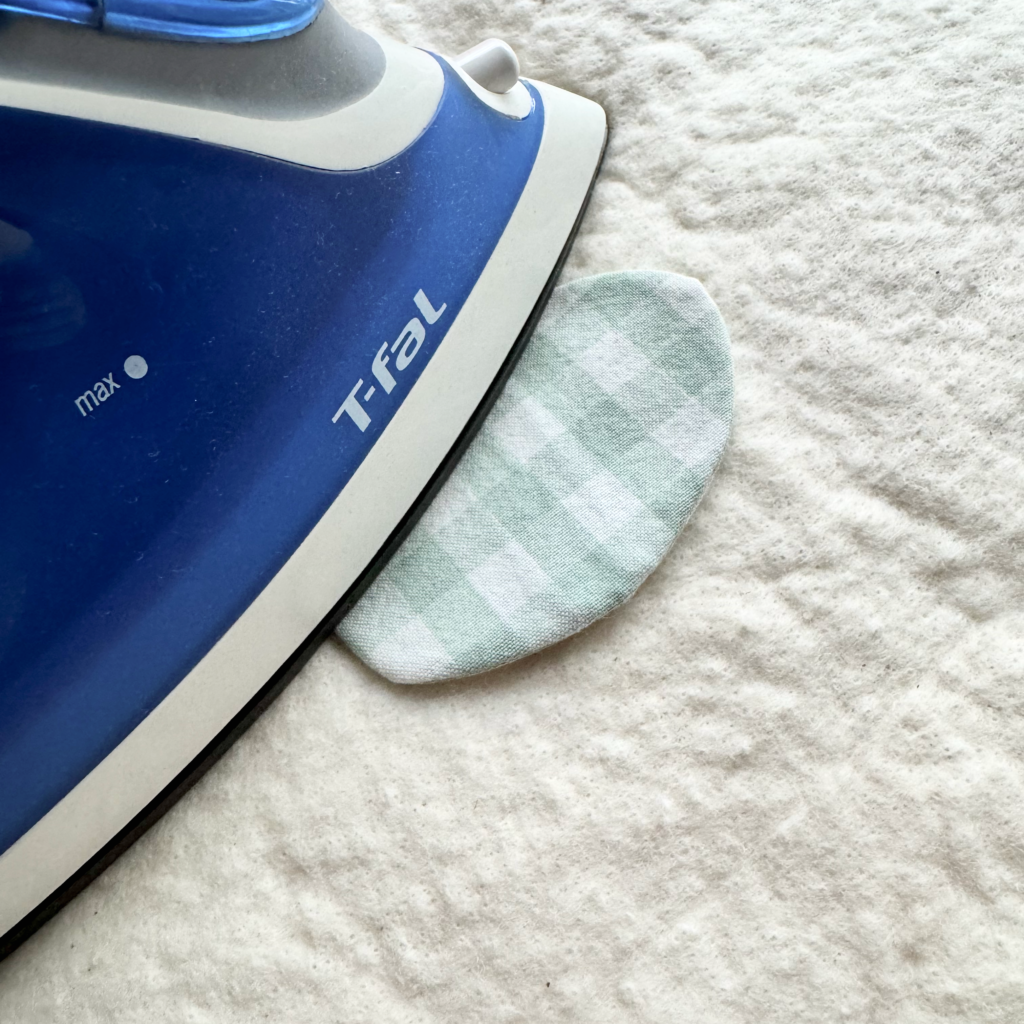
Step 2: Hem the Back Opening
Take the two back pieces and hem the flat edge of each piece by folding the fabric over ¼ inch, pressing it with an iron, folding the fabric over 1/4 inch a second time, and then sew along the edge. These two pieces will form the opening at the back of your egg.
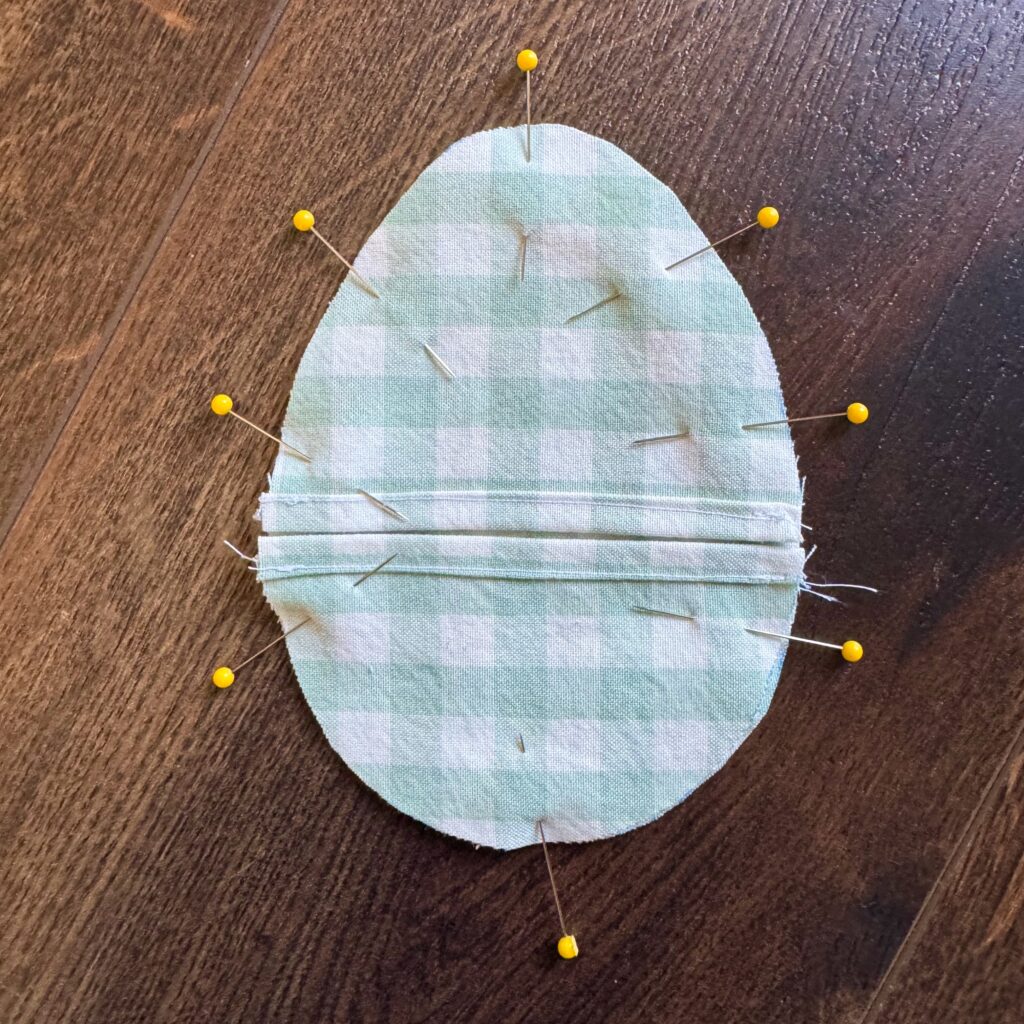
Step 3: Assemble the Egg
- Place the front egg piece right side up.
- Lay the two back pieces on top, right sides down, with their hemmed edges touching.
- Pin or clip all the layers together.
- Sew around the entire outside of the egg with a 1/4 inch seam allowance.
Step 4: Clip Curves and Turn Right-Side Out

Pinking Shears: If you have pinking shears, use them to trim the outside of the Easter egg. This reduces bulk and prevents the egg fabric from fraying
Without Pinking Shears: Clip small notches around the entire egg. This helps the fabric fabric lay smoothly and prevents fraying. Turn the egg right-side out through the envelope opening and press it flat with an iron.
Step 7: Turn Right Side Out and Press
Turn the egg right-side out through the envelope opening. use a skewer, knitting needle, or something similar to push out the edges. Press it flat with an iron.
Step 6: Fill and Enjoy!

Now comes the fun part—fill your fabric Easter eggs with small candies, stickers, or other surprises. These eggs are perfect for Easter baskets, egg hunts, or as adorable decorations.
More Ways to Use Fabric Easter Eggs
- Easter Egg Hunts – Hide them just like traditional eggs, but with a reusable twist.
- Learning Activities – Check out Busy Toddler’s website for suggestions.
- Table Decor – Arrange them in a basket for a charming centerpiece.
- Gift Wrapping – Instead of disposable wrapping, use them to hold small gifts.
Final Thoughts
Learning how to sew fabric Easter eggs is a fun and sustainable way to celebrate Easter. These reusable eggs are a beginner-friendly sewing project that brings a handmade touch to your holiday traditions. Whether you’re making them for your own family or gifting them to friends, they are sure to be a hit! Start sewing today and create a collection of beautiful, reusable Easter eggs that will last for years to come.