Easy DIY Art – Geometric Watercolor Print
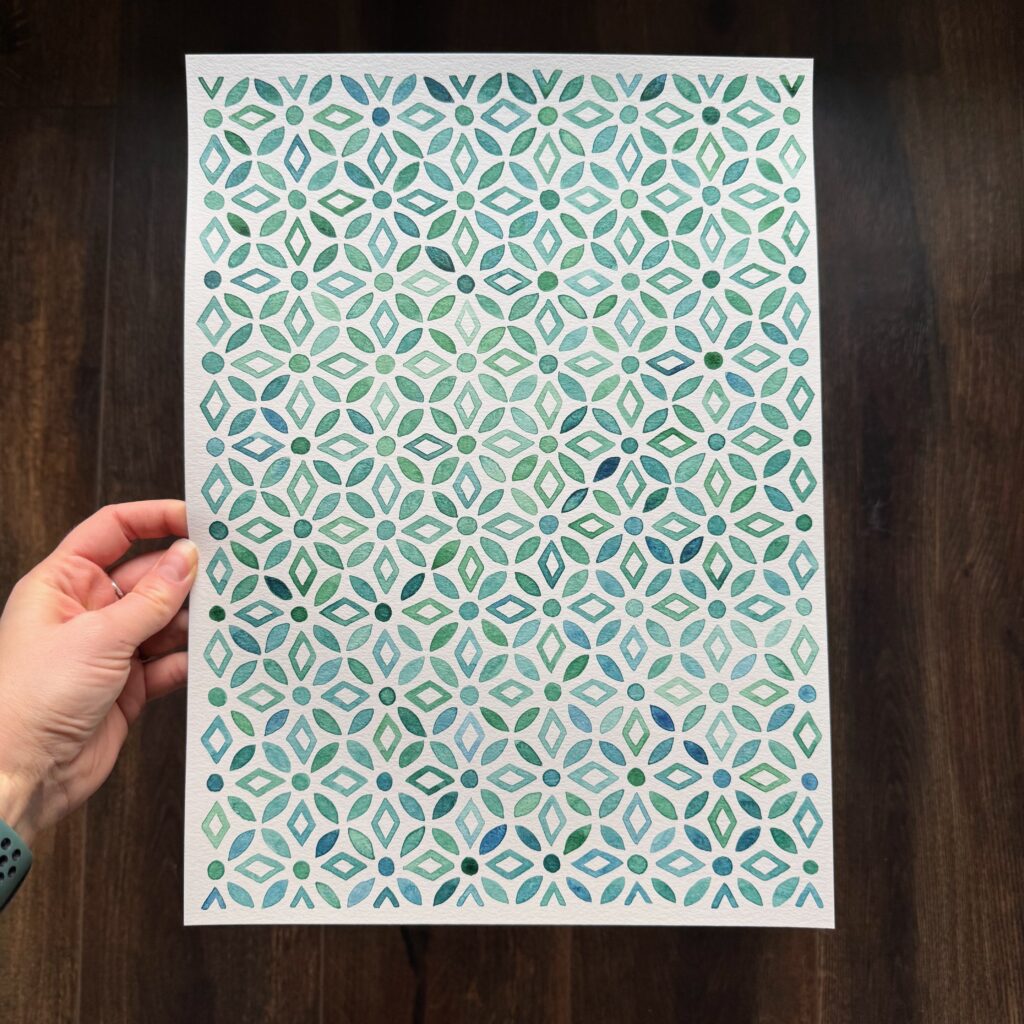
Creating your own geometric watercolor print is a fun and accessible way to add a touch of handmade art to your home. If you’re looking for simple and easy DIY art to add to your home, you should try this one!
Whether you’re a seasoned artist or a complete beginner, this project is simple and adaptable. In this tutorial, I’ll guide you through the steps to create a unique geometric design using a downloadable pattern, a light table (or a window), and just one or two watercolor paints—or even everyday items like coffee or tea!
Sourcing Materials
Paint
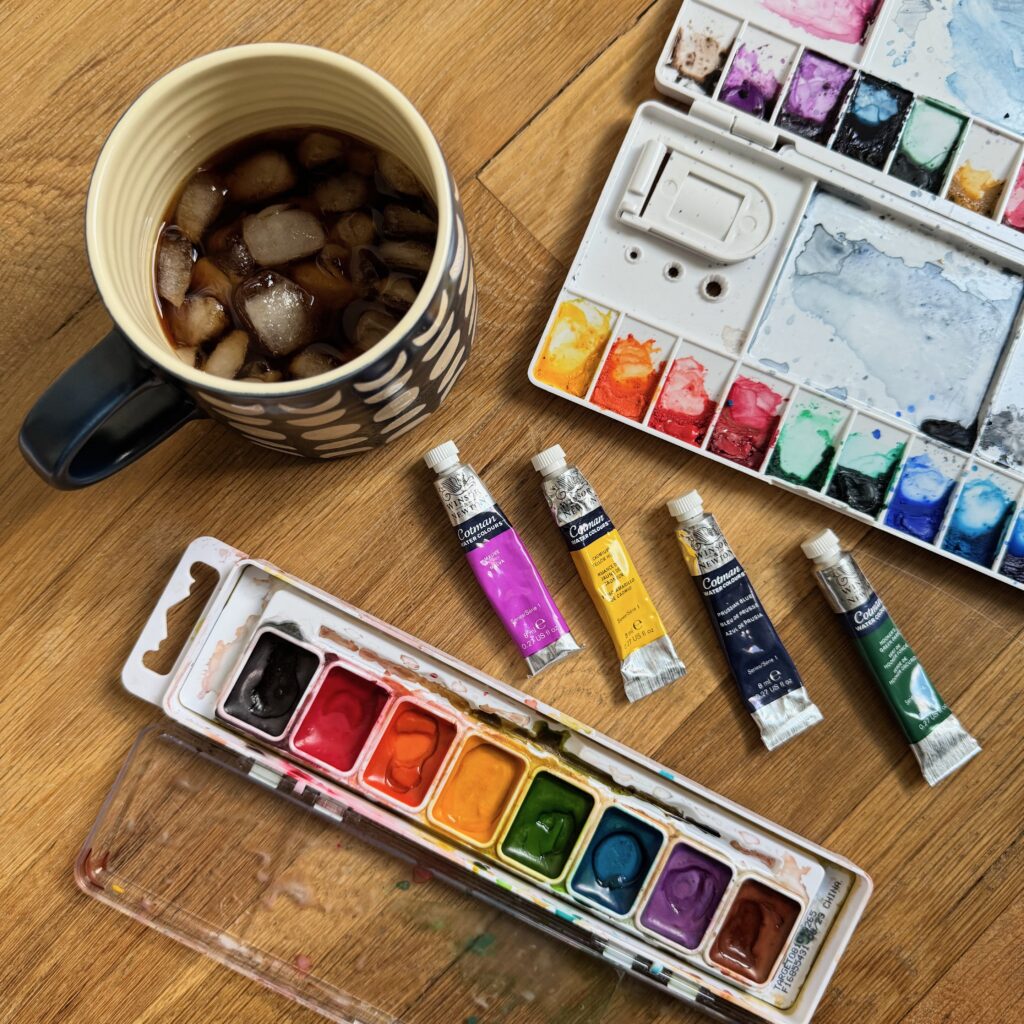
There is a large variety of paints and pigments you can choose to use for this project. I always encourage you to use what you have on hand or borrow from a friend. Here are some options:
- Kids’ watercolors: Affordable and easy to use, these are great for beginners or for crafting with kids. Pigments are not as intense as adult watercolors, but sometimes it is just nice to use what you have.
- Winsor & Newton Cotman Watercolors: A step up in quality, these student-grade paints provide vibrant colors and are widely available at most craft stores. You can buy them in pans (solid) or tubes (thick gel).
- Coffee or Tea: For a natural, monochromatic palette, brew some strong coffee or tea and use it as your “paint.” This option is perfect for an eco-friendly approach or you just don’t want to go to the craft store again.
Watercolor Paper
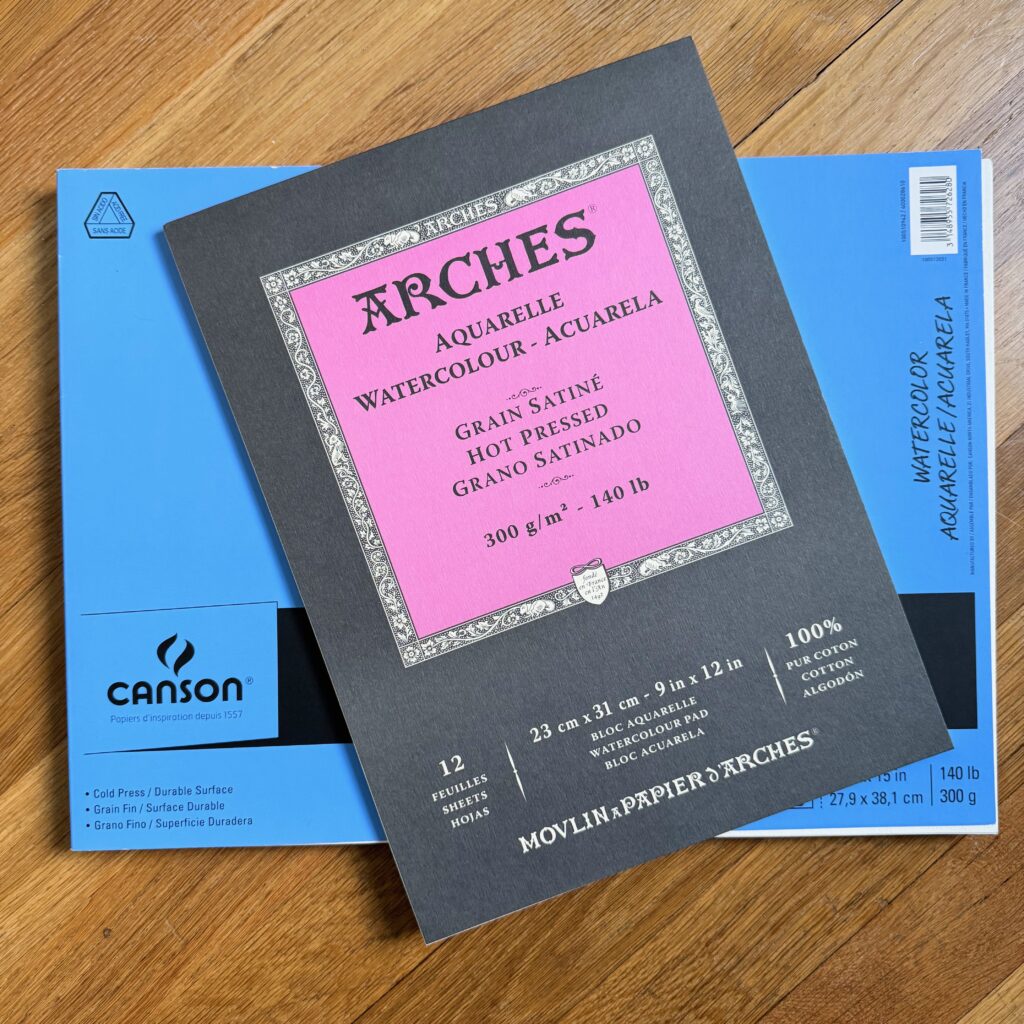
Watercolor paper is essential for achieving the best results in painting, as it’s specifically designed to handle water and pigment without bleeding, warping or tearing. Unlike regular paper, which absorbs water unevenly and can buckle under moisture, watercolor paper is thicker and often made from cotton or wood pulp, giving it excellent durability and absorbency.
Look for watercolor paper labeled as cold press for a slightly textured surface or hot press for a smoother finish. You can find watercolor paper at craft stores, art supply shops, or online retailers, and it’s often sold in pads, blocks, or individual sheets.
For beginners, affordable brands like Canson or Strathmore are great options, while Arches offers premium-quality paper for advanced projects.
You could also ask a creative friend who has some watercolor paper for a few sheets instead of buying your own if you think this may be a one off project for you.
Materials Needed for Geometric Watercolor Print
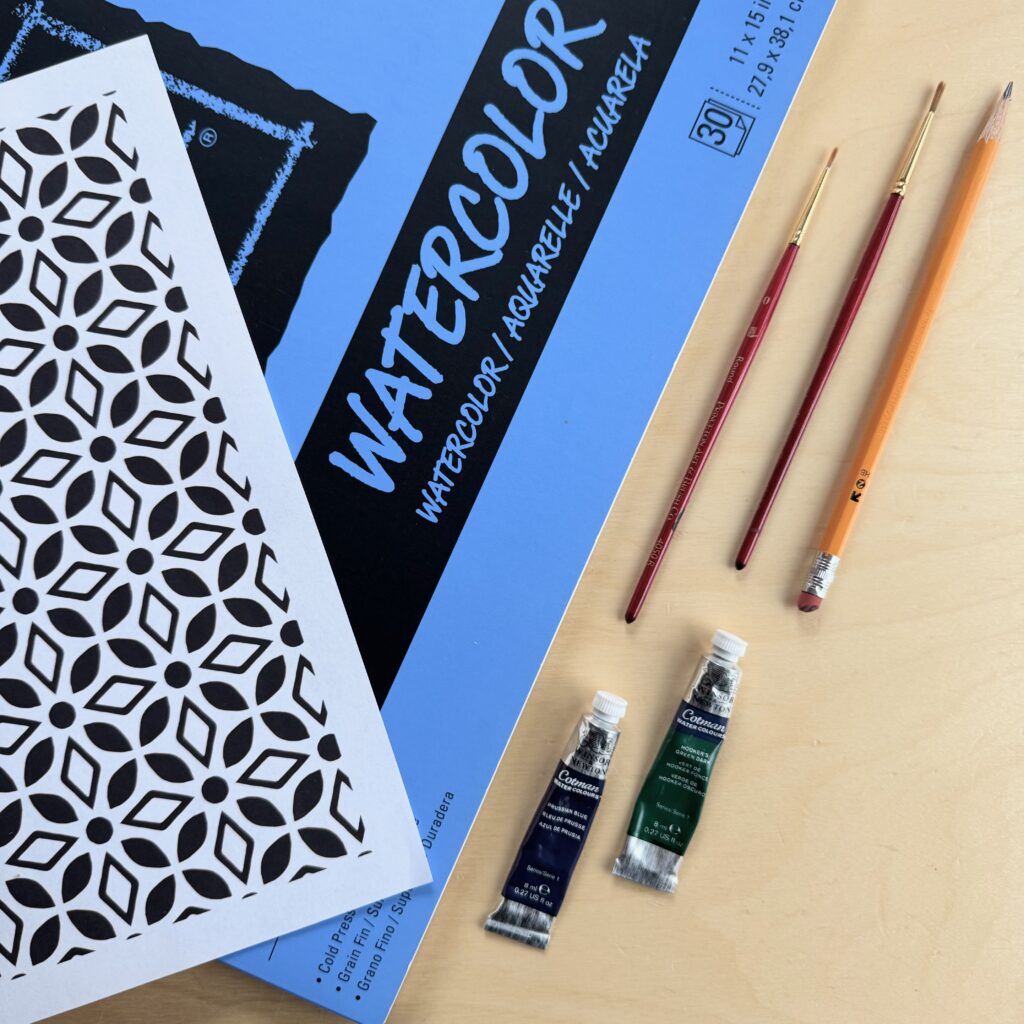
Before we begin, gather your supplies. Here’s what you’ll need:
- Geometric pattern (download in my freebies library, accessible to all email subscribers!)
- Watercolor paper in your chosen size
- A light table or a sunny window
- Pencil
- Watercolors (options detailed above)
- Paintbrush (a smaller sized round brush works well)
- Cup of water
Step 1: Download and Print the Pattern
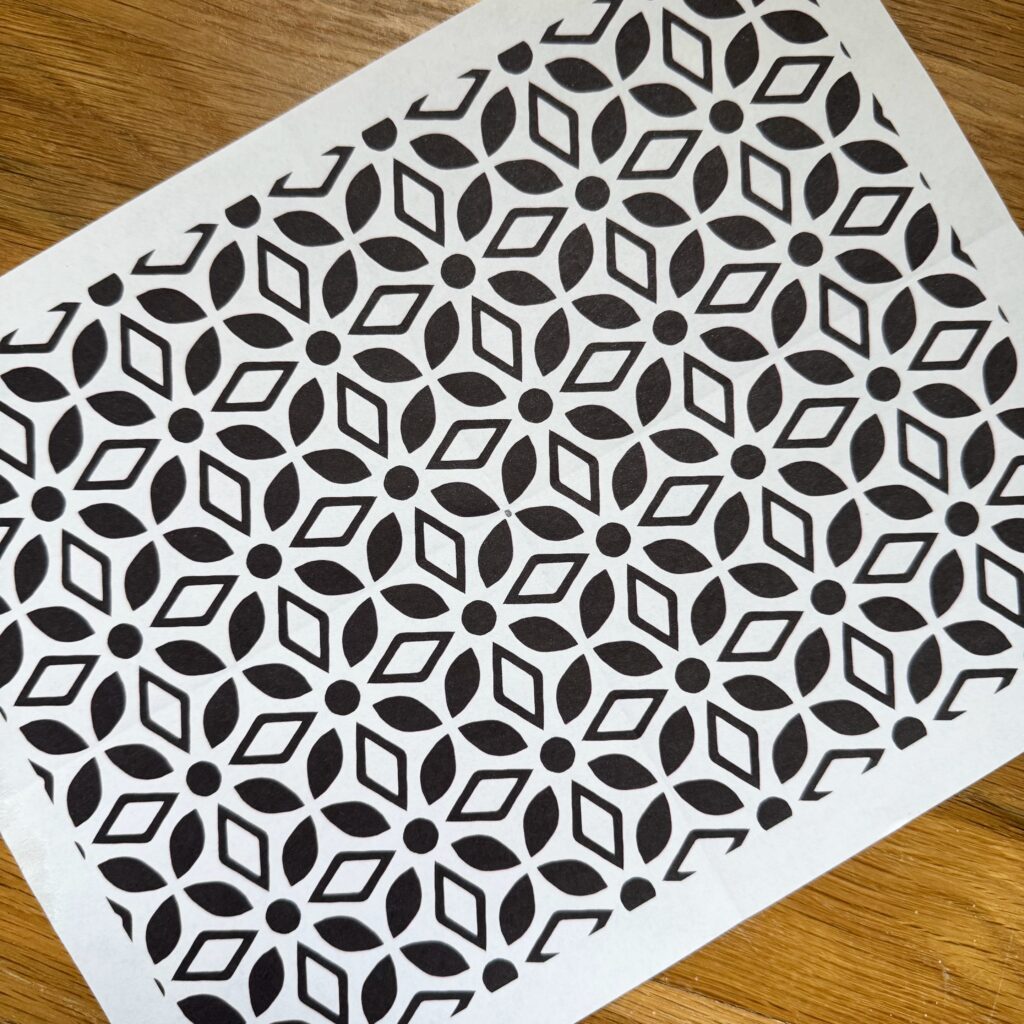
First, download the geometric pattern I have in my freebies library. (Free access to all my email subscribers!) Print it out on regular printer paper. This pattern will act as the guide for your watercolor design.
Step 2: Trace the Pattern
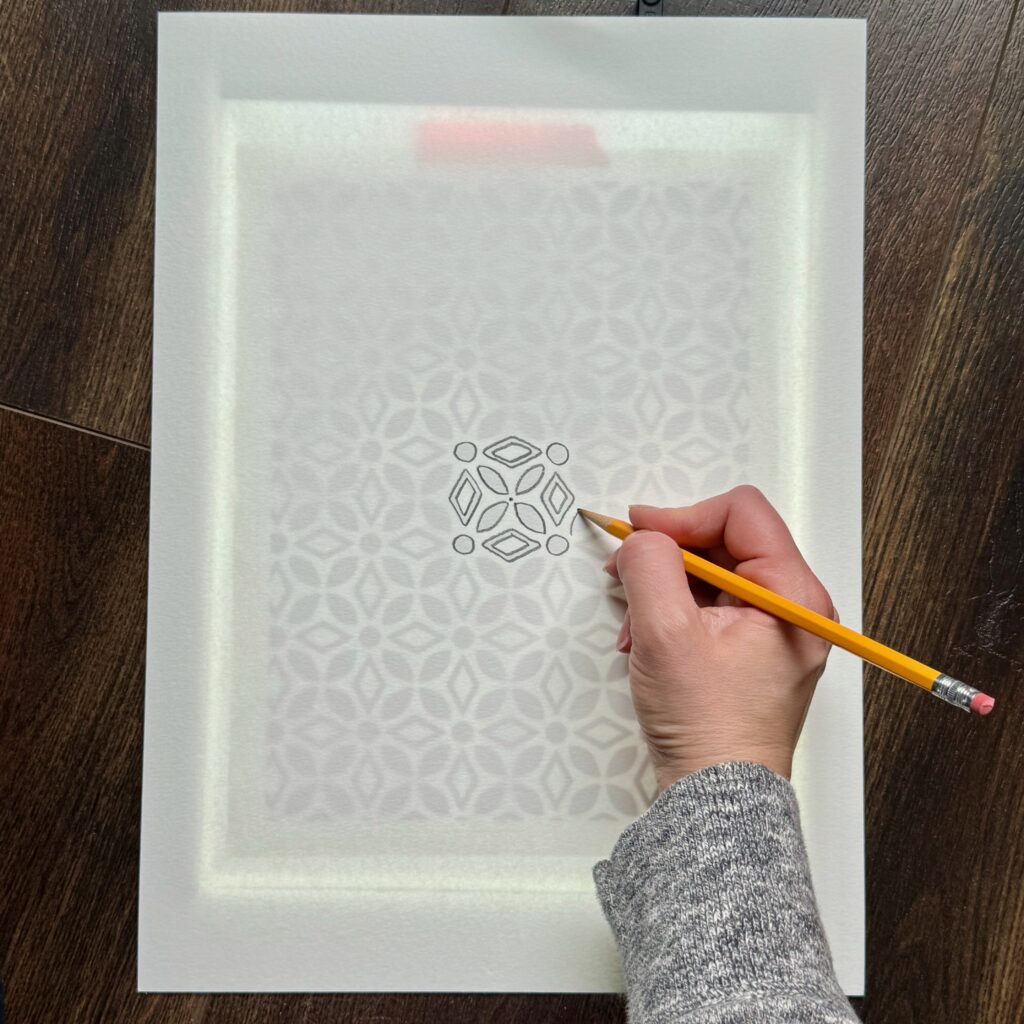
IF YOU HAVE A LIGHT TABLE turn the watercolor paper to the WRONG side (the smoother side). When you trace the pattern, mark it with a thicker line. You will turn the paper over and use a light table to see your traced marks when painting.
IF YOU DO NOT HAVE A LIGHT TABLE and are using a window turn the watercolor paper to the RIGHT side (the bumpier side). When you trace the pattern, mark it with a faint pencil line. You will have to go back and erase the pencil marks at the end.
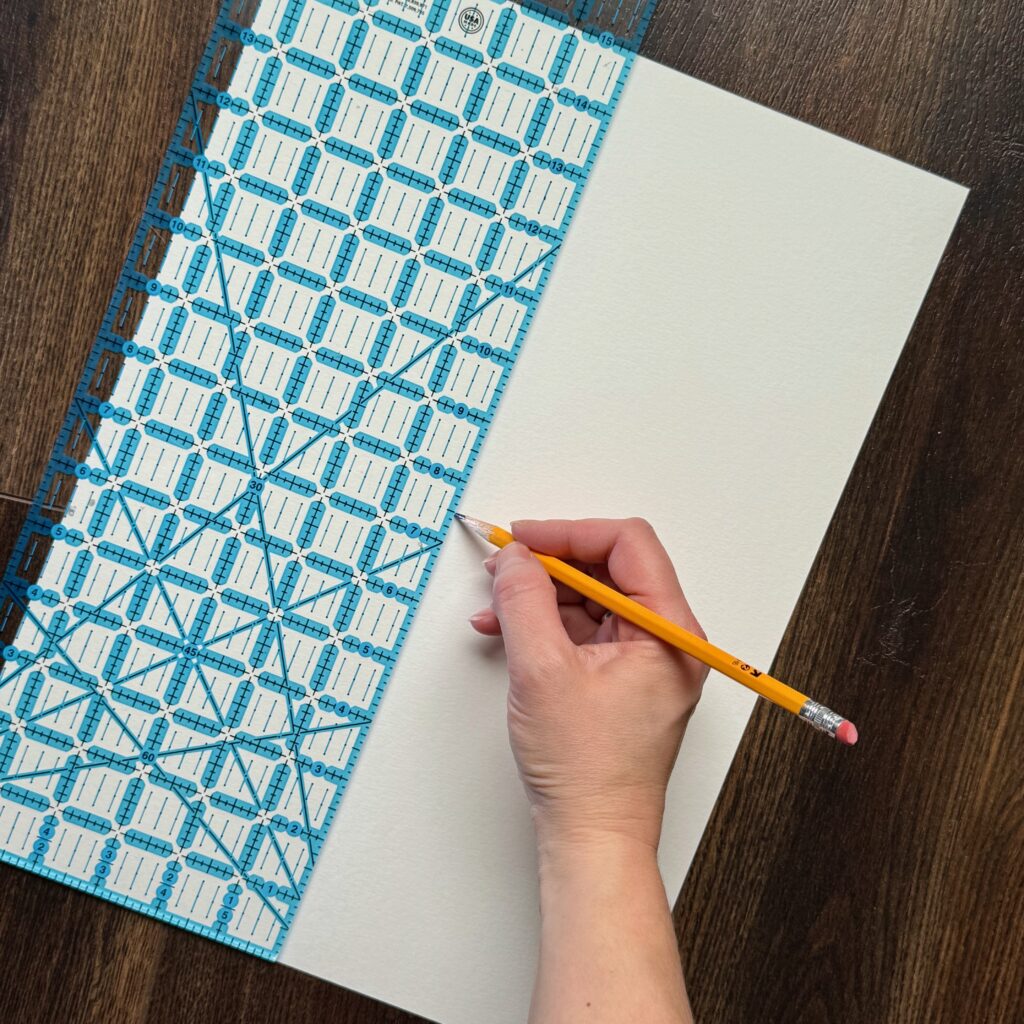
Tape the geometric pattern to the light table or window. Mark the middle of your watercolor paper with a dot. (I used a fancy quilting ruler to do this, you can use an ordinary ruler.) Place your watercolor paper on top of the printed pattern. Align the middle dot with the dot on the printed out pattern.
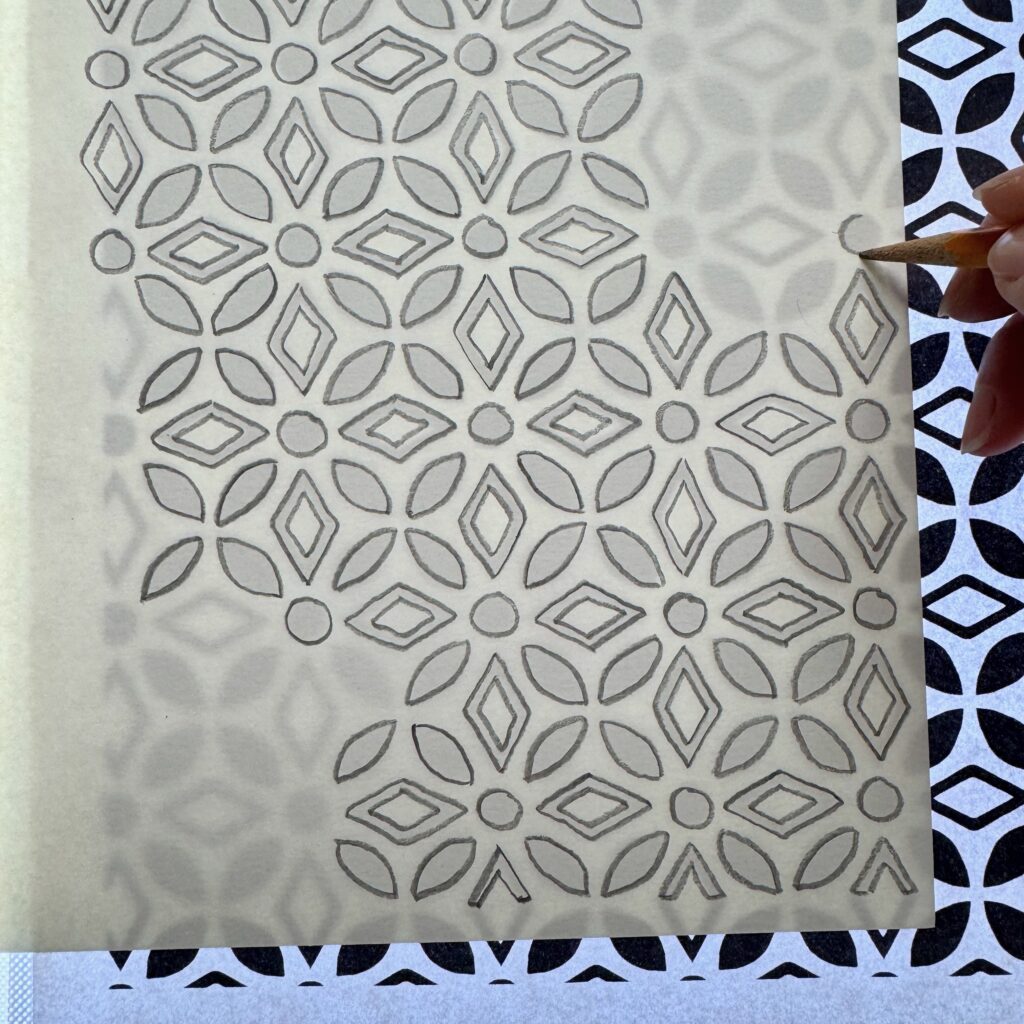
Use a pencil to carefully trace the design onto your watercolor paper. Remember to press LIGHTLY if you are marking the front of your watercolor paper! (I’m drawing on the back since I can paint with a light table.) Move around the watercolor paper and align it with the geometric design if your watercolor paper is larger than the print.
Step 3: Experiment with Your Paint
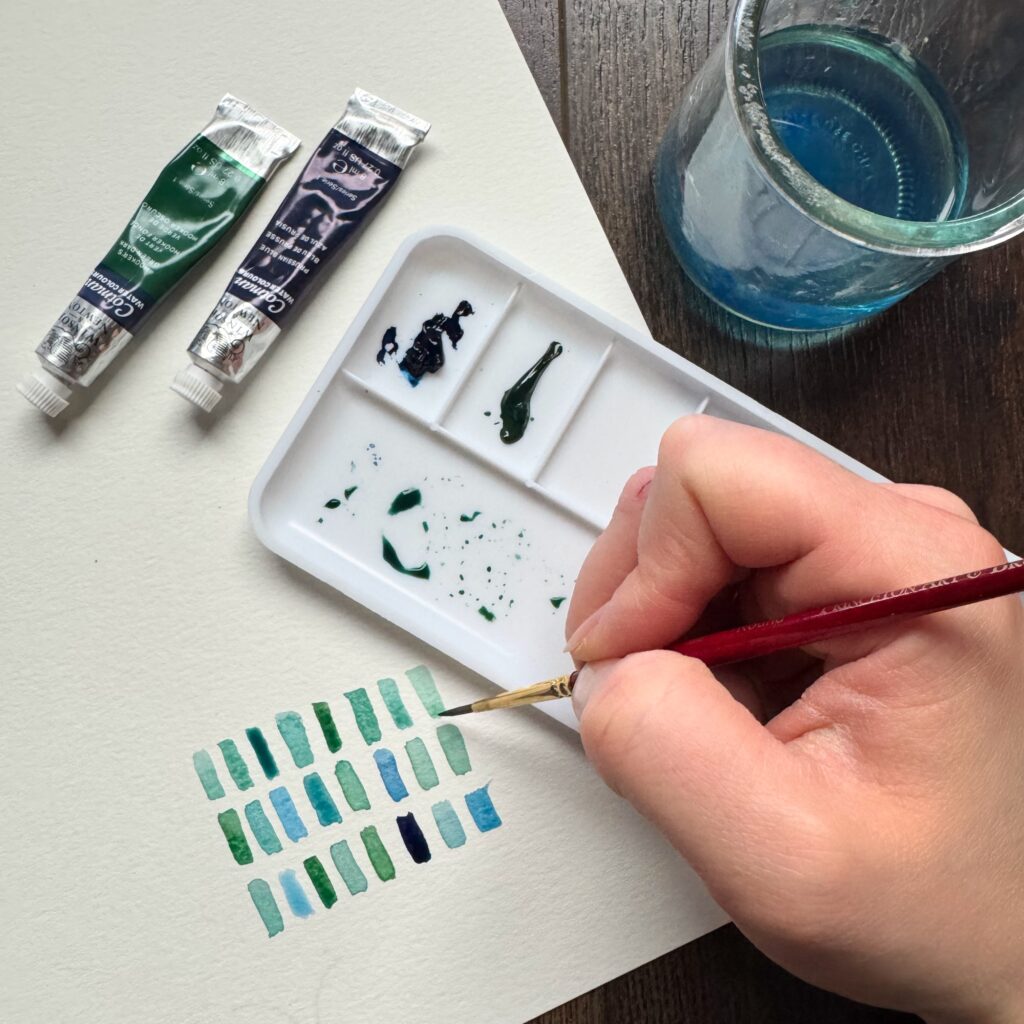
I find this kind of painting works best with two analogous colors (colors next to each other on the color wheel). Try experimenting with different color combinations. Stick to just a few colors when mixing and add varying levels of water to make the color lighter.
Once you have a good feel for your paint, feel free to move onto the final piece!
Step 4: Paint Your Design
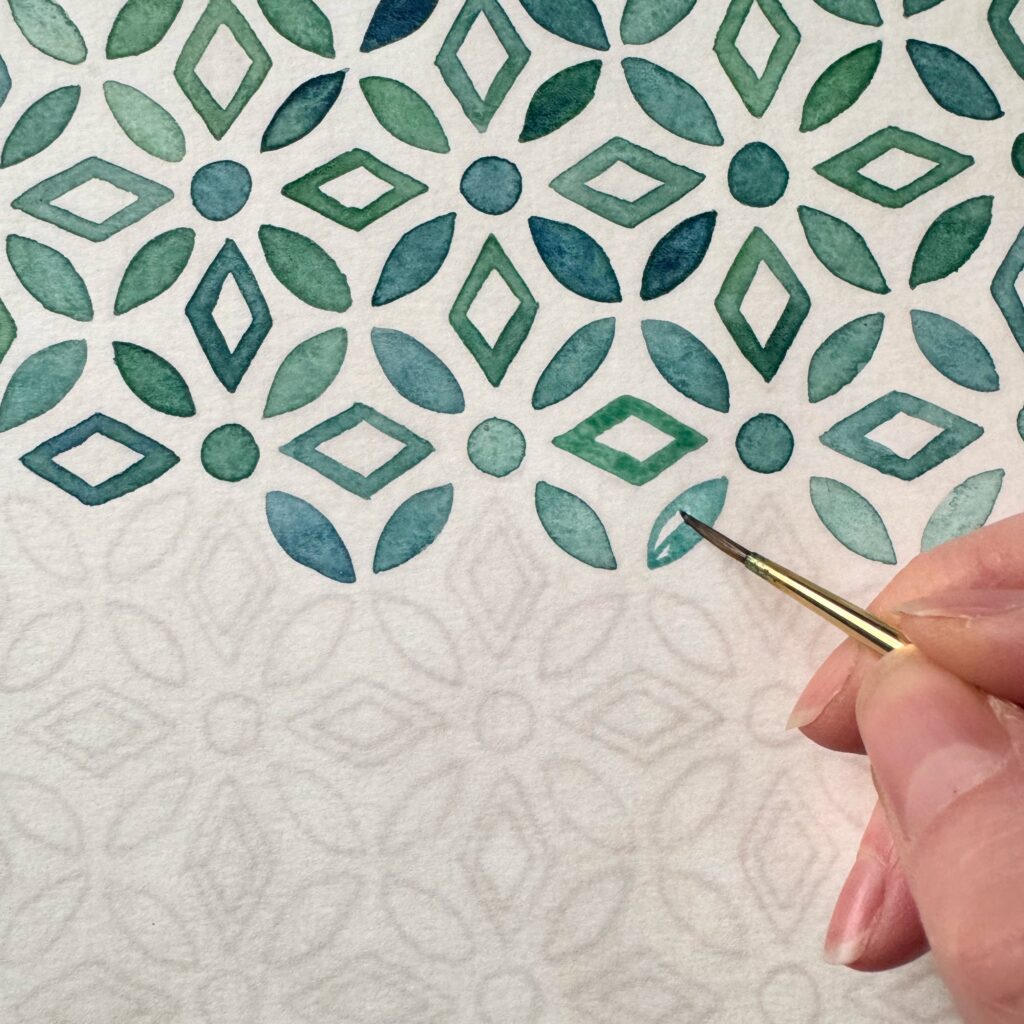
With your materials ready, start painting! I find it makes the piece more cohesive if I jump around the piece a bit. That way if I find myself painting with more blue paint for a bit it isn’t as concentrated in one area.
Step 5: Add the Finishing Touches
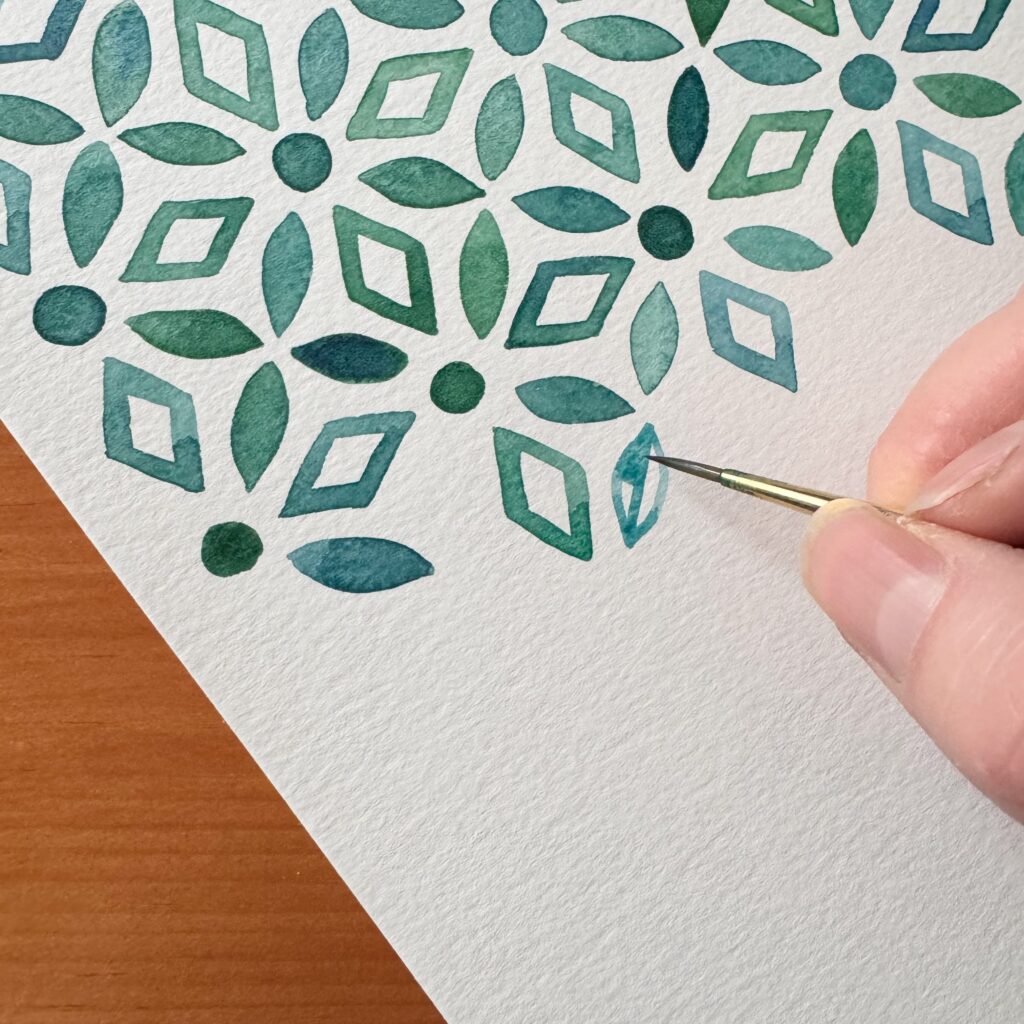
Once all the sections are painted and dry, erase any visible pencil lines gently. You are ready to display your geometric watercolor print! This is such an easy DIY art piece. It would be fun to do a series of them in different color tones.
Displaying Your Geometric Watercolor Print
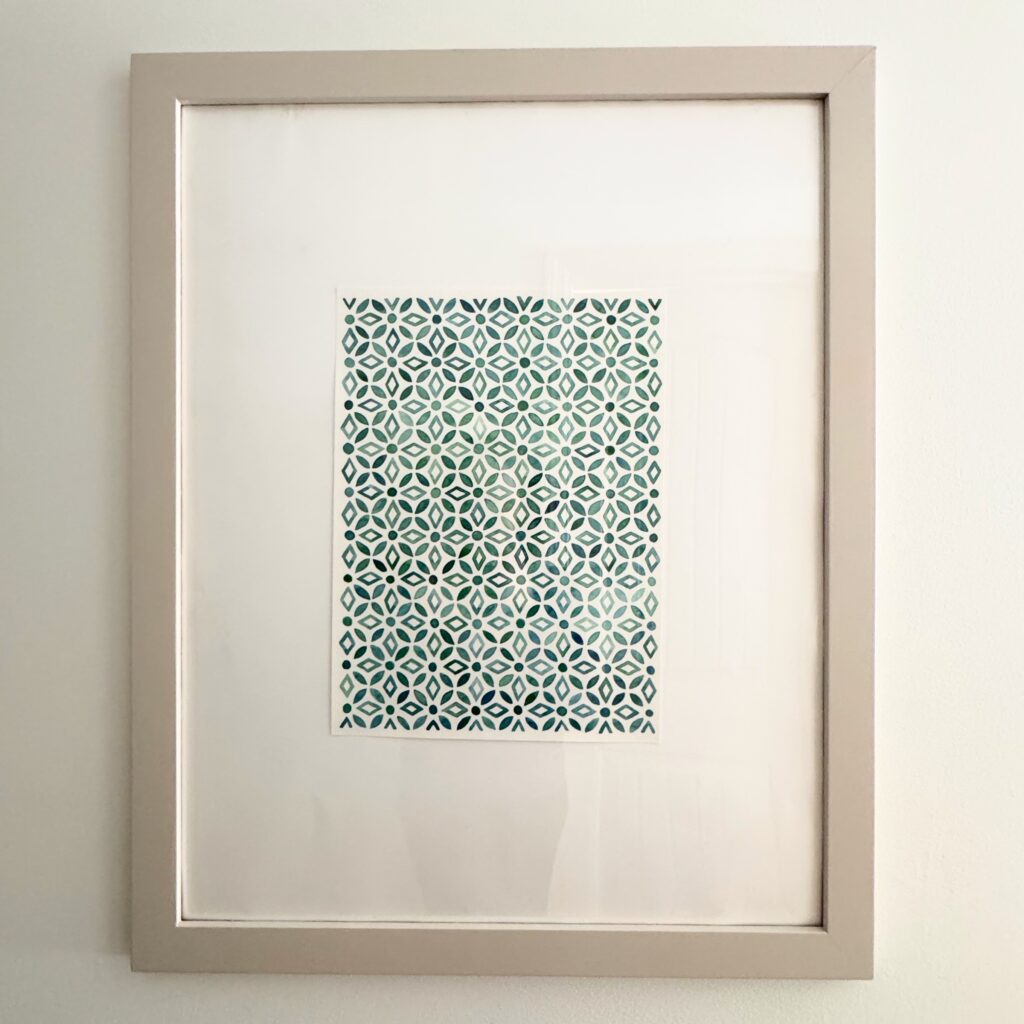
Your geometric watercolor print is now complete! Frame it, use it as a card, or hang it up as is to enjoy your new handmade art.
Why This Project Is Perfect for Anyone
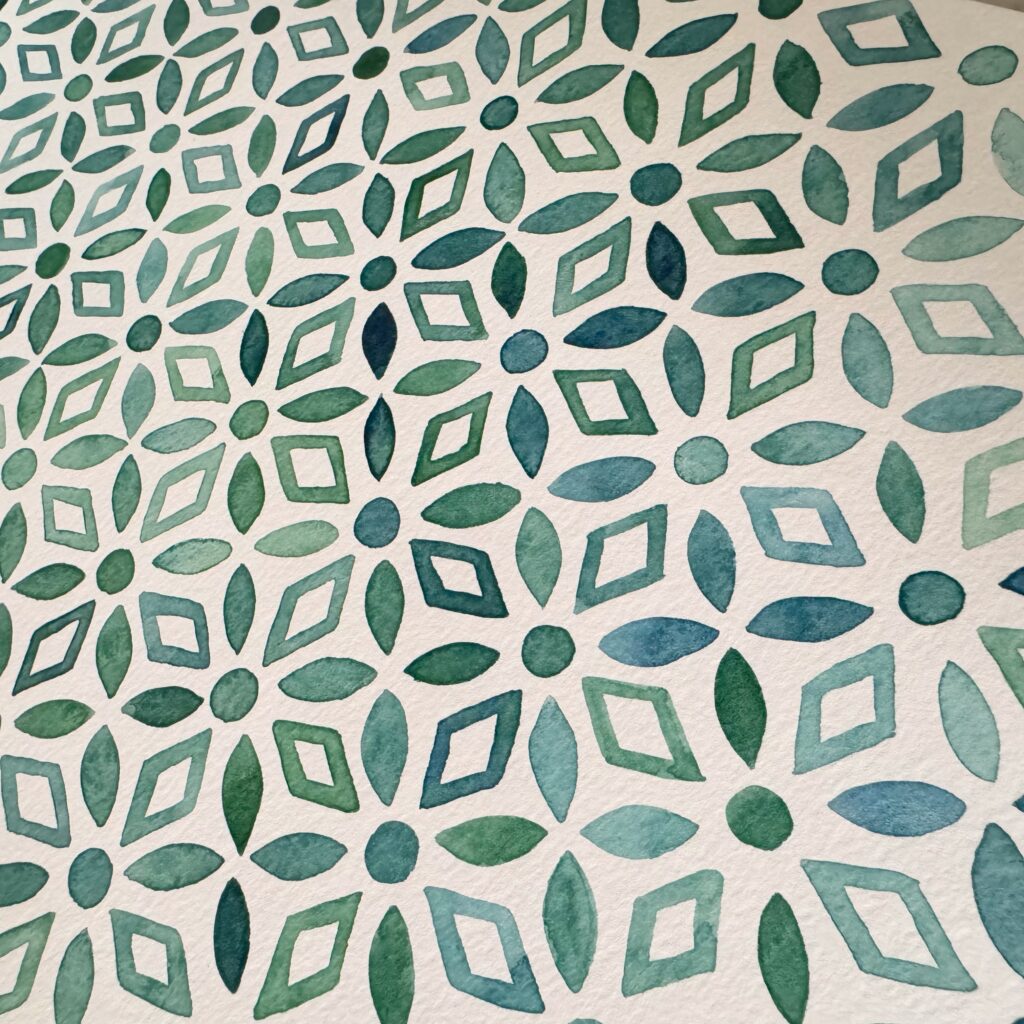
This project is as flexible as it is creative. You can adapt it to whatever materials you have on hand, and it requires no prior painting experience. Plus, the downloadable pattern takes the guesswork out of the design process, leaving you free to experiment with colors and textures!
I can’t wait to see what you create! If you try this project, share your project and tag me on Instagram!
Want to Do Another Art Project?

I’ve shared a few easy DIY art pieces on the blog before. Check out this large scale geometric art piece made with simple cut up pieces of paper.
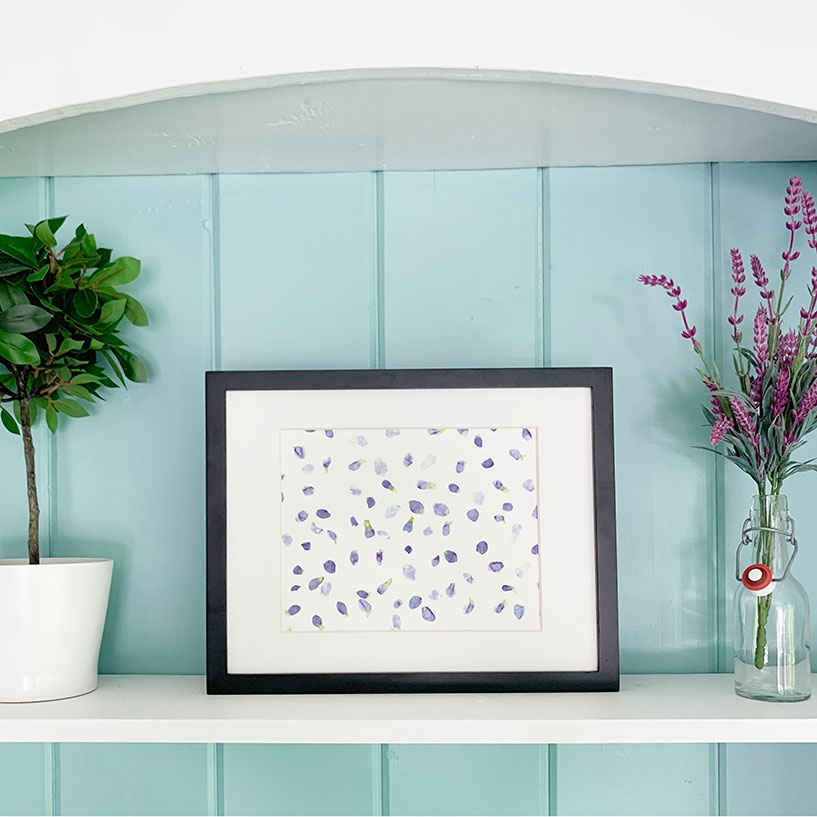
Or one of my most popular posts on Pinterest, DIY hammered flower artwork, which is an easy DIY that is perfect to do with kids in the spring and summer.
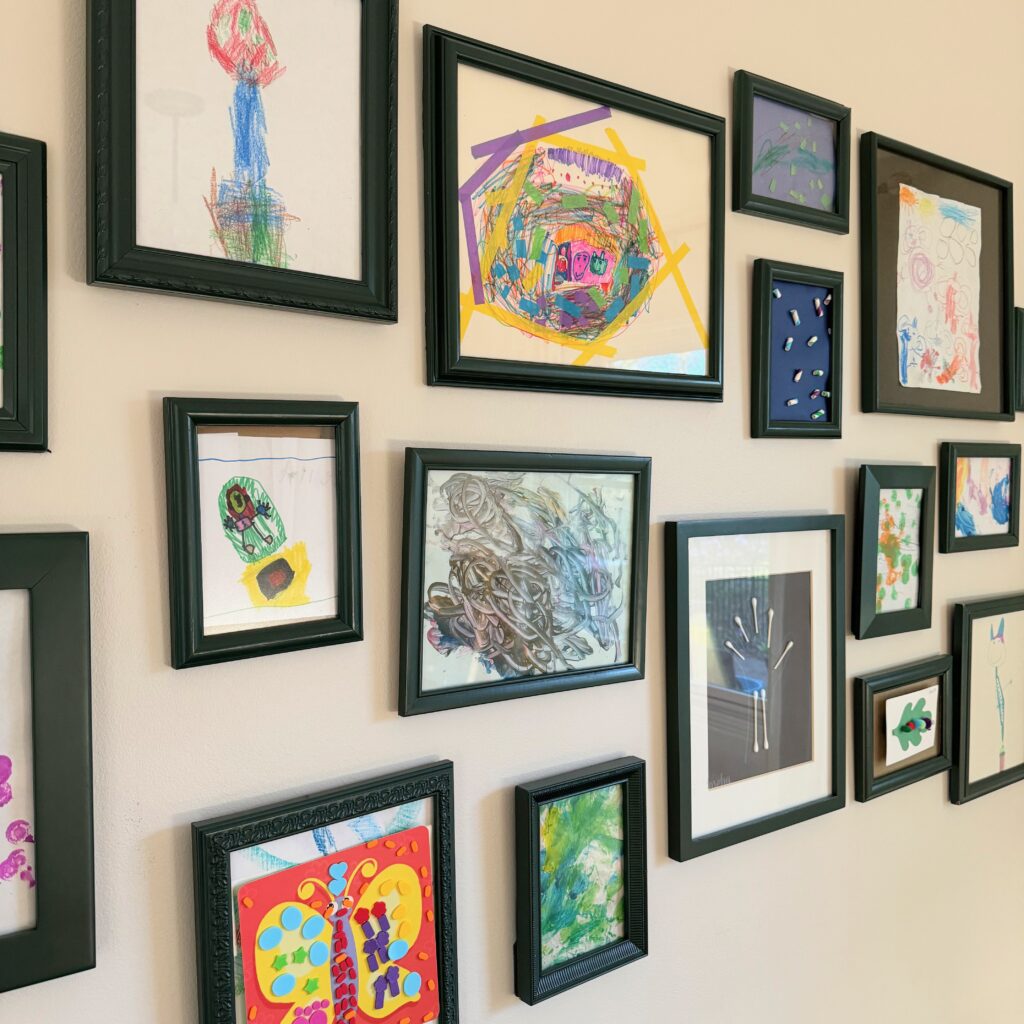
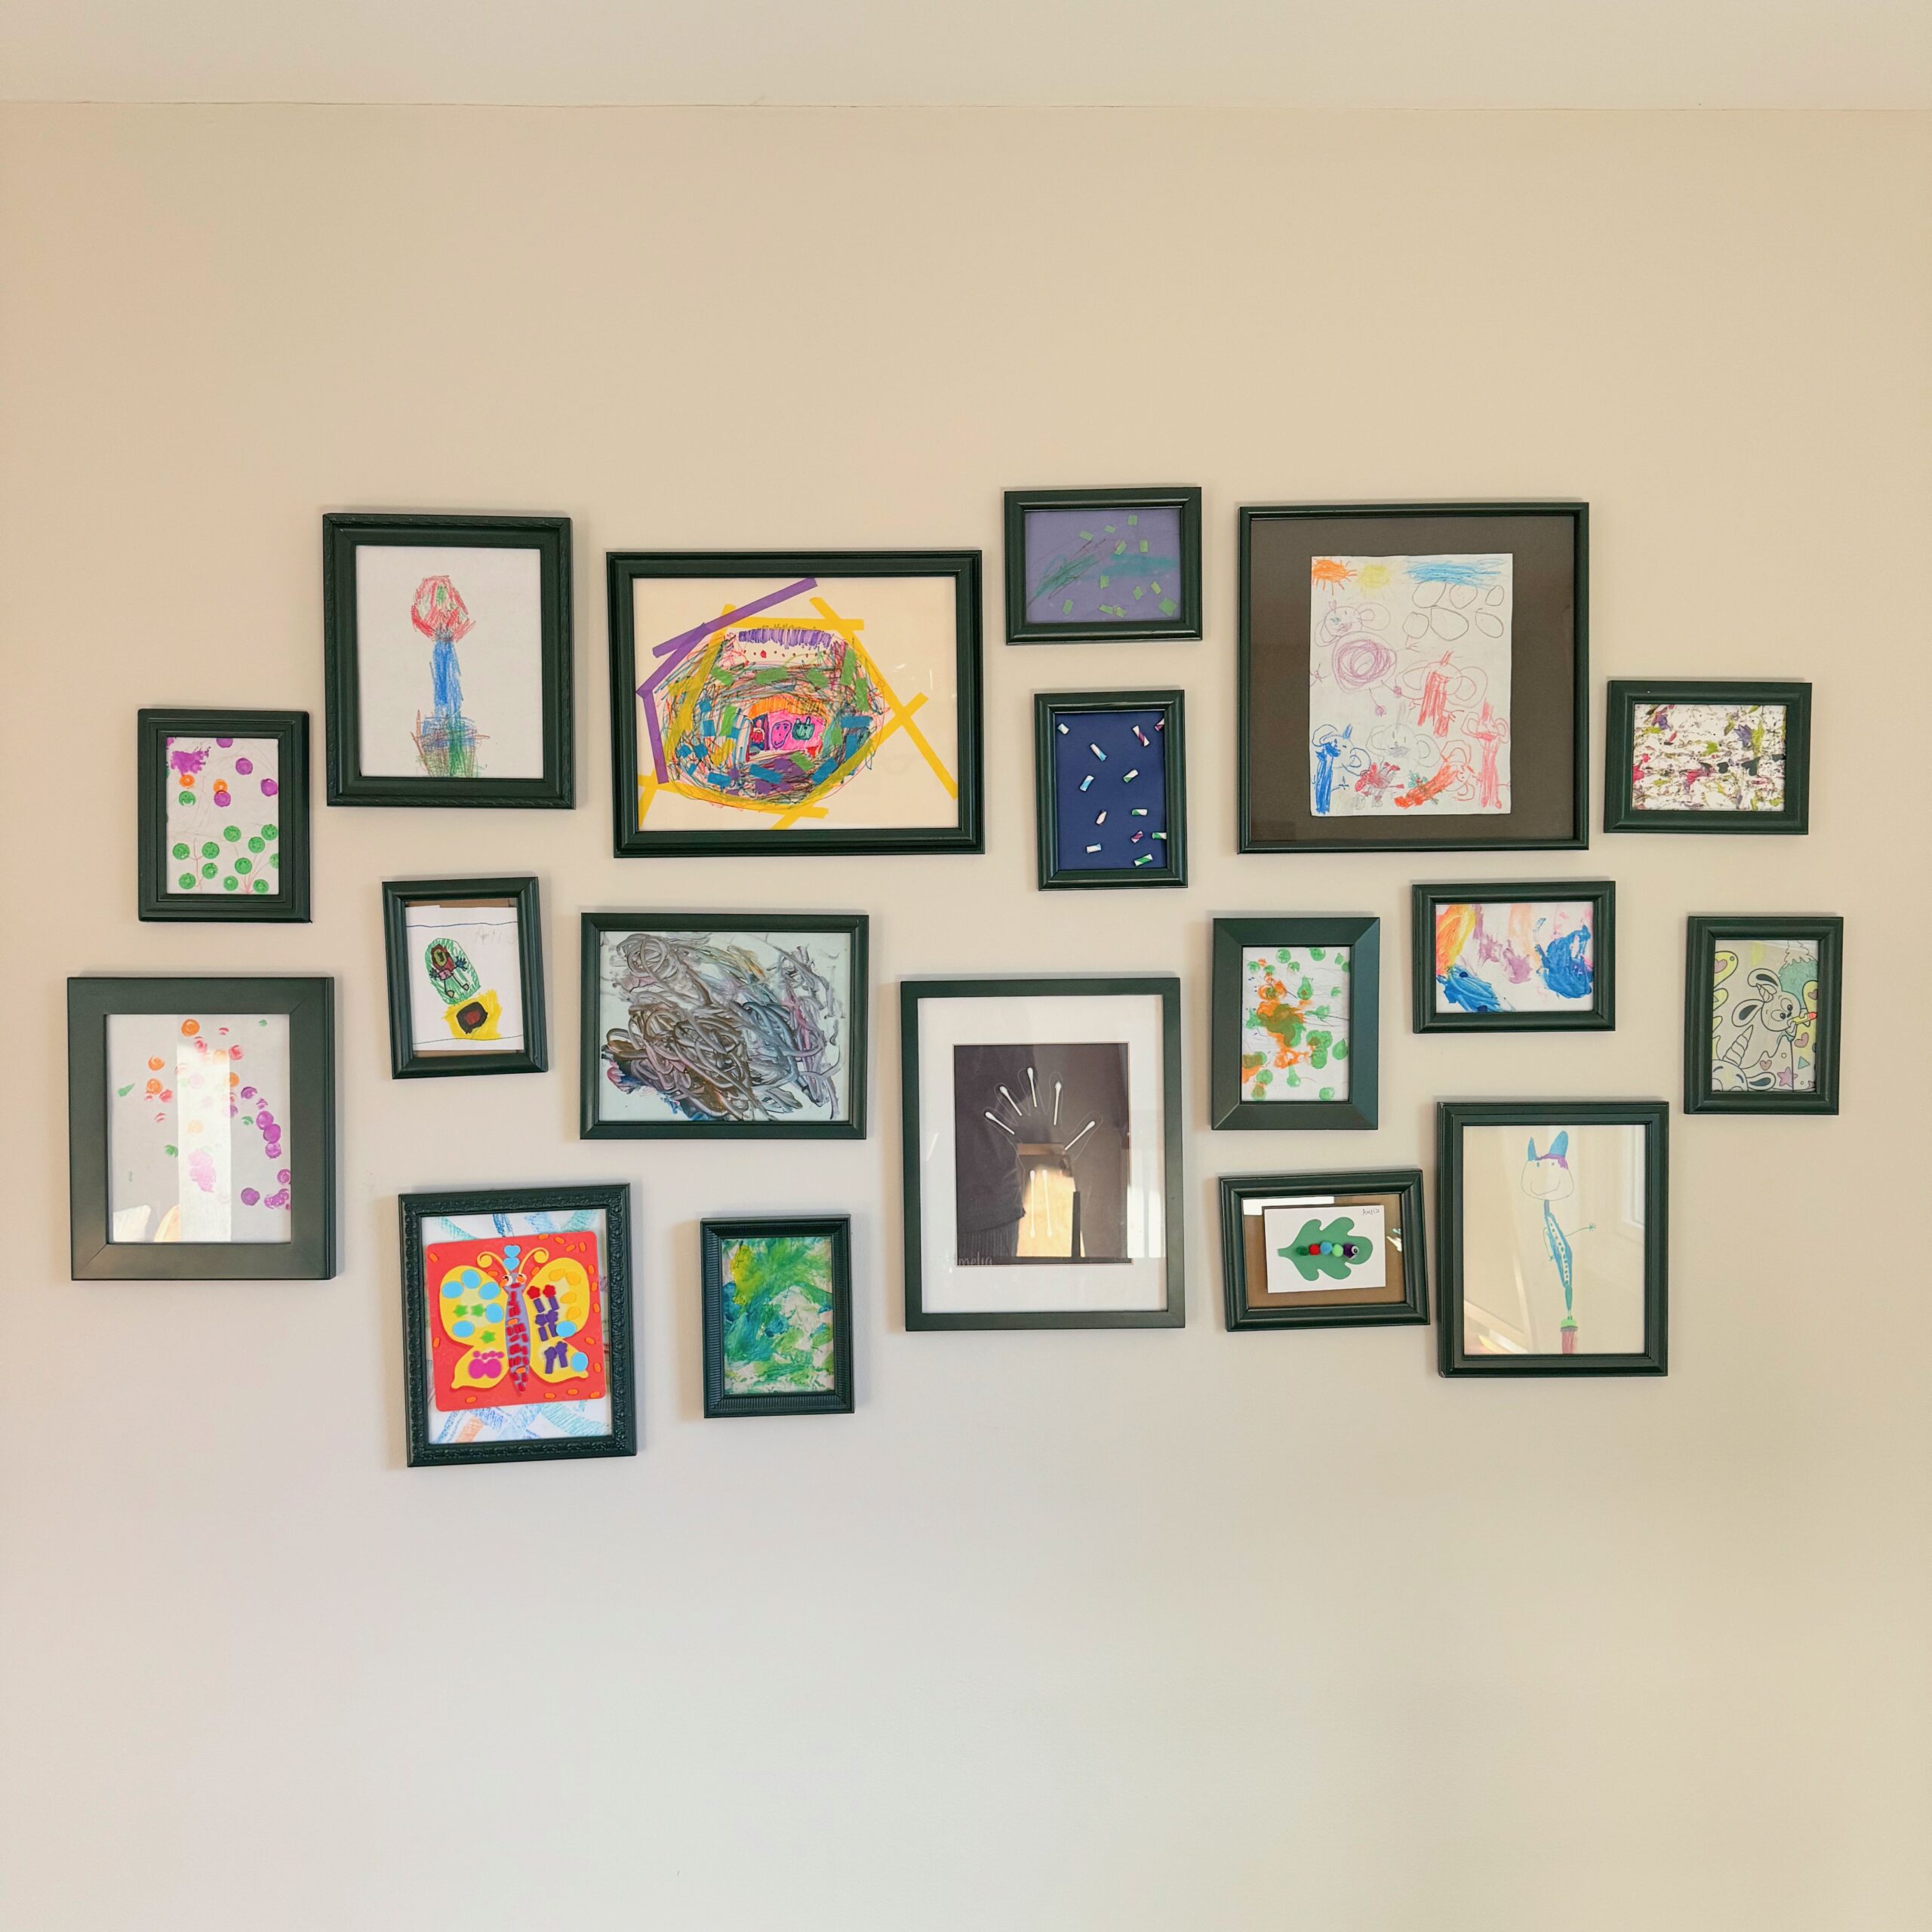
If you also need help piecing together artwork, I still love my DIY Gallery Wall, which features all of my kiddos artwork.
