How to Make Beeswax Wraps
A Sustainable Alternative to Plastic Wrap
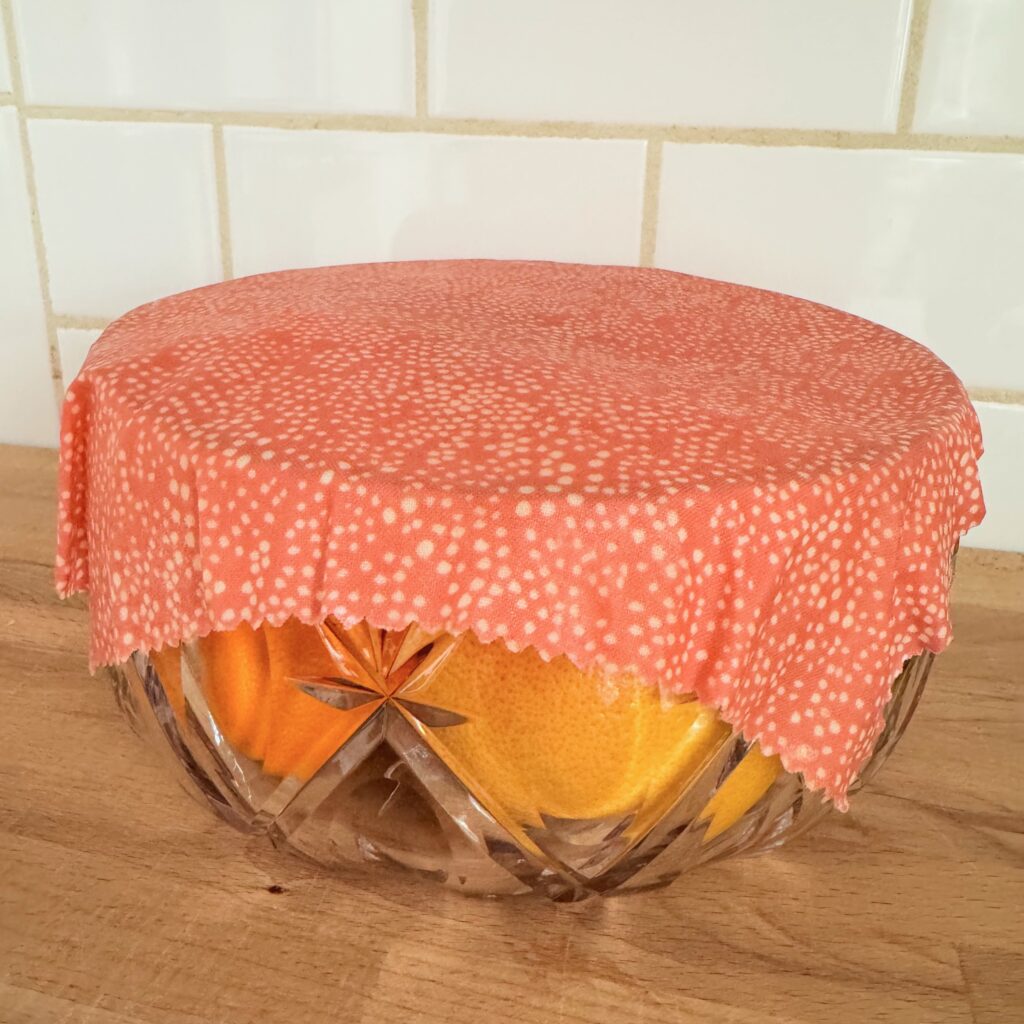
Beeswax wraps are an eco-friendly, reusable solution for preserving food and replacing single-use plastic wrap in your kitchen.
These versatile wraps are easy to make at home and can be customized with your favorite fabrics. With just a few materials and some time, you can make beeswax wraps that are both functional and beautiful. Plus, by making your own, you’ll save money and reduce waste!
I also need to give a shout out to SuperBee Wax Wraps Waxing Bar (not sponsored). I’ve used pure beeswax wraps before and they didn’t really work. They cracked and never stuck. Thankfully, we’ve found out that with a little pine resin and oil, you can make perfectly performing beeswax wraps! (See more details below.)
Why Choose Beeswax Wraps?
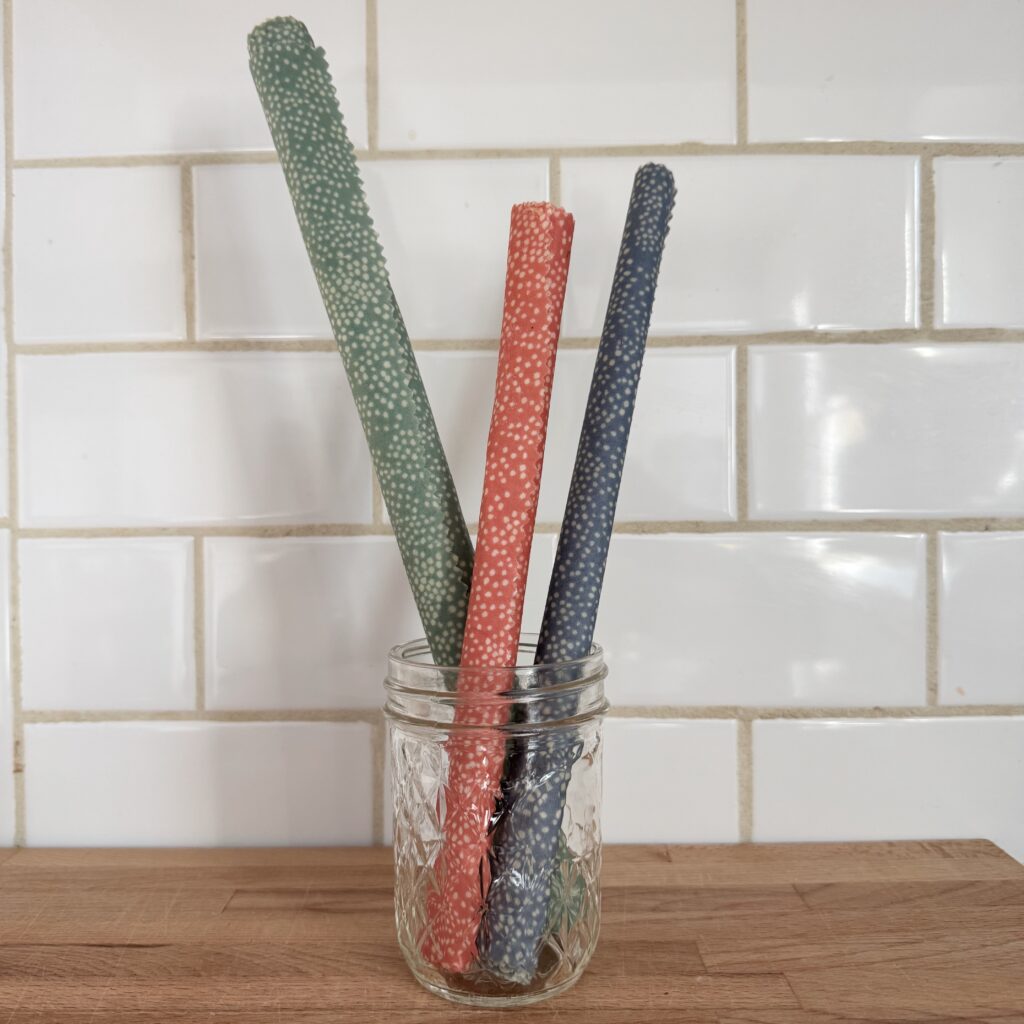
Beeswax wraps are a sustainable alternative to traditional plastic wrap. They’re reusable, biodegradable/compostable, and simple to clean. These wraps work by creating a breathable seal around food or containers, keeping items fresh while reducing plastic use in your household.
SuperBee Wax Wraps Waxing Bar
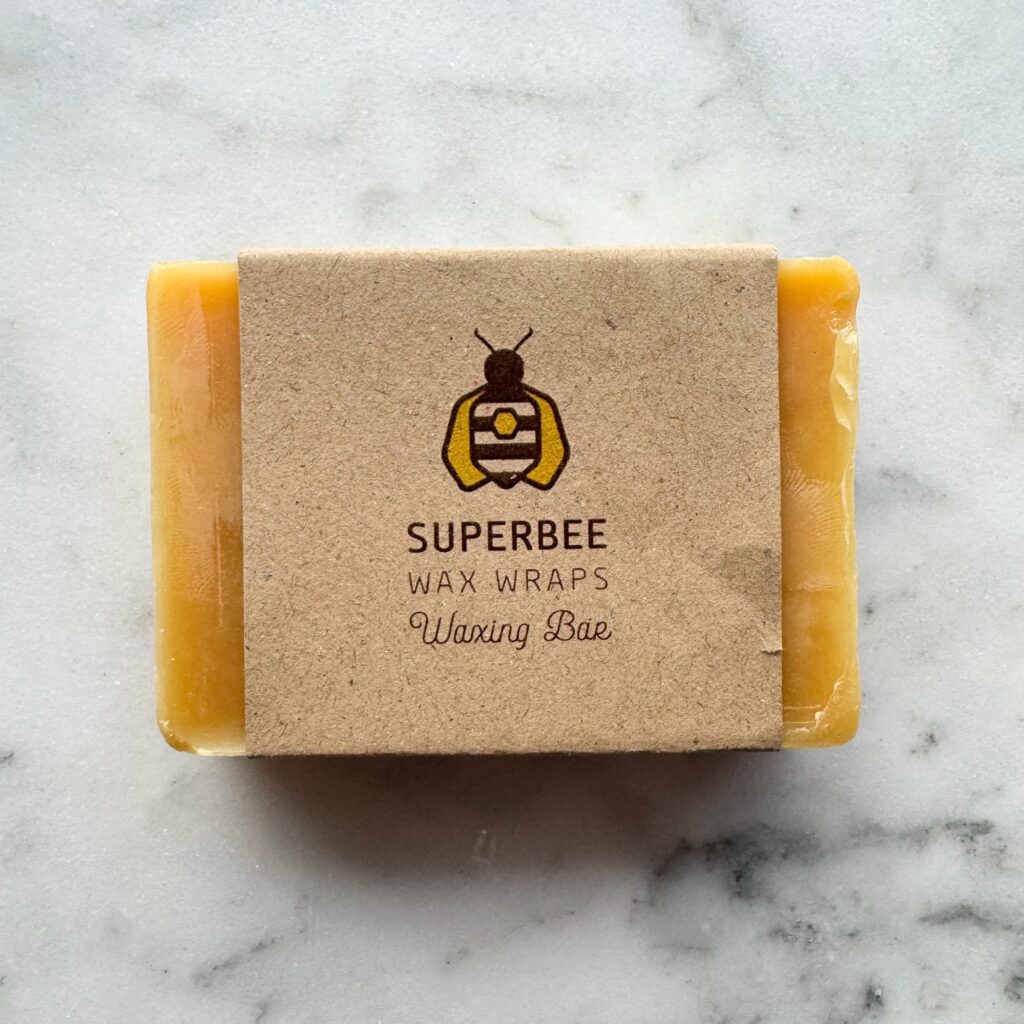
If you just use beeswax to make the wraps, there can be issues with the beeswax sticking and cracking. To avoid these issues you can add pine resin (helps with stickiness) and jojoba or coconut oil (helps with cracking).
If you don’t want to purchase all three things, or you’re just trying this out on a small scale, you can purchase SuperBee Wax Wraps Waxing Bar (not sponsored). They have all three things included in one bar.
Selecting Fabric
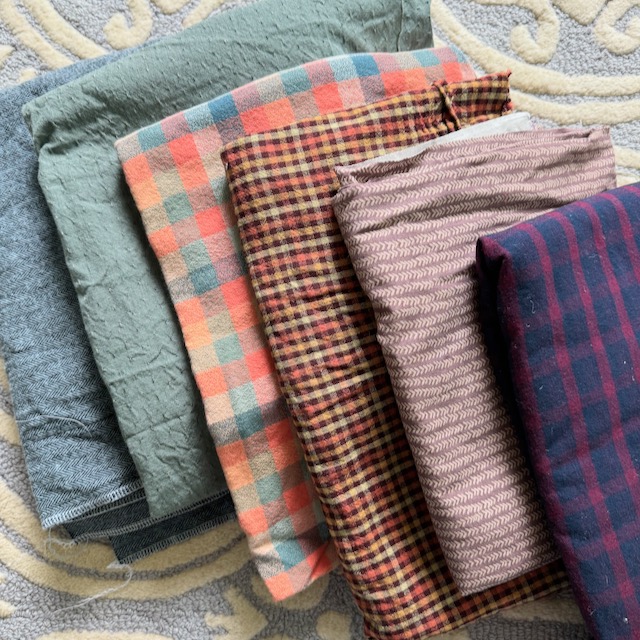
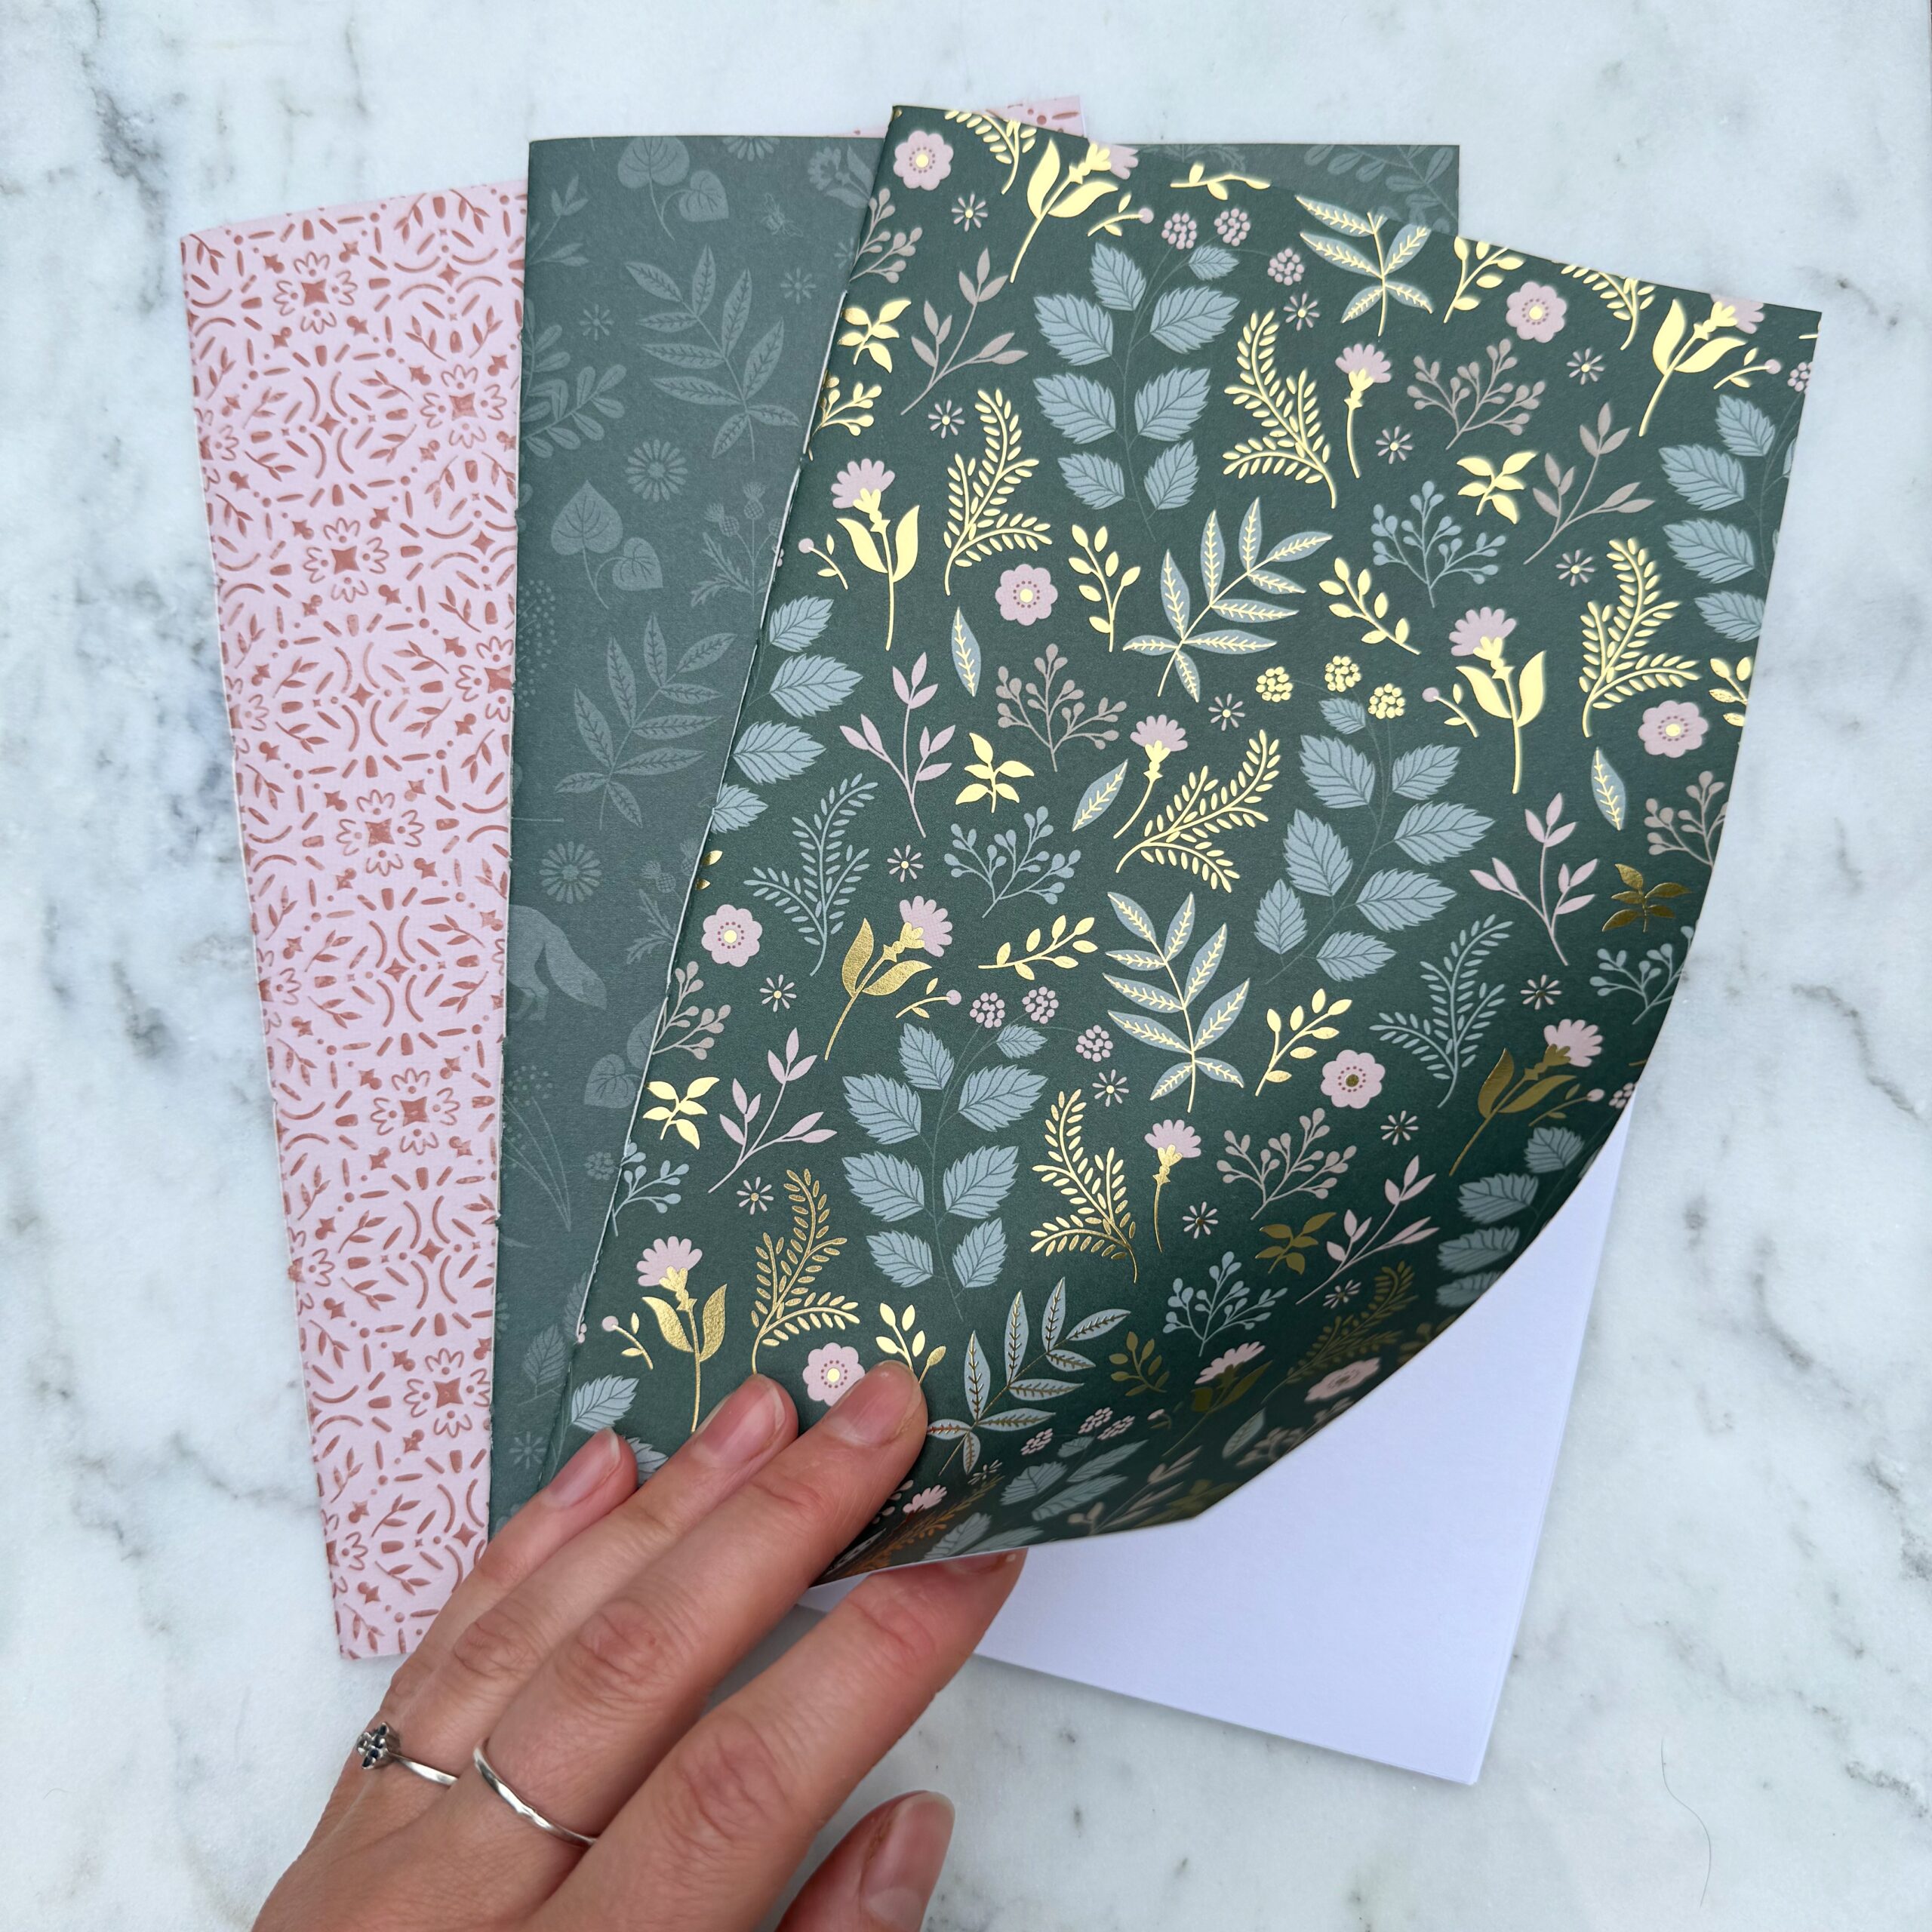
Don’t feel like you have to go to a fabric store and buy new fabric for this specific project. You could easily use nearly any woven fabric. (I would stay away from flannel or fleece. Cotton works best!)
Read my blog post on 10 creative ways to source woven fabrics. You can use old woven blouses, pillow cases, and other things you may already have lying around the house!
What You’ll Need to Make Beeswax Wraps
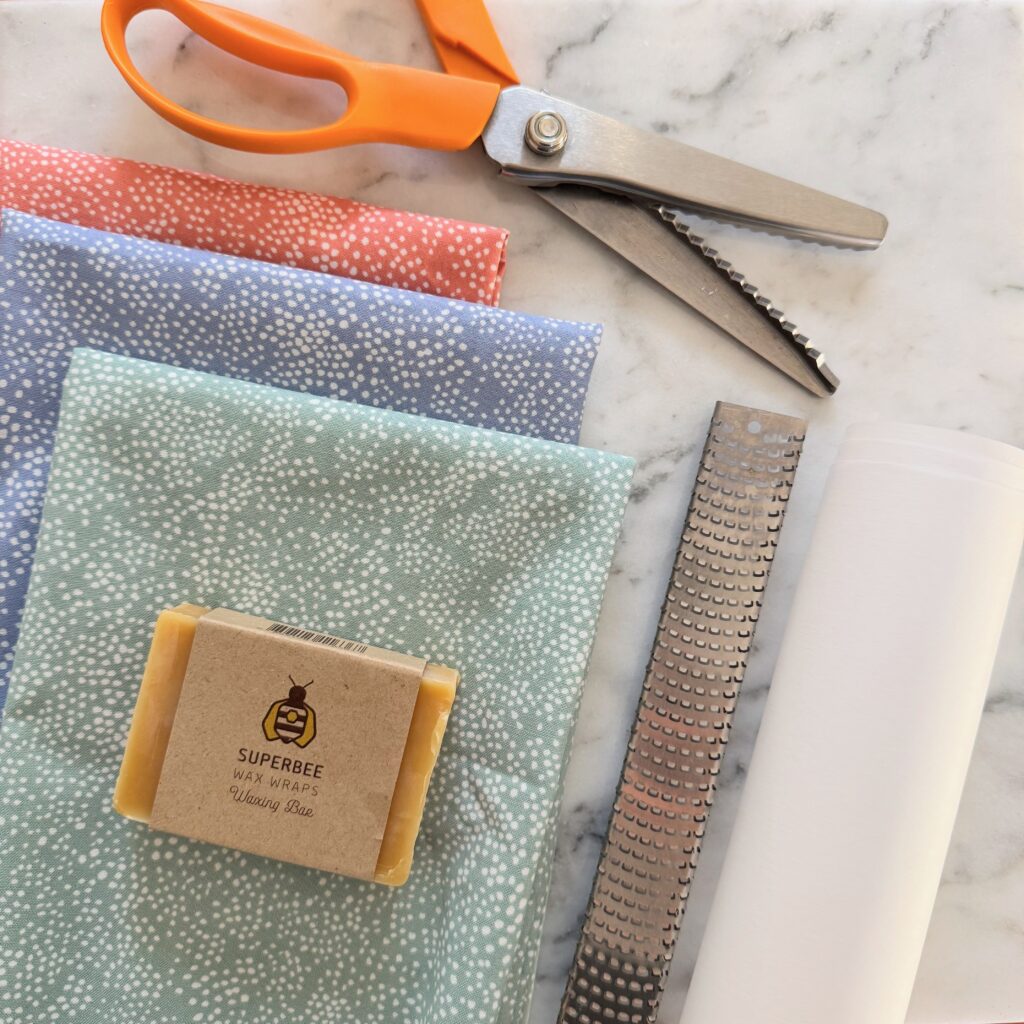
To get started, gather the following materials:
- 100% cotton fabric (prewashed and cut into desired sizes)
- Parchment paper
- Grater
- An iron or baking sheet, oven, and brush (Brush should be food safe and will be hard to clean after.)
- SuperBee Wax Wraps Waxing Bar
- OR
- Beeswax pellets or grated beeswax
- Optional: Pine resin and jojoba oil
How to Make Beeswax Wraps
Step 1: Prepare Your Fabric
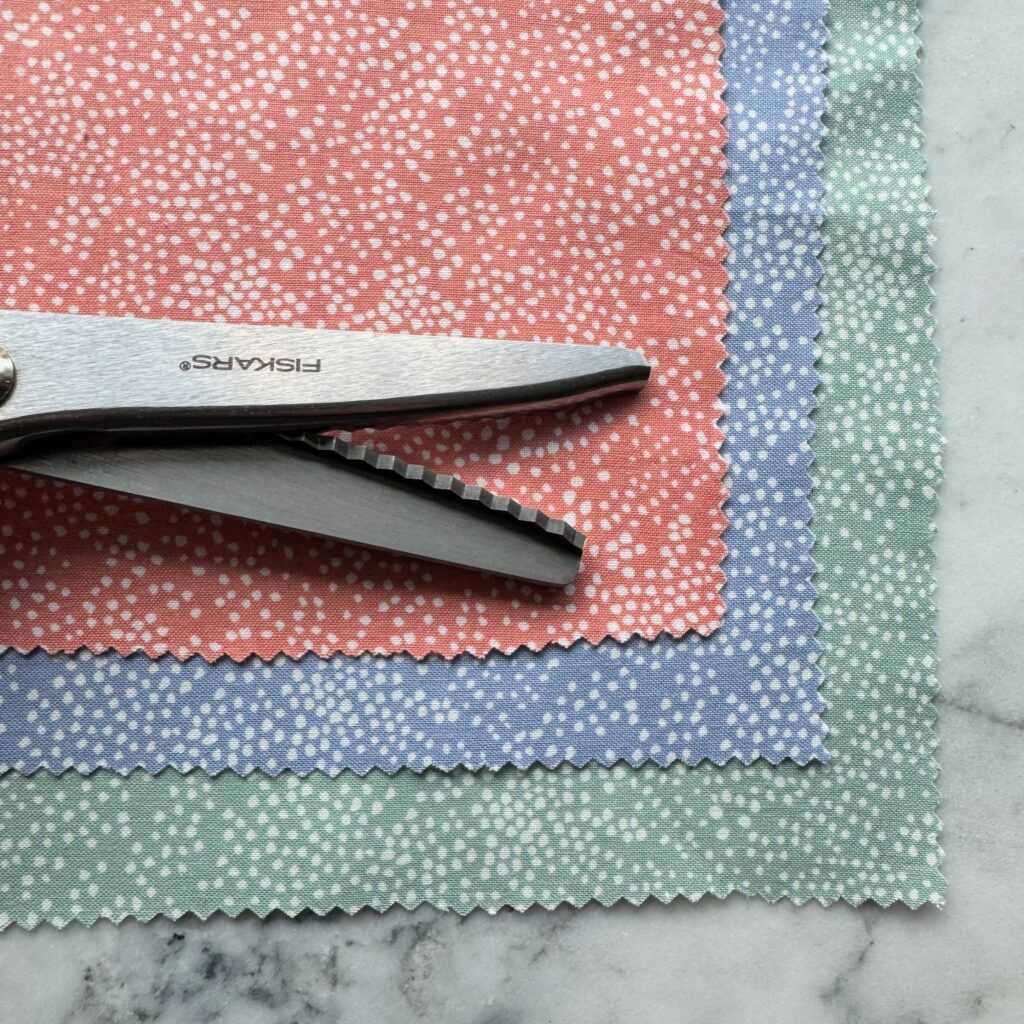
Cut your fabric into squares or rectangles based on the sizes you’ll need. Common sizes are 8×8 inches for small wraps, 12×12 inches for medium wraps, and 14×14 inches for larger wraps. Pinking shears are ideal for cutting fabric, as they help prevent fraying. If you don’t have these scissors, I think normal scissors will still work pretty well and the wax will help prevent it from fraying.
Step 2: Add Beeswax (and Optional Ingredients)
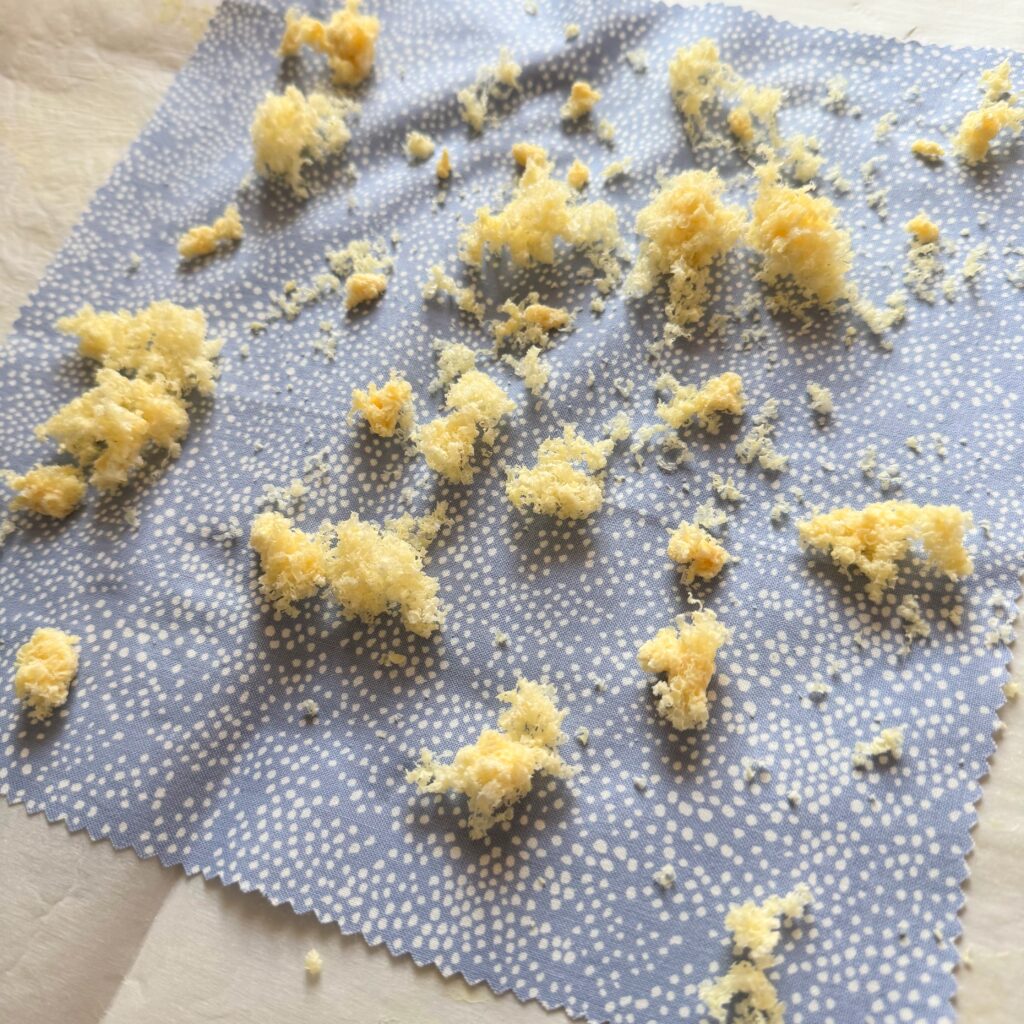
If you’re only using beeswax or the SuperBee Bar, sprinkle a thin, even layer of it over your fabric. If you’d like to add pine resin and jojoba oil, mix these with the beeswax before sprinkling.
Step 3: Melt the Wax
Option 1: Iron Method (My preferred method!)
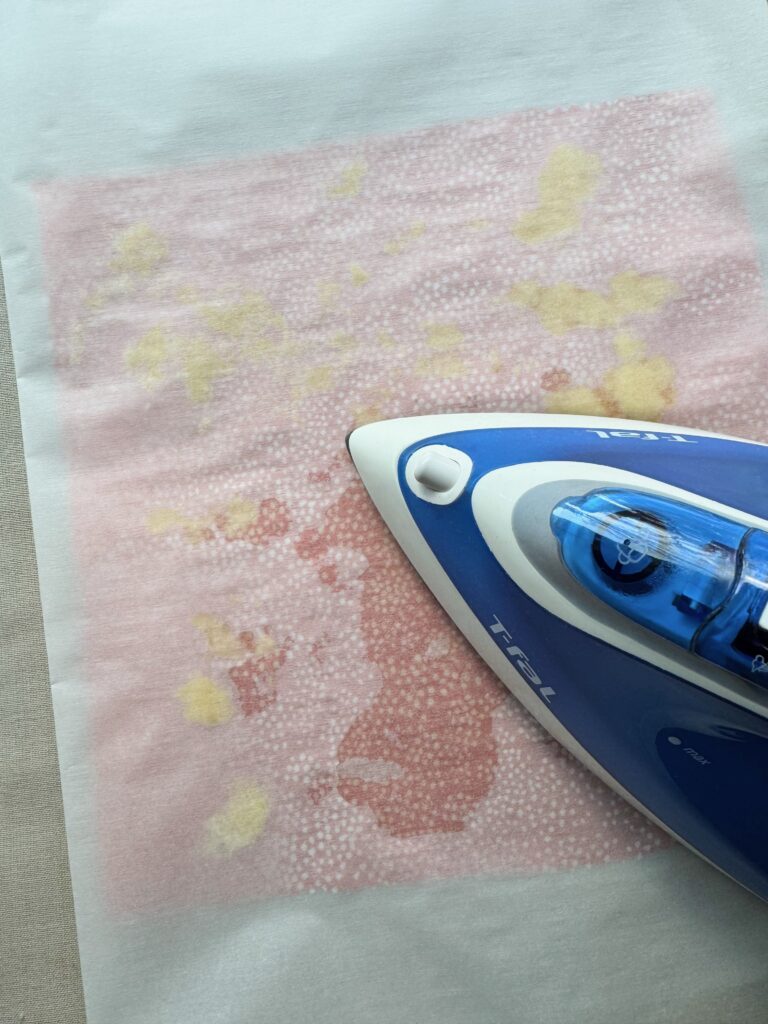
- Place your fabric on a sheet of parchment paper.
- Sprinkle beeswax evenly across the fabric.
- Cover with another sheet of parchment paper.
- Run a warm iron over the parchment paper, melting the wax into the fabric. I like to use just a bit of the wax and use the iron to press the melted wax to different parts of the fabric, to ensure a thin and even layer.
Option 2: Oven Method
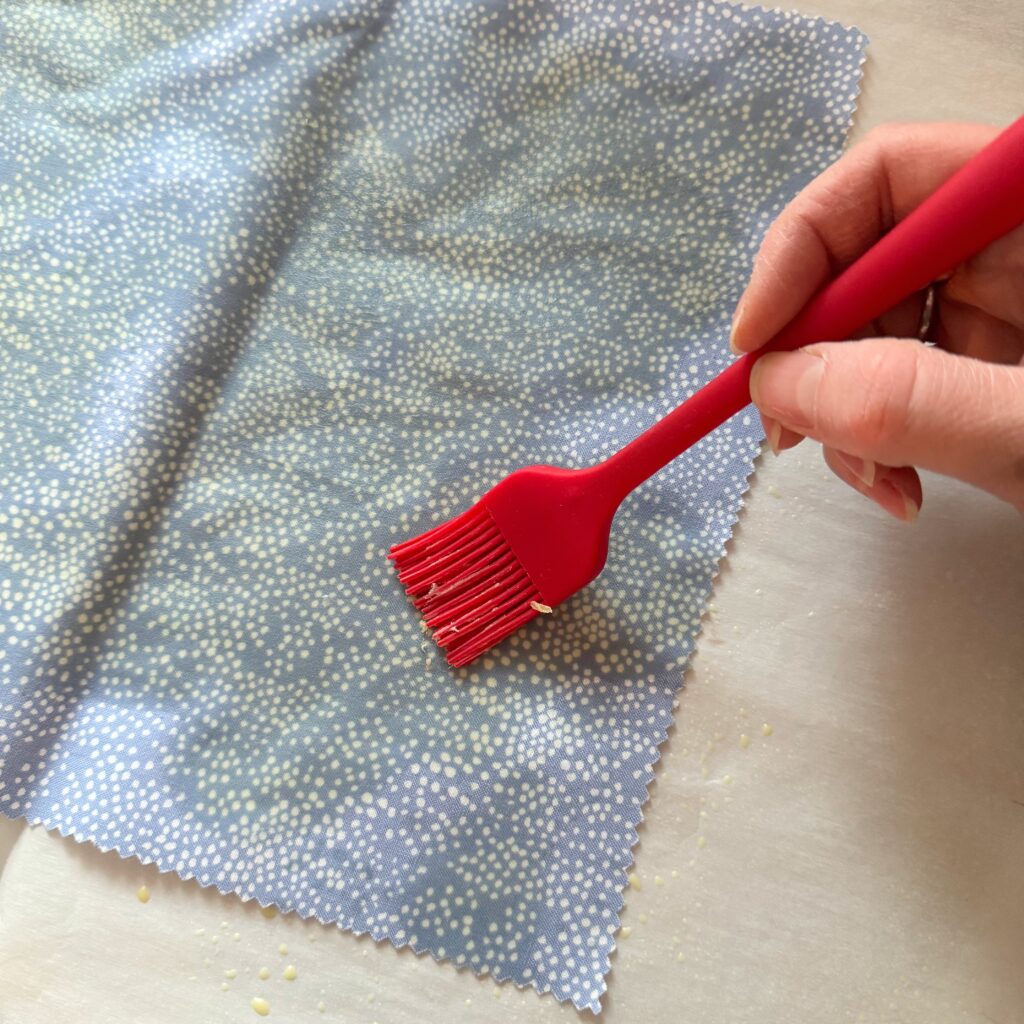
- Lay your fabric on a baking sheet lined with parchment paper.
- Sprinkle the beeswax evenly over the fabric.
- Place the sheet in a preheated oven at 200°F (93°C) and heat for 5-10 minutes until the wax melts.
- If needed, spread the melted wax with a clean food safe brush.
Step 4: Cool and Use
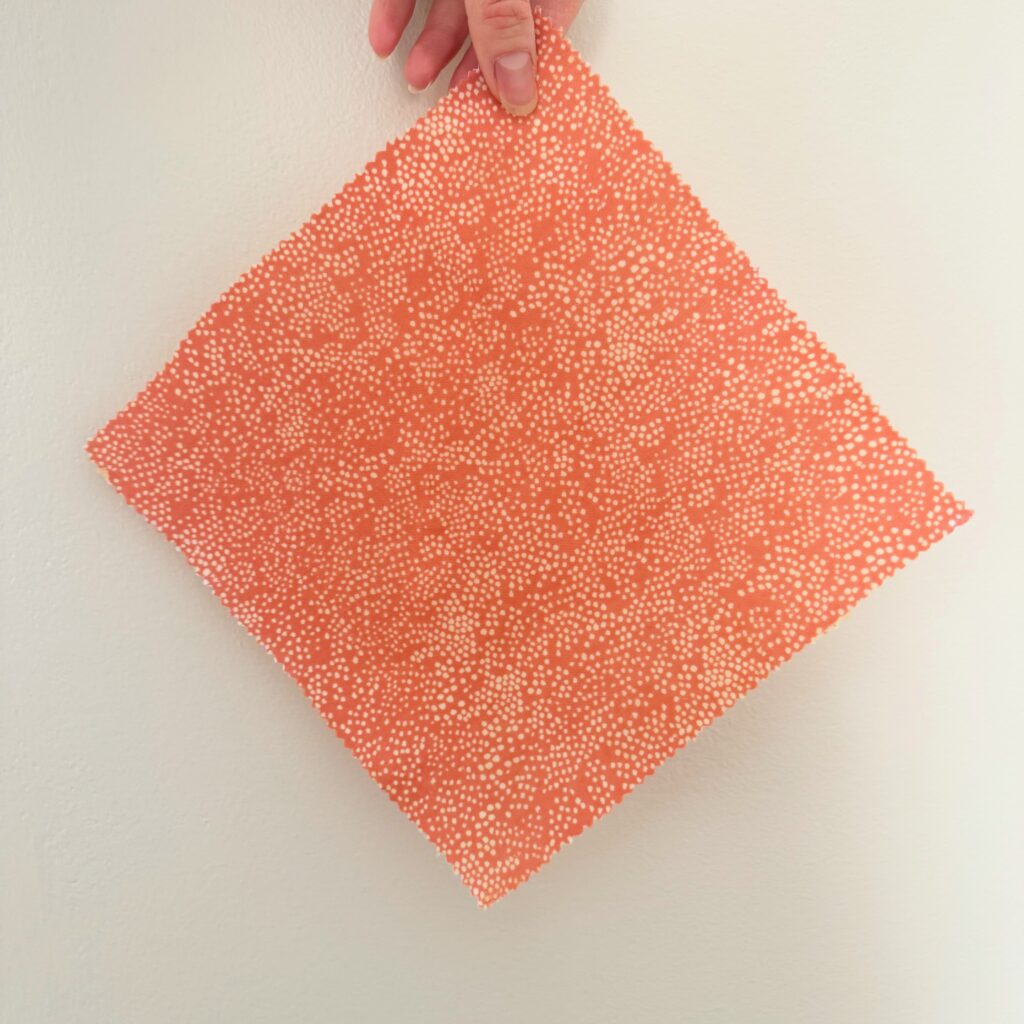
Lift the fabric from the parchment paper and hold it for a few seconds to cool. This step ensures the wax sets quickly and prevents sticking. Your beeswax wrap is now ready to use!
Caring for Your Beeswax Wraps
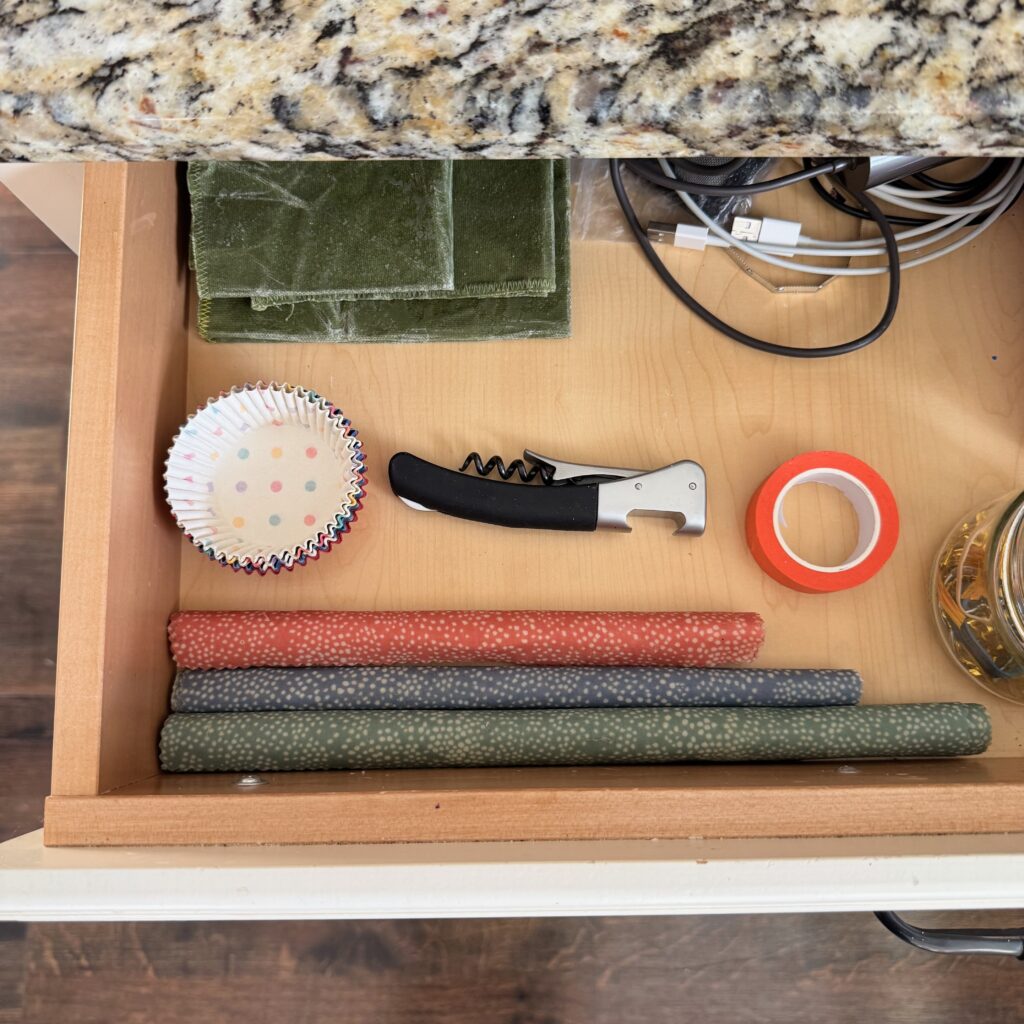
- Cleaning: Wash your wraps in cool water with mild soap. Avoid hot water, as it can melt the wax.
- Storage: Keep wraps in a dry, cool place when not in use. Roll them up for easy storage and to prevent cracking
- Refreshing: If your wraps lose their stickiness over time, you can re-melt the wax and redistribute it to make them like new again.
Creative Uses for Beeswax Wraps

- Covering bowls or jars.
- Wrapping sandwiches, snacks, or produce.
- Folding into pouches for small items like nuts or berries.
Make Beeswax Wraps Today!

By learning how to make beeswax wraps, you’ll enjoy a practical and eco-conscious way to store food. These wraps are a such a practical DIY project. Get creative with your fabric choices and start your journey to a more sustainable kitchen today!
