How to Assemble PDF Sewing Patterns

Once you learn how to assemble PDF sewing patterns you will have a vast array of pattern options at your fingertips. With digital patterns, you can print as many copies as you need, always have a fresh copy on hand, and adjust the sizes to fit your unique measurements. PDF sewing patterns are my absolute favorite!
However, assembling these patterns can initially seem daunting. Let me show you how to smoothly navigate the process and start sewing with confidence!
Why You Should Use PDF Sewing Patterns
- Instant Access
- Immediate Download: PDF patterns are available for immediate download, meaning you can start your project without waiting for shipping.
- Global Availability: Access patterns from designers worldwide, expanding your options far beyond local stores.
- Cost-Effective
- Lower Cost: Digital patterns are often cheaper than printed versions due to the lack of printing and shipping costs.
- Customizable and Reusable
- Multiple Sizes: Print the pattern in different sizes without purchasing multiple copies.
- Adjustable: Easily make adjustments to the pattern by printing and modifying individual pieces as needed.
- Reuse: Print the pattern as many times as you need, making it ideal for creating multiple garments or for different family members.
- Space-Saving
- No Physical Storage: Store patterns digitally, freeing up physical storage space in your sewing area. Especially great for those patterns you only use 1 – 2 times! Or maybe if you cut a pattern in a special size for a gift!
- Easy Organization: Organize your digital patterns by categories, designers, or projects on your computer.
- Eco-Friendly
- Reduced Waste: Only print the pages you need, reducing paper waste.
- Less Packaging: No packaging materials are involved, minimizing environmental impact.
- Detailed Instructions
- Comprehensive Guides: PDF patterns often come with detailed, step-by-step instructions and illustrations.
- Helpful Tips: Many designers include additional tips and resources to help you succeed with your project.
Tips for Success
- Use High-Quality Paper: Thicker paper can be easier to work with and more durable.
- Be Patient and Precise: Taking your time during assembly will ensure accuracy and make the sewing process smoother.
- Invest in Good Tools: A sharp rotary cutter and clear tape or glue can make the process faster and more precise.
Materials You Will Need

- Printer: Ensure it is set to print at 100% scale.
- Paper: Standard A4 or letter-sized paper works best.
- Scissors or Rotary Cutter: For precise cutting.
- Tape or Glue: To secure the pattern pieces together.
- Ruler or Measuring Tape: To verify the printed scale.
- Highlighters or Colored Pens: Optional, for marking lines and sizes.
How to Print & Assemble PDF Sewing Patterns
Downloading and Printing the Pattern
- Download the PDF: After purchasing or downloading a free pattern, save the PDF file to your computer.
- Open the File: Use a PDF reader like Adobe Acrobat. Make sure to open it in an application that allows you to print accurately.
- Check Printer Settings: Set your printer to print at 100% scale or ‘Actual Size’. Avoid ‘Fit to Page’ or any scaling options.
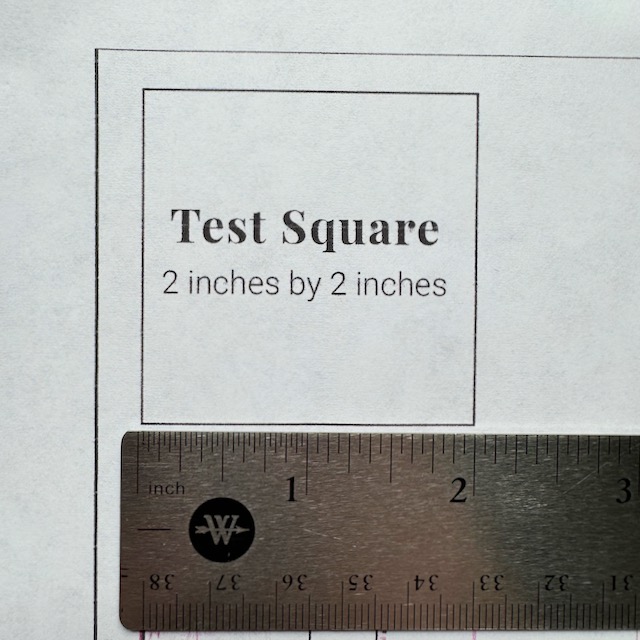
- Print a Test Square: Many PDF patterns include a test square, typically 1 inch or 10 cm. Print this page first and measure the test square to ensure accuracy.
- Print the Pattern Pages: Once you confirm the scale is correct, print the entire pattern. Make sure to print single sided! Double-check that all pages are printed without any skipped or duplicated.
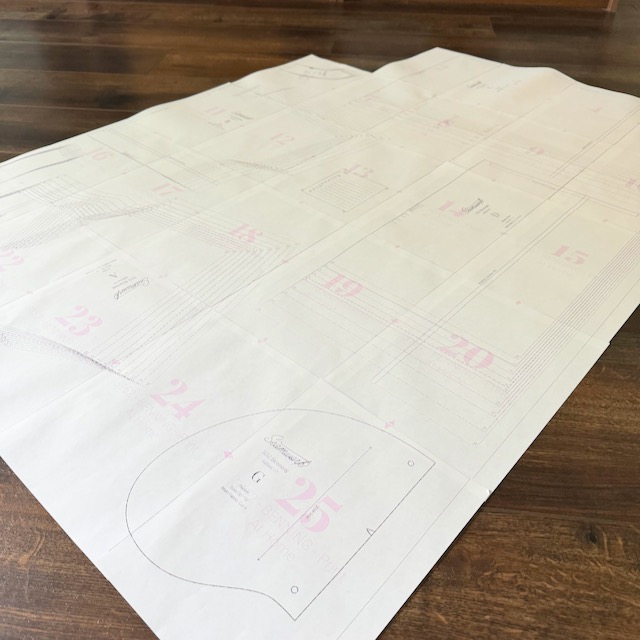
Organizing the Pattern Pages
- Arrange Pages in Order: Most patterns come with a diagram showing the layout of the pages. Lay out your pages on a large surface according to this diagram.
- Match the Symbols and Lines: Each page will have notches, lines, or symbols along the edges to help you match and align them correctly.
Trimming and Aligning Pages
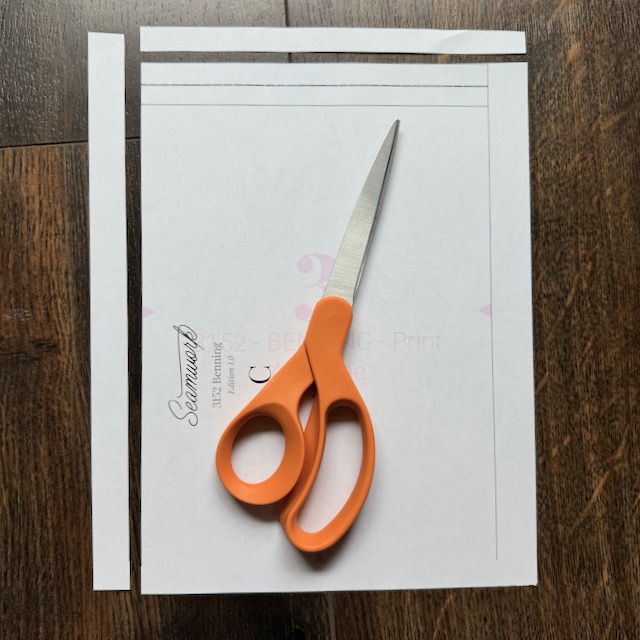
- Trim Edges: Depending on the pattern, you may need to trim the borders of each page to match the adjoining pages. BUT you will need some sides uncut to help with gluing or taping. Use scissors or a rotary cutter to cut the top and left sides of all of the pages. (Could also cut bottom and right sides, its up to you!)
- Align and Tape: Begin by aligning the pages. I like to go in order. Tape or glue the edges together, ensuring the lines and notches match up perfectly. When taping, I like to focus on taping the edges where I know I will cut the pattern. No need to expertly tape the white space between the pattern pieces that you know you will cut out and recycle.
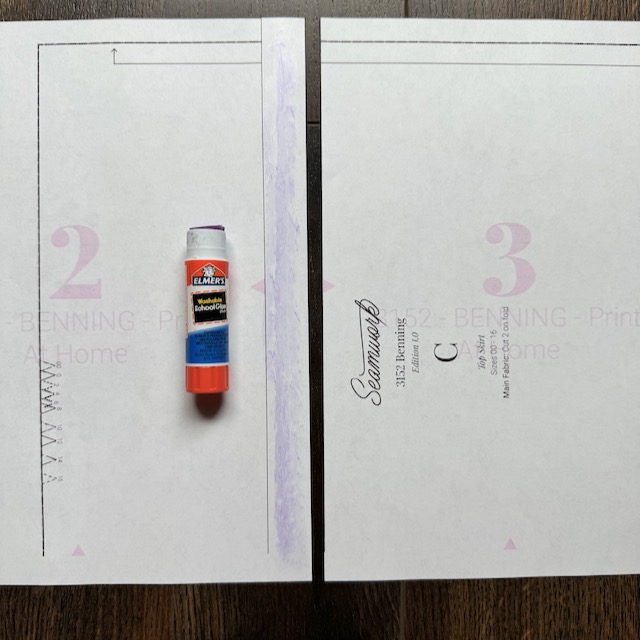
- Check Continuity: Ensure the lines and patterns flow seamlessly from one page to the next. Adjust if necessary before fully securing with tape or glue.
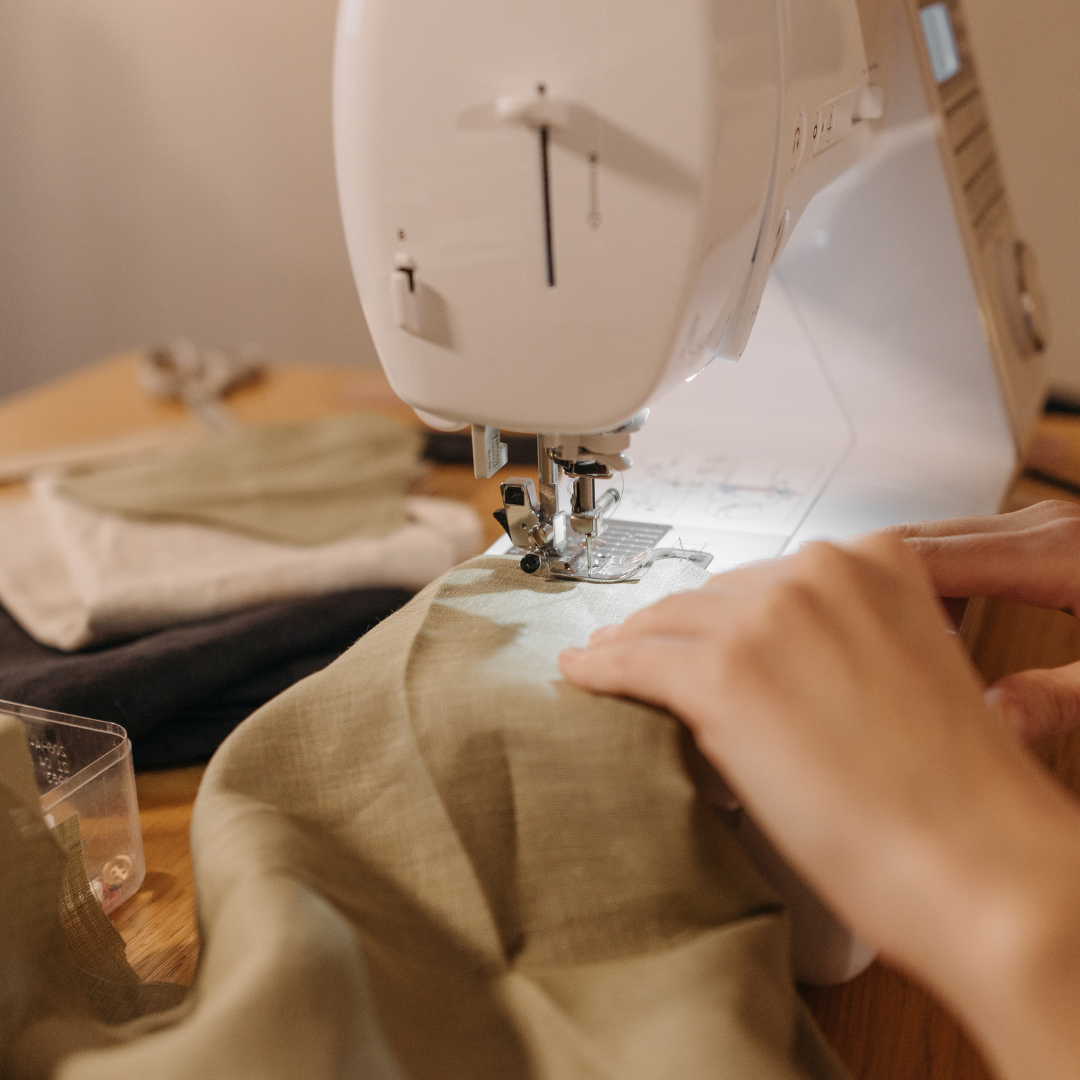
Cutting Out the Pattern Pieces
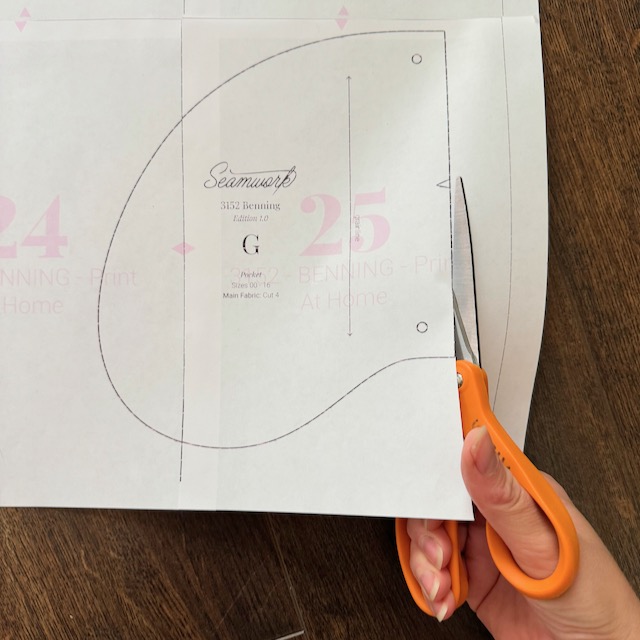
- Trace or Cut Directly: Depending on your preference, you can trace the assembled pattern onto tracing paper or fabric. Alternatively, cut the pattern pieces directly from the assembled pages.
- Mark Pattern Details: Use highlighters or colored pens to mark important details like grain lines, darts, and notches. I also like to make notes about seam allowances and other important pattern notes directly onto the pattern pieces.

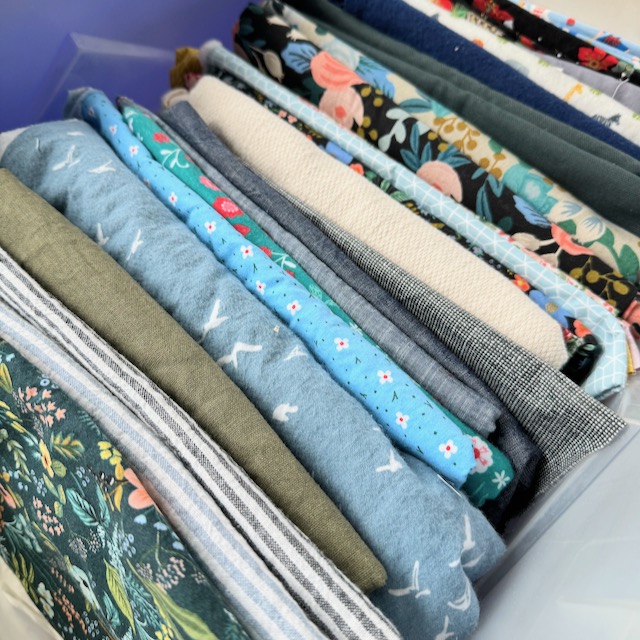
Storage and Reuse
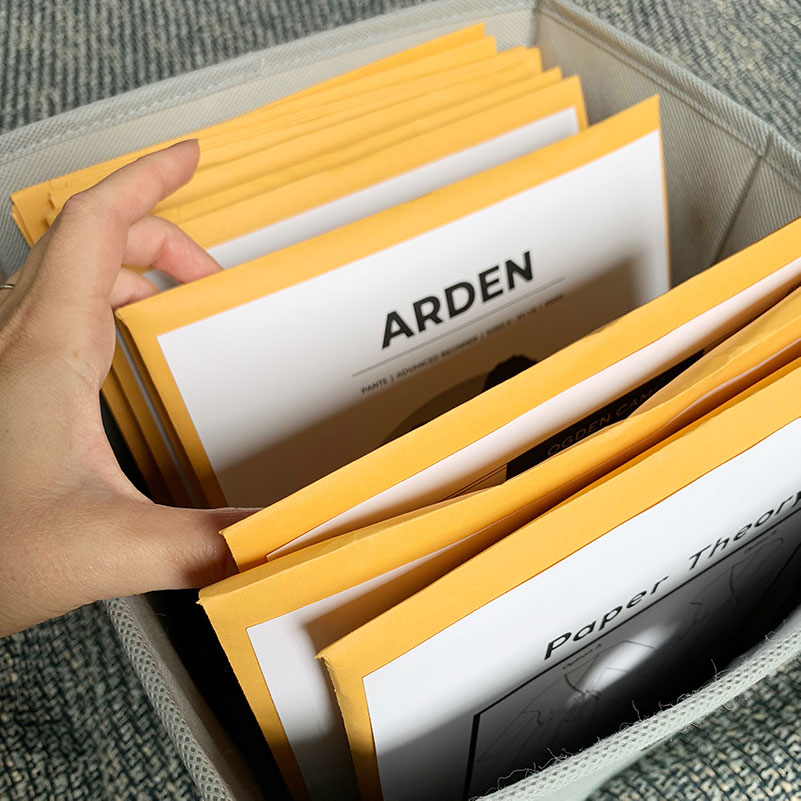
- Store Carefully: Fold your assembled pattern pieces neatly and store them in a labeled envelope or a plastic sleeve for easy reuse. Check out my blog post here, about my favorite way to store sewing patterns.
- Digital Backup: Keep a digital backup of the PDF file for future printing or size adjustments.
Enjoy your Assembled PDF Sewing Patterns!
By following these steps and understanding the benefits, you’ll find that learning to assemble PDF sewing patterns becomes a straightforward and enjoyable part of your sewing journey.
Not only does it give you access to a wider range of patterns, but it also allows for customization and repeated use, making your sewing projects more versatile and creative.
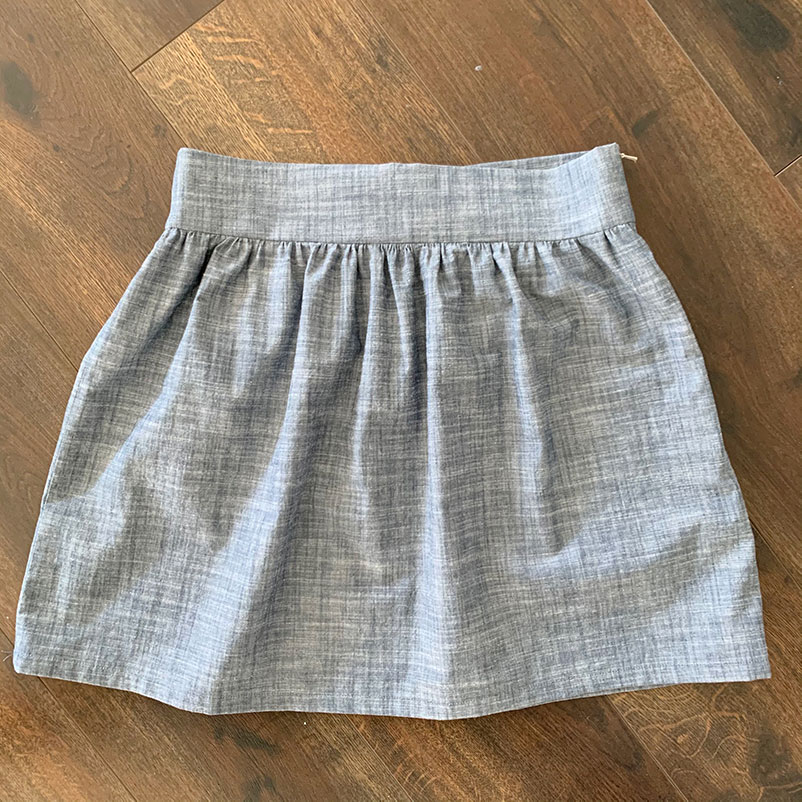
It is perfect for sewing garments for kids, when you know your child will continue to change in size! Happy sewing!