How to Sew an Ironing Board Cover
If your ironing board cover is looking a little tired or stained—or if you just want something that better suits your style—it might be time to make your own. When you sew an ironing board cover, you’re not only creating something beautiful and custom, you’re also extending the life of a frequently used household item. This is a simple project that makes a big difference in your sewing space!
Why Sew an Ironing Board Cover?
Ironing board covers take a lot of wear and tear, especially if you sew often. While store-bought covers are available, they’re often poorly padded or come in limited styles. When you sew an ironing board cover yourself, you can choose your own fabric, add extra padding, and ensure a perfect fit for your board.
This project is beginner-friendly and budget-conscious—two great reasons to add it to your DIY list.
Materials Needed to Sew an Ironing Board Cover
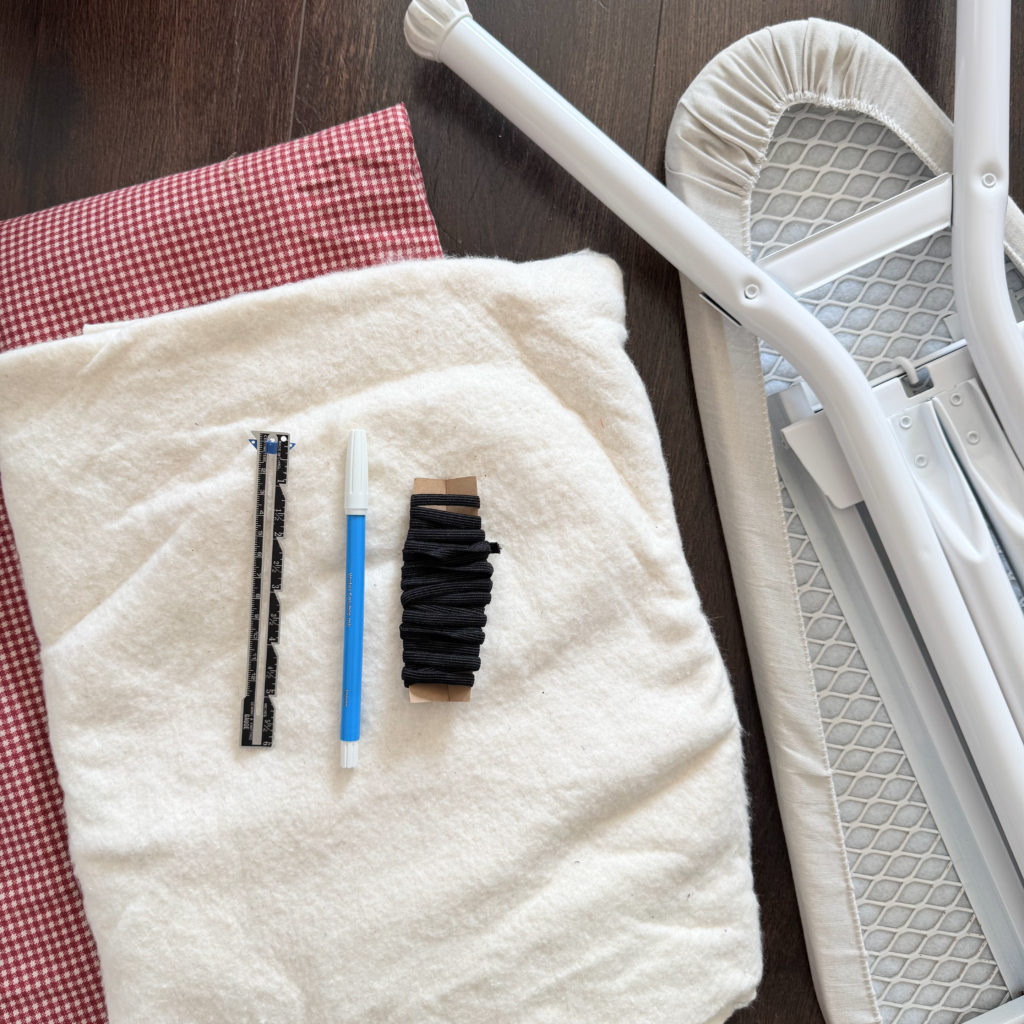
To sew an ironing board cover, gather the following:
- 100% cotton fabric (about 2 yards, depending on your board size)
- Cotton batting or old towel for padding
- 1/4″ elastic (about 2–3 yards) or cotton twill tape for a drawstring
- Safety pin
- Sewing machine and basic sewing supplies
- Fabric scissors
- Pins or clips
- Iron and ironing board
Step-by-Step Instructions
1. Trace the Shape of Your Ironing Board
Place your ironing board upside down on your fabric. Trace around it with a 3 inch buffer all the way around to allow for seams and wrap-around. Cut out your fabric using the same shape.
2. Make a Casing for Elastic or Drawstring
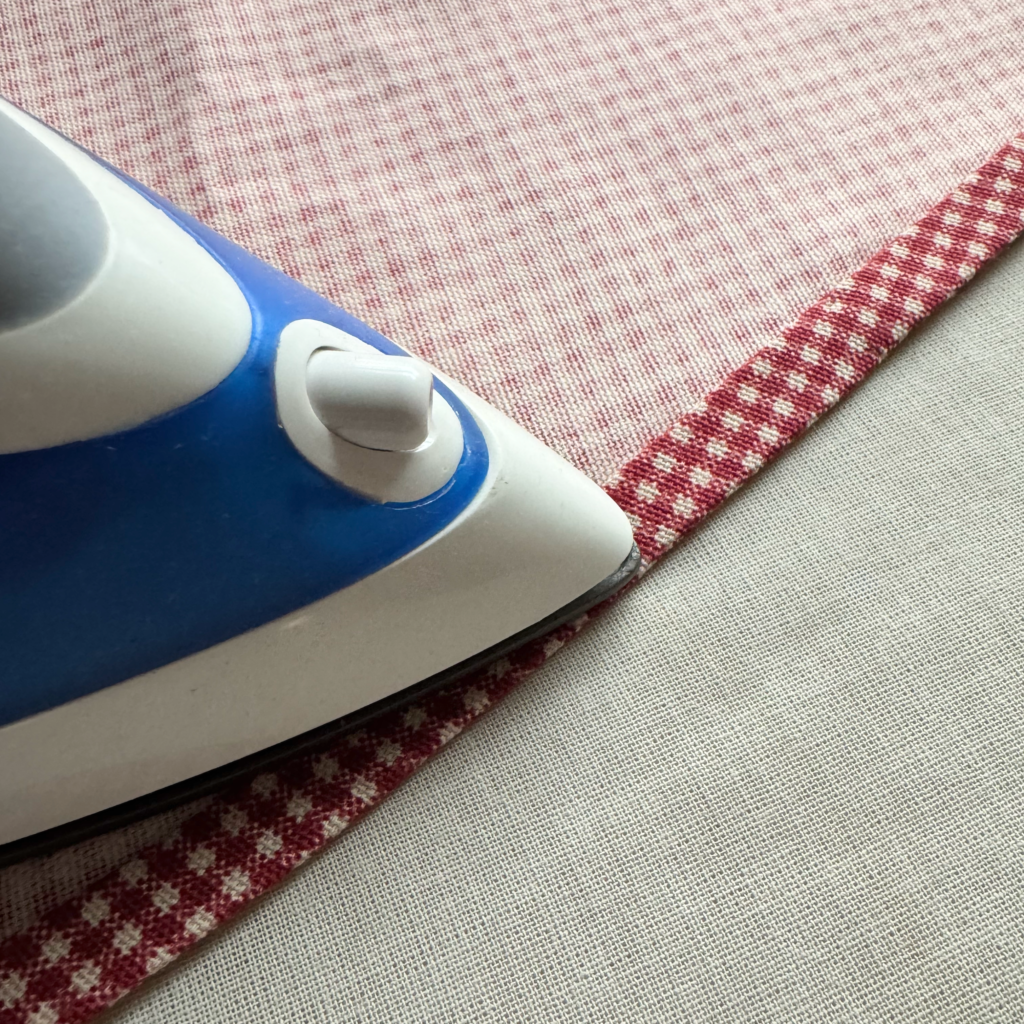
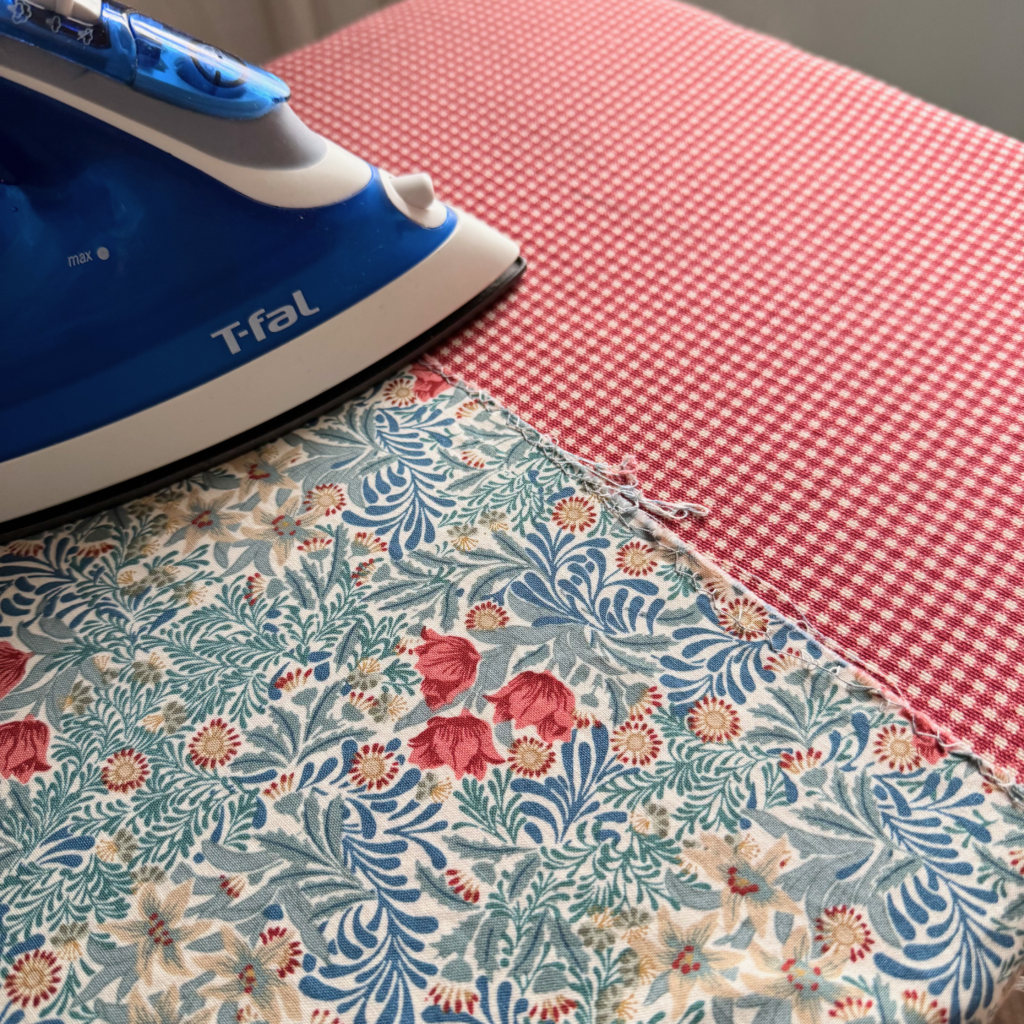
Fold the edge of the fabric over ¼ inch and press. Then fold over another 1/2 inch to create a casing.
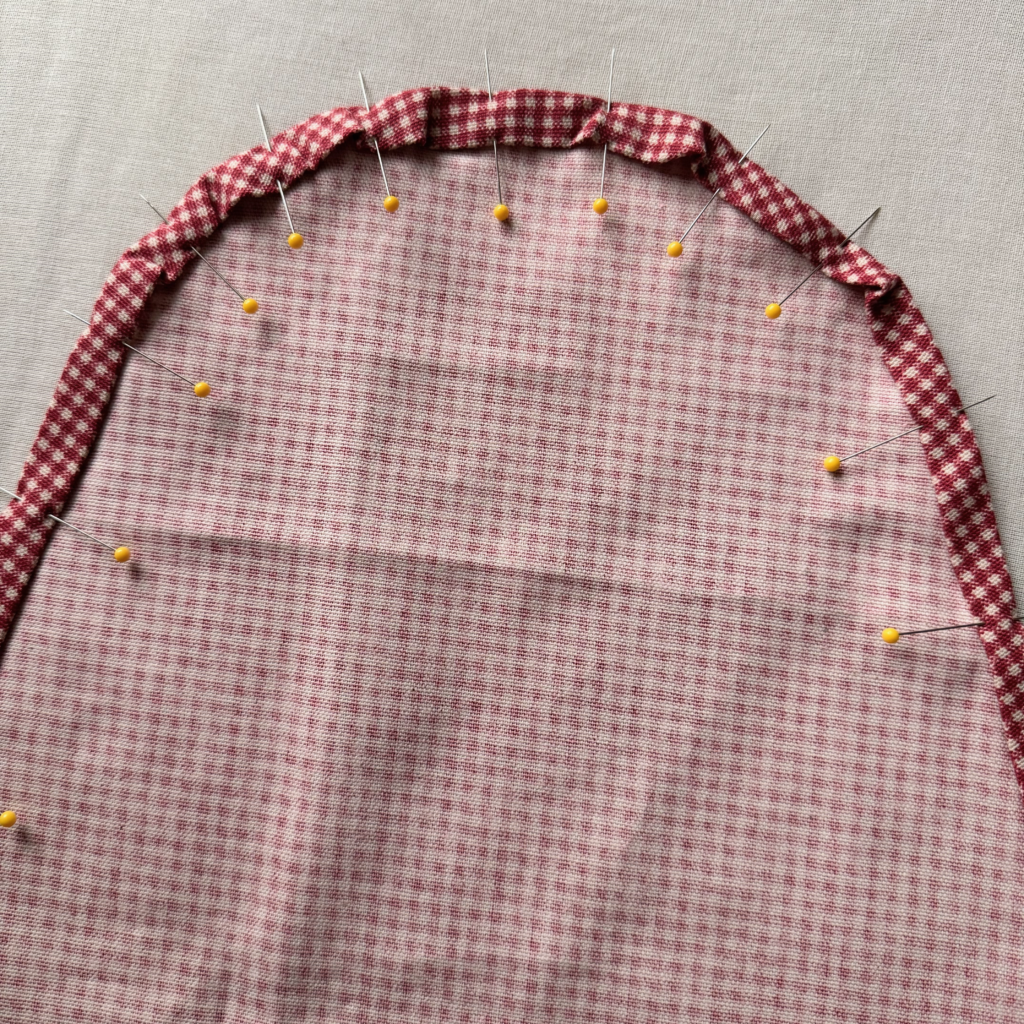
Pin and sew all the way around, leaving a 2-inch opening to insert your elastic or drawstring. It can be difficult to pin around the sharper curves, but just try your best to space the smaller overlaps of fabric.
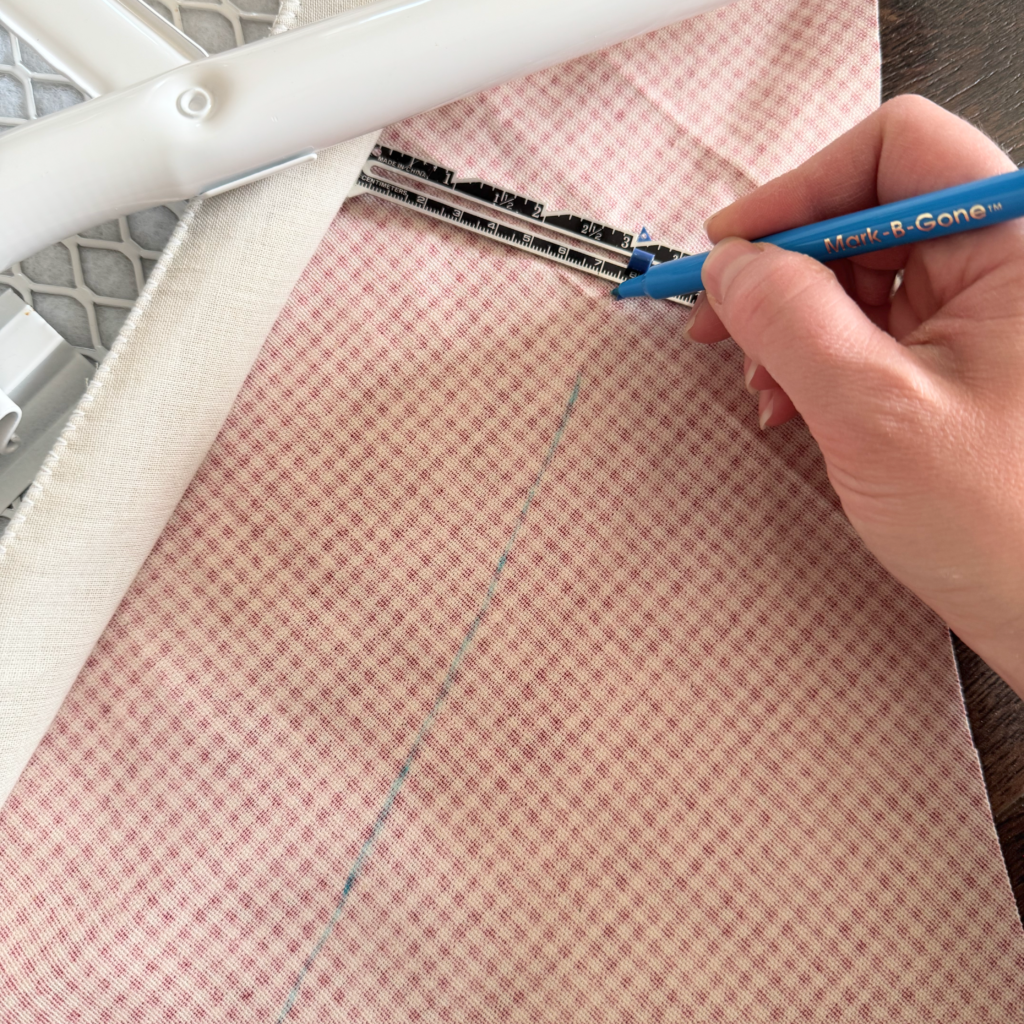
2. Create the Padding

Use cotton batting or even an old towel as the inner layer. Lay your new ironing board cover on top of the batting. Gently fold over the hemmed edge and make a mark. Repeat this process all the way around the ironing board cover.
This size allows the padding to curve around the edges of the ironing board, but not get too bulky in the hemmed elastic.
You can either place the batting within the cover and just use the tension of the elastic to keep it in place or you can add a few stitches to hold it all together.
4. Insert the Elastic or Drawstring
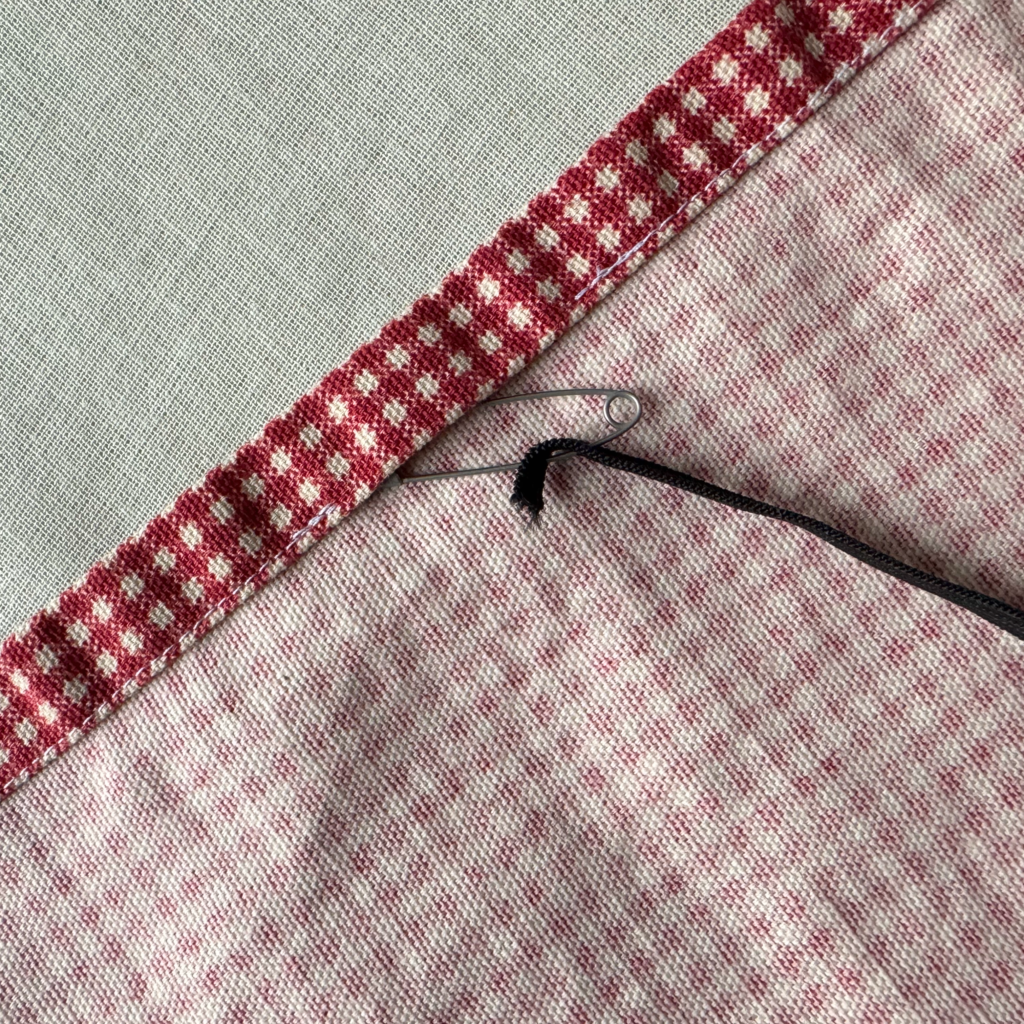
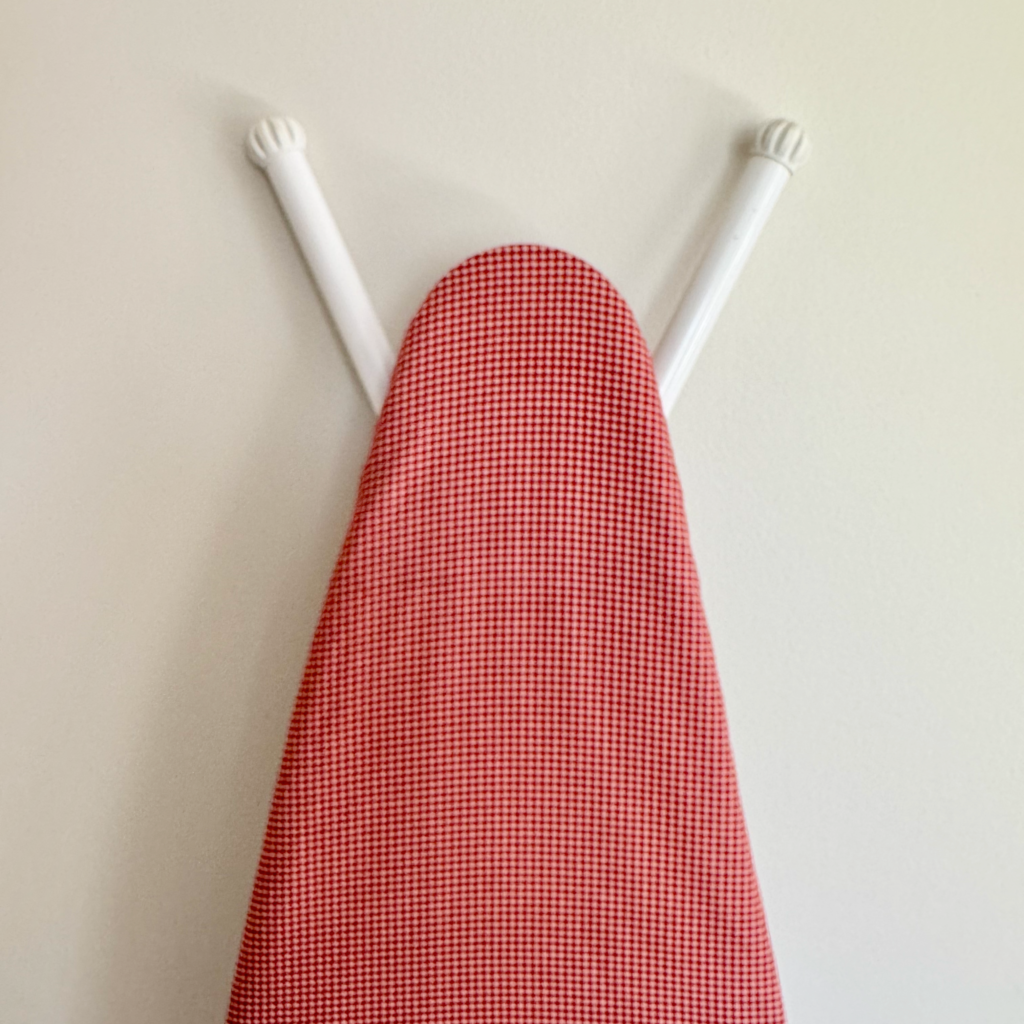
Attach a safety pin to the end of your elastic and thread it through the casing. Pull it all the way around and adjust it to fit tightly around your ironing board. Sew the elastic together with a few back and forth stitches.
Tips for Success When You Sew an Ironing Board Cover
- Use 100% cotton fabric to withstand heat and prevent melting. Avoid synthetic blends.
- Add two layers of batting if your board is hard or thin.
- Be careful with fabric pattern choice — a bold print may be difficult to gauge hem lines.
- If you like a removable and washable cover, consider making two and switching them out.
Final Thoughts
Learning how to sew an ironing board cover is a rewarding, useful project that improves your everyday routine. It’s also a great way to reduce waste by replacing only what needs refreshing—no need to toss the whole board! When you sew an ironing board cover, you’re combining function, creativity, and sustainability.
Whether you choose a bold floral print, a classic stripe, or a calming solid, you’ll appreciate your efforts every time you press a seam or smooth out a favorite shirt.