How to Sew a Lined Bowl Cover
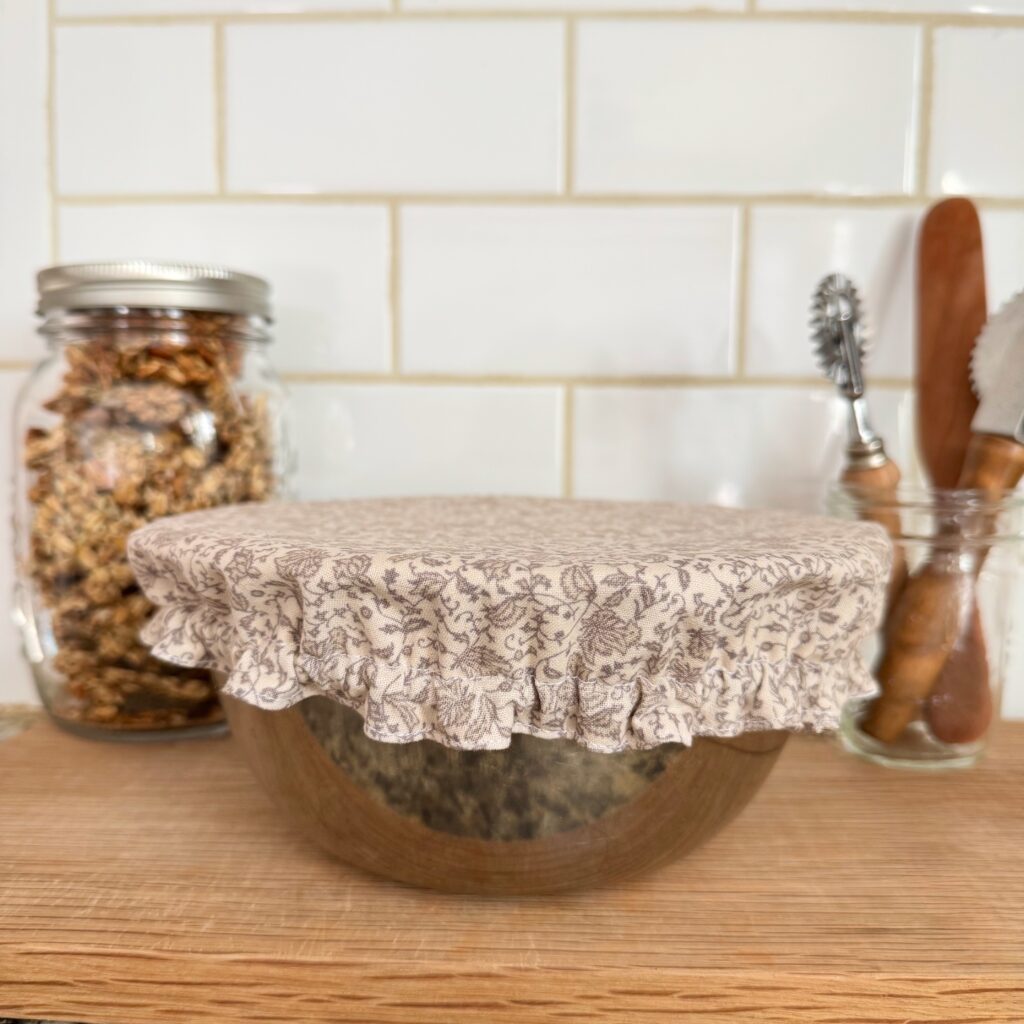
Reusable bowl covers are an eco-friendly and practical alternative to plastic wrap, keeping your food protected while reducing waste. They’re easy to make and can be customized to fit any bowl or dish you have. In this tutorial, I’ll walk you through how to sew a lined bowl cover and offer tips for choosing fabrics.
Why Sew a Lined Bowl Cover?
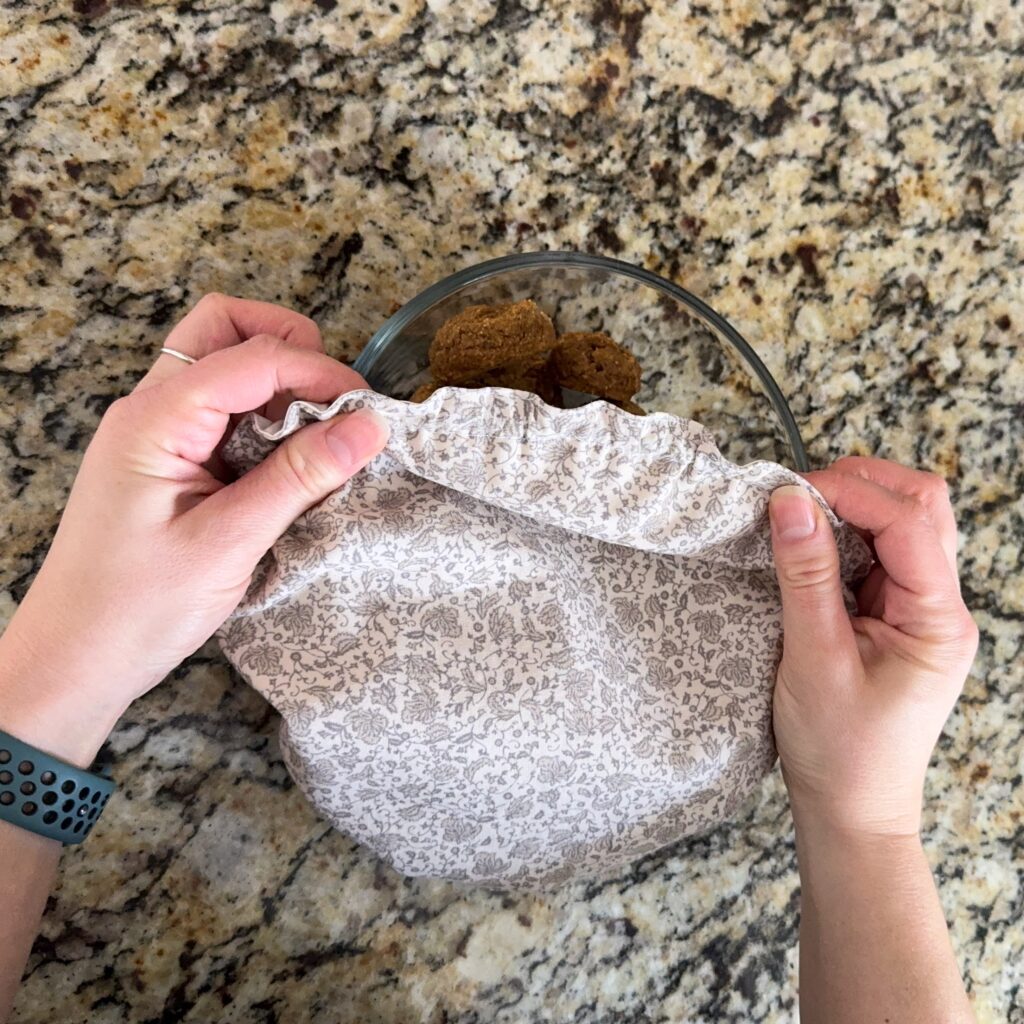
The lining on a lined bowl cover adds functionality and durability. If you choose a waterproof lining, it keeps bread doughs from drying out, making it perfect for proofing. Even with regular fabric, a double lining creates a better seal, helping to prevent food from drying out or absorbing odors from the fridge. Additionally, a lining adds structure and ensures your cover lasts longer, even with frequent use.
Learning to sew a lined bowl cover is a wonderful endeavor because it is a great way to use up fabric scraps or repurpose old textiles and give them a new purpose. These covers are washable, reusable, and perfect for covering leftovers, proofing dough, or transporting dishes. Plus, they add a charming, personalized touch to your kitchen.
This tutorial works for nearly any shaped dish or pan! Even if it’s a rectangle or oval shape, if the tutorial is followed the lined bowl cover should still work.
Choosing and Sourcing Fabric
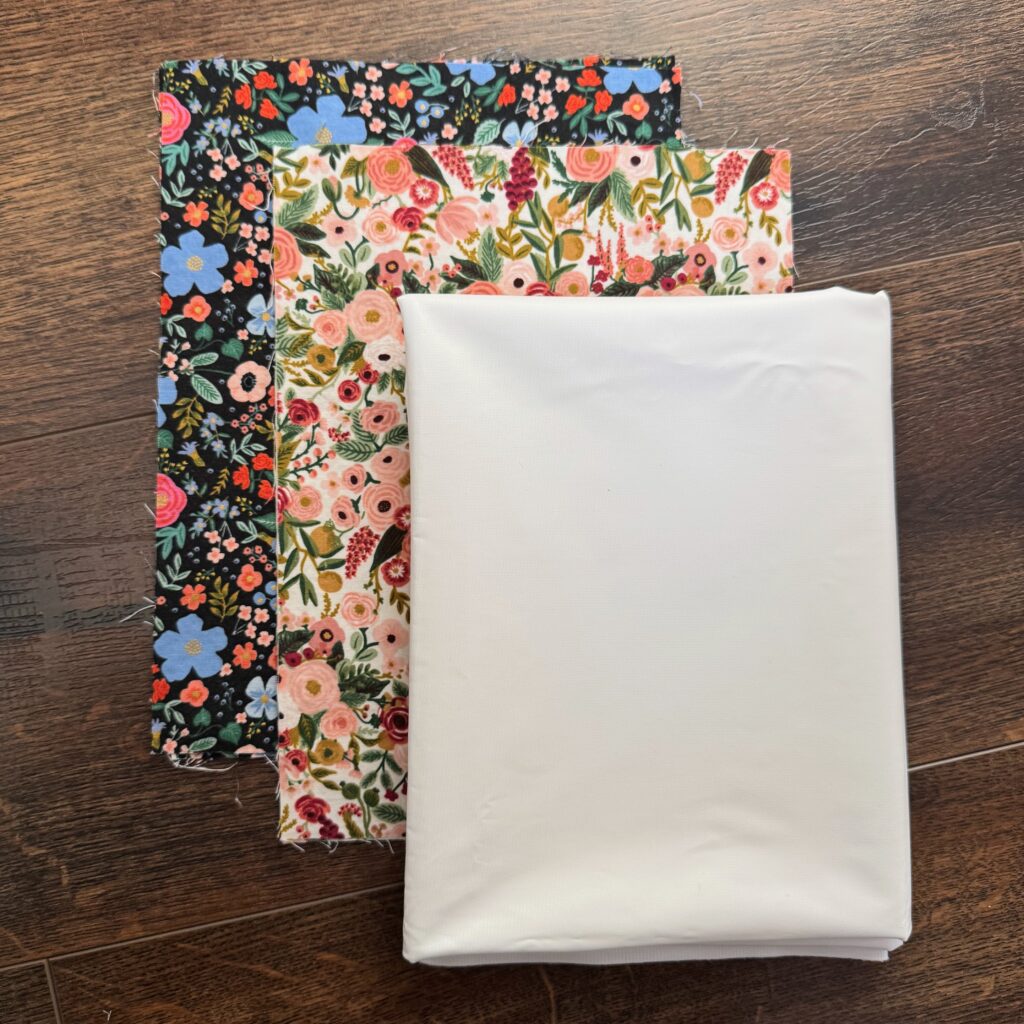
The fabric you choose can make a big difference in how functional and sustainable your bowl cover is. Here are some tips:
- Fabric Type:
- Cotton: Lightweight and breathable, cotton is ideal for bowl covers. Consider using quilting cotton or muslin for best results.
- Linen: Linen is durable, breathable, and naturally antibacterial. It’s an excellent option for bowl covers, especially for items like bread dough, as it allows some airflow while still protecting the contents.
- Food Safe Laminated Cotton: These fabrics are water-resistant and great for covering dishes with wet ingredients. Be sure to only use laminated fabrics that are specifically food safe! (I used this fabric to also make reusable snack bags.)
- Sourcing Responsibly:
- Upcycle: Repurpose old tablecloths, tea towels, or shirts into bowl covers. This keeps textiles out of the landfill and gives them a second life.
- Shop Secondhand: Look for fabric at thrift stores or online marketplaces like Buy Nothing groups.
- Eco-Friendly Options: If buying new fabric, choose organic cotton or fabric certified by the Global Organic Textile Standard (GOTS).
Materials Needed
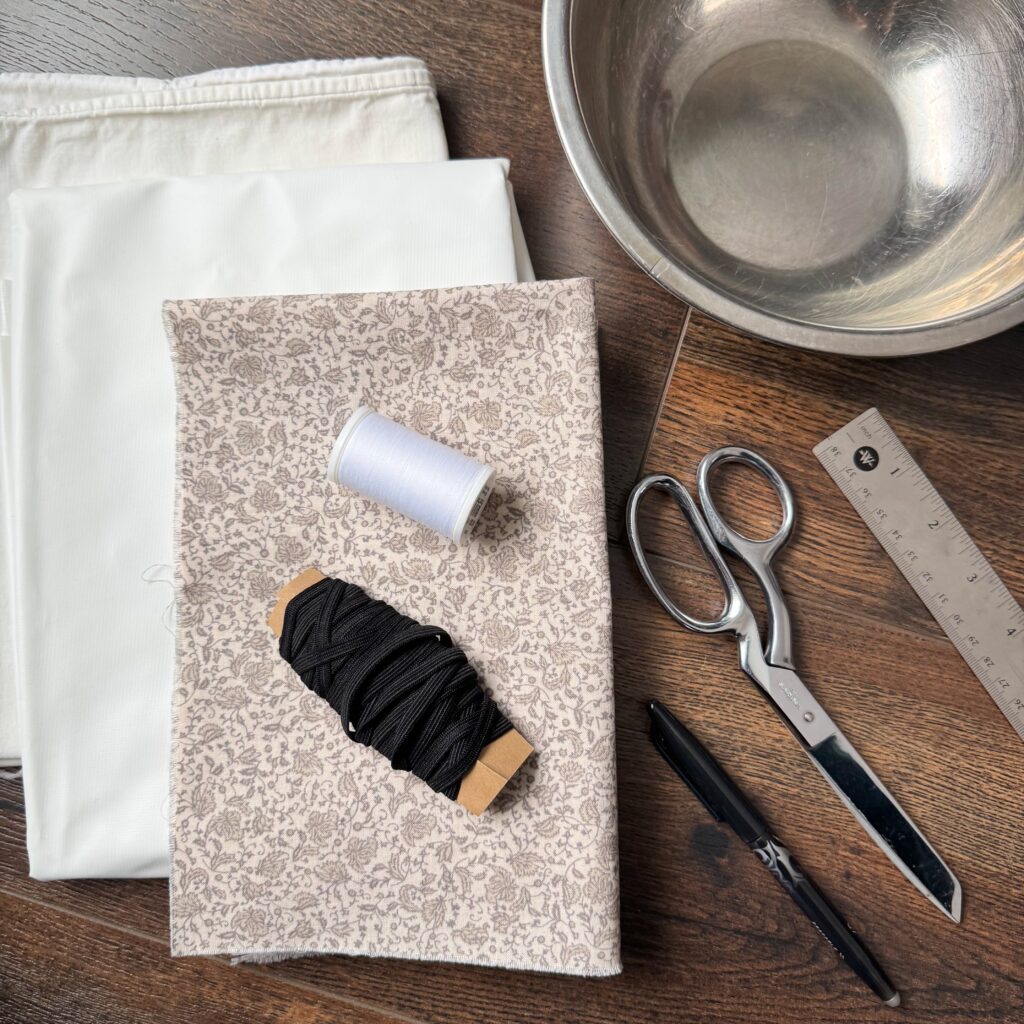
To sew a bowl cover, you’ll need:
- Fabric (see the previous section for tips on choosing the right fabric)
- 1/4″ elastic
- Sewing machine (or hand sewing supplies)
- Scissors
- Measuring tape or ruler
- Thread
- Safety pin or bodkin
- Fabric marker or pen (I like Frixion)
How to Sew a Bowl Cover
1. Measure and Cut the Fabric
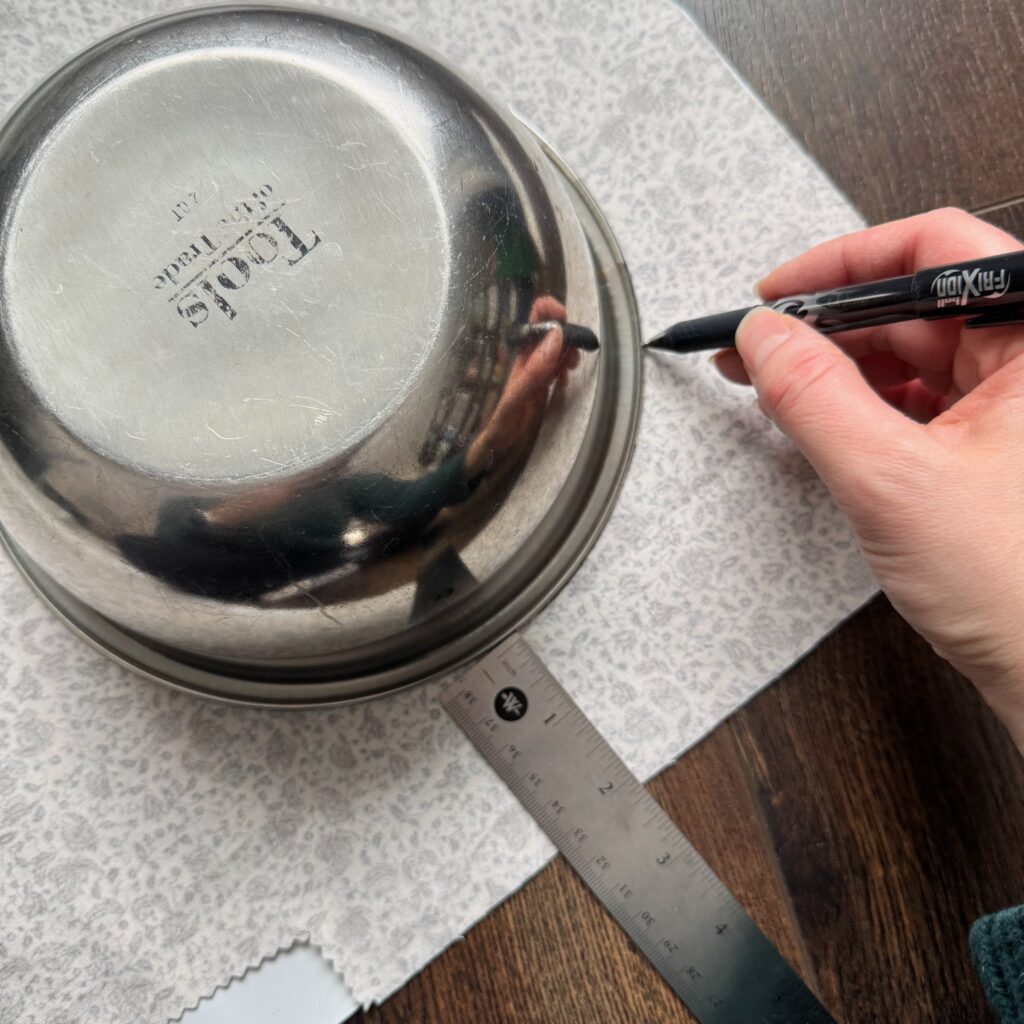
Place your two fabrics RIGHT SIDES TOGETHER. (It is easier to cut both at once.) Place your bowl or dish upside down on your fabric. Make sure there is at least 2 inches of excess fabric around the edges. Trace around the edge with a fabric marker or pen.
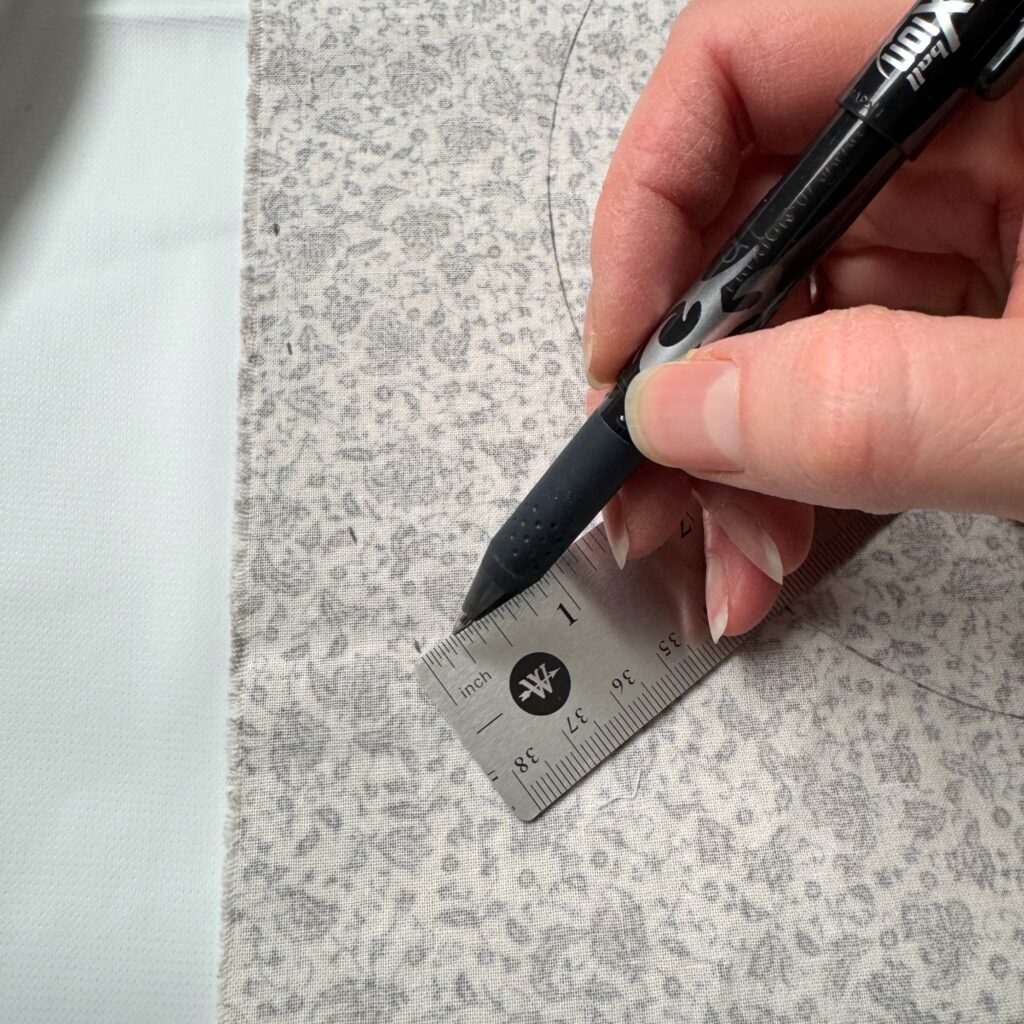
Measure 2 inches away from the circle and make a small mark. Repeat this around the bowl or dish until you have enough dots to make a larger outline. Connect the dots with smooth arcs or lines (depending on the shape of your bowl or dish).
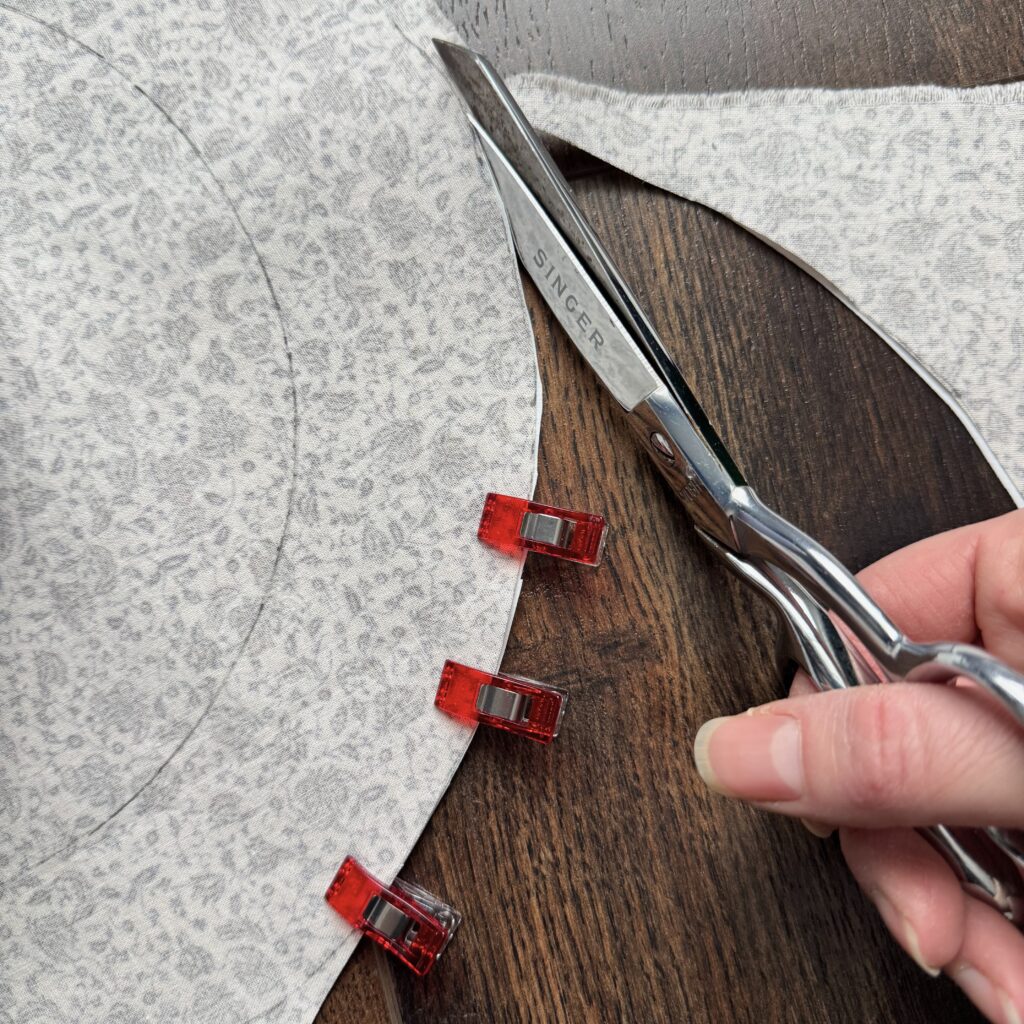
Place a few pins to hold the two fabrics together. (If using a laminated fabric, use sewing clips or binder clips to hold together the fabric. Pins will put permanent holes in the fabric.) Cut the circle out of the two fabrics.
2. Sew the Two Circles Together (Almost)
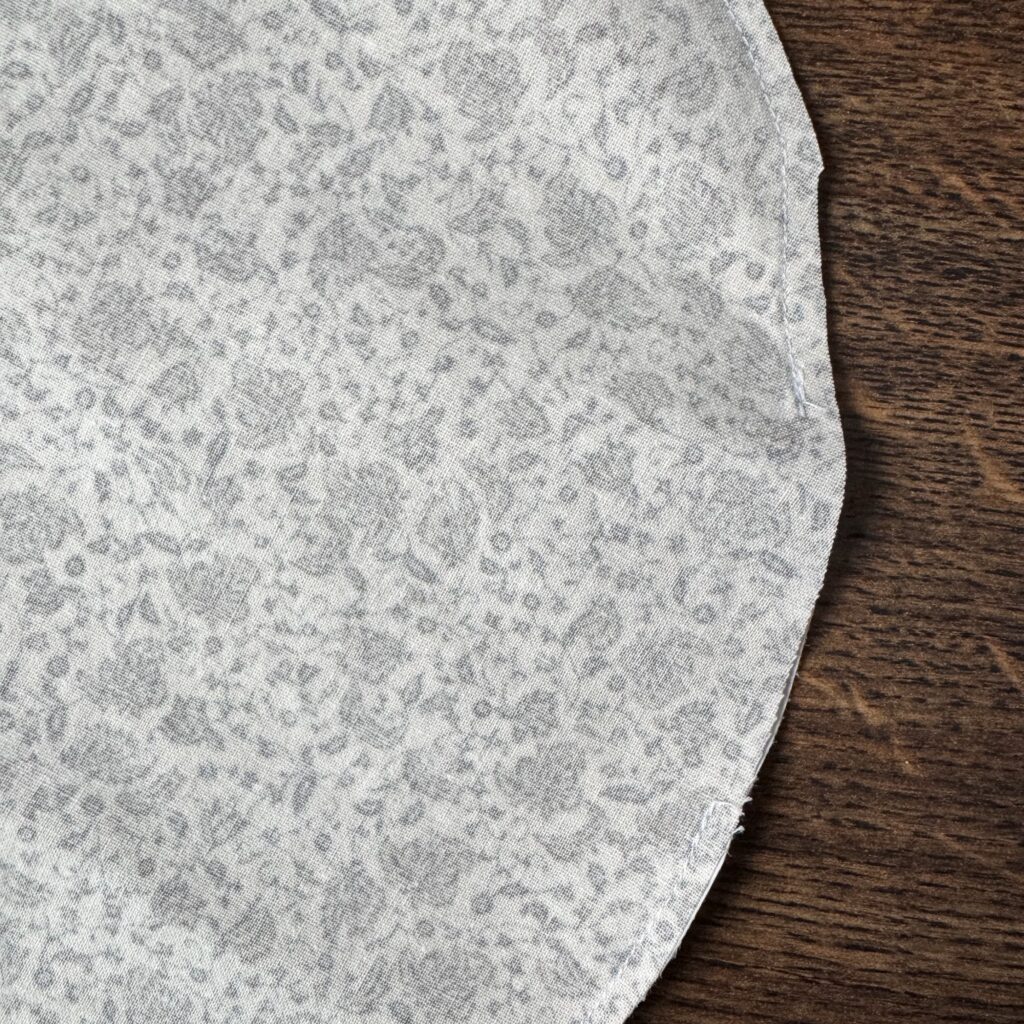
Make sure that your fabrics are RIGHT SIDES TOGETHER. Sew around the outside of the circle with a 1/4 inch seam allowance. Leave a two inch gap.
3. Turn and Press
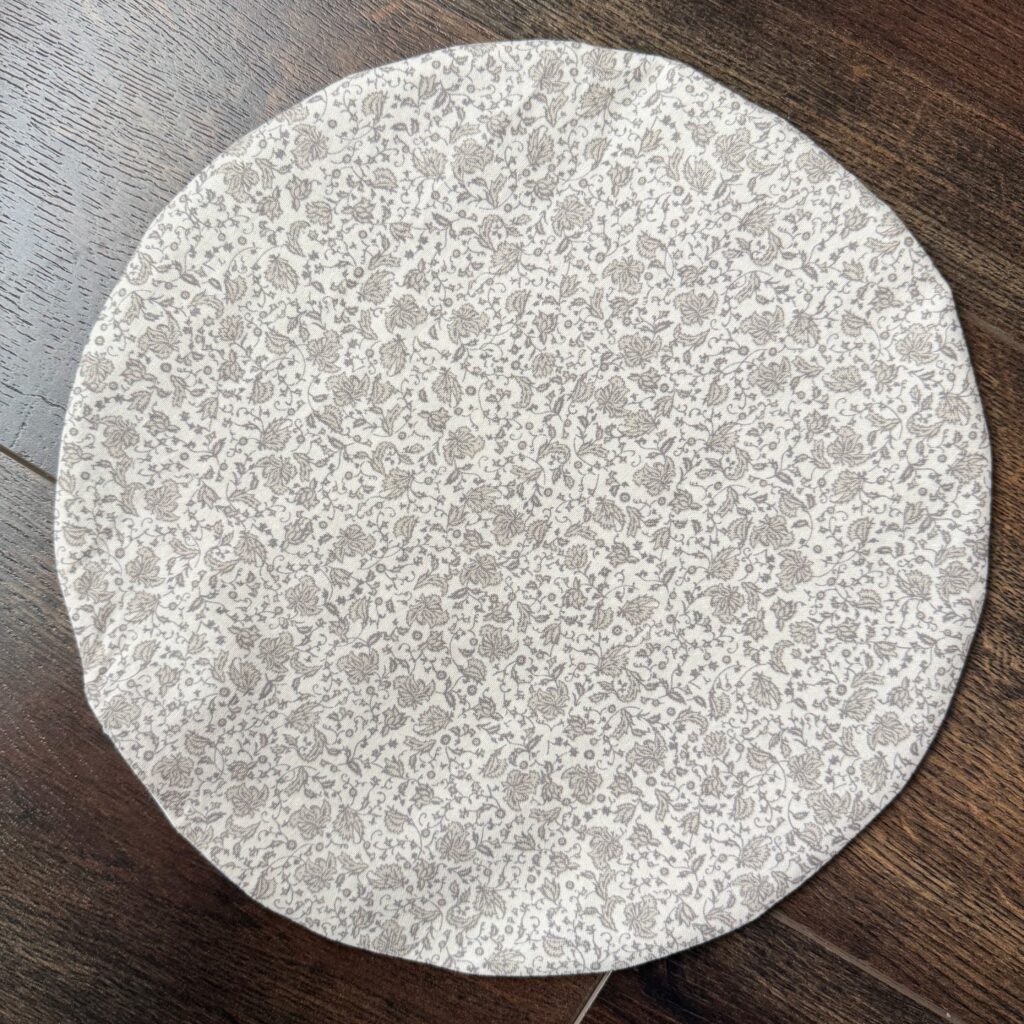
Move the fabric through the opening to turn it right side out. I like to push out the edges with a knitting needle. You could also use a skewer or pencil. Press the circle flat with an iron. Be careful with the opening to make sure the outside hem still looks uniform.
4. Sew the Casing
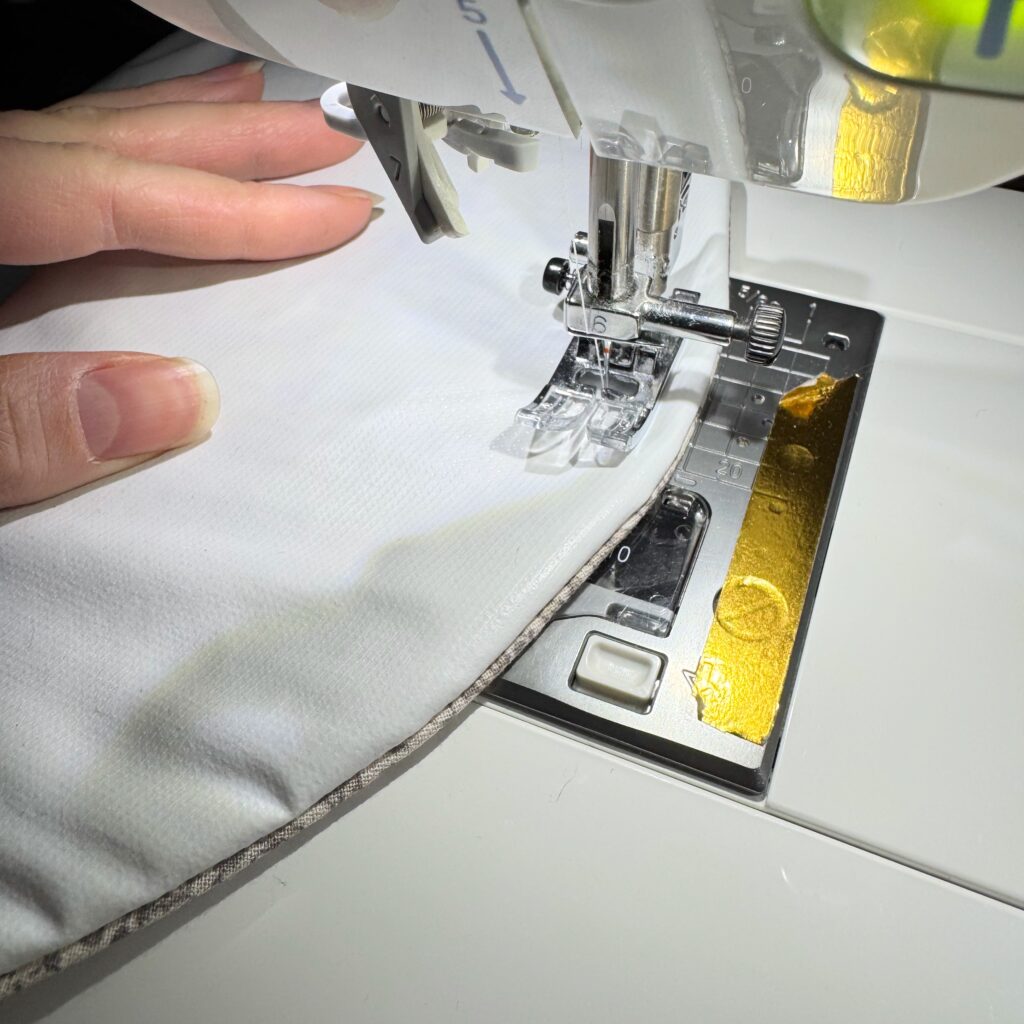
Sew a complete circle around the outside at a 1/2 inch seam allowance. This will create the space for the elastic to go. You do not need to leave any openings.
TIP: If you’re sewing with the food grade fabric, it is easier if you put a bit of masking tape or washy tape on the underside of your presser foot (the side that rubs against the fabric). It will pull it through the machine more evenly.
5. Measure, Cut, and Add the Elastic
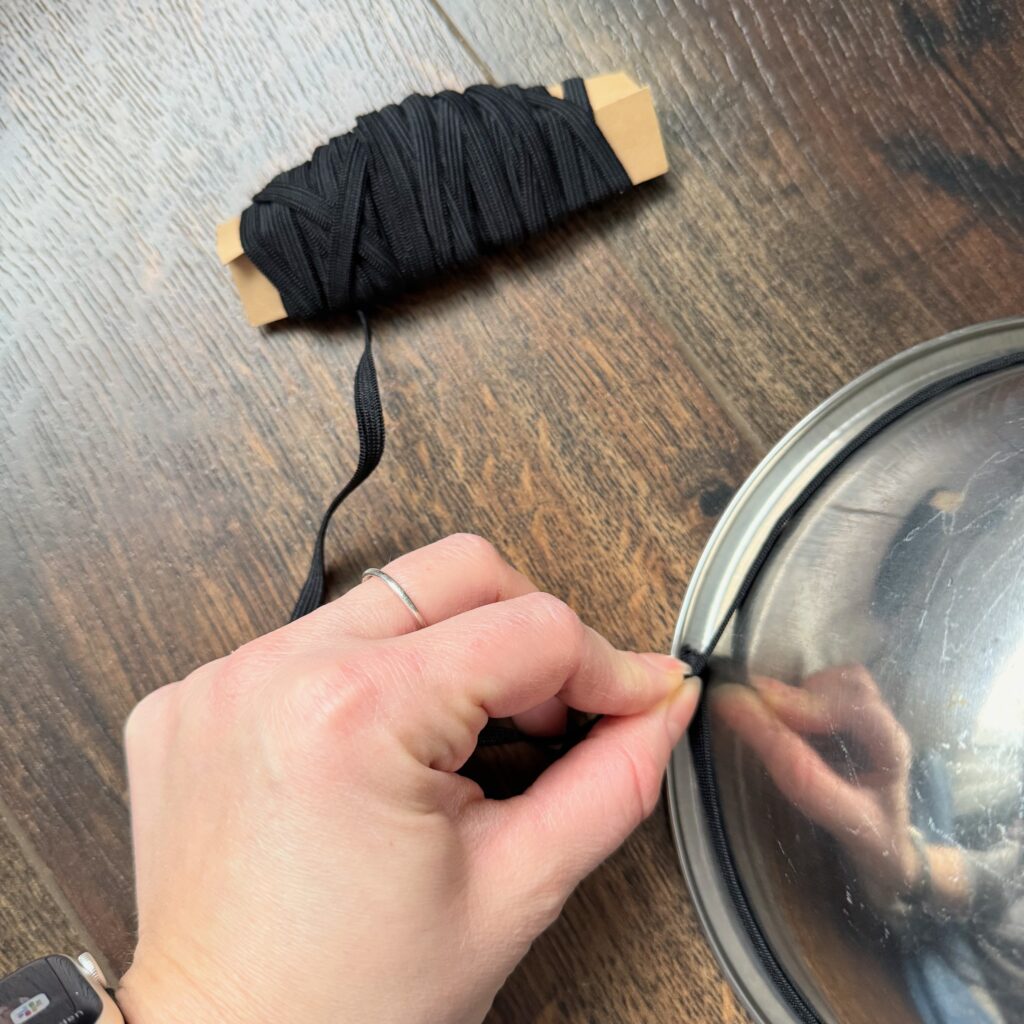
Place some elastic around the top of your bowl where you would like it to lay for the bowl cover. Cut a piece of elastic slightly shorter than the circumference (this will ensure a snug fit).
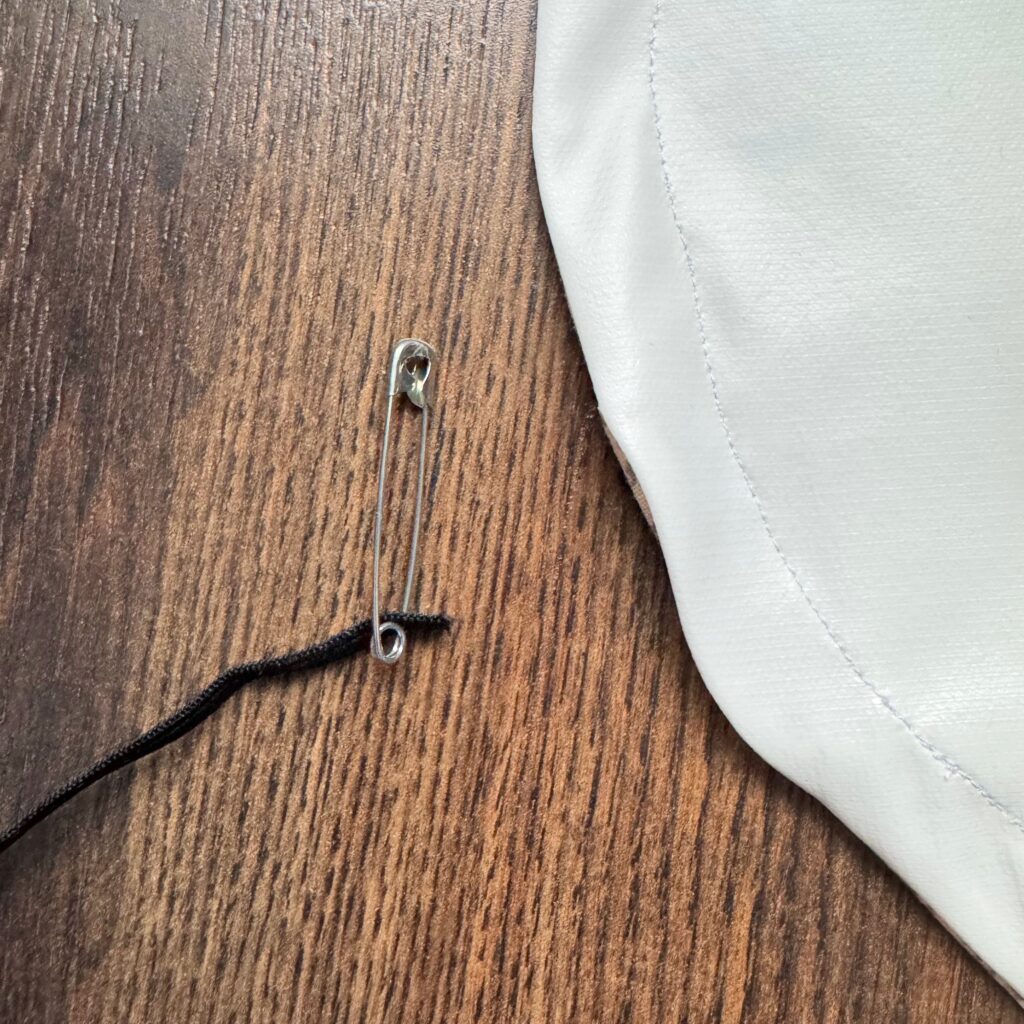
Attach a safety pin to one end of the elastic and thread it through the casing. (Be sure to not lose the other end in your fabric!)
5. Secure the Elastic
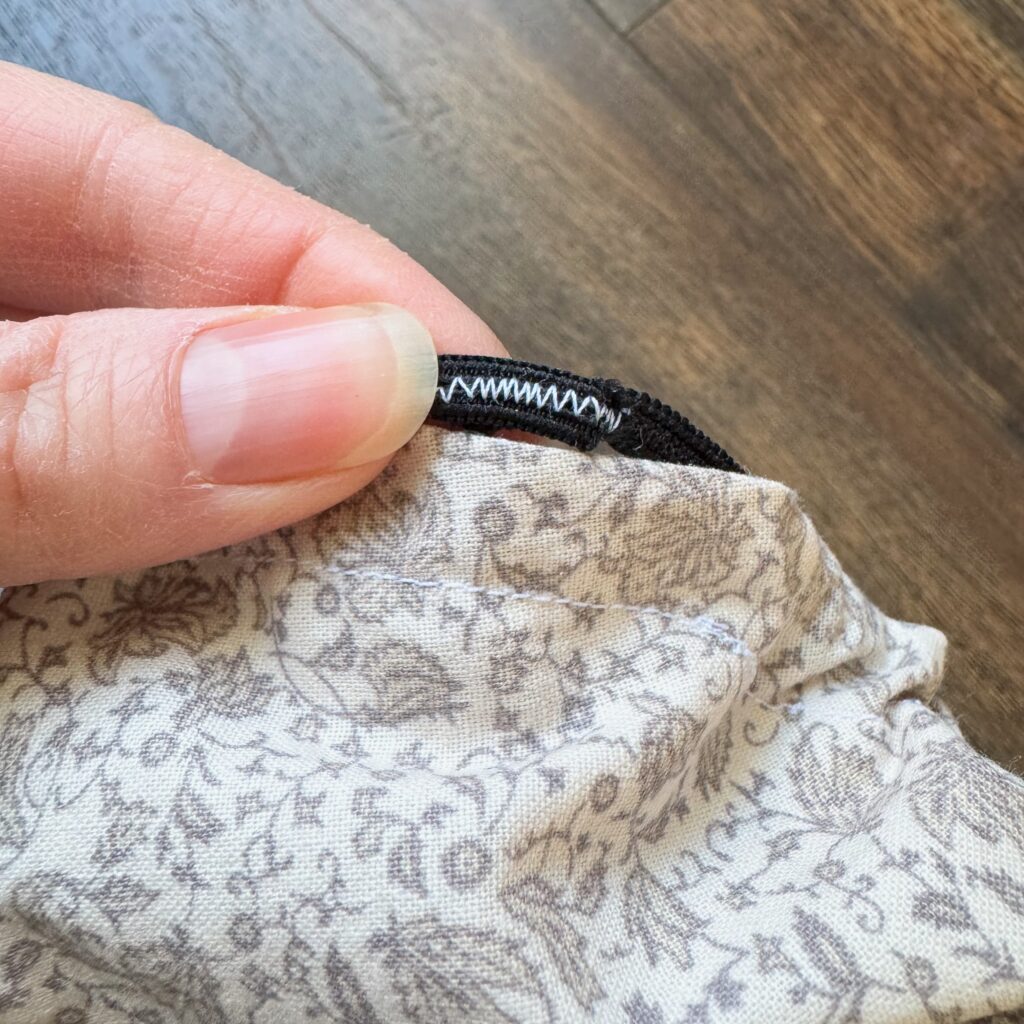
Once the elastic is threaded through, overlap the ends by about 1/2″ and sew them together securely with a zig zag stitch. Stretch the elastic evenly within the casing.
6. Close the Opening
Sew the opening closed as close to the edge as possible. Your bowl cover is ready to use!
Care and Maintenance
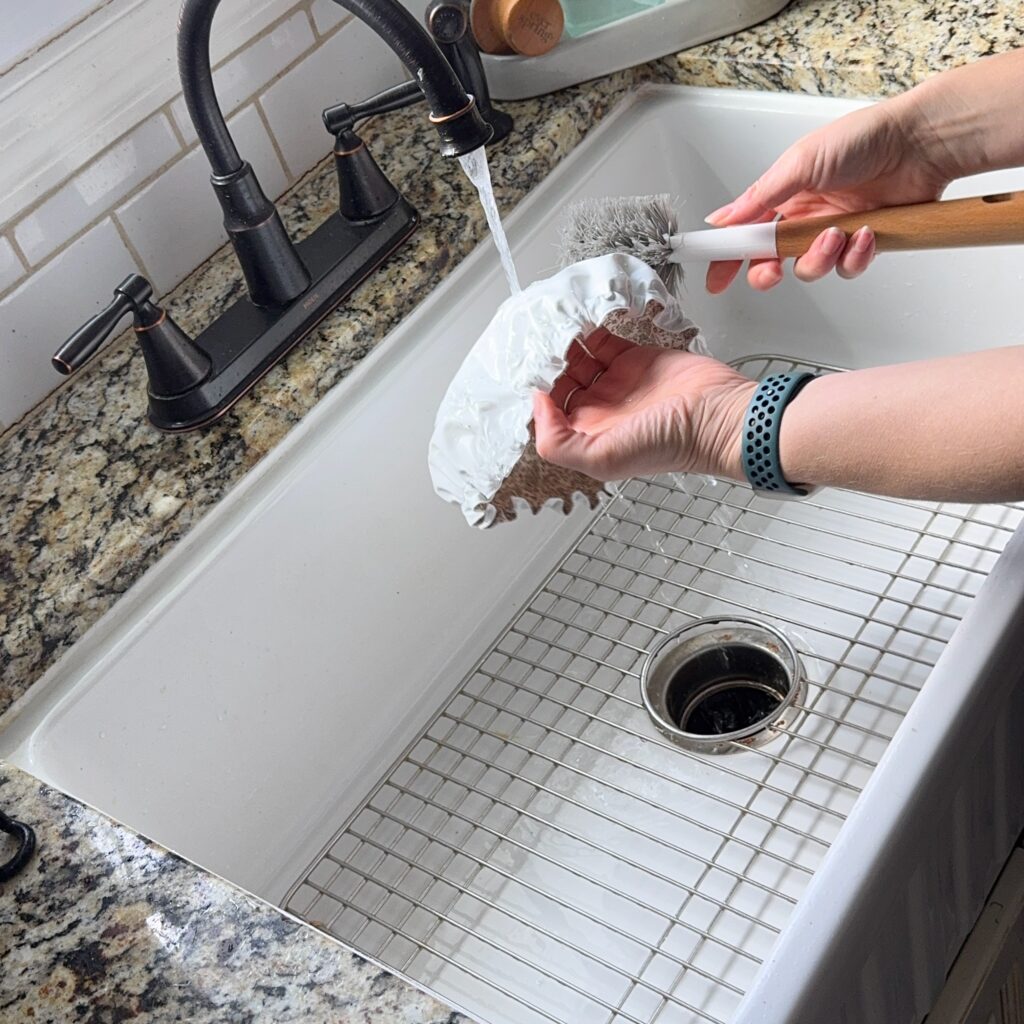
- Machine wash on a gentle cycle or hand wash with mild detergent. (I like to wash mine with dish soap in the sink.)
- Air dry to extend the life of the elastic.
Share your Projects with Me!
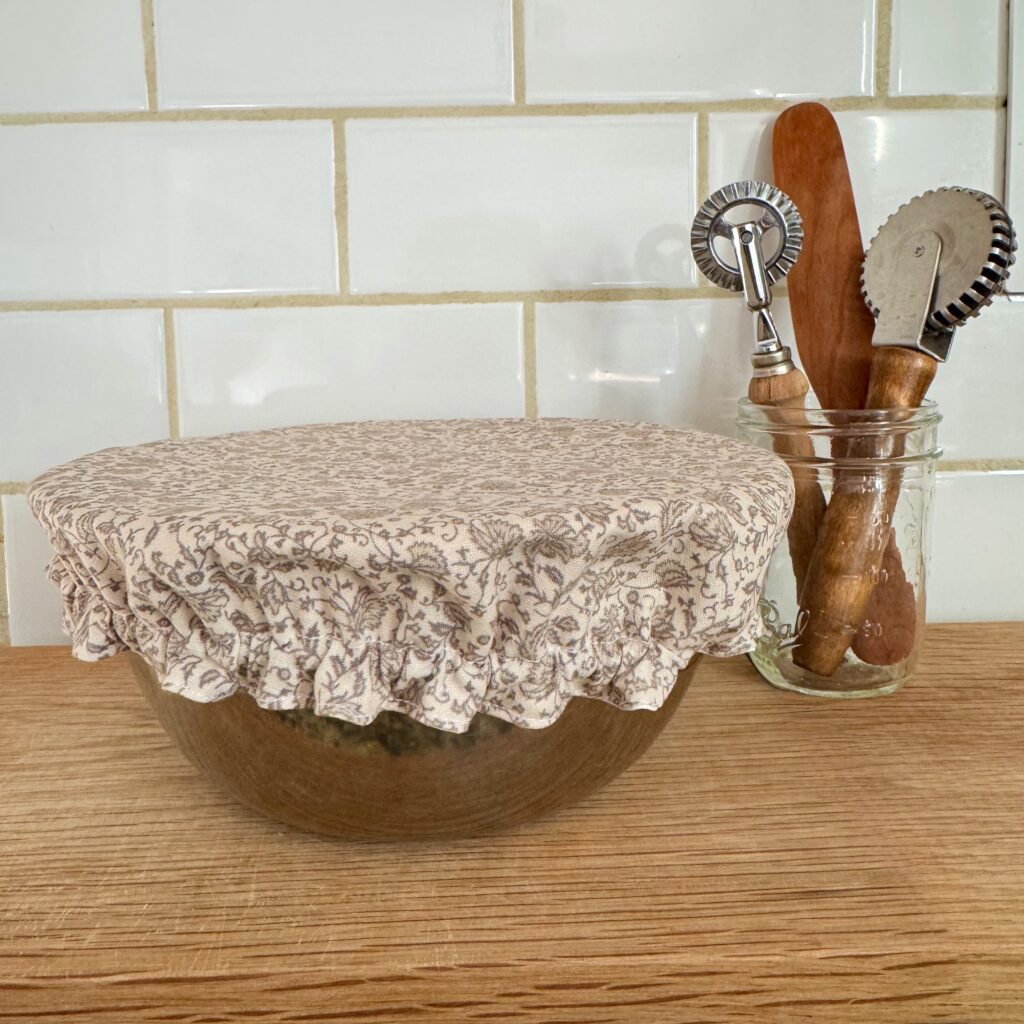
Now that you know how to sew a bowl cover, the possibilities are endless! You can make a set of covers in various sizes, experiment with fun patterns, or even gift them to friends and family. If you followed along with this tutorial, I would love to see your projects, feel free to email me or share them on Instagram!
If you’re looking for more hand sewn items for the home, feel free to check out some of my other projects, like pillows, bags, and more kitchen items! Happy sewing!
