How to Make a Memory Game for Kids
A memory or matching game is a timeless way to entertain kids while building memory and concentration skills. With a few materials and a touch of creativity, you can make a memory game that’s completely personalized. This guide walks you through the process of crafting one using wooden discs and Modge Podge, with tips for alternative materials and ideas for seasonal variations.
Why Make a Matching Game?
Creating a matching game for kids is more than just a fun project—it’s an opportunity to encourage learning, creativity, and sustainability. Making it yourself allows for endless customization, whether you’re upcycling materials or designing seasonal sets.
So gather your supplies, pick a theme, and make a matching game that’s not only engaging but also uniquely yours. Kids will love playing a game that they helped create!
What to Use for the Pictures
What makes a memory game so fun are the different images used! Here are a few ideas of how you can personalize your game:
- Clipart Drawings: Etsy has a ton of clipart that you can download for cheap. Here is where I found the holiday pictures I used.
- Photos: Use photos of family members and friends.
- Child’s Artwork: Have your child make their own artwork to use.
- Educational: Incorporate what your child is learning about (letters, numbers, seasons, bugs, trucks, etc).
- Famous Artwork:Use famous artwork (You can find free art to download at the National Gallery of art!)
- Newspapers/Magazines: Some cities have free newspapers and magazines at local businesses. Grab two for duplicate pictures!
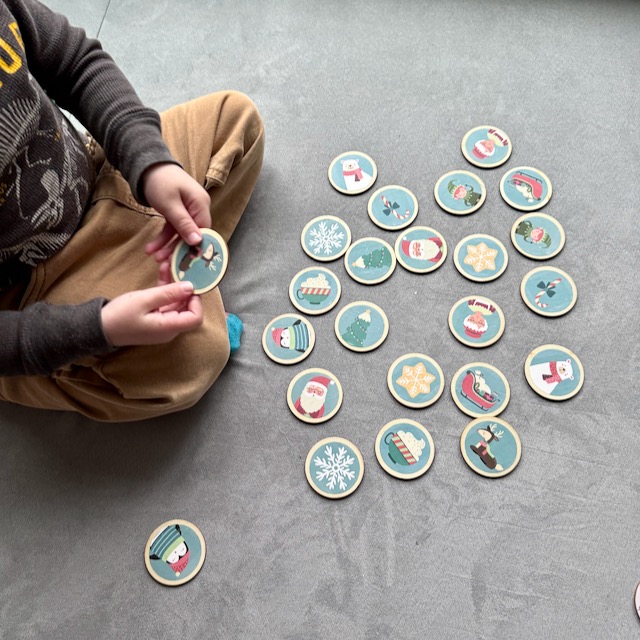
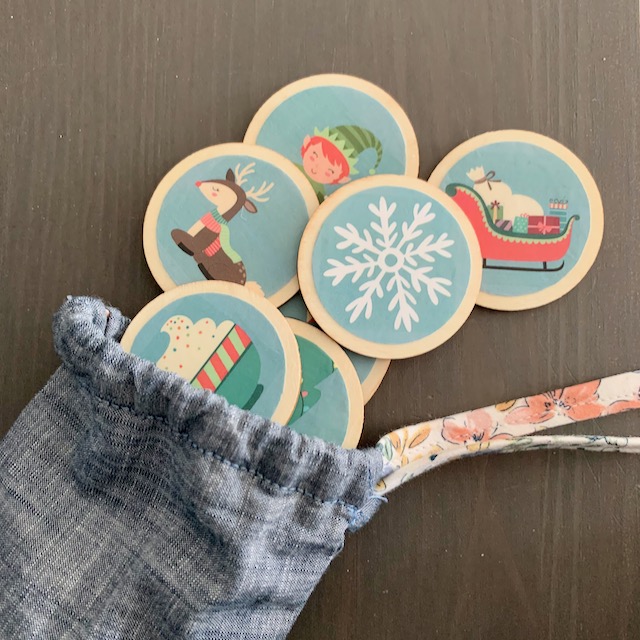
- Seasonal/Holiday: Celebrate different holidays and seasons with a themed set of memory discs. I made a matching game with Christmas motifs for my kids and they love them! (See below for more ideas.)
- Nature Elements: Use pressed flowers or other nature elements.
- Stickers: Many sticker books come with duplicate stickers. These would be easy to make into a quick memory game!
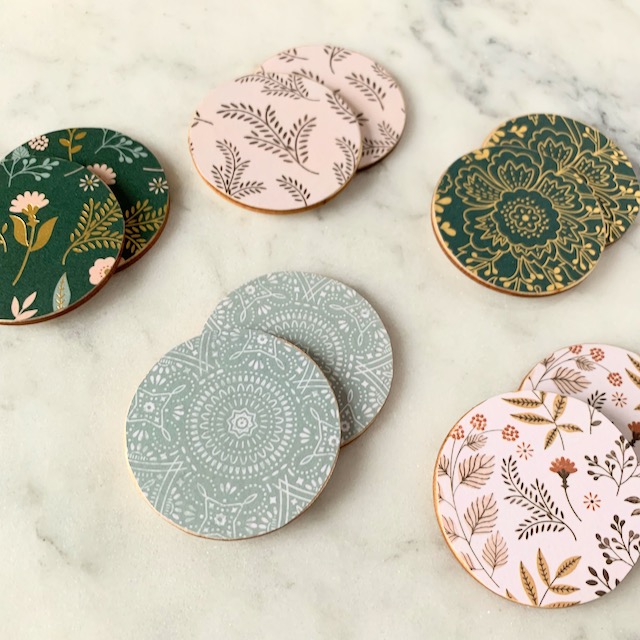
- Scrapbook Paper: I had a few smaller strips of scrap book paper that I used to make the following memory game.
Seasonal Matching Game Ideas
One of the best things about this craft is its versatility. You can make a matching game themed for any occasion or season:
- Holidays:
- Christmas: Use images of ornaments, snowflakes, or Santa hats.
- Halloween: Match ghosts, pumpkins, and bats.
- Easter: Incorporate eggs, bunnies, and flowers.
- Seasons:
- Winter: Snowflakes, mittens, and icicles.
- Spring: Butterflies, flowers, and raindrops.
- Summer: Suns, flip-flops, and beach balls.
- Autumn: Leaves, pumpkins, and acorns.
- Birthdays:
Create a personalized set with images of balloons, cakes, and presents for a birthday party activity or favor. - Educational Themes:
- Numbers and Letters: Match numerals with corresponding quantities or uppercase letters with lowercase ones.
- Animals: Pair animals with their habitats or foods.
Materials Needed
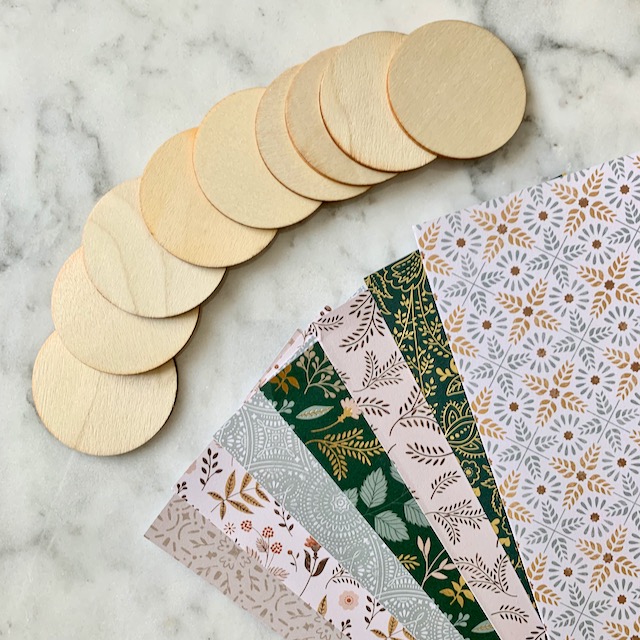
To make a matching game with wooden discs, you’ll need:
- Wooden discs (available at craft stores or online)
- Pictures (see above for ideas)
- Modge Podge (matte or gloss, depending on your preference)
- Foam brush or paintbrush
- Scissors
Alternative Materials
If wooden discs and Modge Podge aren’t readily available, you can still make a matching game with items you already have at home:
- Wooden Discs
- If you don’t have wooden discs at home, you can put out circles or squares from a cardboard or cereal box.
- Modge Podge
- If you don’t have Modge Podge, you can substitute with just traditional liquid school glue.
These alternatives are perfect for those looking for a sustainable or cost-effective way to make a matching game.
Instructions
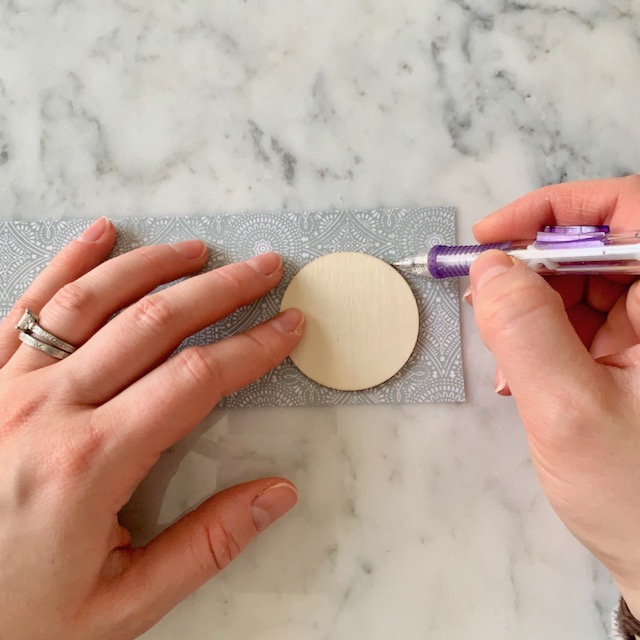
1. Prepare Your Images:
Select pictures for your matching game. You’ll need pairs of identical images for the game to work. Trace the wooden disc around the images and cut them out.
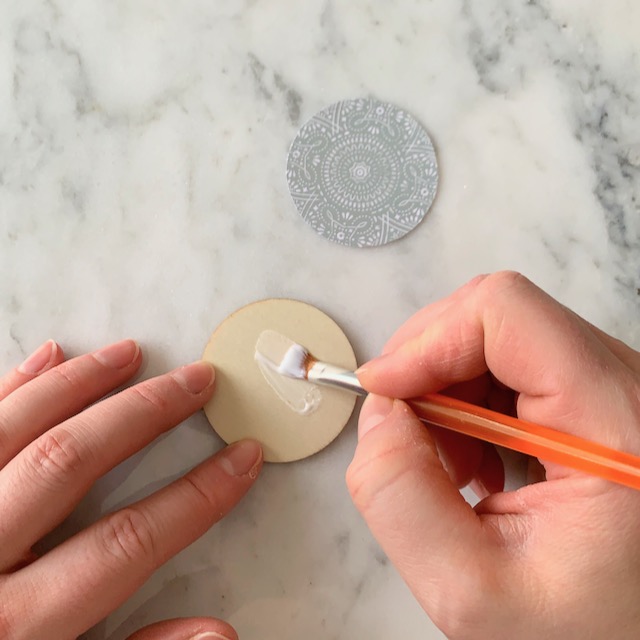
2. Apply the Glue:
Use a brush to apply a thin layer of Modge Podge onto one side of a wooden disc.
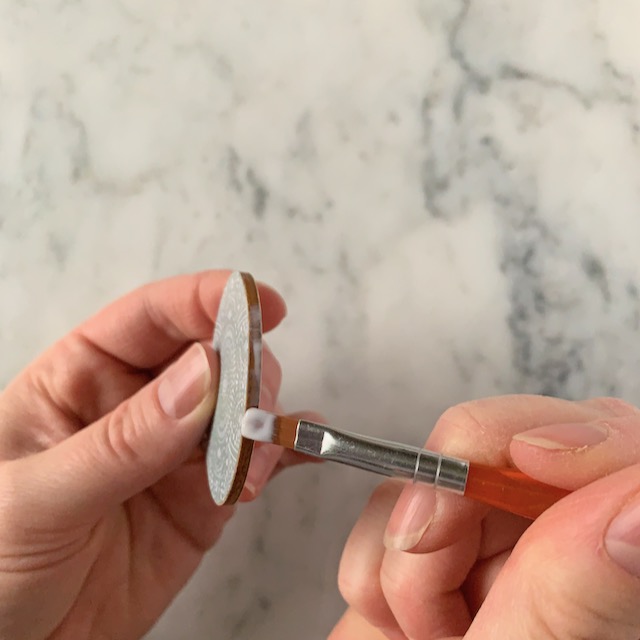
3. Attach & Seal the Image:
Place the picture onto the glued side of the disc, smoothing out any wrinkles or bubbles. Once the picture is dry, apply a topcoat of Modge Podge over the image to seal it. Be sure to seal the edges to prevent peeling. Allow it to dry completely before using.

4. Repeat for all Pairs: Continue with cutting and glue with the remaining pairs.
How to Play the Memory Game
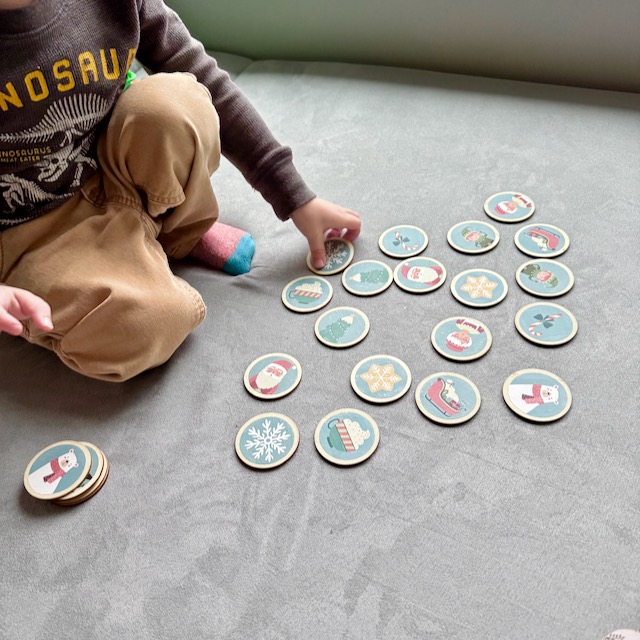
For Smaller Kiddos:
When kids are younger I like to turn this memory game into more of a matching activity. I simply arrange all of the discs or tiles image side UP and have the child see if they can match the images.
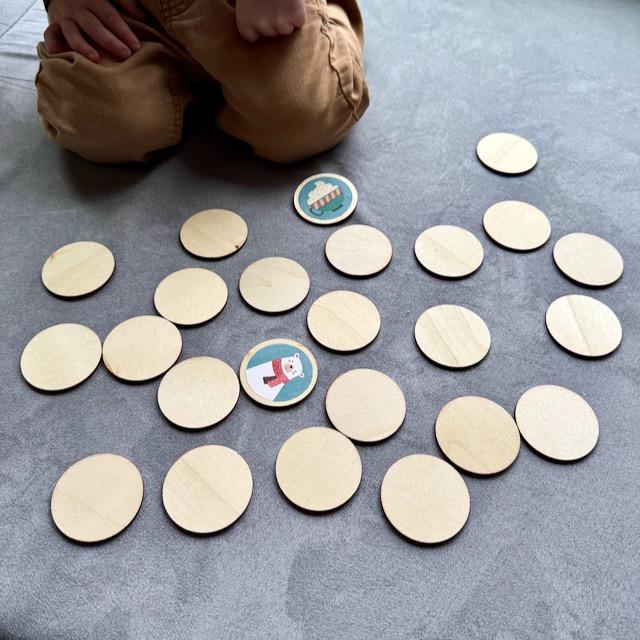
For Older Kiddos:
When older kids play the game you put all of the discs image side DOWN and take turns each turning over two discs. The goal is to turn over two of the same images. When a match is found the player keeps the discs. At then end of the game, whoever has the most discs wins.
How to Store a Memory Game
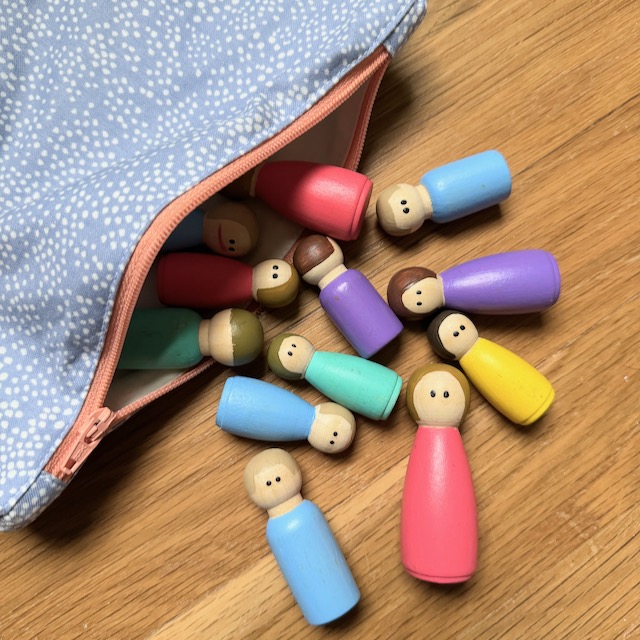
Storage for toys can always be an issue. My favorite way to stash toys is with a simple zipper pouch or a drawstring bag.
