How to Make Twig Stars
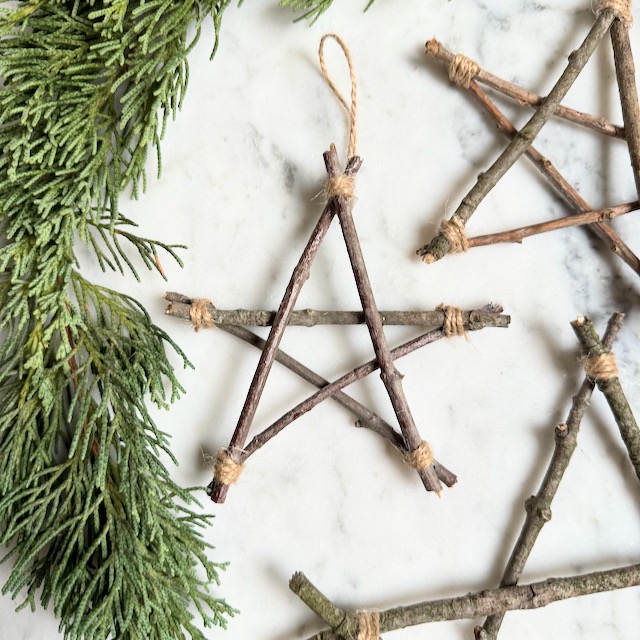
Twig stars are a charming, rustic addition to winter or holiday decor. Whether used for Christmas decorations, wall art, or a whimsical touch to your garden, learning how to make twig stars is a fun and budget-friendly craft. Best of all, this project allows you to use natural materials readily available in your backyard or local park.
Why Make Twig Stars?
Creating twig stars is not only a fun craft, but it’s also an eco-friendly activity. By repurposing twigs and branches, you’re reducing waste since everything can be composted or simply thrown back outside when done. I also love that this is decor that does not need to be stored outside of the holiday season, which means less boxes of holiday items to take out of the basement next year.
Twig stars add a handmade, rustic vibe to your decor, making them perfect for holiday ornaments, wreath embellishments, or year-round farmhouse-inspired decor. Plus, it’s a fantastic project to do with kids or friends for some creative bonding time.
What You’ll Need:
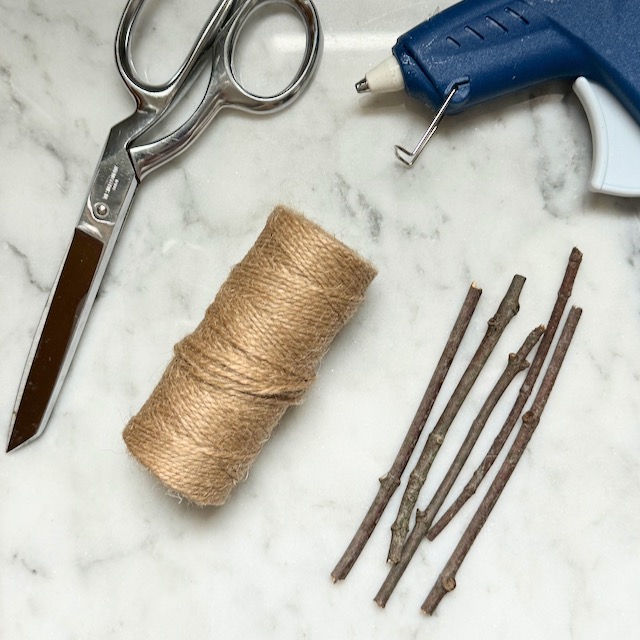
- Twigs
- Twine or Jute String
- Hot Glue Gun
- Scissors
How to Make Twig Stars
Step 1: Gather and Prepare Materials
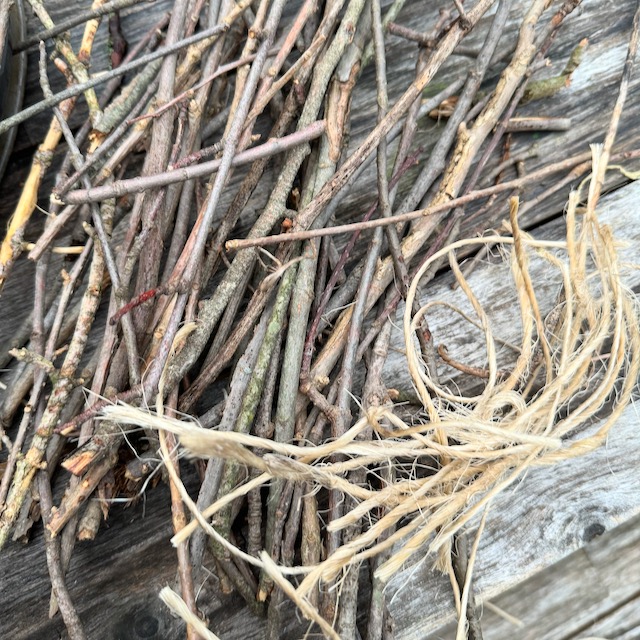
Start by collecting twigs from your yard, a park, or a nearby forest. Look for sturdy, straight twigs without too many knots or bends. If the twigs are wet or dirty, allow them to dry and brush off any debris before starting.
Break five twigs so they are relatively the same length. I found that simply just breaking the twigs was easier than using gardening shears. For a cohesive look, ensure that all five twigs for each star are of similar thickness and size.
2: Form the Star Shape
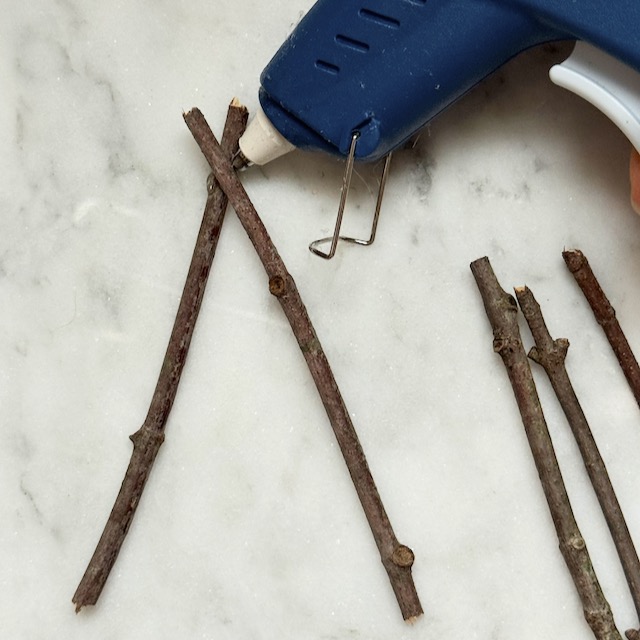
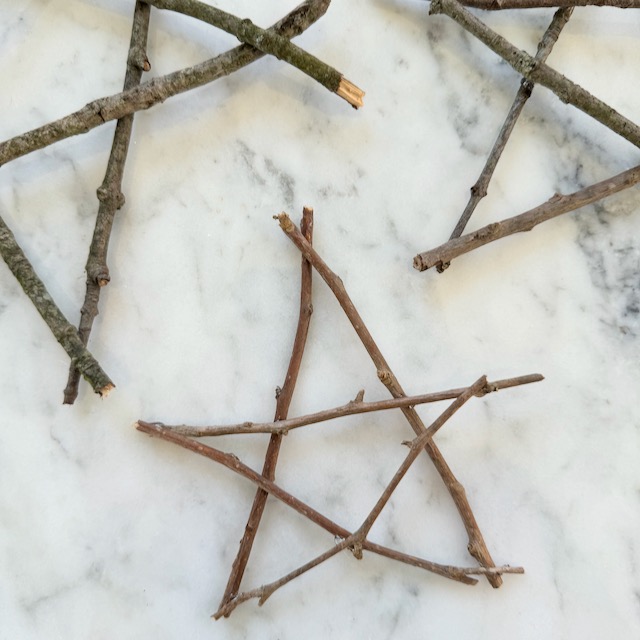
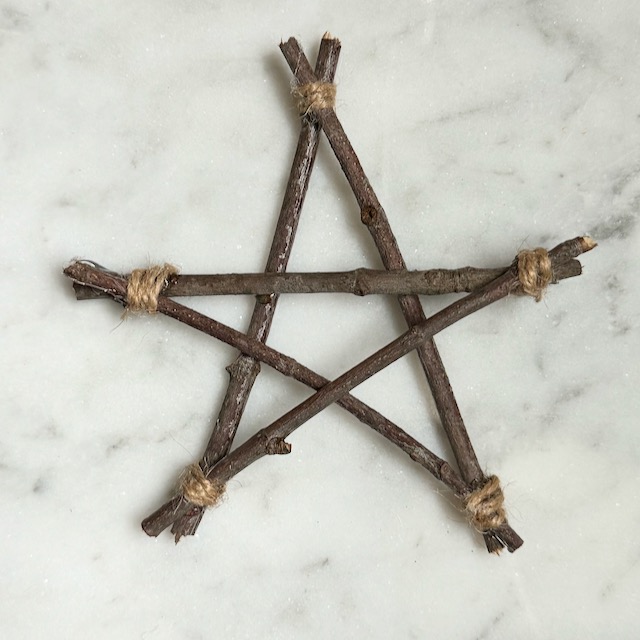
- Lay two twigs in an upside down V shape. Apply hot glue to the point where the sticks cross and hold the sticks for a few seconds while the glue sets.
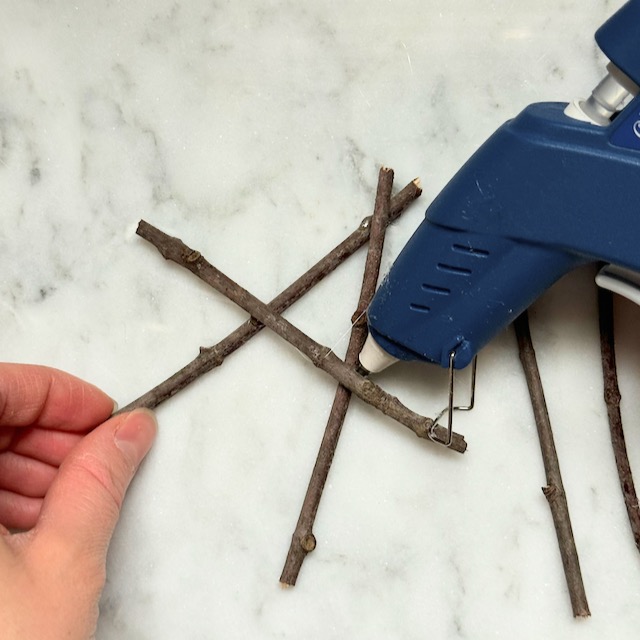
- Add one twig in the center of the V and apply a bit of hot glue to hold it in place.
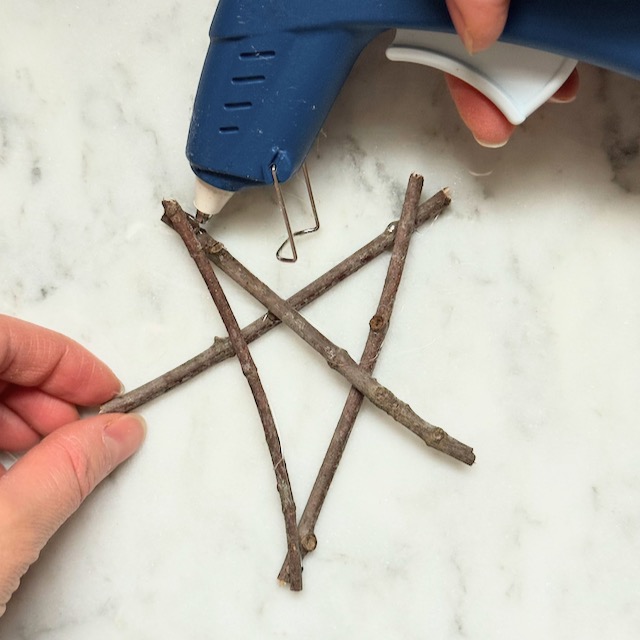
- Add two additional twigs diagonally to finish the star shape. Secure in place with hot glue.
3: Secure the Joints
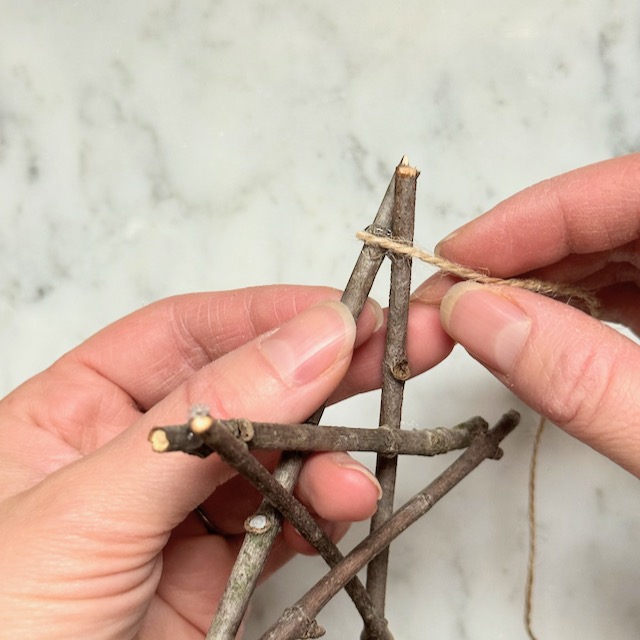
- Apply a bit of hot glue on one of the joints and hold the end of the twine or jute string in the glue to secure.
- Wrap the twine around the joint 3-4 times.
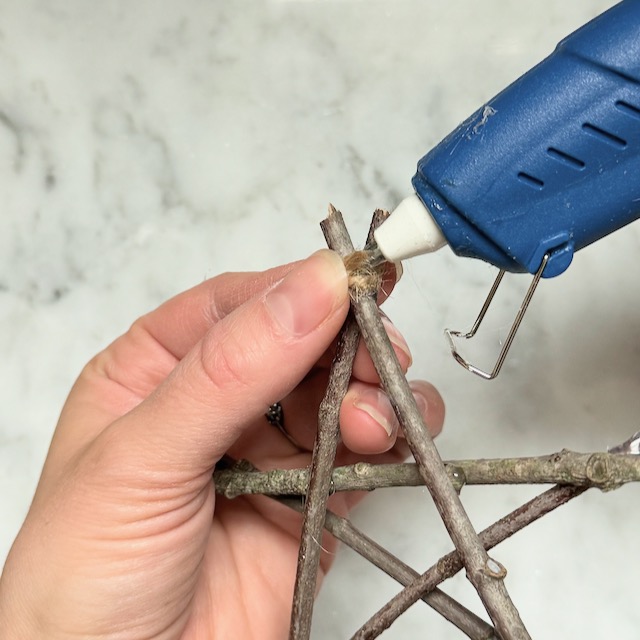
- Cut the twine and secure it with a bit of hot glue.
4: Embellish (Optional)
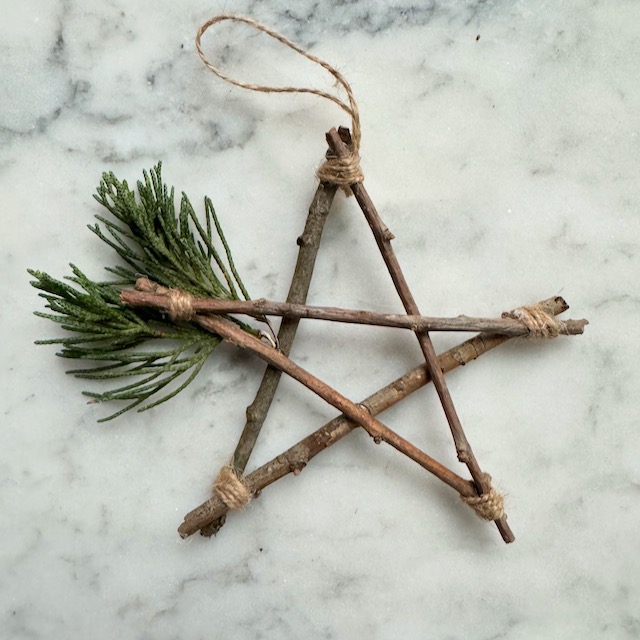
Once your twig star is secure, consider adding embellishments to personalize it. Here are a few ideas:
- Use frayed fabric ribbon or more twine to make a hanging loop.
- Wrap fairy lights around the star for a magical glow.
- Decorate with dried flowers, pinecones, or small ornaments.
- Paint the twigs white or silver for a frosted winter look. (Paint makes them not compostable.)
Creative Uses for Twig Stars
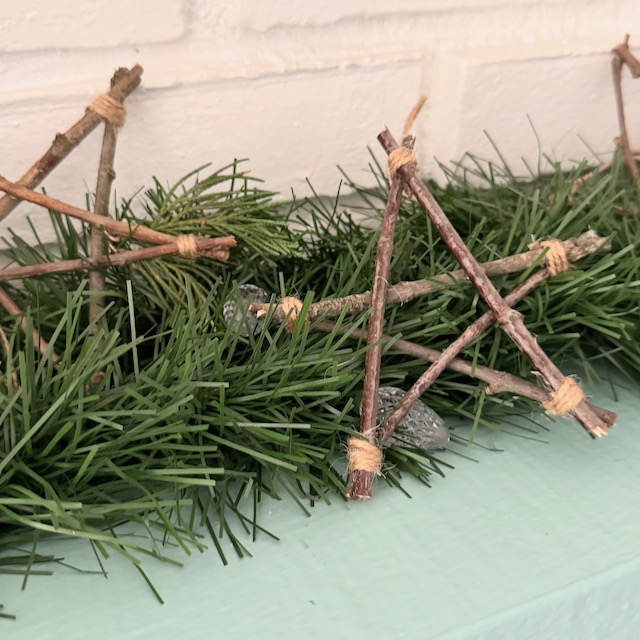
Once you’ve mastered how to make twig stars, try making them in different sizes! there are countless ways to use them:
- Holiday Ornaments: Hang them on your tree with twine or ribbon.
- Wall Decor: Create a starry wall display by hanging multiple stars at varying heights.
- Window Hangings: Hang them from the closing tabs on windows for a little touch of holiday magic.
- Wreath or Garland Accents: Attach them to a wreath for a rustic touch.
- Gift Toppers: Add a twig star to your wrapped presents for unique packaging.
How to Compost your Twig Stars
When the holiday season is over, I love to recycle or compost as many decorations as possible. This means there are less things for me to store during the off season and if I decide I don’t want these stars anymore, there is no guilt in simply composting them.
To compost the twig stars you simply just need to make sure you peel off the hot glue first. Also, make sure your twine is a natural twine (jute, hemp, sisal, or cotton) and not plastic. If it is a natural material it can be thrown into your compost or city’s compost as well.
Why You’ll Love This Craft
Twig stars are simple to make, require minimal materials, and offer endless creative possibilities. So grab your supplies, head outdoors, and start crafting. Once you’ve discovered how fun and versatile it is to make twig stars, you’ll find yourself returning to this project time every season!
If you’re looking for more inspiration for Christmas and Winter inspired crafts and decor, check out my other blog posts here!
