How to Make a Hand Broom with Foraged Materials
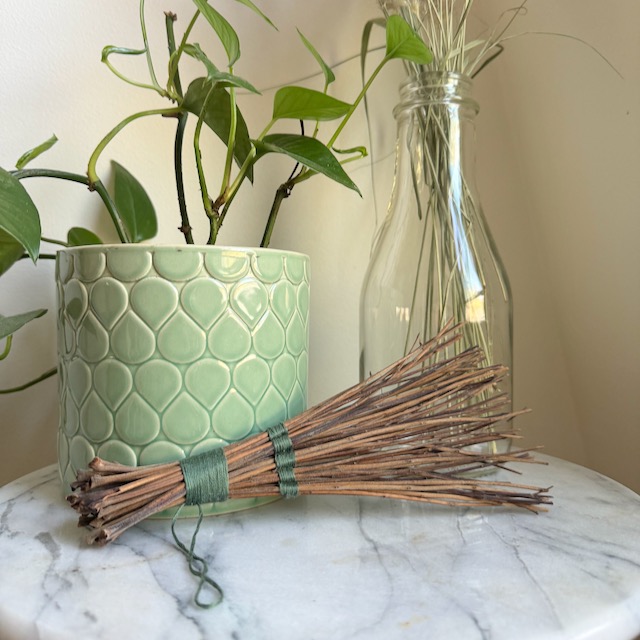
Creating your own hand broom with foraged materials is a satisfying and eco-friendly way to add a touch of cottage charm to your home. This type of craft allows you to use items found in nature—like sturdy twigs, dried grass, or straw—to create a beautiful and functional tool.
Not only will you end up with a unique, handcrafted broom, but you’ll also reduce waste by reusing natural resources. Here’s how you can make a hand broom from start to finish.
Materials Needed to Make a Hand Broom
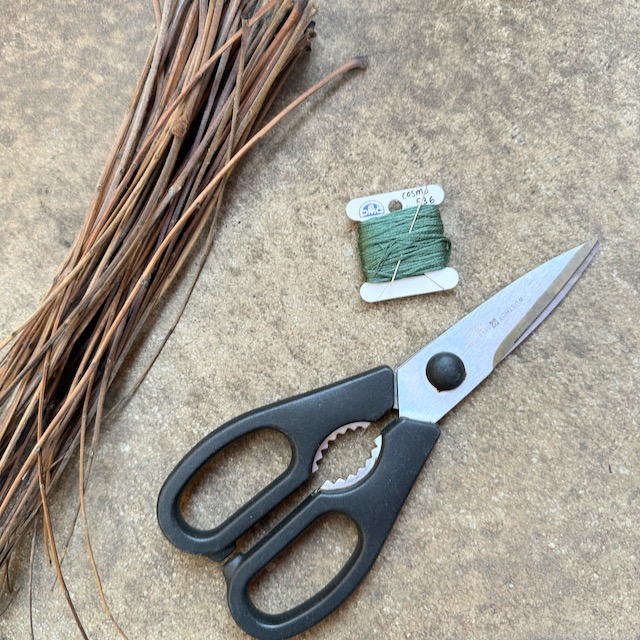
To make a hand broom with foraged materials:
- Dried grasses, pine needles, straw, or flexible twigs – for the bristles
- I used small leaf branches that fall off of our walnut tree every fall. They are abundant and easy to forage!
- Natural twine, jute, or embroidery thread – for binding the broom
- Needle – to be used with your twine/jute/embroidery thread
- Scissors or shears – for trimming and cutting
- Clamp – for holding the bristles flat. See tutorial section for alternatives.
Step 1: Forage Your Materials
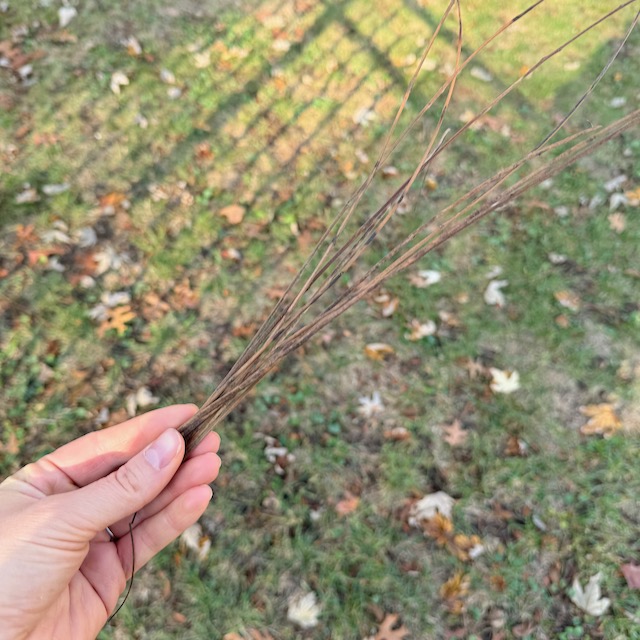
When foraging, look for materials that are naturally dry, like fallen grasses or dried reeds. You can also use flexible, small twigs or slender branches. If you’re gathering grasses, ensure they’re durable and dry enough to hold up to light sweeping tasks.
Be courteous when foraging materials. You should never remove hanging branches or grasses from a park or private land without permission. I think that if you find materials that have fallen to the ground in your neighborhood or at a small park it is okay to take a few. Some parks strictly prohibit taking anything. You may have a neighbor that doesn’t want you to pick things off the sidewalk in front of their house. Use your best judgment.
Step 2: Prepare the Bristles to Make a Hand Broom
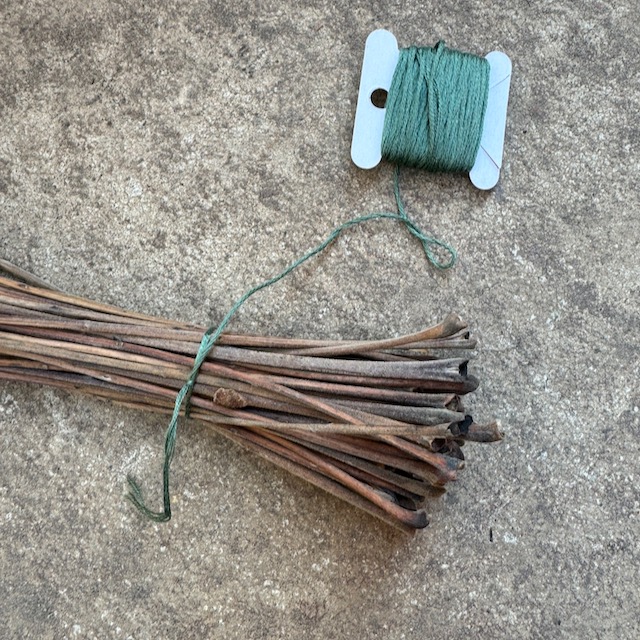
To make a hand broom, start by prepping the broom’s bristles. Lay out your gathered materials on a flat surface. If using twigs, ensure they’re flexible enough to bend slightly but strong enough to sweep without breaking.
Bundle the bristles together and decide on the thickness you want for your broom head. A thicker bundle of bristles will make for a denser broom, which is great for heavier sweeping. If you prefer a lighter, more delicate broom, use fewer bristles.
Align the bristles together at the top and use the string to tightly tie them together. Make a few knots to secure the bristles.
Step 3: Wrap the Bristles
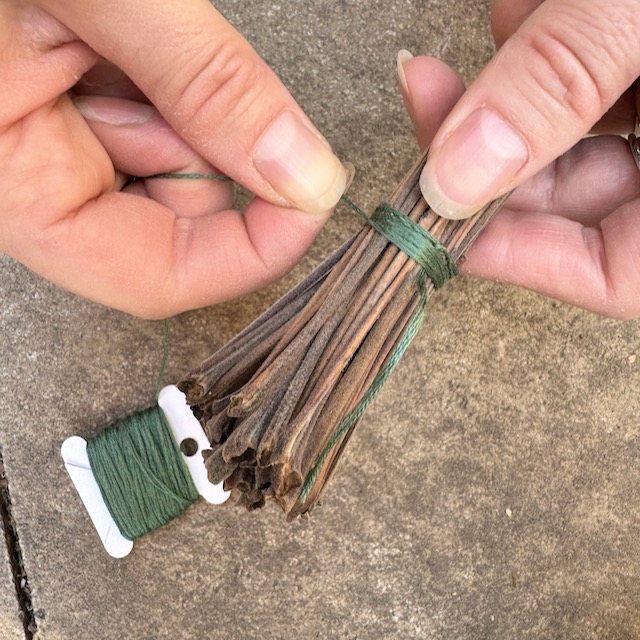
Continue to wrap the string around the bristles, ensuring you pull tight to secure the bristles together. I think it looks best if the string does not overlap with itself. Go slowly!
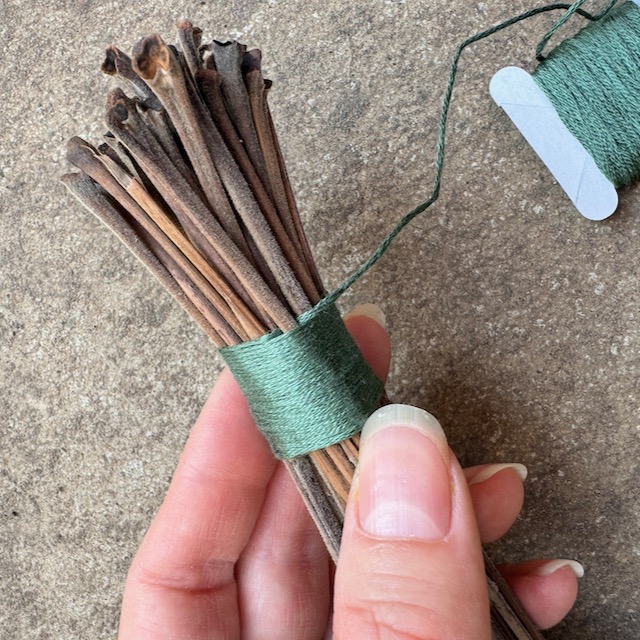
Once the string is wrapped around the bristles so the section of string is about 1-2 inches long, thread the string behind one or some of the bristles and tie the string off. You can use a needle to thread the string back into and down through the broom to hide the string.
Step 4: Trim and Shape
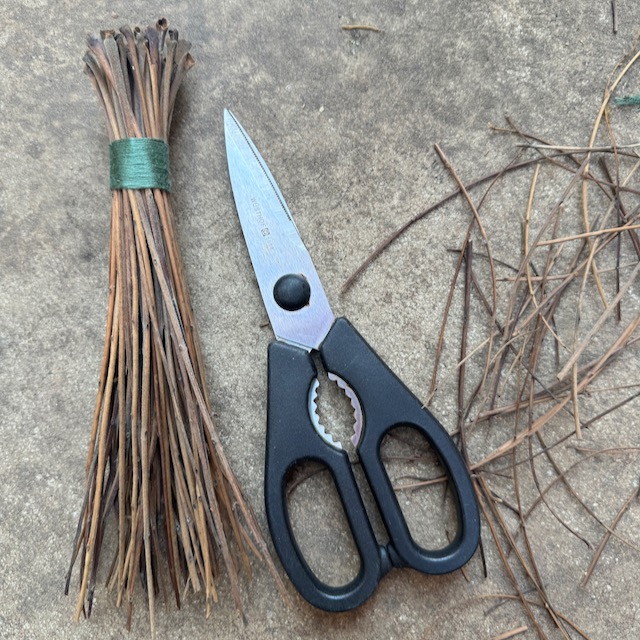
Once the bristles are secured, trim them to create a neat, even end. This will ensure that your hand broom can effectively sweep surfaces.
Step 5: Make the Broom Lay Flat
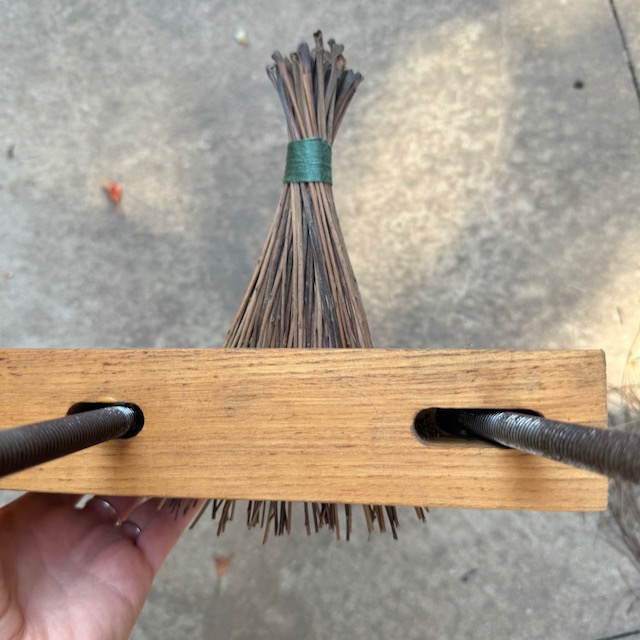
A traditional broom isn’t cylindrical, instead the bristles lay a bit more flat. In order to make this happen, we will need to add some simple weaving to the broom. (Which I think looks lovely and really adds to the overall look of the broom.)
To begin, you will need to flatten the bristles of the broom. I used a wood working clamp here, but you could simply use two sticks/dowels/rulers held together with some rubber bands.
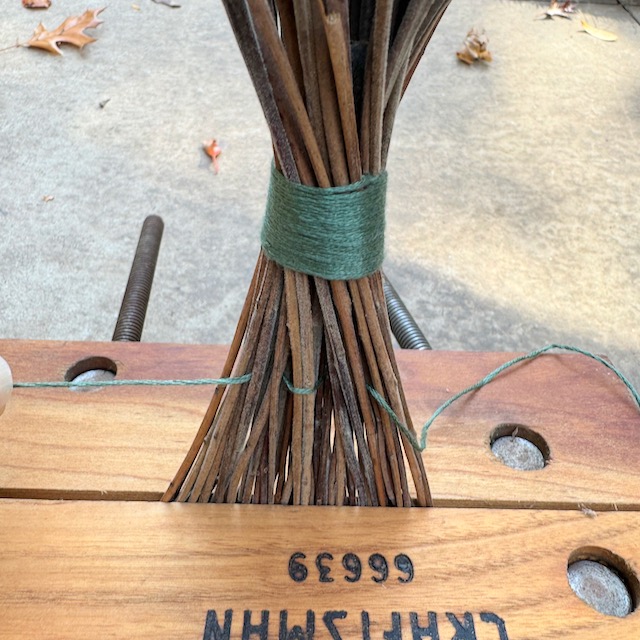
Thread your needle and split the broom into an odd number of sections. I used 5 here, you could use more or less depending on the size of your broom.
Begin by weaving in and out of the broom dividing up the sections.
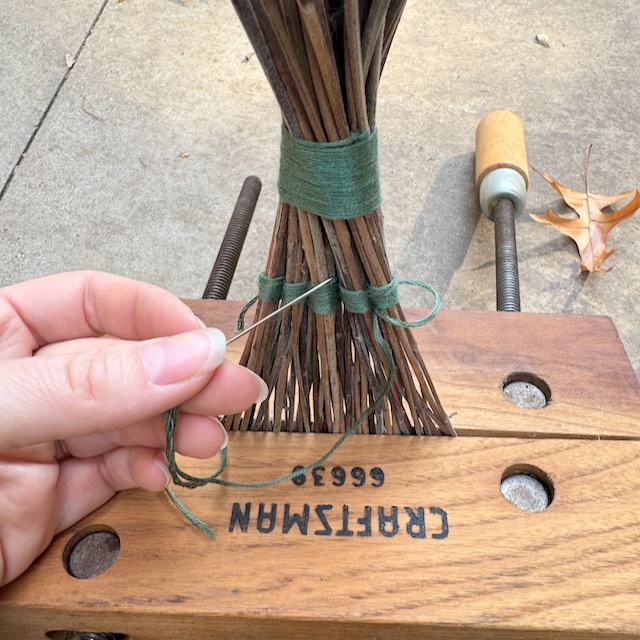
Continue weaving until you have several lines of thread to hold the broom in place and to also make sure it has enough of a design impact. Knot and cut the thread when you are done.
Step 6: Add a Hanging Loop
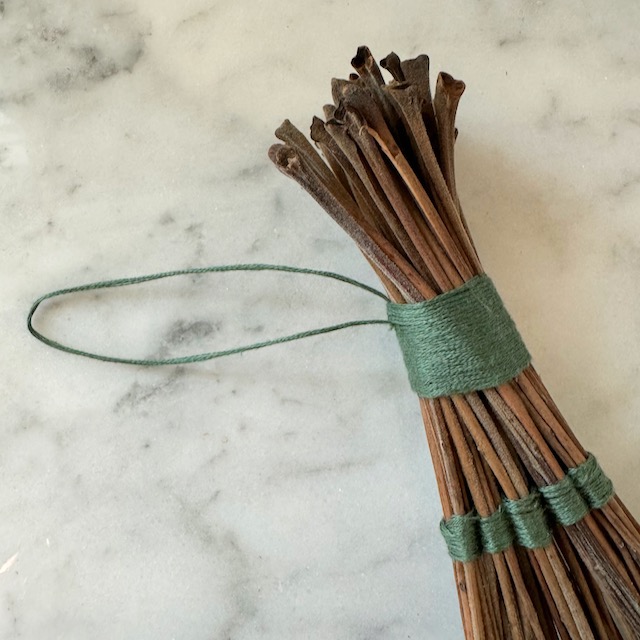
For easy storage, consider adding a loop to the end of your handle. I made mine out of simple embroidery thread. You could also use a bit of leather or scrap of fabric. Now you can hang your broom in your kitchen, mudroom, or garden shed when not in use.
Using Your Handmade Broom
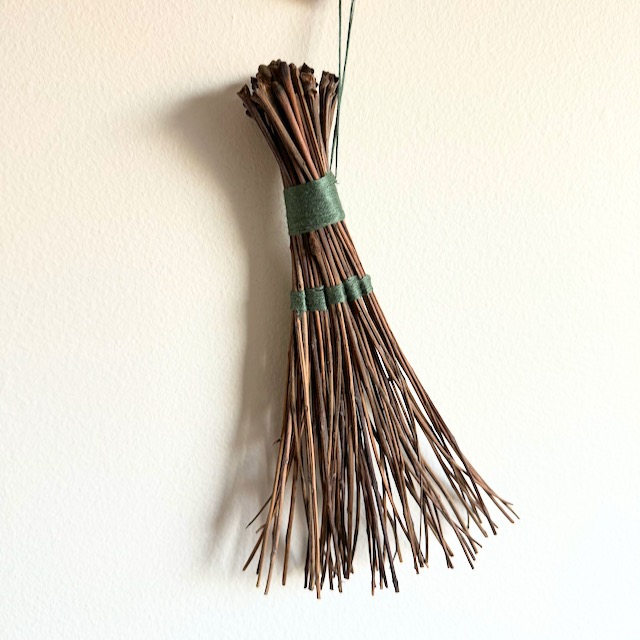
Once you make a hand broom like this, you’ll find it has multiple uses around the home. It’s perfect for sweeping small messes on tables, counters, or even outdoor surfaces like patio tables.
I also find it is a great piece of natural home decor to add to your home. Simply hang it from a peg or from a nail in the wall for an instant little pop of nature.
Why Make a Hand Broom with Foraged Materials?
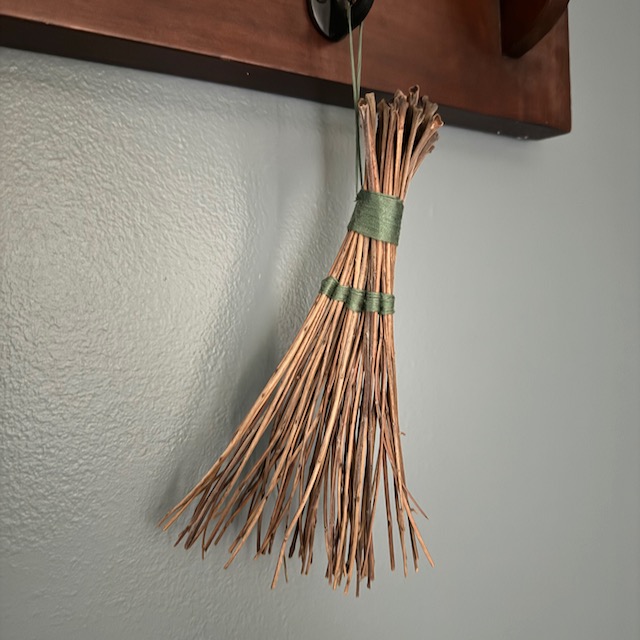
Not only does creating a hand broom from foraged materials provide a fun and satisfying DIY project, but it’s also sustainable. By using natural materials, you’re reducing the need for synthetic, manufactured products and giving items from nature a second purpose. Crafting your own broom also connects you to the age-old tradition of broom making, reminding us that practical tools don’t need to be complicated or mass-produced.
Whether you’re drawn to the rustic aesthetic or simply looking for a practical way to use what nature provides, learning to make a hand broom is a rewarding skill. Keep one in your workspace for quick cleanups, or use it as decor in your entryway to add a natural touch.
So next time you’re on a walk or out in the yard, look around and consider gathering materials to make a hand broom. You’ll have a unique, functional tool that reflects the beauty of the natural world, one that’s as practical as it is lovely!

