How to Make Air Dry Clay Look Like Ceramic
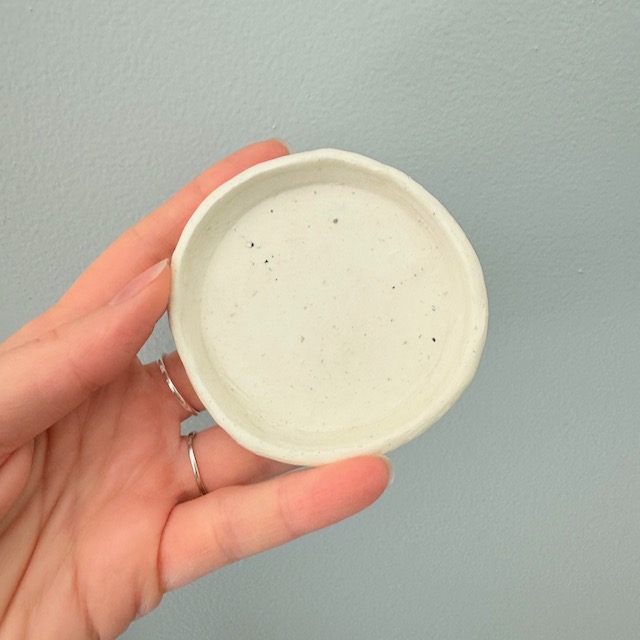
Air dry clay is a fantastic medium for DIY projects because it’s easy to work with, dries without needing a kiln, and can be customized in countless ways. While it naturally has a uniform color, adding texture can give your pieces a more refined, ceramic-like look. One fun and resourceful way to do this is by incorporating coffee grounds into the clay. This not only creates a rustic, speckled effect but also repurposes materials you likely already have at home. Give it a gloss finish and you can make your air dry clay look like ceramic.
In this post, we’ll show you how to mix coffee grounds into air dry clay and walk you through a simple yet beautiful project: making a small trinket tray.
Why Coffee Grounds?
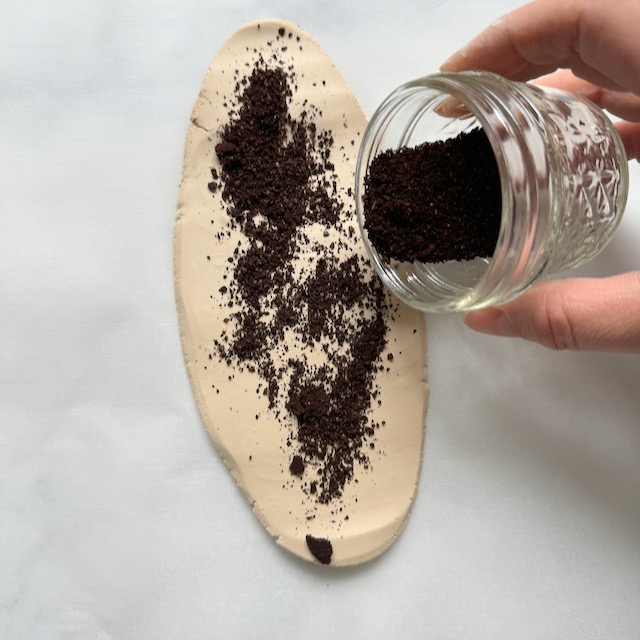
Coffee grounds add a lovely grainy texture that mimics the feel of hand-thrown pottery. They can help the clay surface look more like unglazed ceramic by adding tiny speckles and making the piece appear less smooth. The result is a natural, earthy aesthetic, perfect for those who enjoy handmade, artisanal-looking crafts.
Materials You’ll Need to Make Air Dry Clay Look Like Ceramic
- Air dry clay
- Used dried coffee grounds (course ground is best, but you can experiment)
- Rolling pin or smooth glass jar
- A small dish or bowl for shaping
- A knife or clay tool for trimming
- Parchment paper or a non-stick surface
- Sandpaper (optional, for smoothing)
- Gloss Modge Podge
Alternative Materials
AIR DRY CLAY: I like to keep air dry clay on hand because I use it for a lot of different projects and a bit can go a long way. If you don’t want to go out and purchase some there are recipes online to make air dry clay with baking soda and corn starch.
COFFEE GROUNDS: If you don’t have coffee you could also try a course ground pepper or other kinds of spices to give the clay texture
GLOSS MODGE PODGE: The gloss Modge Podge helps add a glossy sheen to make the pieces look more like ceramic. If you wanted you could completely skip this step or use a polyurethane or another kind of sealant to seal your piece.
Step 1: Preparing the Clay
Start by softening the air dry clay. Break off a piece and knead it in your hands until it’s pliable and smooth. This is essential for making the clay easier to shape and preventing cracks when it dries.
Step 2: Adding the Coffee Grounds
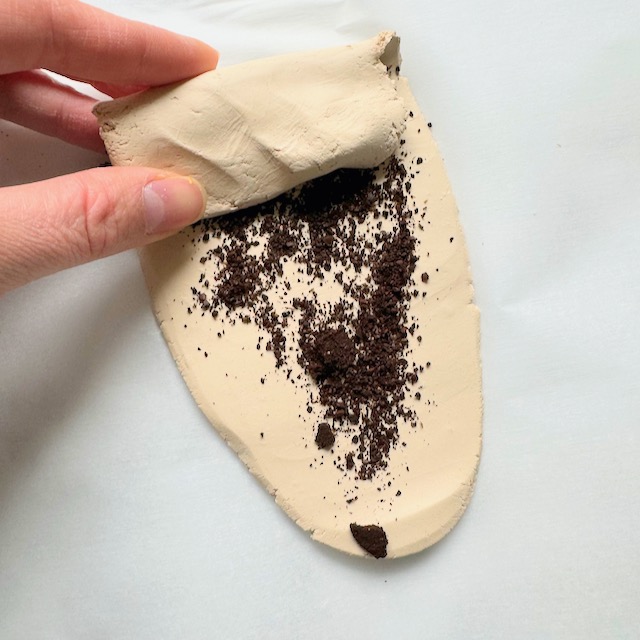
Sprinkle around a tablespoon of dried coffee grounds into the clay, depending on how textured you want the final piece to be. The more grounds you add, the more pronounced the speckled effect.
Mix the grounds into the clay by kneading it thoroughly until the grounds are evenly distributed. As you do this, you’ll notice the clay taking on a slightly rougher, ceramic-like texture.
If you find your clay drying out, add some water to your fingers and hands as you knead to rehydrate the clay.
Step 3: Rolling Out the Clay
Place the clay on parchment paper or a non-stick surface, then use a rolling pin to roll it out to about ¼-inch thick. Be sure to roll evenly to avoid thin spots, which can lead to cracking when the clay dries. You should be able to see the coffee grounds speckled throughout the surface of the clay.
Step 4: Shaping Your Trinket Tray
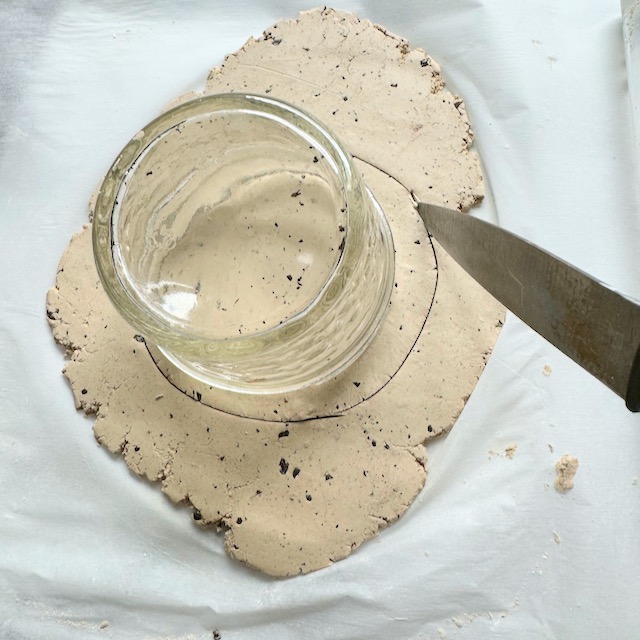
Next, take a small dish or bowl and gently rest it on your rolled-out clay. Use a knife or clay tool to trim the clay a 1/2 inch distance around the dish.
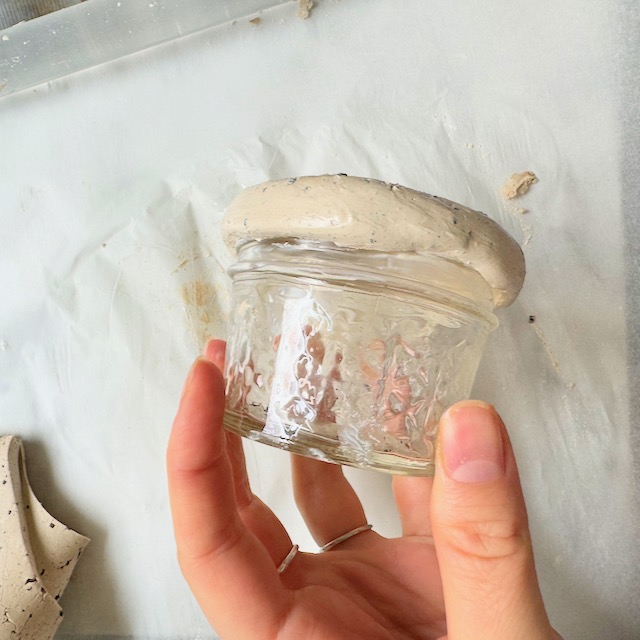
Gently pull up the clay and using wet fingers gently press the clay down around the sides of the dish. Don’t press the clay into the dish, you’re just trying to shape the sides of the dish. Use your hands to gently pry the clay off of the dish.
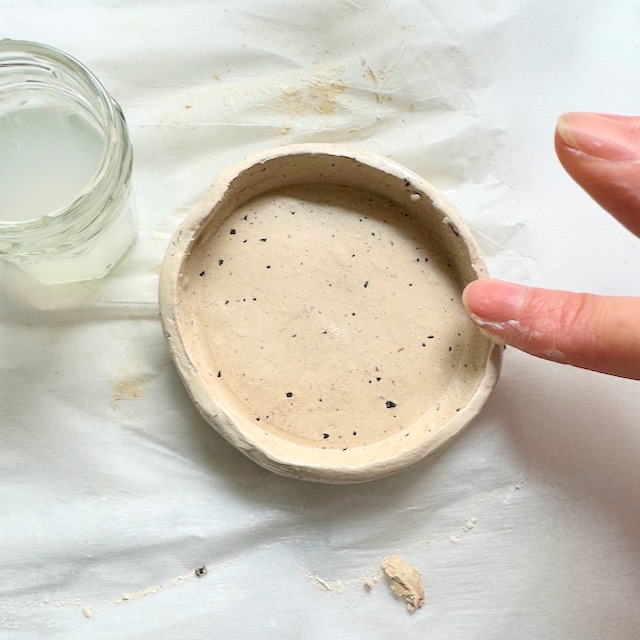
Use wet fingers to smooth out the clay edges. (If you add too much water you can risk the clay cracking while drying. Just add enough to make the clay pliable.
Step 5: Letting the Tray Dry
Allow the clay to dry for 24-48 hours. Air dry clay hardens naturally, and during this time, the coffee grounds will continue to set into the clay, enhancing the texture. Be patient and ensure the tray is completely dry before moving on to the next step.
Step 6: Finishing Touches to Make Air Dry Clay Look Like Ceramic
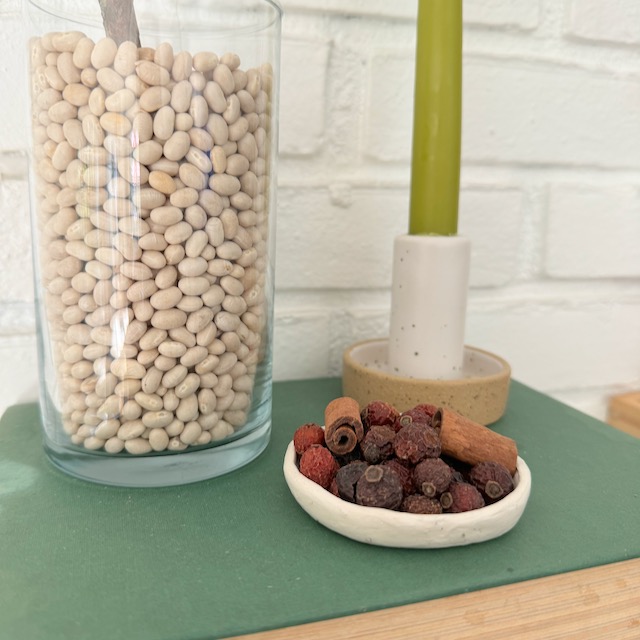
Once the trinket tray has dried, you can smooth out any rough edges with fine-grit sandpaper. If you want to add a touch of color, you can paint the tray with acrylic paints or leave it natural for a more earthy, ceramic-like finish.
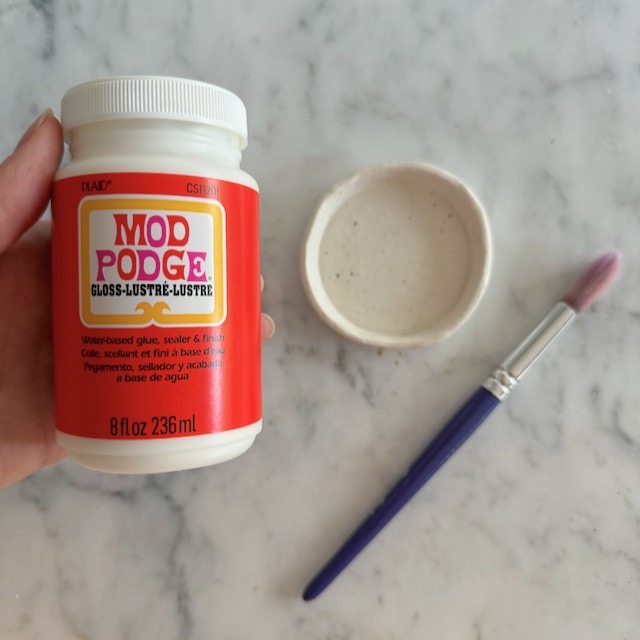
For extra durability and to really make the air dry clay look like ceramic, you can seal the clay with Gloss Modge Podge. The gloss mimics the glaze that is typically seen on authentic ceramic pieces.
Have Fun with Making Air Dry Clay Look like Ceramic
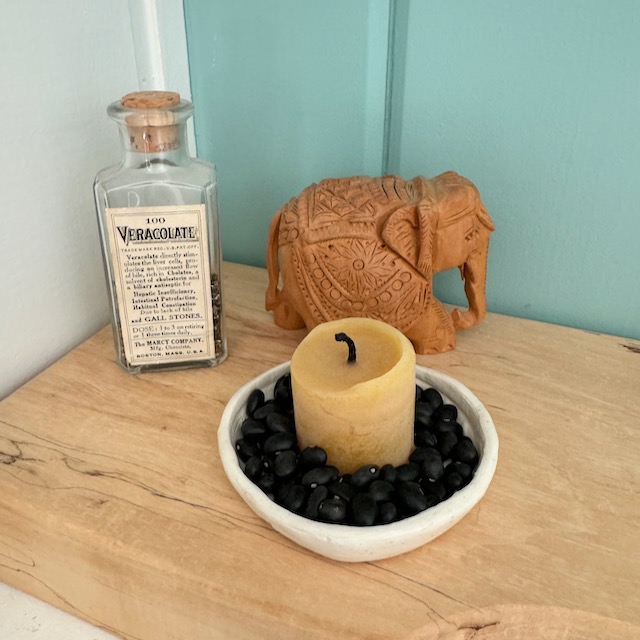
By adding coffee grounds to air dry clay, you can create a ceramic-inspired texture that’s both rustic and unique. Plus, using coffee grounds is a wonderful way to repurpose everyday materials, making this project as resourceful as it is beautiful.
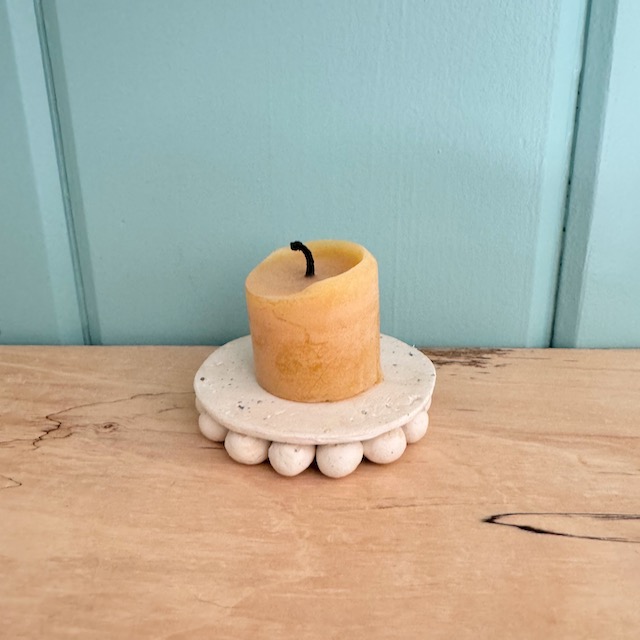
This small trinket tray is the perfect starter project, but you can apply this technique to other creations like vases, bowls, or decorative plates. I made another trinket dish with a small clay balls glued onto a air dry clay circle. I think it turned out perfect as a candle holder!
If you’re looking for another air dry clay project, check out my blog post on how to make flower frogs out of air dry clay.
