DIY Handmade Paper: A Step-by-Step Guide
Handmade paper is a beautiful and versatile material that can be used for various crafts, writing, and art projects. The process of making handmade paper is not only rewarding but also allows for creative expression, as you can incorporate different textures, colors, and materials. In this blog post, we’ll explore the steps involved in making your own handmade paper from start to finish.
Materials to Make Handmade Paper
To make handmade paper, you’ll need the following materials:
- recycled paper (old newspapers, scrap paper, junk mail)
- water
- blender or food processor
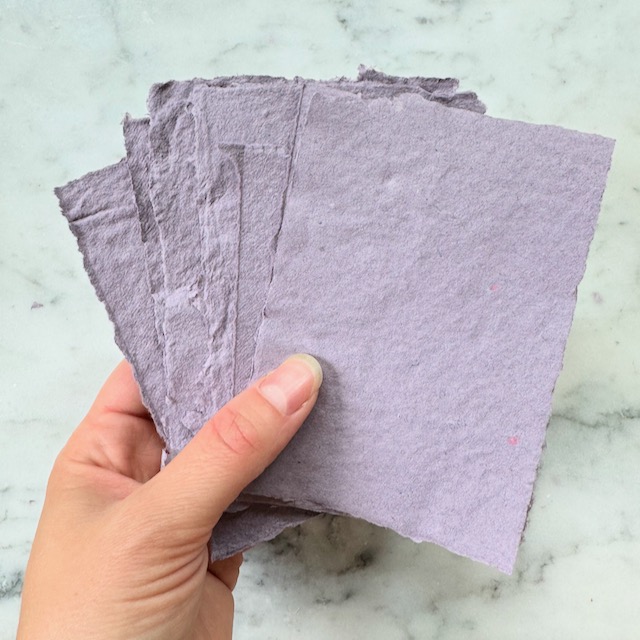
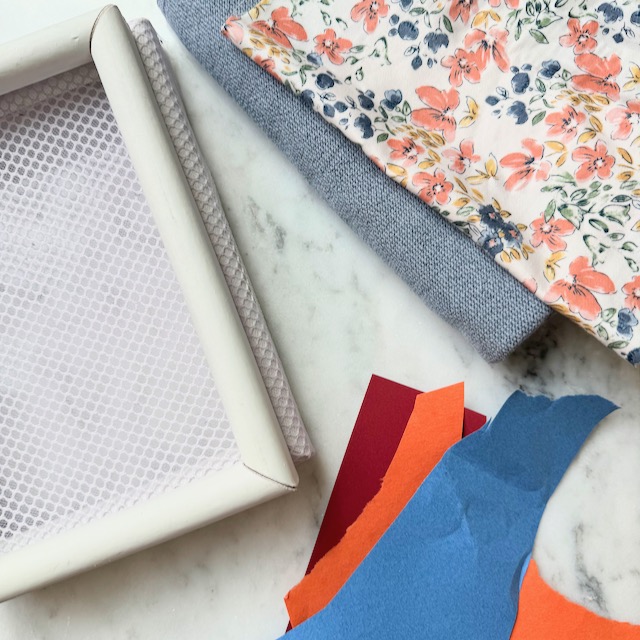
- mold and deckle (learn how to make one with picture frames and fabric here!)
- large tub or storage container
- sponge or towel
- absorbent fabric
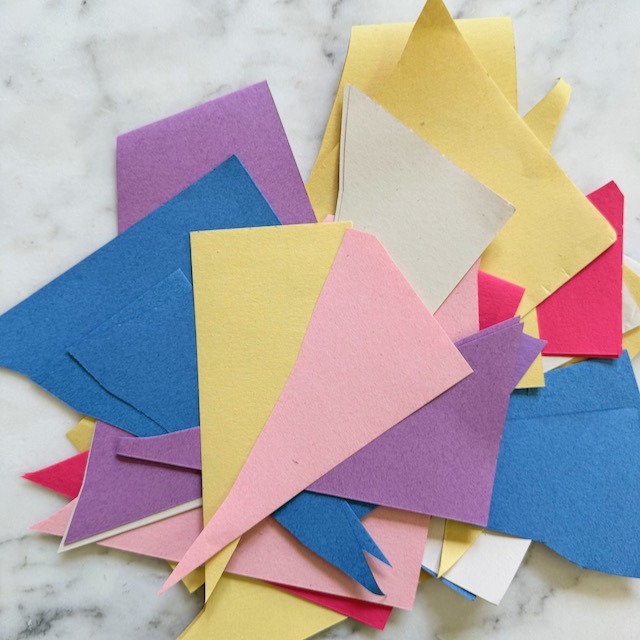
- OPTIONAL: flower petals, shaved crayons, herbs, bits of brightly colored paper
How to Make Handmade Paper
Prepare the Paper Pulp
– Start by tearing your recycled paper into small pieces. If you’re lucky, you can just use your kids left over paper scraps, like me! Or you could use paper from out of a paper shredder.
– Soak the paper pieces in a tub of warm water (1 part paper : 4 parts water ratio) for a few hours or overnight. This softens the fibers, making them easier to blend.
– After soaking, transfer the paper and water mixture into a blender. Blend until you achieve a smooth pulp consistency. If the mixture is too thick, add more water to help it blend.
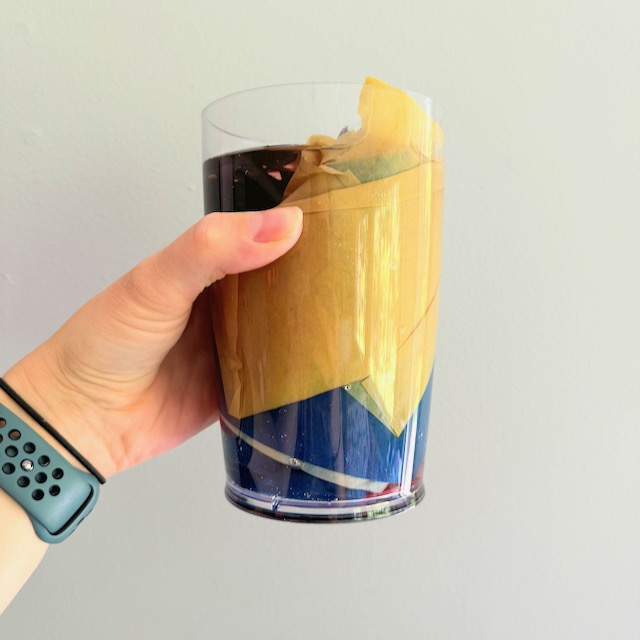
– Grab a container that is slightly bigger than your mold and deckle. Pour of paper pulp mixture into it and add a bit more water. (The water:paper ratio is something you’ll probably play with. The more paper will result in thicker sheets of paper.)
2. Set up the Mold & Deckle
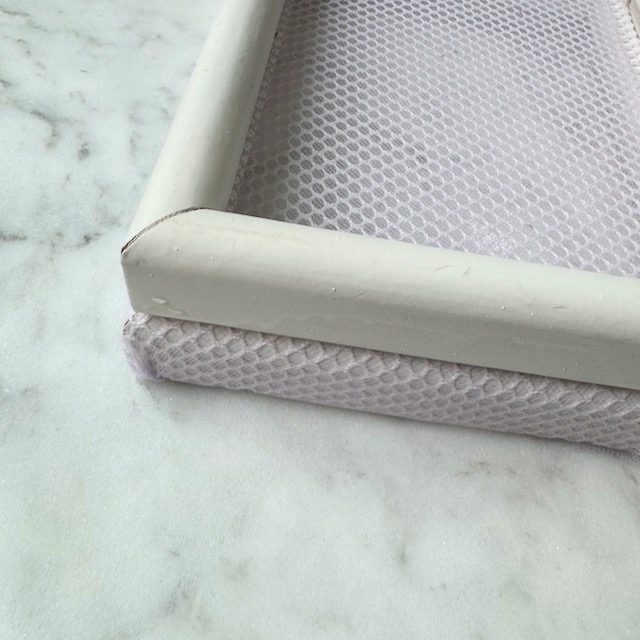
– The mold and deckle are essential tools for forming your paper sheets. The mold is the frame with a screen attached, and the deckle is an empty frame placed on top of the mold to define the edges of the paper. Check out my blog post here on how to make your own mold and deckle with things you probably already have around the house.
– Place the mold, screen side up, and deckle together.
3. Form the Paper Sheet
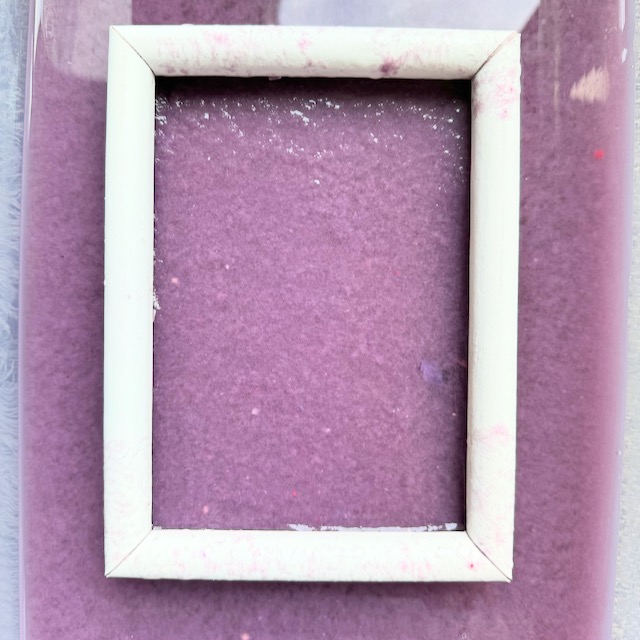
– Place the mold and deckle into the water. While they are submerged in the water. Move them gently back and forth to ensure the pulp spreads evenly.
– Lift the mold and deckle out of the water, allowing excess water to drain away. You should see a thin layer of pulp forming on the screen.
4. Remove the Deckle and Press
– Carefully remove the deckle, leaving the pulp on the screen of the mold.
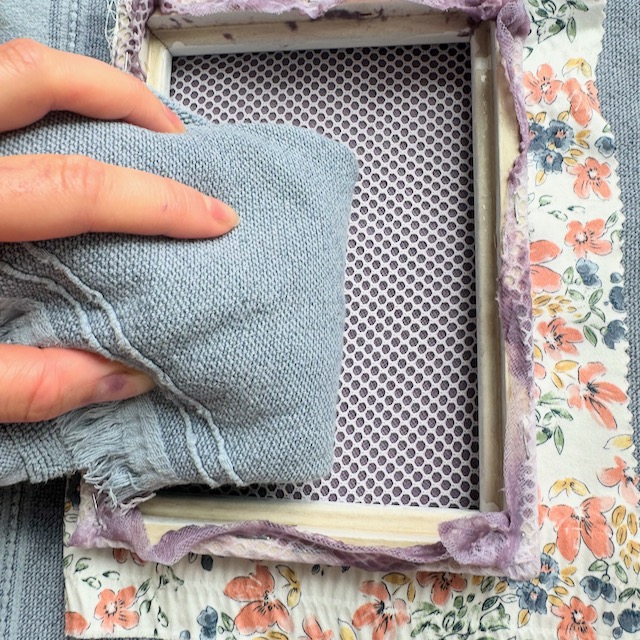
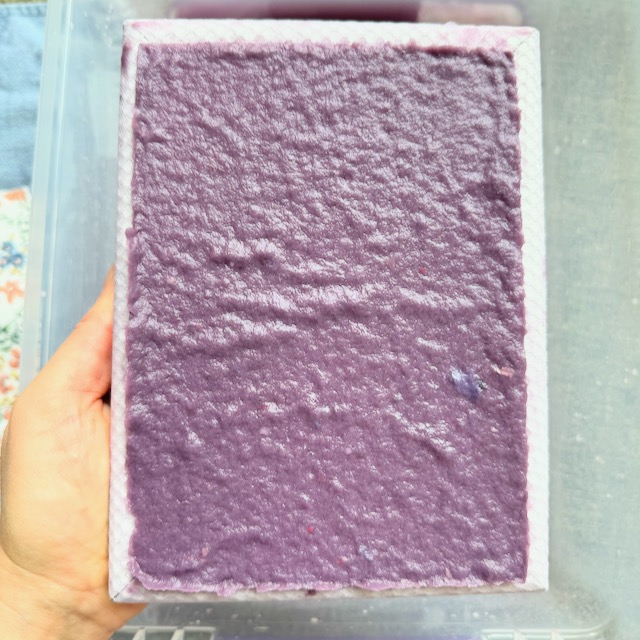
– Place a piece of scrap cloth over the pulp and turn the deckle over. Use a sponge to gently press and remove more water from the pulp. This step helps to bond the fibers together and smooth out the surface.
5. Transfer the Paper to Fabric to Dry

– Gently lift the mold, leaving the wet paper sheet on the cloth.
6. Allow the Paper to Dry
– Place the cloth with the paper on a drying rack. It will dry faster if both sides are exposed to air.
-After the majority of the paper is dry, you can sandwich it between absorbent fabric and place something heavy on top of the paper. This will help to have the sheets dry more flat.
7. Finishing Touches
– Once the paper is dry, carefully peel it off the cloth. If desired, you can trim the edges for a cleaner look.
Try Different Kinds of Handmade Paper!
– Experiment with Different Papers: Try using various types of recycled paper to see how they affect the texture and color of your handmade paper.
– Add Color: You can add food coloring or natural dyes, bits of colored paper, or crayon shavings to the pulp mixture to create colored paper.
– Incorporate Scents: Adding a few drops of essential oils to the pulp can give your paper a pleasant fragrance.
– Add Seeds: Try making your own seed paper.
Have Fun!
Making handmade paper is a fun and eco-friendly craft. Each sheet of paper you create will be unique, reflecting the care and effort you put into the process. Whether you use your handmade paper for writing letters, creating artwork, or making personalized gifts, the results will be truly special. Enjoy the process and have fun experimenting with different materials and techniques to discover what works best for you.