A Step-by-Step Guide to Sew a Rag Doll – Free Pattern!
With two little ones, I know the significance of having a few snuggly friends. I wanted to learn to sew a rag doll so I could make them a set of their very own dolls with fun clothes and accessories to wear. It also felt so special for them to have a cozy friend to love that I had made with love.
My daughter is getting to the point where she loves to play pretend with dolls, creating my own meant I can easily make fun accessories and matching clothing for my daughter and her doll.
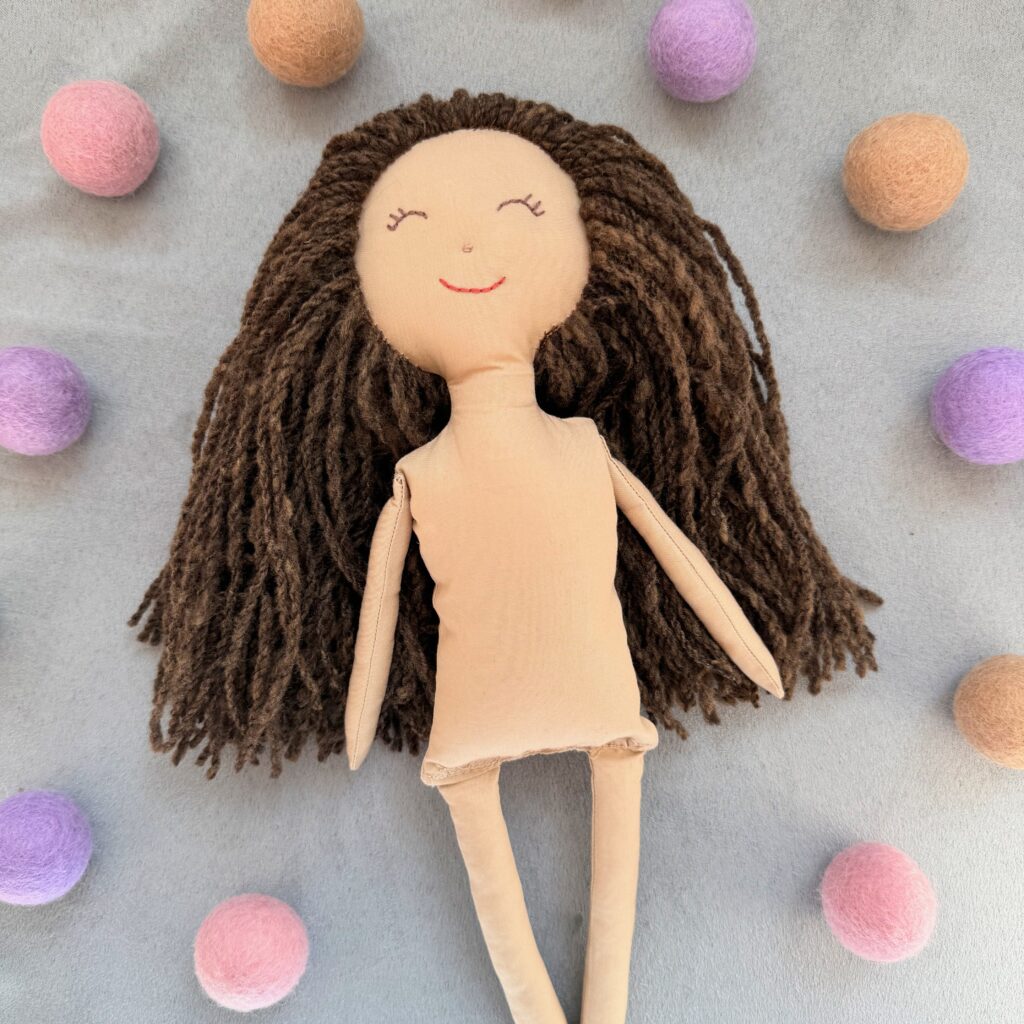
I love how this rag doll turned out and I can’t wait to show you how to sew a rag doll so you can make a small family for the little ones in your life.
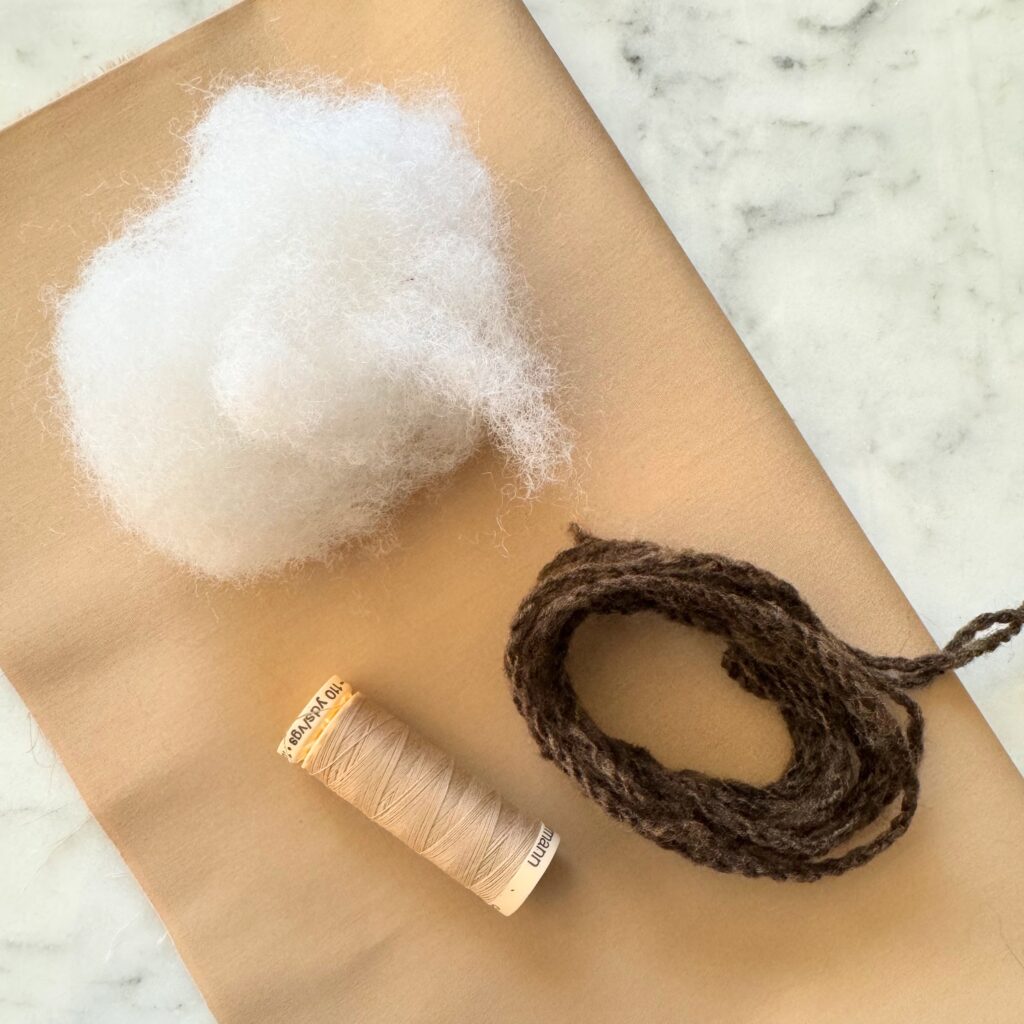
Materials to Sew a Rag Doll
- woven fabric for the body (quilting cotton or linen works well)
- yarn for the hair
- thread (matching to the body and hair)
- water soluble fabric markers
- embroidery floss (for adding the face)
- stuffing material (such as Polyfil, wool, or fabric scraps)
Free Rag Doll Sewing Pattern
I designed my own rag doll pattern, which is available to download for free! It is in my freebies library, which is available to any subscriber to my email list.
In my freebies library I also have the a few patterns for clothes for the rag doll as well.
The pattern is for a doll that is approximately 12.5 inches tall.
Cut and Sew the Body

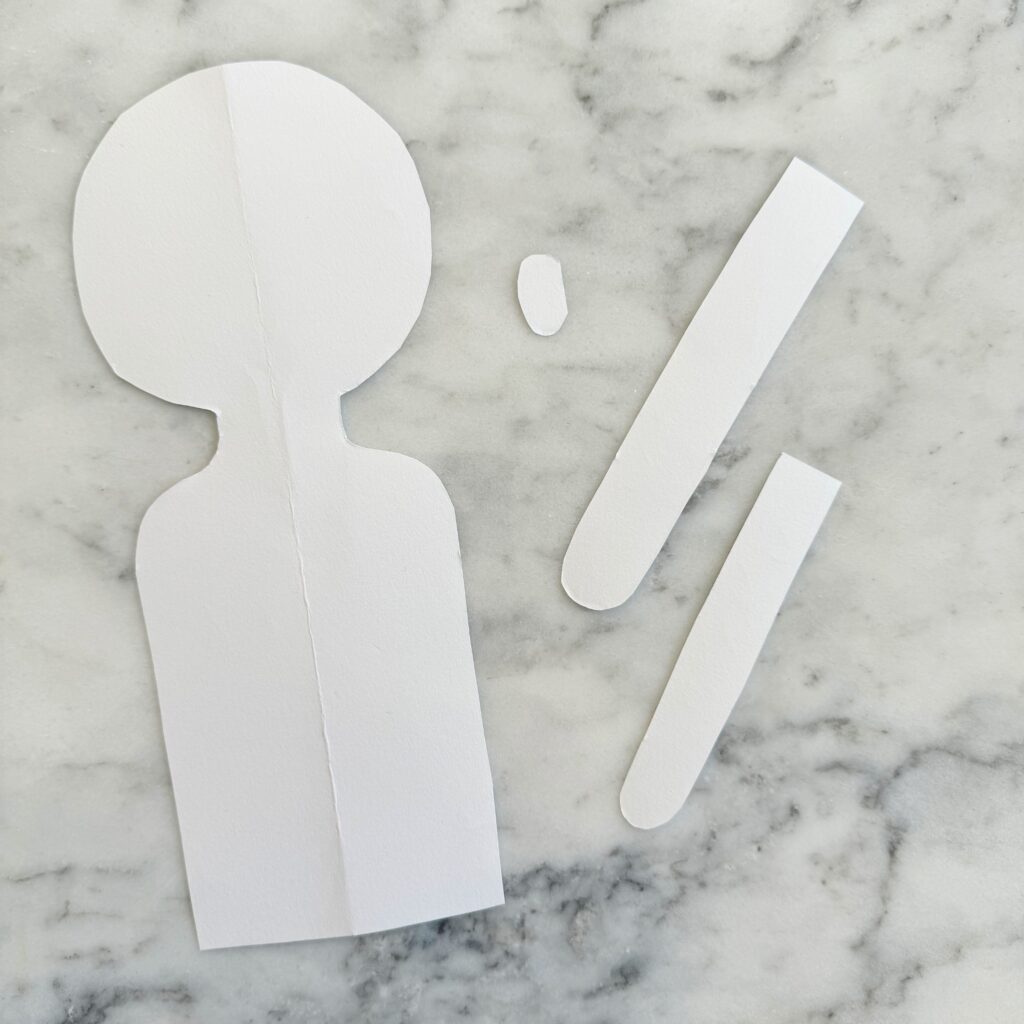
Trace Pattern Pieces
Using your chosen woven fabric, fold the fabric in half, right sides together, and trace out one body, two legs, and two arm pieces.
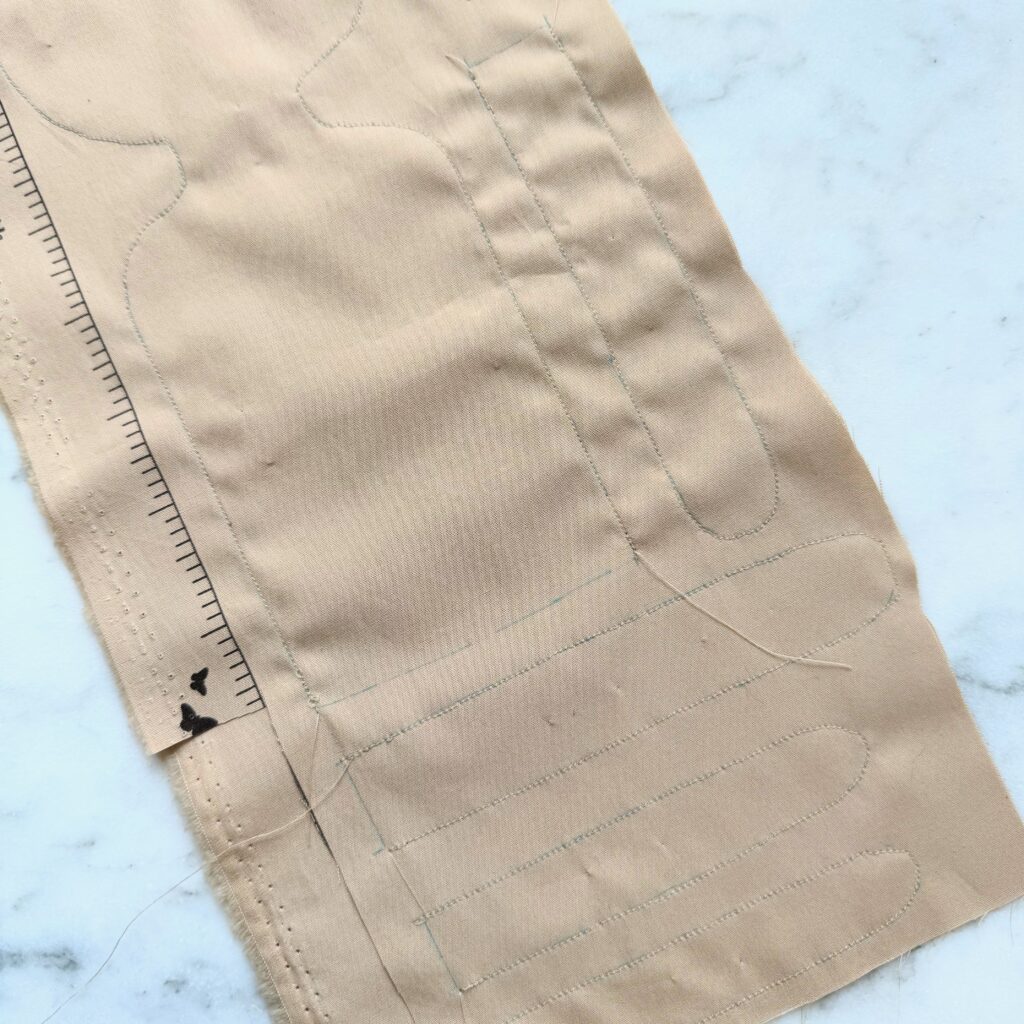
Sew Doll Pieces
Place a few pins in the fabric to hold everything and bring it to your sewing machine. With a small stitch length (I used around 1.8) sew along the traced lines of the pattern pieces (no seam allowance). Be sure to LEAVE OPEN the tops of the legs and arms and the bottom of the body.
Cutting Out and Filling the Doll
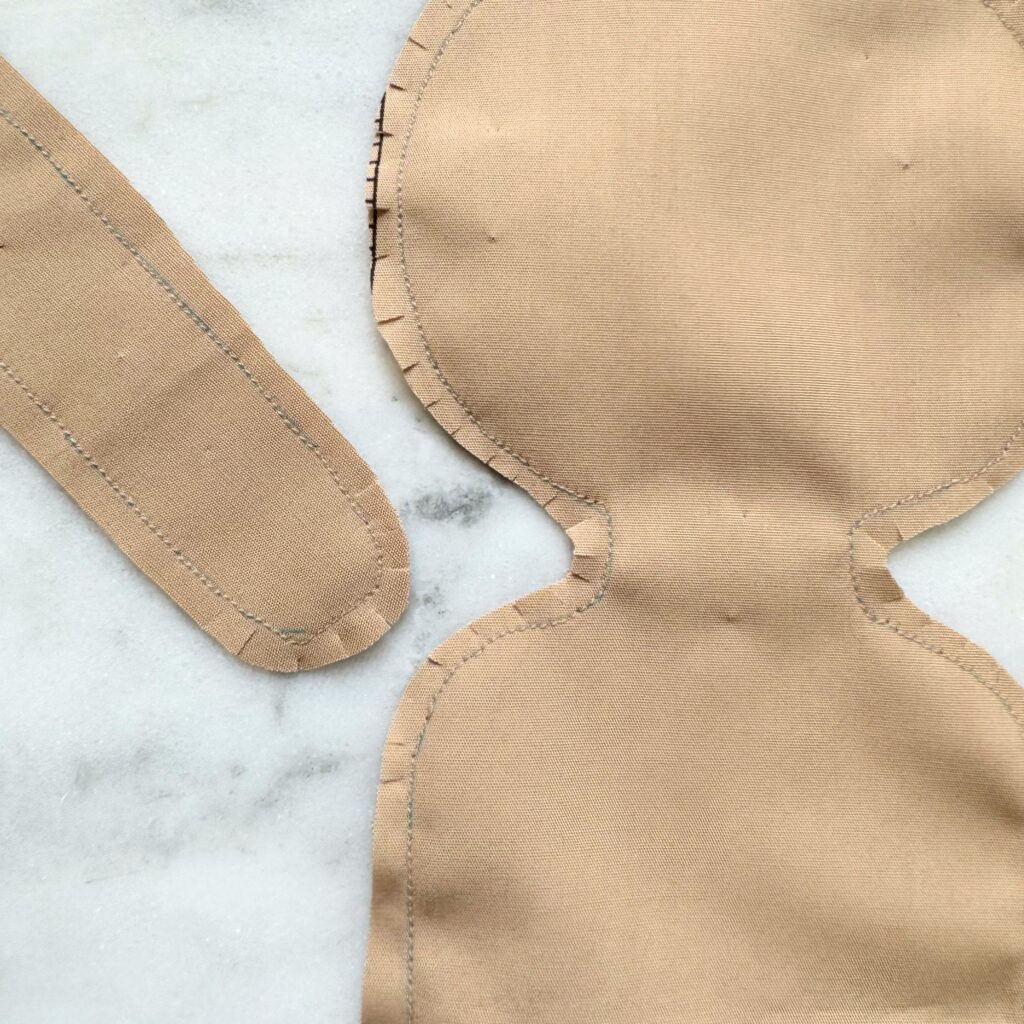
Cut the pattern pieces out leaving 3/8 inch seam allowance. Clip into the fabric around every curve. Be careful not to clip into your stitches. This ensures that it lays flat and puckers less for the finished doll.
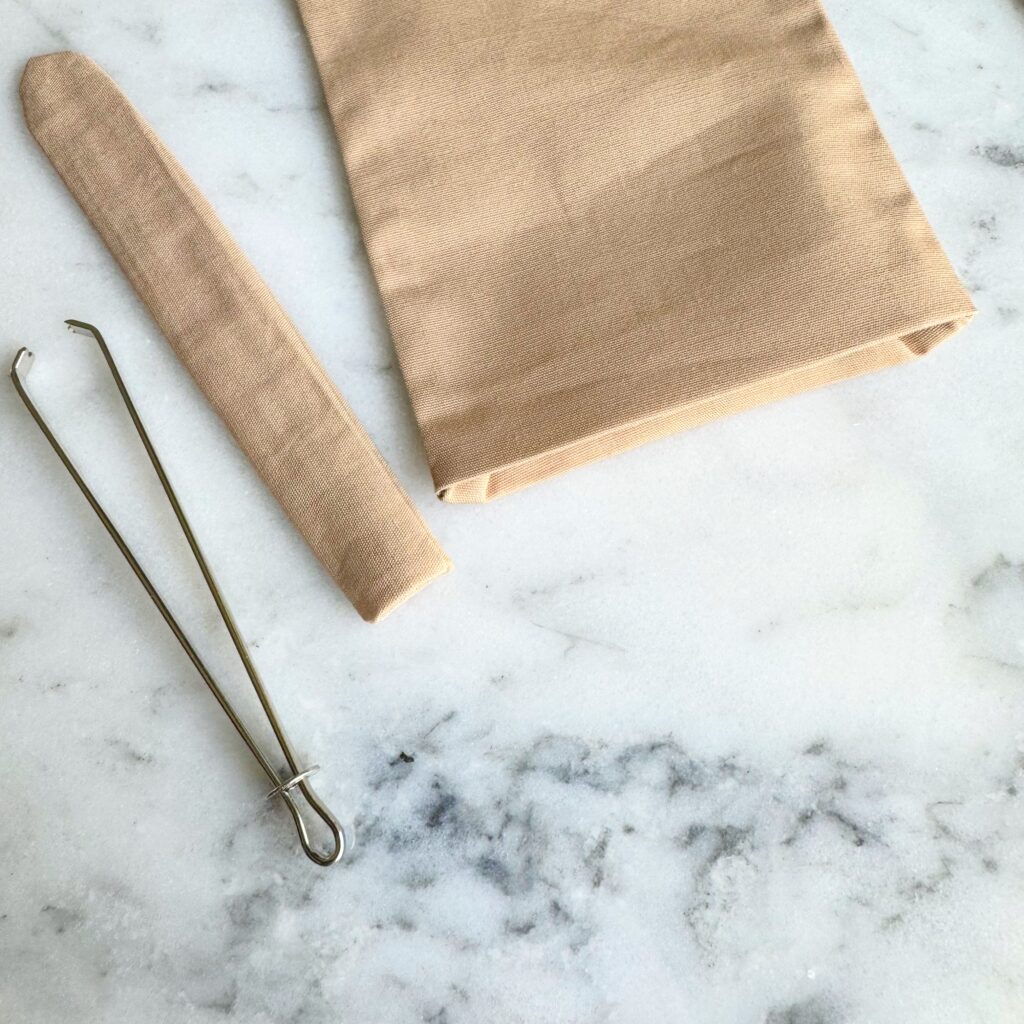
Turn and Fill
Turn the arms, legs, and body right side out. It can be difficult to turn the arms and legs. I reached in with a little sewing plier tool to grasp the fabric and turn it right side out. There are a lot of creative tools to help make this process easier.
Once everything is right side out, fold in the fabric 1/4 inch on the openings for the ARMS and BODY into the inside and iron flat. (Don’t need to do legs.) This will help you with closing after stuffing.
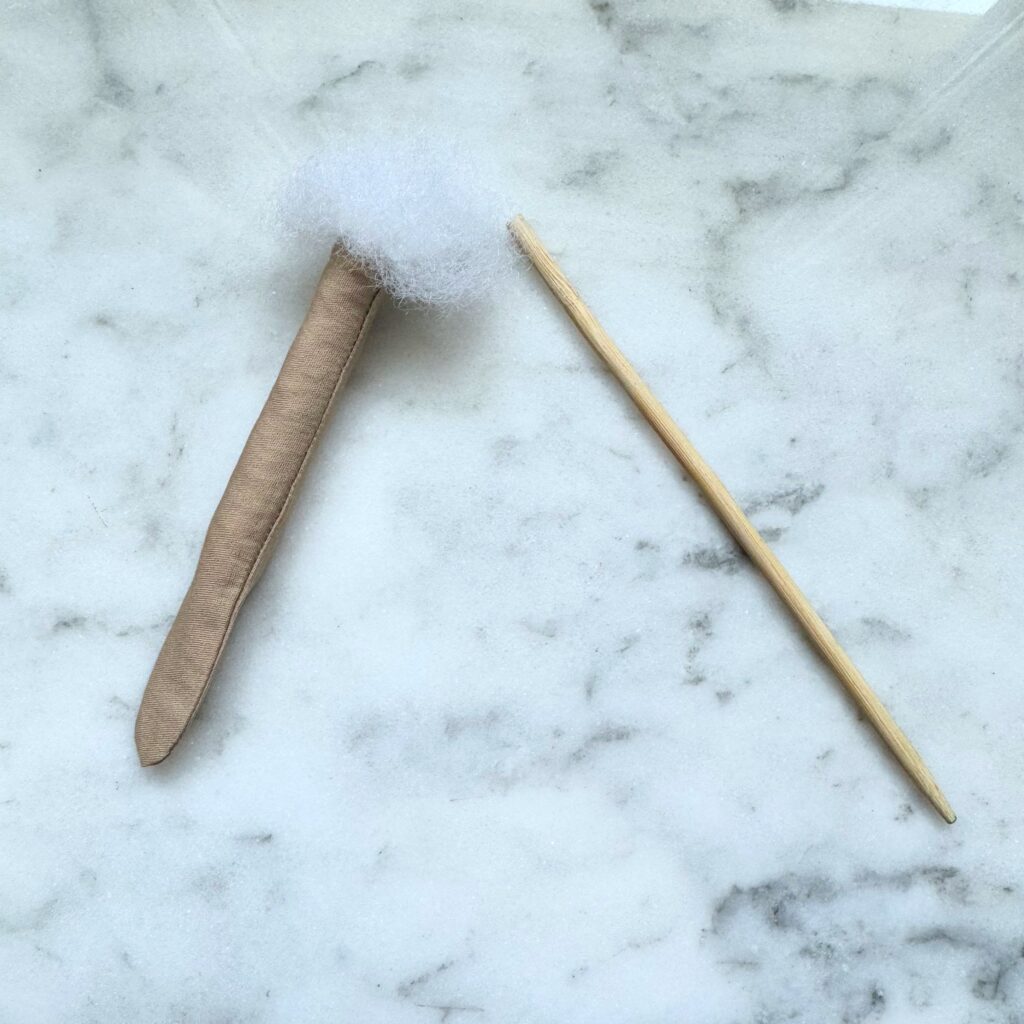
Once turned, stuff the doll with your chosen stuffing material. Use small amounts at a time to ensure a smooth and even distribution. I like to use the blunt side of a pencil or skewer to help push the filling into the limbs and head.
Sew a Rag Doll – Assemble the Body
Attach the Legs
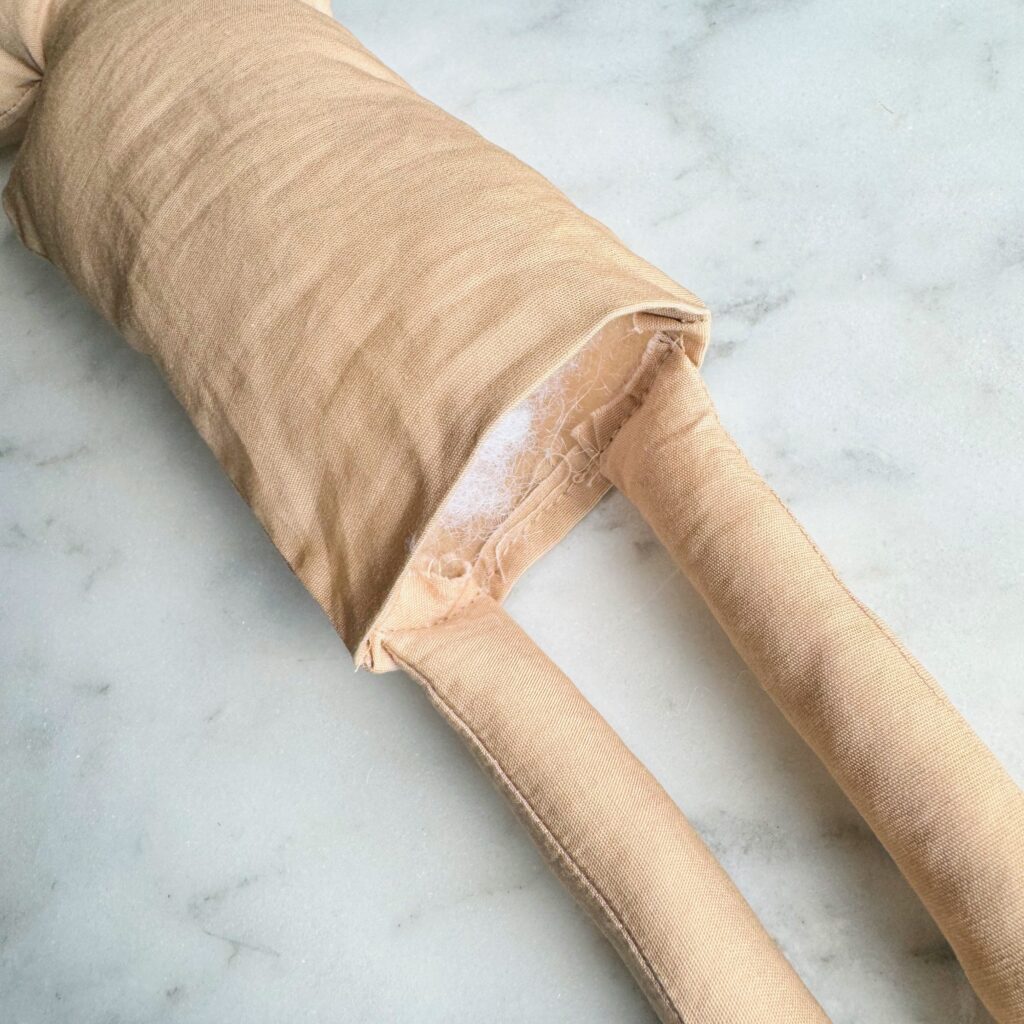
Place the legs 1/4 inch into the bottom of the body and baste stitch them in place. I placed mine so they were lined up with the sides of the body.
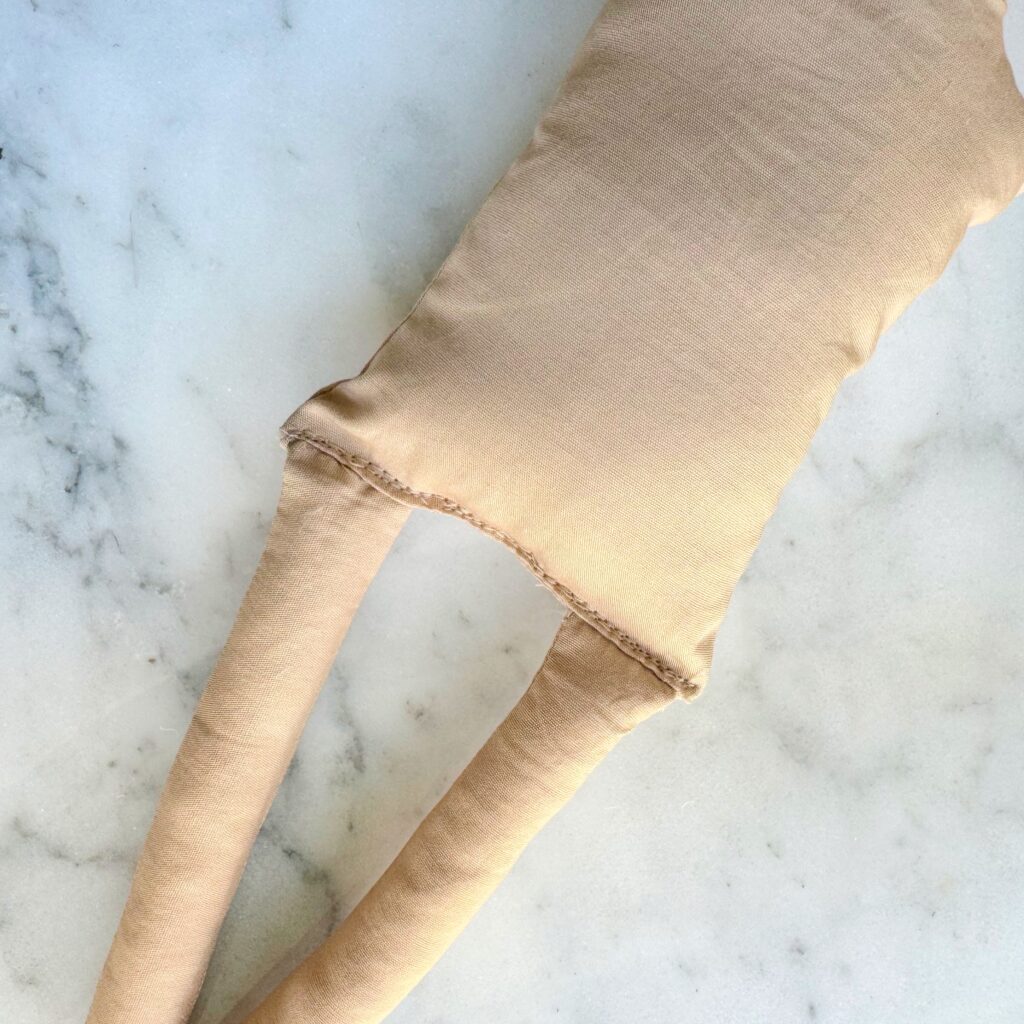
Sew the bottom of the body closed. I made sure to stitch a few times over the legs to make sure the body was secure in this area of high stress.
Attach the Arms
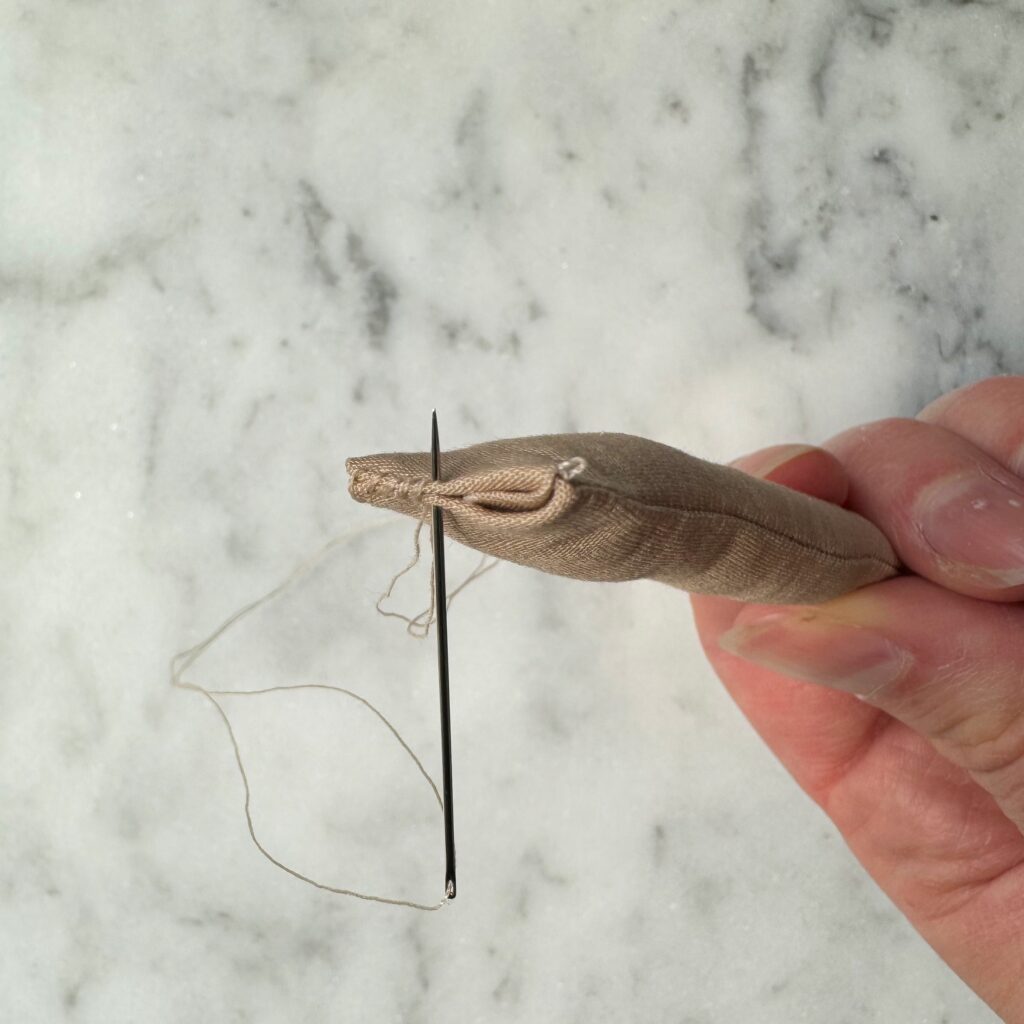
To close the top of the arms use a ladder/invisible stitch. This means you sew back and forth right on the inside of the hem. I stitched quite a few stitches to make sure the arms stayed secure.
You can hide the knots by placing the knot on the inside when you start and make the knot within the fold of the fabric and stick the needle to the inside of the arm and have it come out further down the arm. Then clip the thread when it comes out of the arm. This helps to hide the thread and makes the knot a little more sturdy.
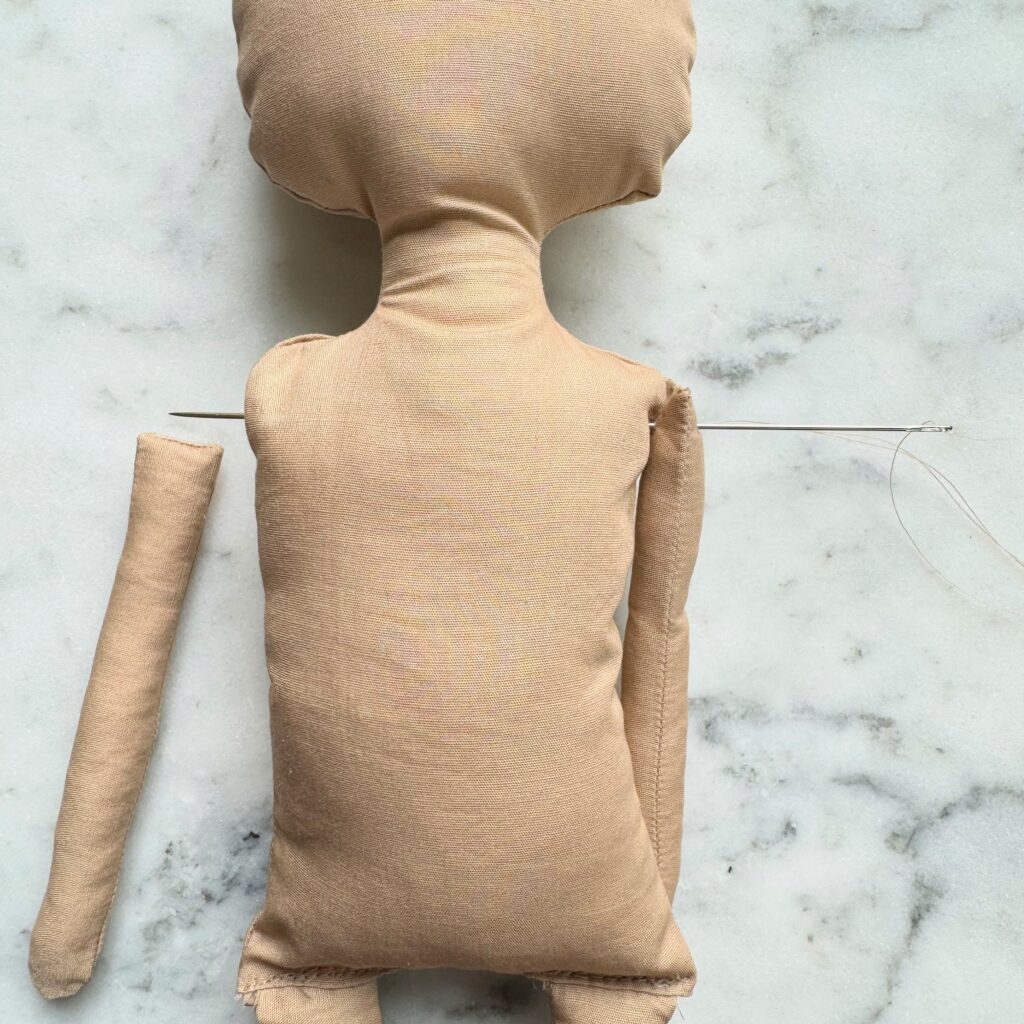
To attach the arms to the body, thread your needle with embroidery floss (for more strength) or thread. Create a knot and stitch through one arm near the top. Place knotted side of the arm close onto the body. When it’s in a position you like, sew through the arm and to the other side of the body where you would like the second arm to be.
Stitch through the second arm and through the body again. Repeat until each arm is stitched 4 times. Try to make the stitches come through the arms right around the same spot. Make a knot to end the stitching between the arm and body, to hide the knot.
If the stitches are close enough together, you should be able to move the dolls around in a circle and they will hold their position. I think this makes the doll a bit more fun to have some more maneuverability.
Adding the Hair
I chose to add yarn hair to my rag doll. It is simple process that I explain in this blog post about adding hair to rag dolls.
If that seems a little daunting, I’ve seen others use fabric paint to paint on hair, or use a different fabric to make hair.
Adding the Face
Adding the facial features is what truly brings the doll to life. There are different ways to add the facial features. You could use a fabric pen and simply color it on. Embroidering is my favorite.
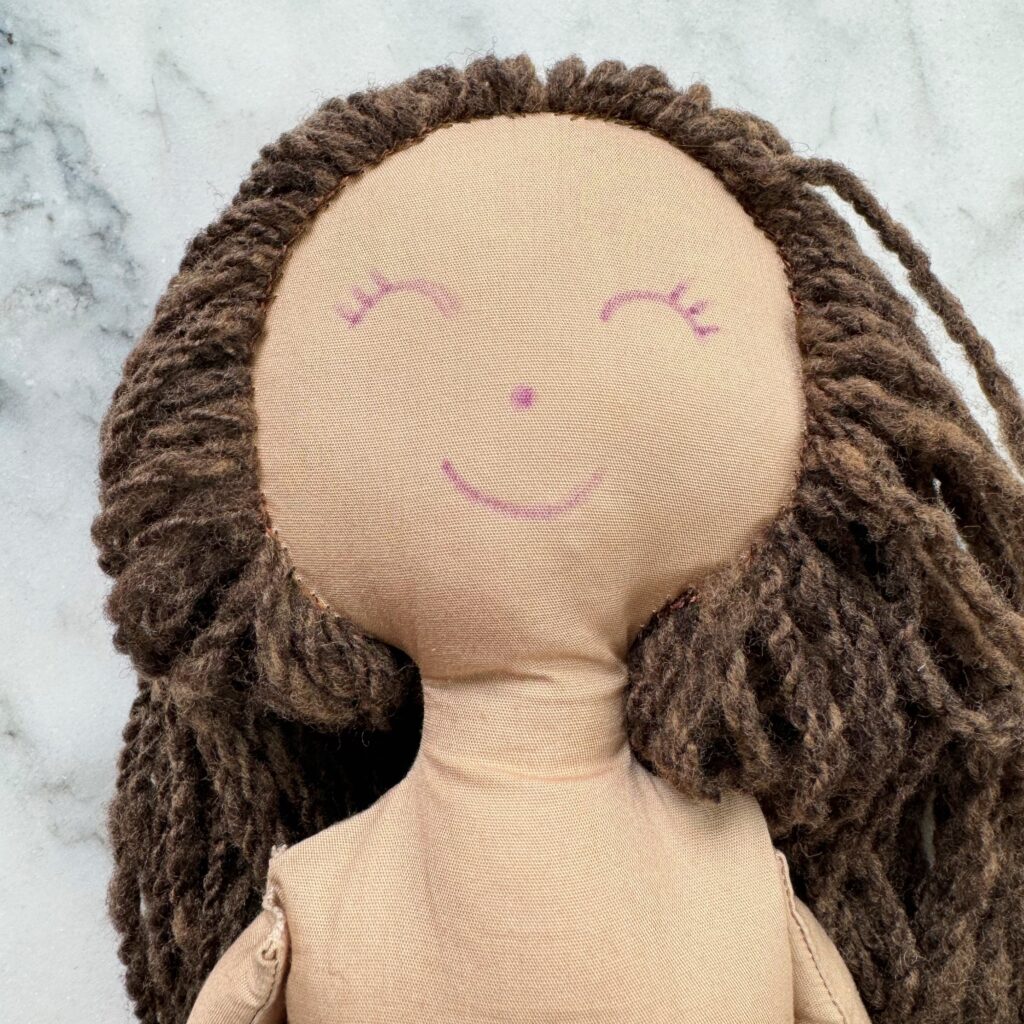
To embroider the face, you first need to sketch the face onto the doll with an air soluble fabric marker.
Split your embroidery floss in half, so you are only working with three strands. Three strands makes the embroidery look a bit less harsh than the full embroidery floss.
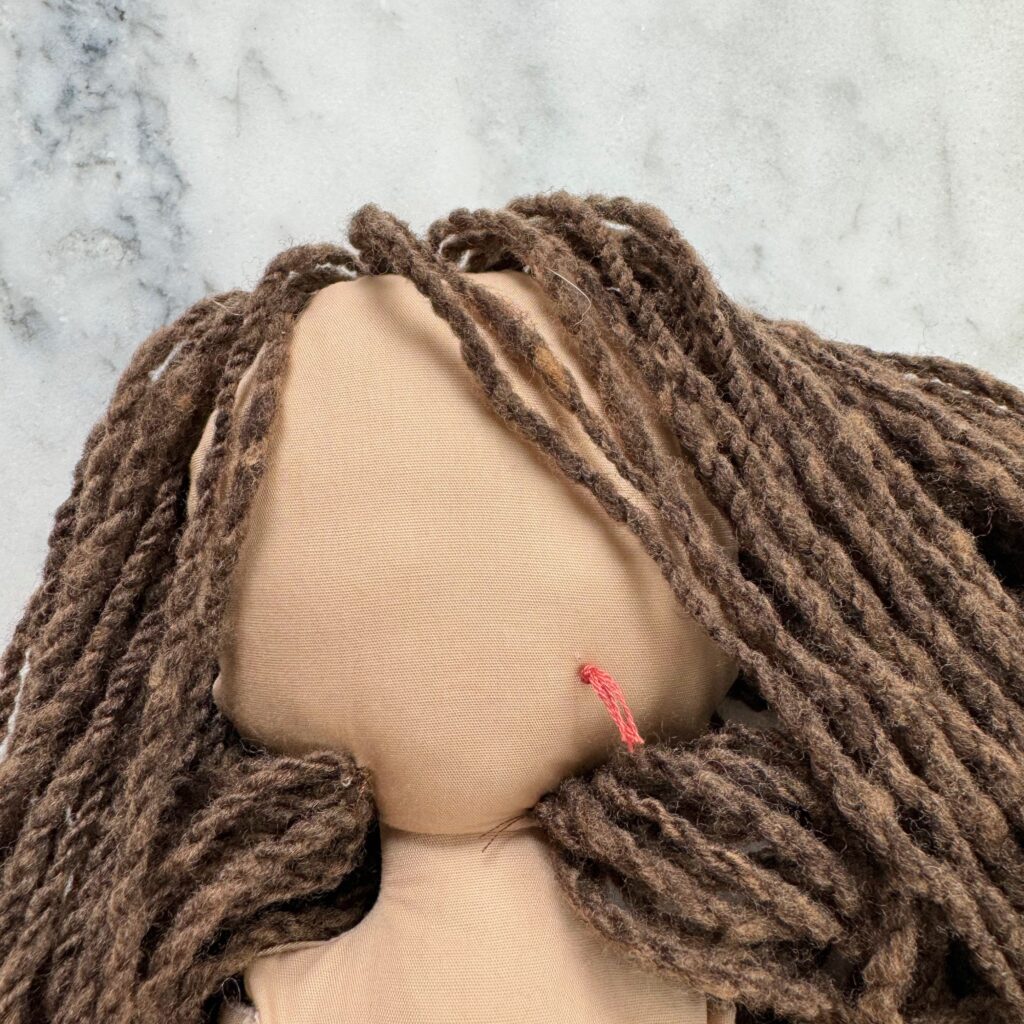
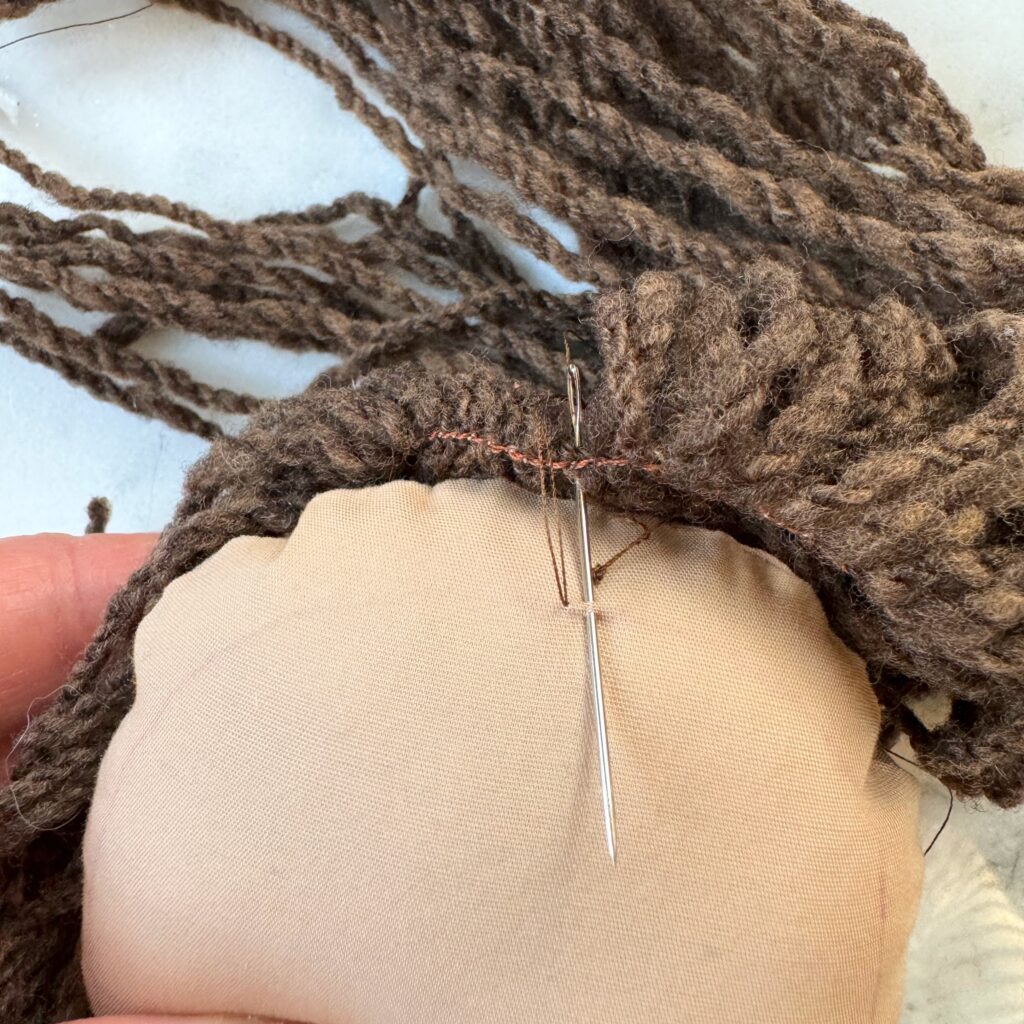
Knot the embroidery floss and insert the needle into the back of the head and have it come out the front to start the embroidery. (In the photo above I have the hair halfway done. You can do the face embroidery before or after the hair.) This way, the knotted end is hidden. When you are done embroidering the face, thread the needle to the back of the head again to knot off.
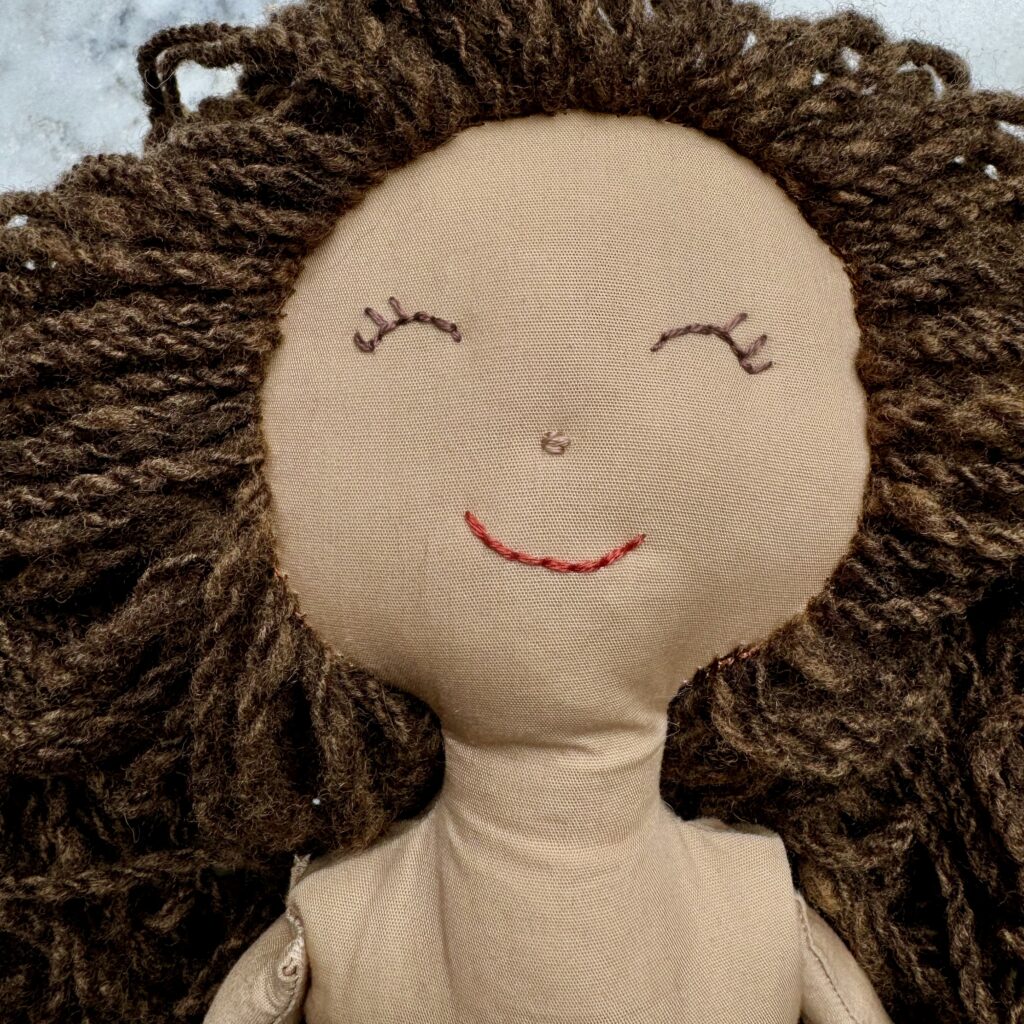
To make the face that I made, I simply used a running stitch for the smile and the eyes/eye lashes. The nose is made with three small stitches.
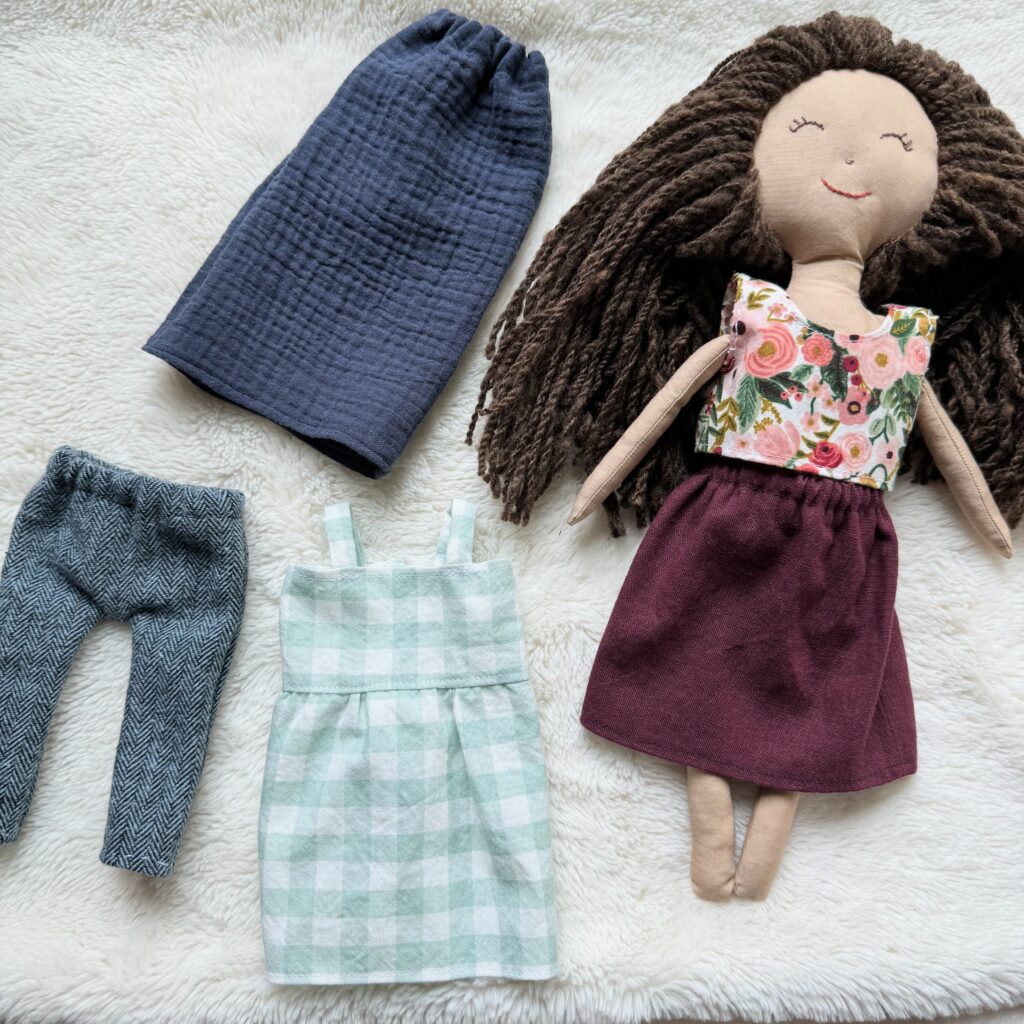
Clothing & Accessories
I made a few different garments for the rag doll. I wrote a separate blog post with instructions on how to sew a few different outfits and ideas for more creative exploration. Feel free to check it out for further instruction.
Final Thoughts
Congrats on finishing your rag doll! I’m sure during your creative process you’ve thought of so many fun things to add to your doll or new dolls to make next.
I hope to continue to add more blog posts about sewing accessories for these little dolls. They are so fun!
Happy sewing!