Sew Clothes for Rag Dolls – Free Patterns!
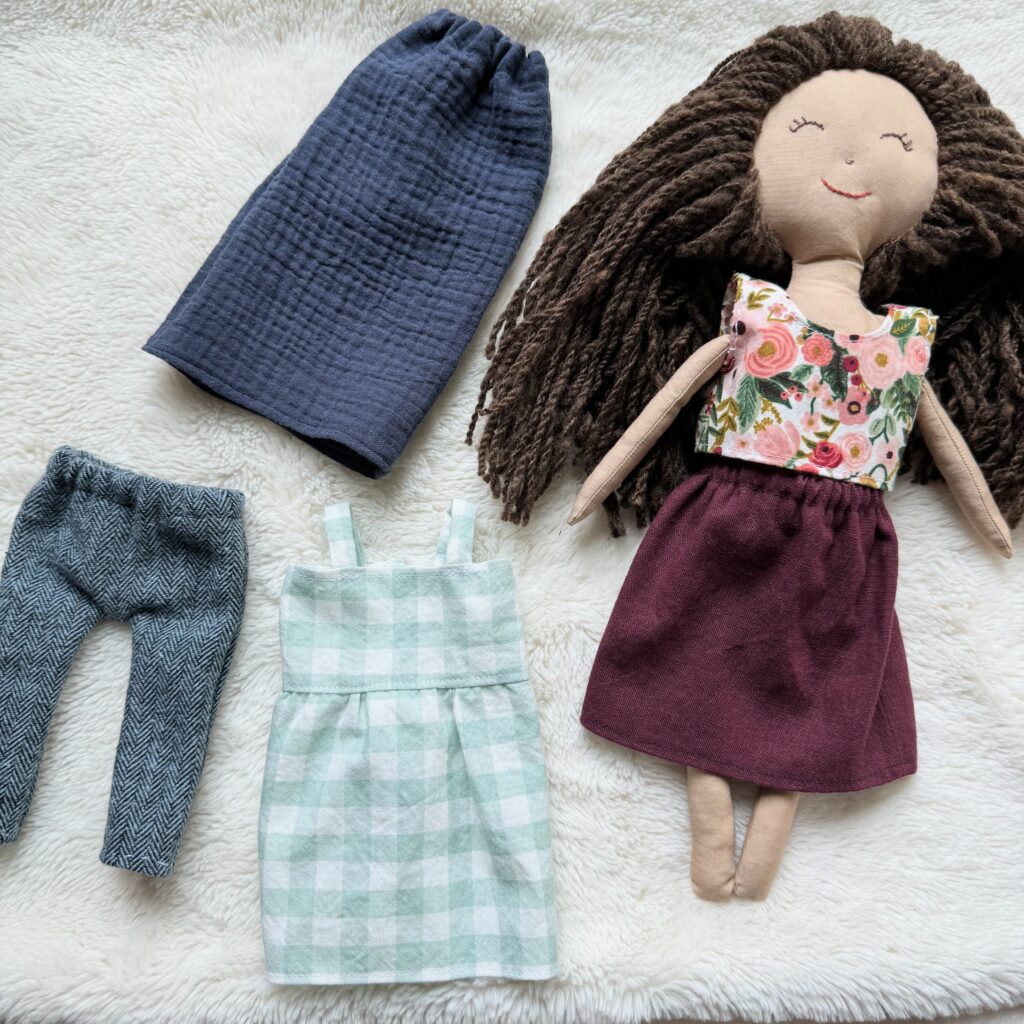
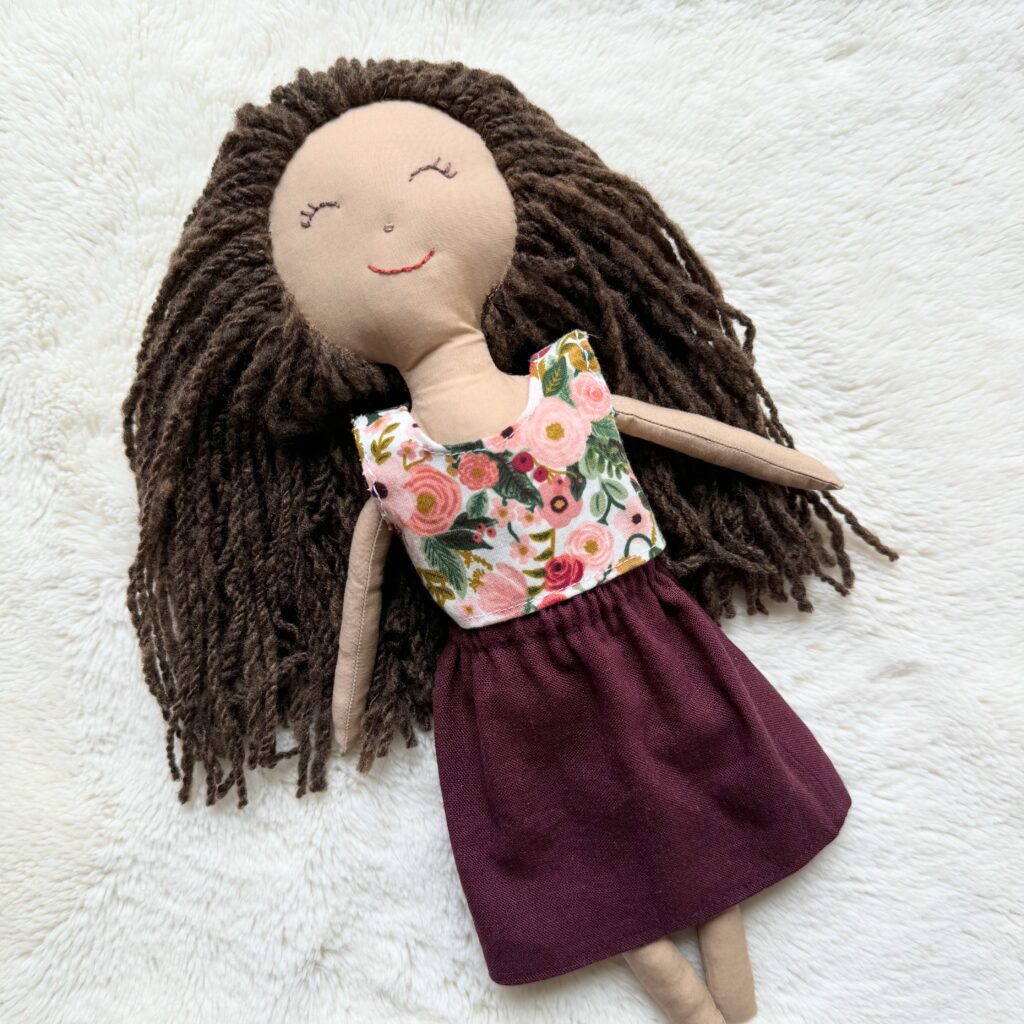
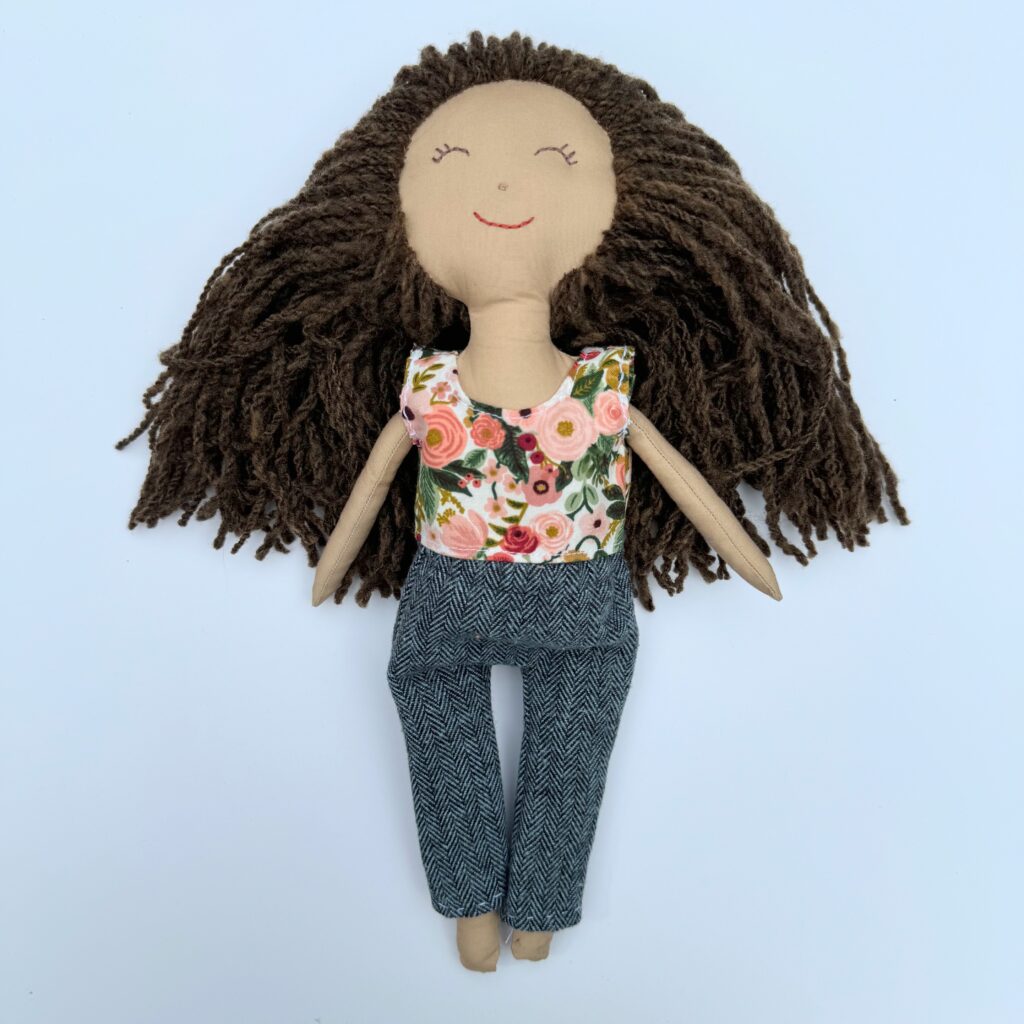
I am in love with this rag doll. (Pattern and directions on how to sew your own in this blog post.) The next step was to make her a little wardrobe. I have plenty of fabric scraps and ideas. This blog post goes through how to sew clothes for rag dolls. I will wake you through how to make a shirt, skirt, a pair of pants, and two different styles of dresses.
ALL GARMENT PATTERNS are available in my freebies library, which is available to anyone who subscribes to my email news letter.
Tips for Sewing Clothes for Rag Dolls
Rag dolls clothes are small, which makes them surprisingly hard to sew. There is little room to maneuver around the fabric while sewing and things can get bulky fast. The following are a few tips that I figured out while creating this tutorial on how to sew clothes for rag dolls.
- Finish edges with pinking shears.
- The fabric is typically too bulky to do french seams. The edges can become bulky with Serging or overcast stitching the edges. The small seam allowances also make it difficult to finish in other ways.
- The doll clothing is intended for children to play with. It most likely won’t get as much movement as clothing for children or adults. Hopefully it won’t fray too much. (Fingers crossed!)
- I like to use Velcro to close the backs of clothes.
- This makes it much easier for children to change the clothing on their own.
- You may need to hand sew some portions of the rag doll garments.
- Small enclosures, like the legs of the pants and the arm holes on the shirt and impressively small. It was pretty much impossible for me to sew them on a machine, so if in a tight spot, feel free to break out the hand sewing needles.
- Iron hems first before sewing together any pieces. Ironing hems while they are laying flat is so much easier compared to when they are sewn together in a tube (like on a skirt or a sleeve).
Rag Doll Dress Pattern
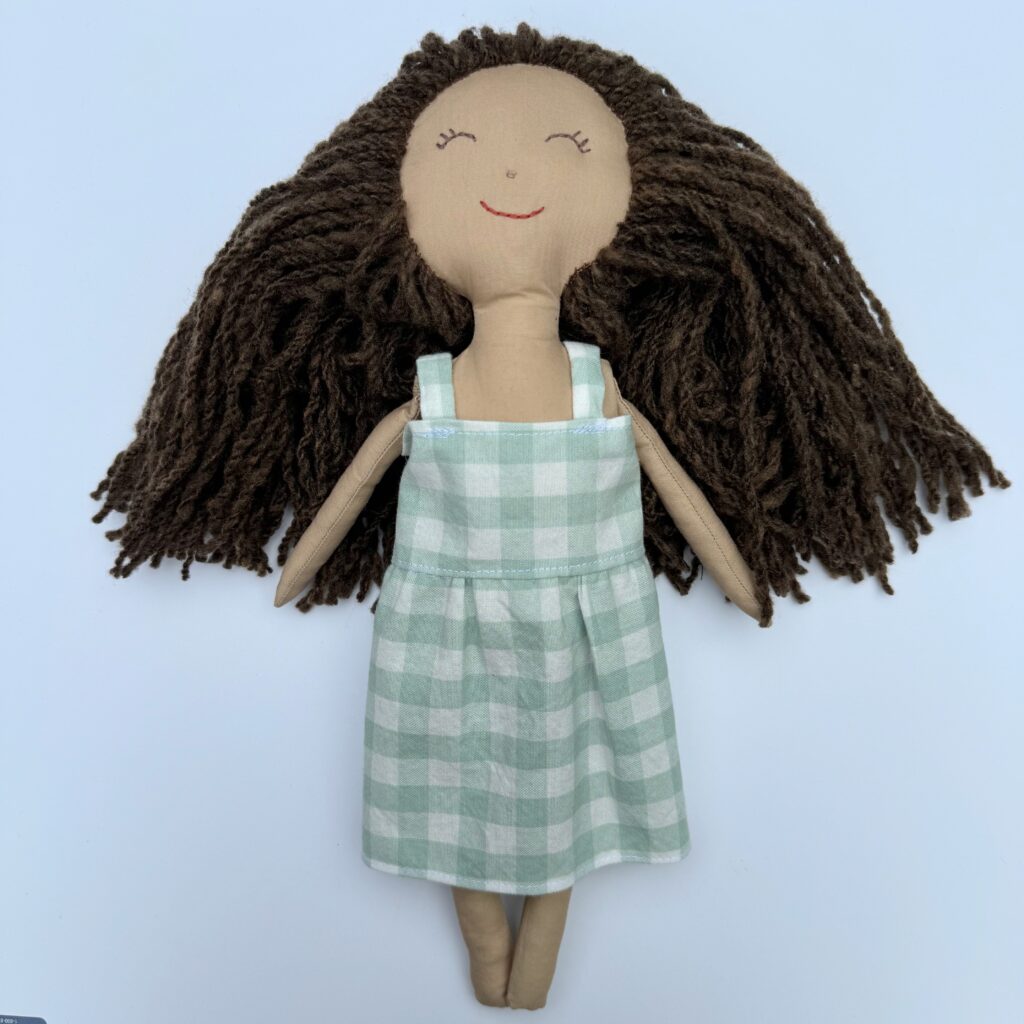
This free rag doll dress pattern is available in my freebies library, which is available to anyone who subscribes to my email news letter.
I love this simple dress. It has an open back, which makes it super easy for kiddos to change outfits. It also could easily be modified. (You could lengthen the top portion and make it into a tank top. You could also add more gathers and make it have a tiered bottom. Just for a few ideas!)
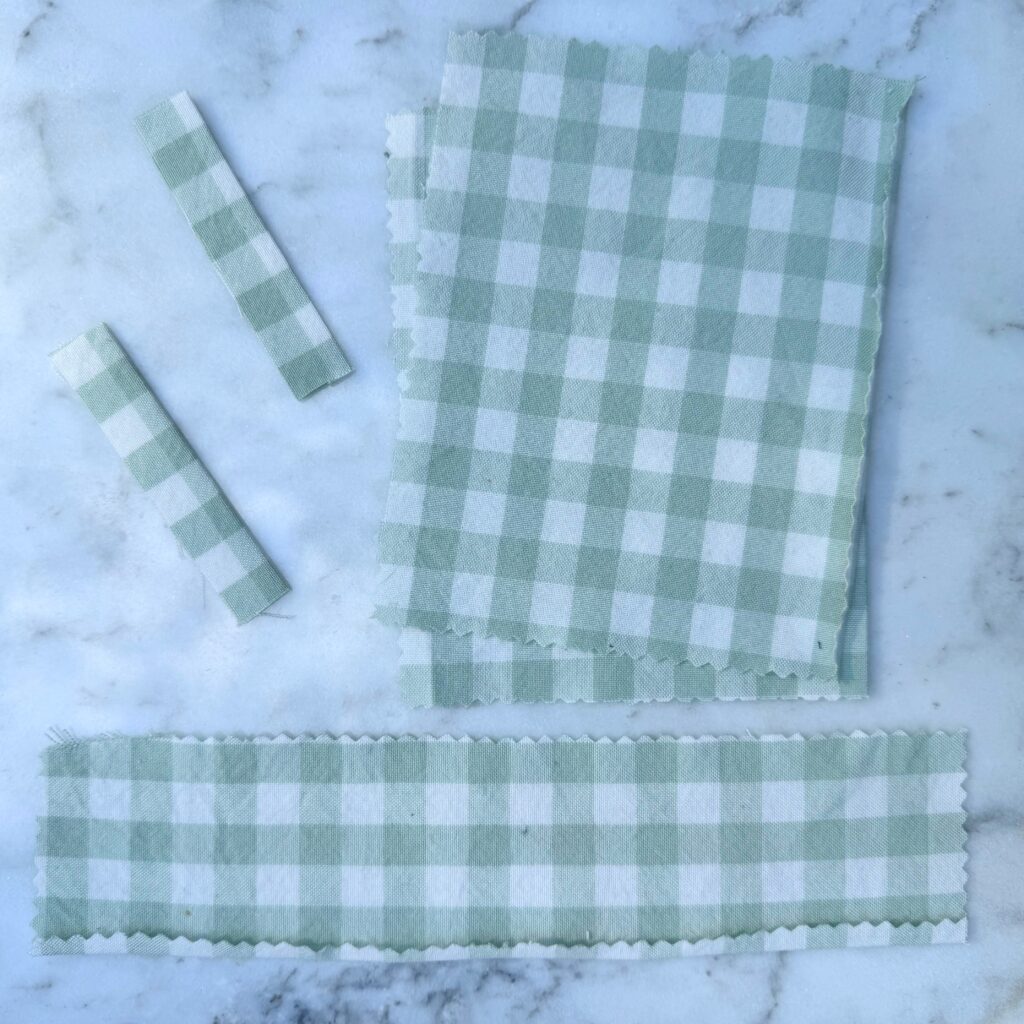
STEP 1: Cut out the pattern pieces. (The skirt is in two pieces above, but I rewrote the pattern to just have one.) I cut out all the seams, except the straps, with pinking shears to help prevent fraying hems. Iron a 1/4 inch hem on one side on the top and bottom. Fold the straps in half length wise and iron flat.
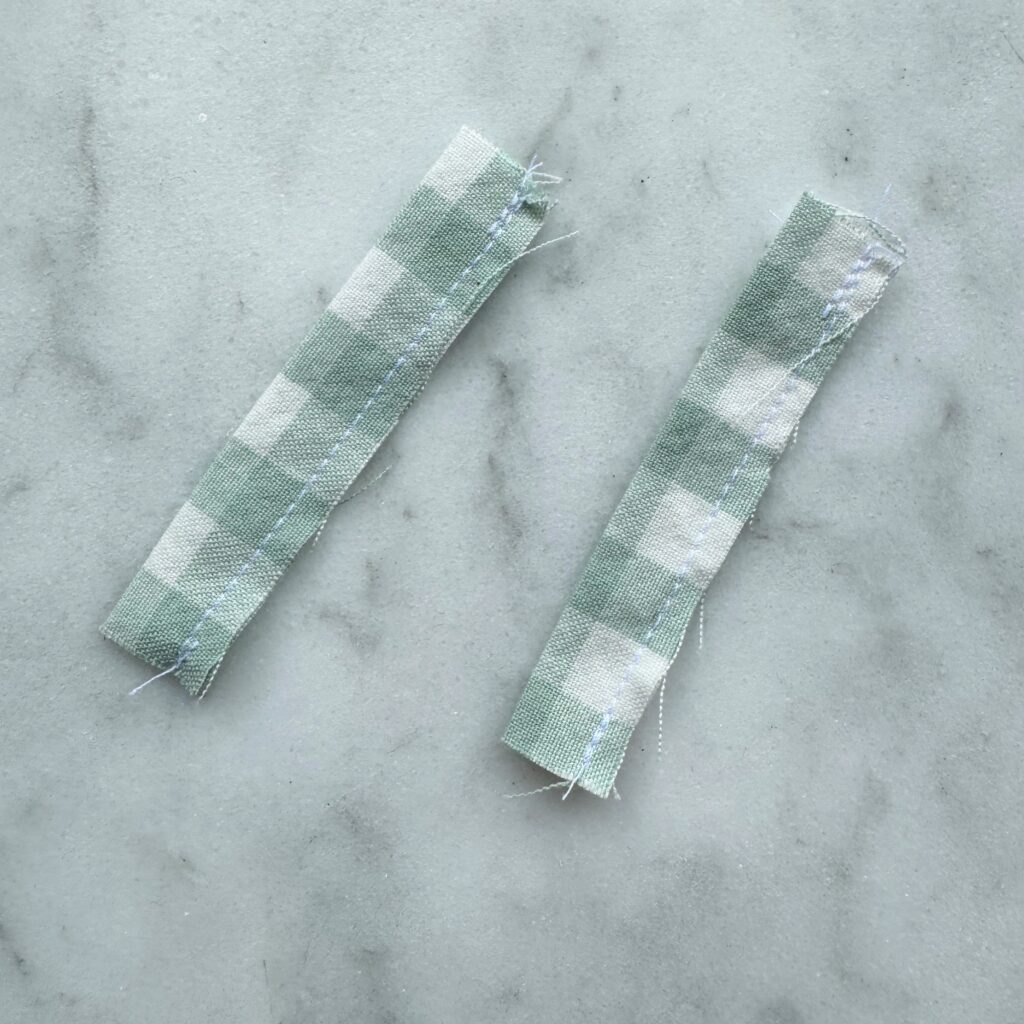
STEP 2: sew the straps with a 1/4 inch hem.
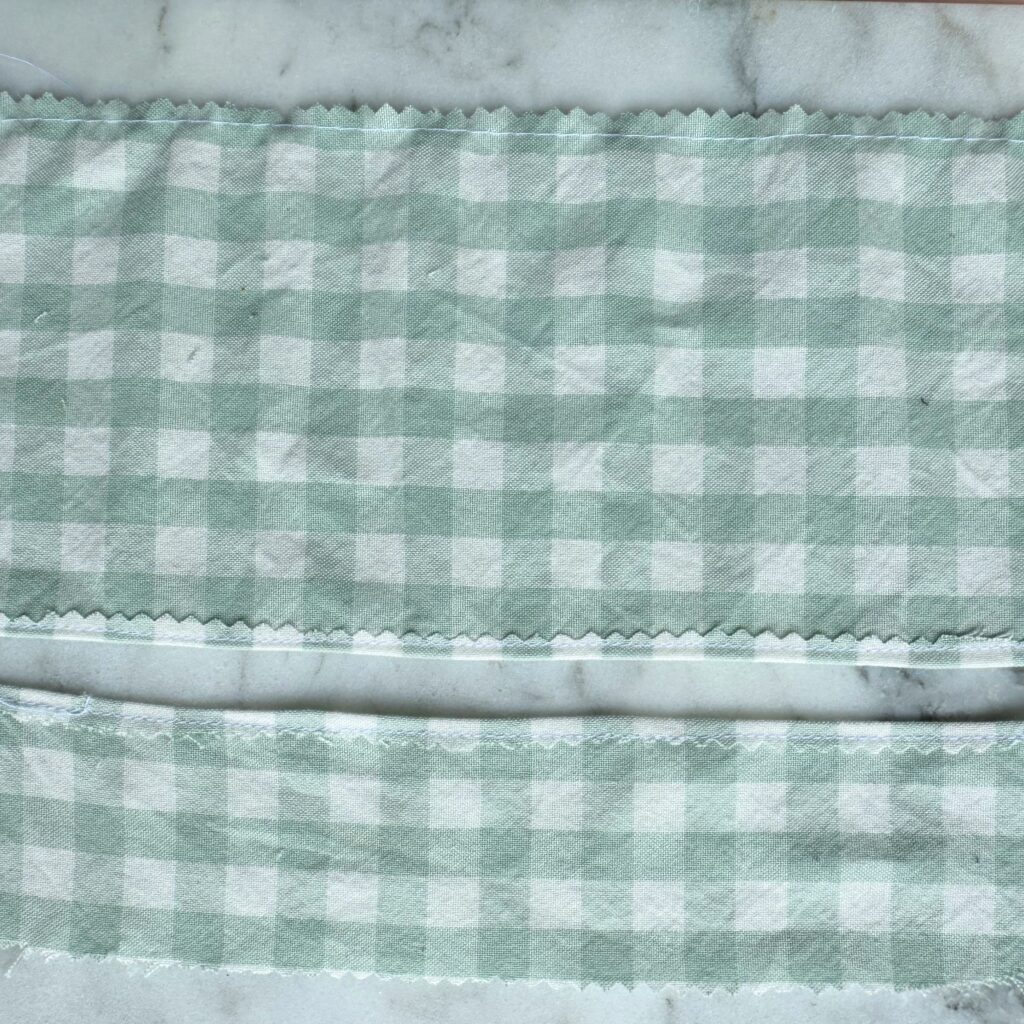
STEP 3: sew down the 1/4 inch hems you ironed for the top and bottom pieces. Sew a row of gathering stitches on the other side of the skirt piece.
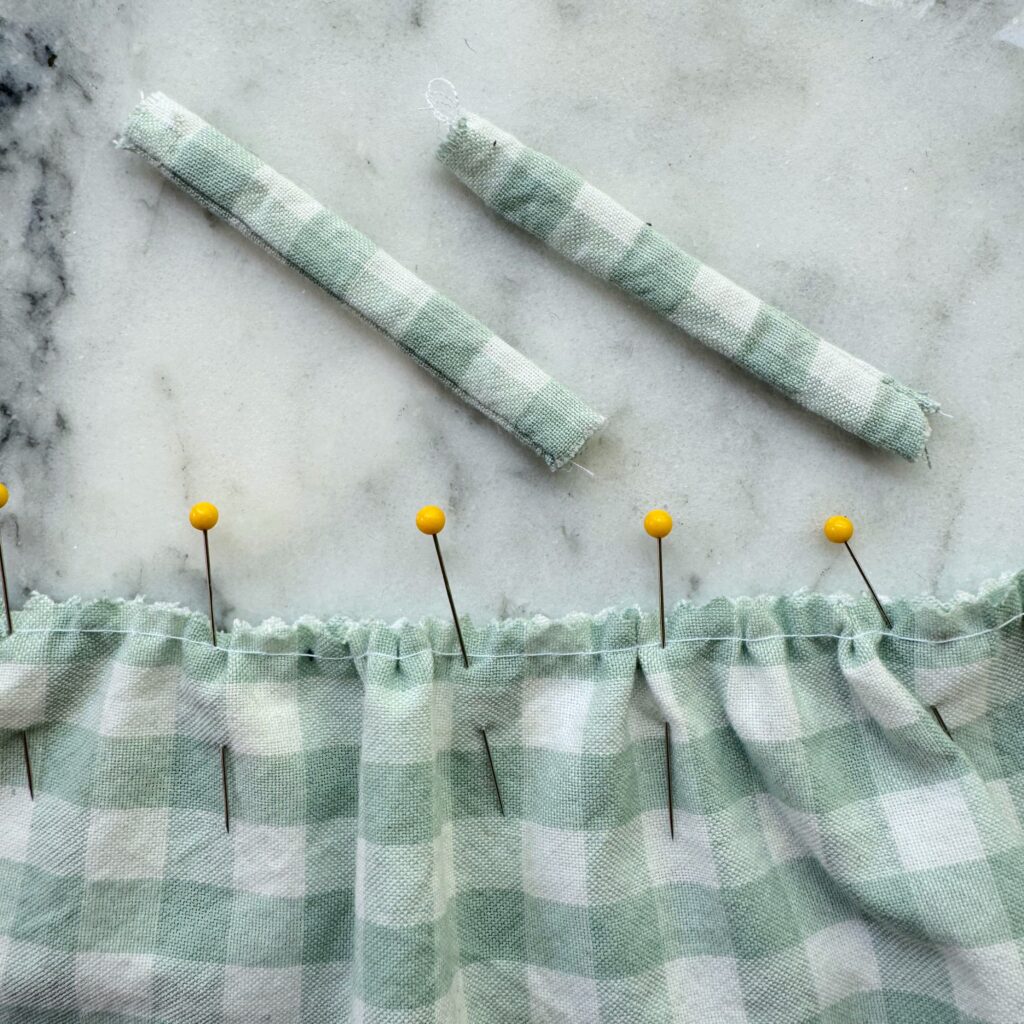
STEP 4: turn the straps right side out. (You can use a safety pin to make this easier.) Gather the skirt and pin it to the non-hemmed side of the top. Make sure you are placing right sides together! (Check hems for right and wrong sides.)
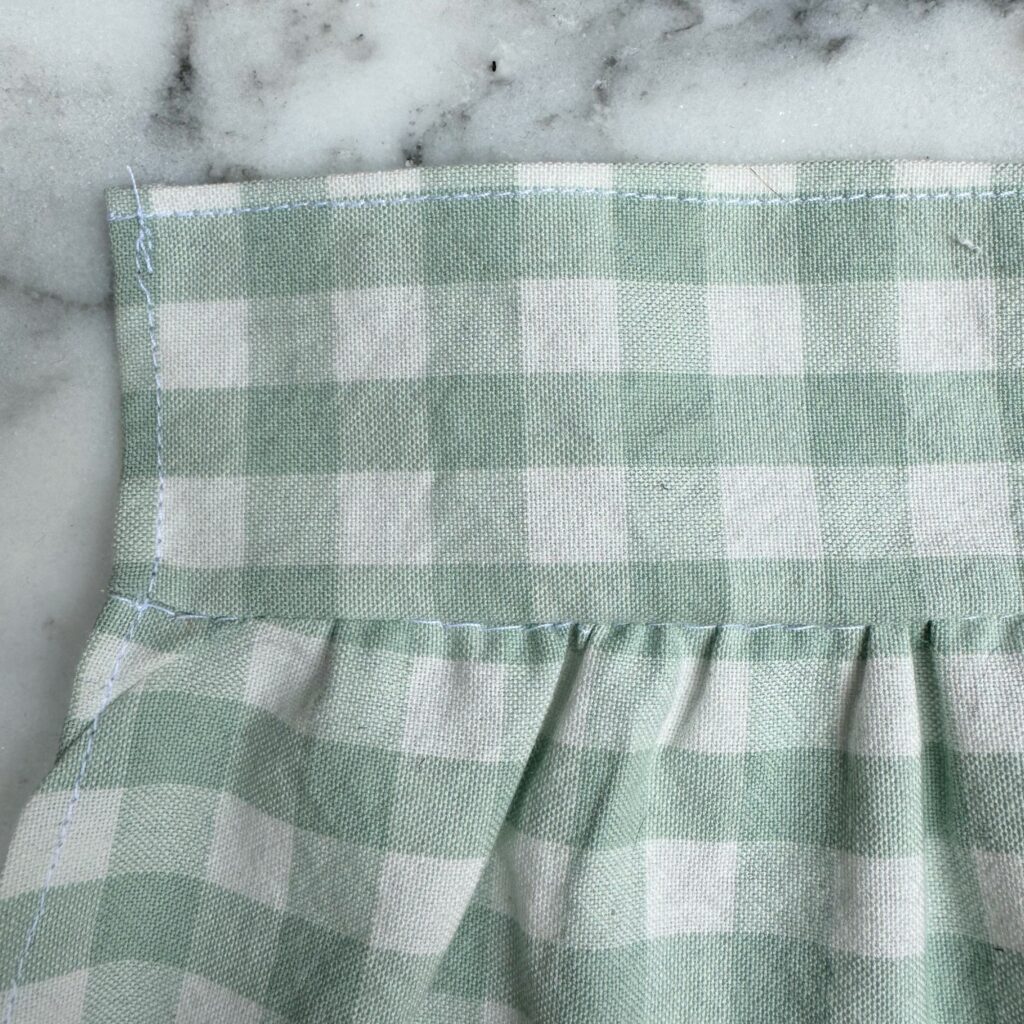
STEP 5: iron the gathers up towards the top. (You can unpick the gathering stitches if visible, like mine in the above photo.) Iron the sides of the dress in a 1/4 inch and sew.
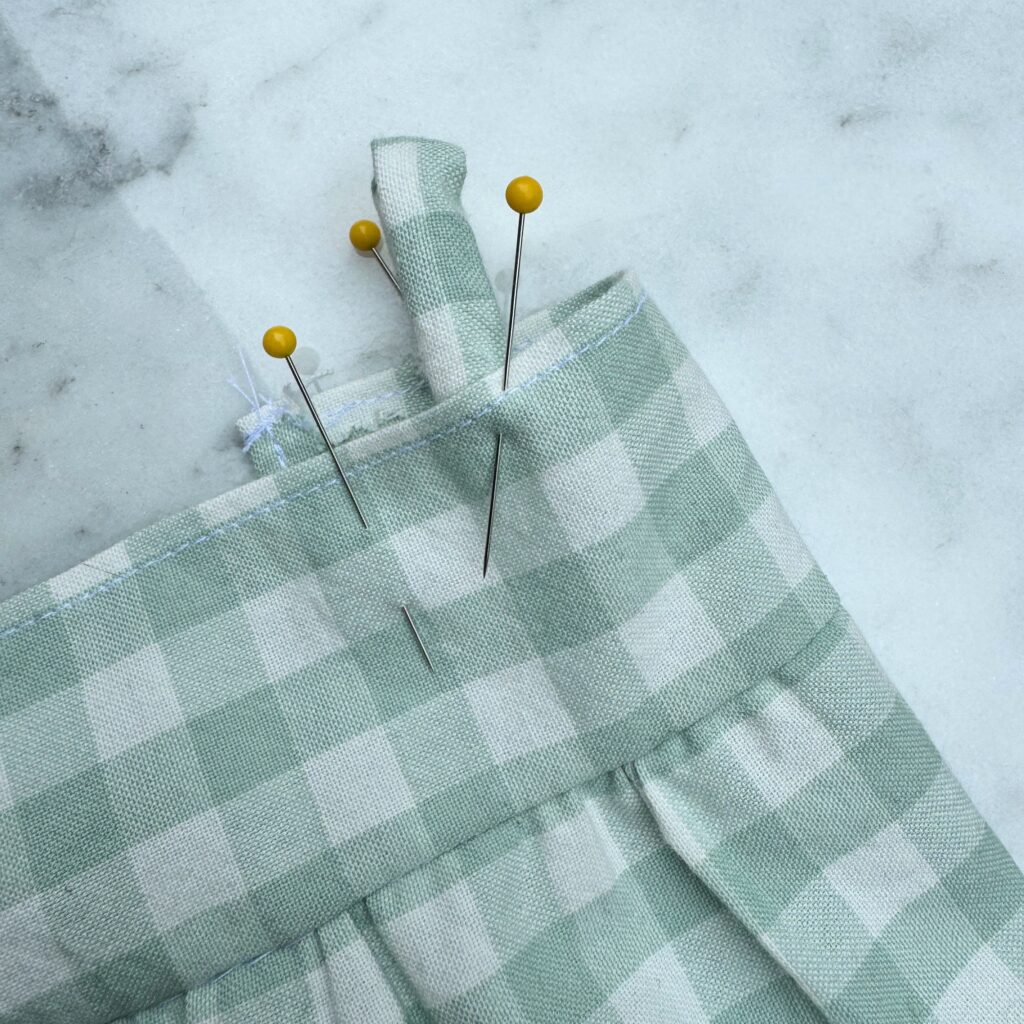
STEP 6: now you get to attach the straps! Mark the middle point on the dress with a pin. Pin one side of the strap 1/2 and inch away from the pin. Pin the other side of the strap 1/2 inch away from the back of the dress.
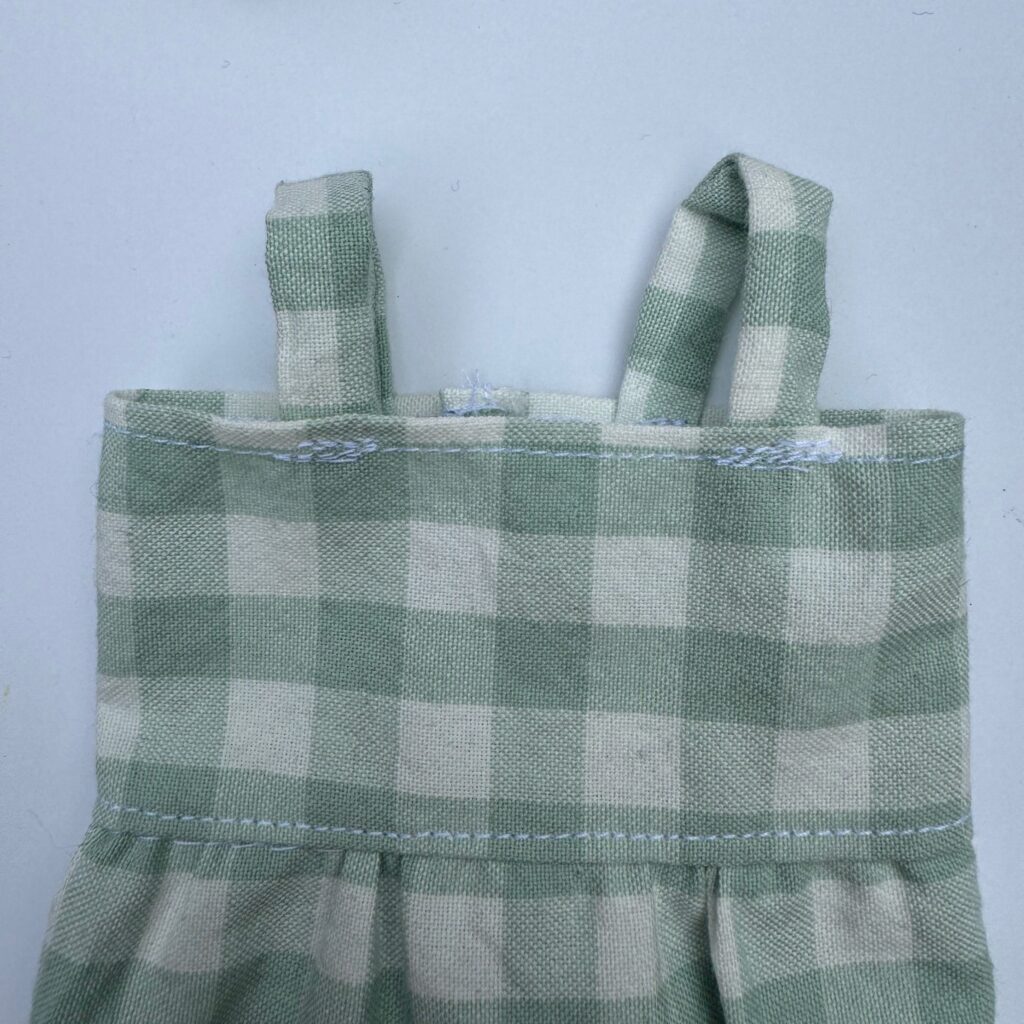
STEP 7: stitch over the straps a few times to secure them in place.
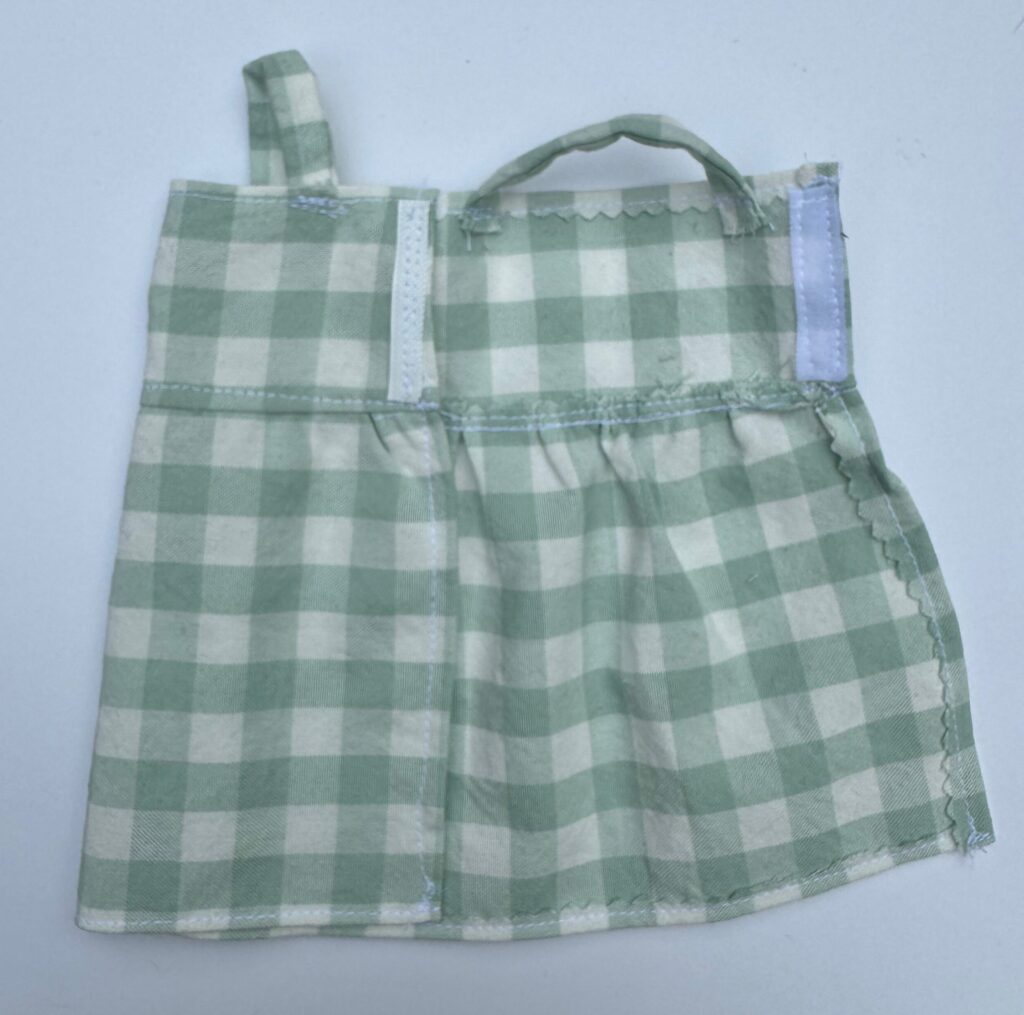
STEP 8: sew in a thin piece of Velcro or hook and loop closure. I found that I only really needed to place the velcro on the top portion of the dress. The fullness of the skirt helps hide the open back.
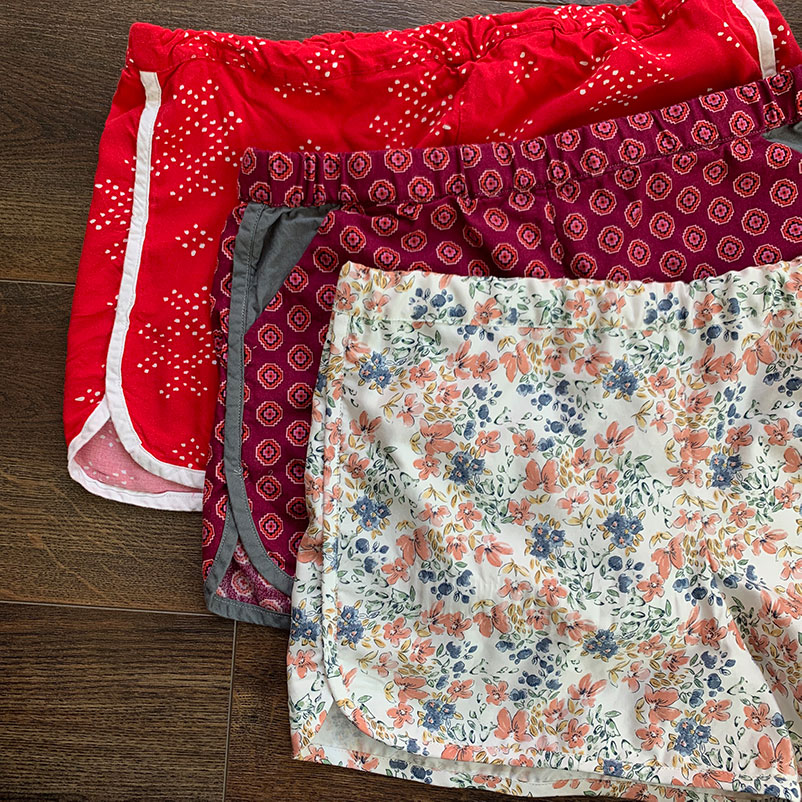
Rag Doll Skirt Pattern
This free rag doll skirt pattern is available in my freebies library, which is available to anyone who subscribes to my email news letter.
This skirt is by far one of the easiest things to sew for this rag doll. It is a quick pattern where you could easily whip up a few at once while batch sewing. It pairs well with the shirt pattern below or you could easily pattern hack a tank top from the dress pattern above!
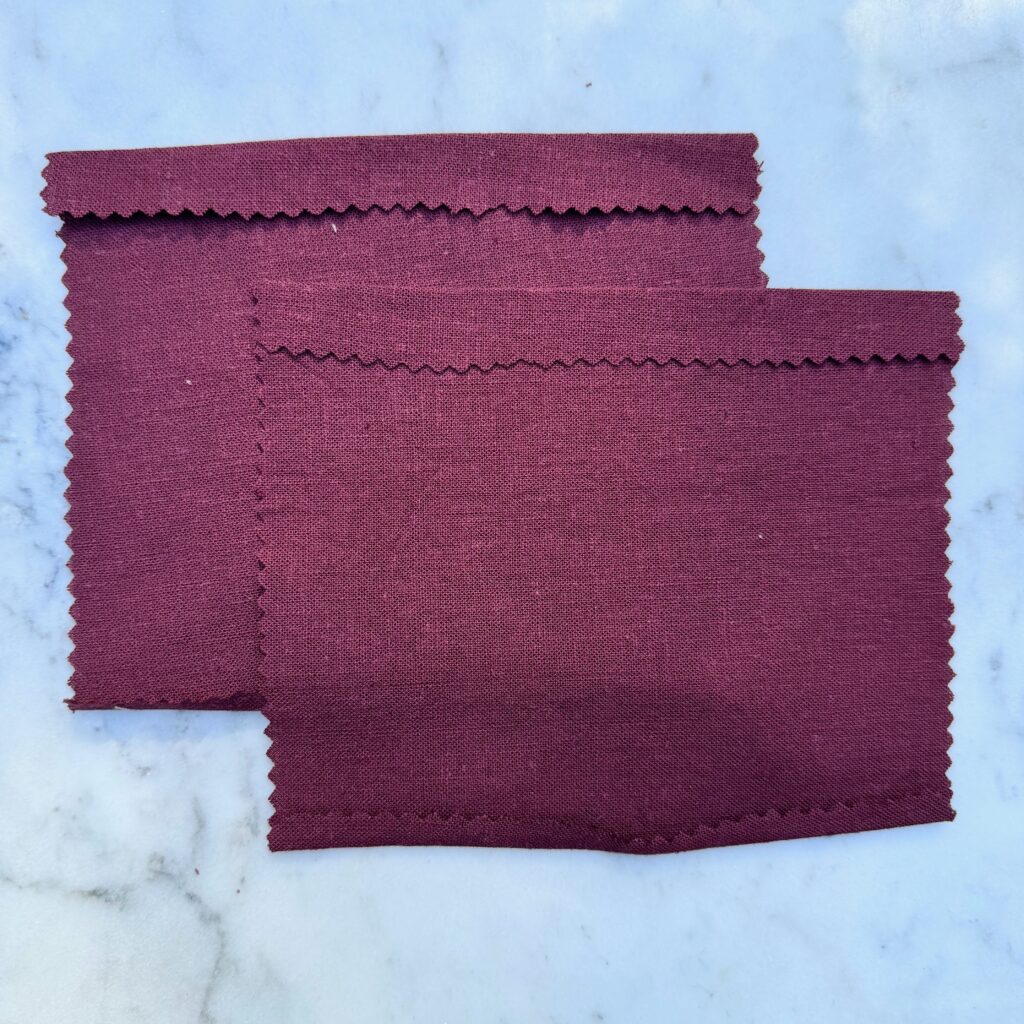
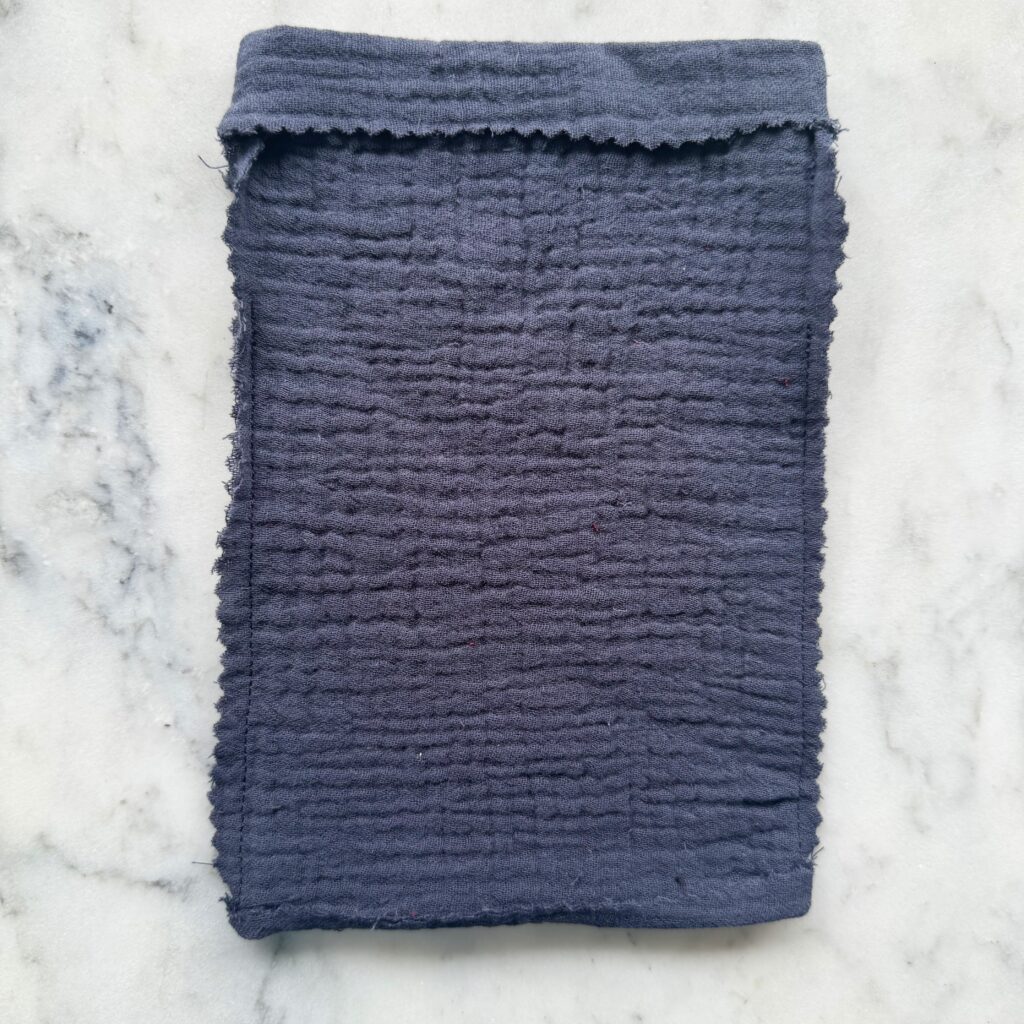
STEP 1: cut out the two pieces of fabric with pinking shears. Iron a 1/4 inch hem and a 1/2 inch hem on the top and bottom of both rectangles. Cut out a 6 inch piece of 1/4 inch elastic.
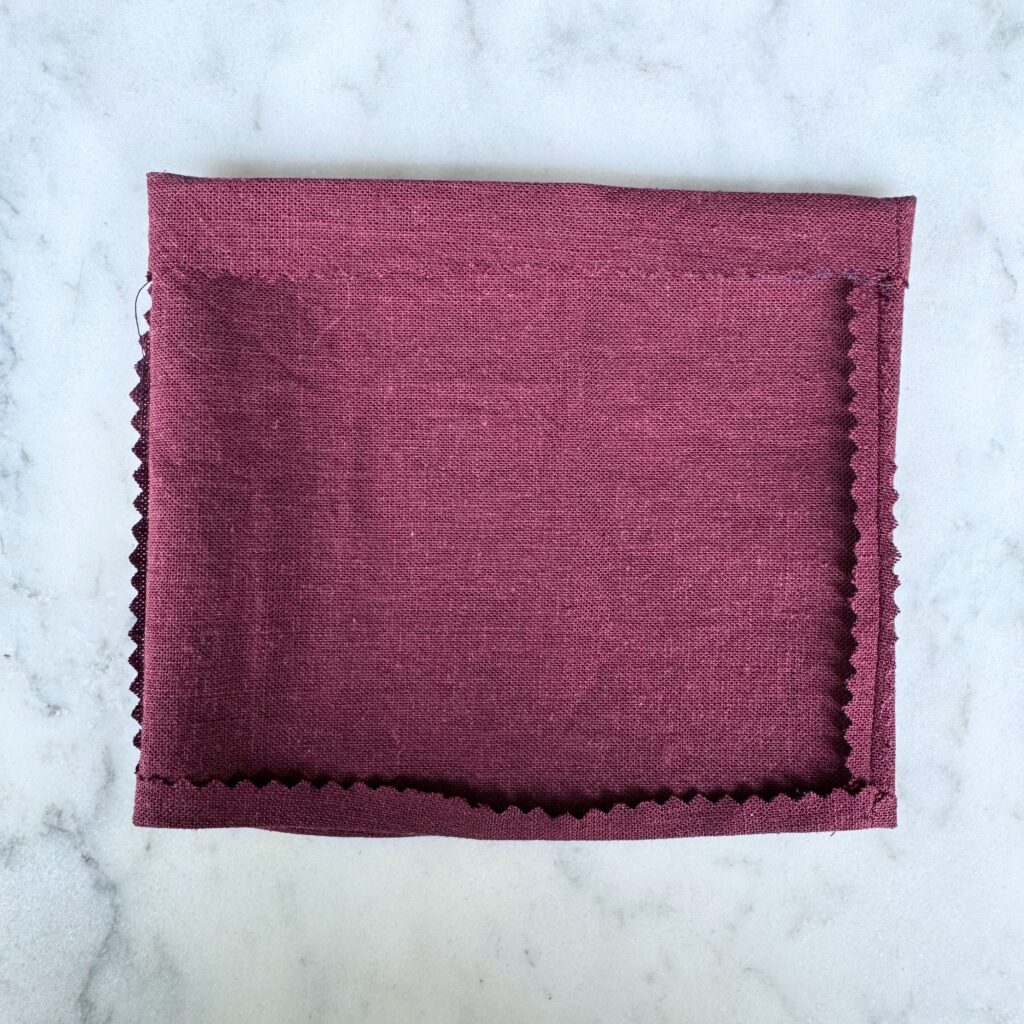
Step 2: pin both sides together and sew each side with a 1/4 inch seam allowances. When you are working with the top and bottoms that have the ironed hems, just simply unfold the hems and continue to sew the entire pieces from top to bottom. When done sewing, refold the hems in place. (I like to iron hems first because it is so much easier compared to when the fabric is already sewn into a loop.)
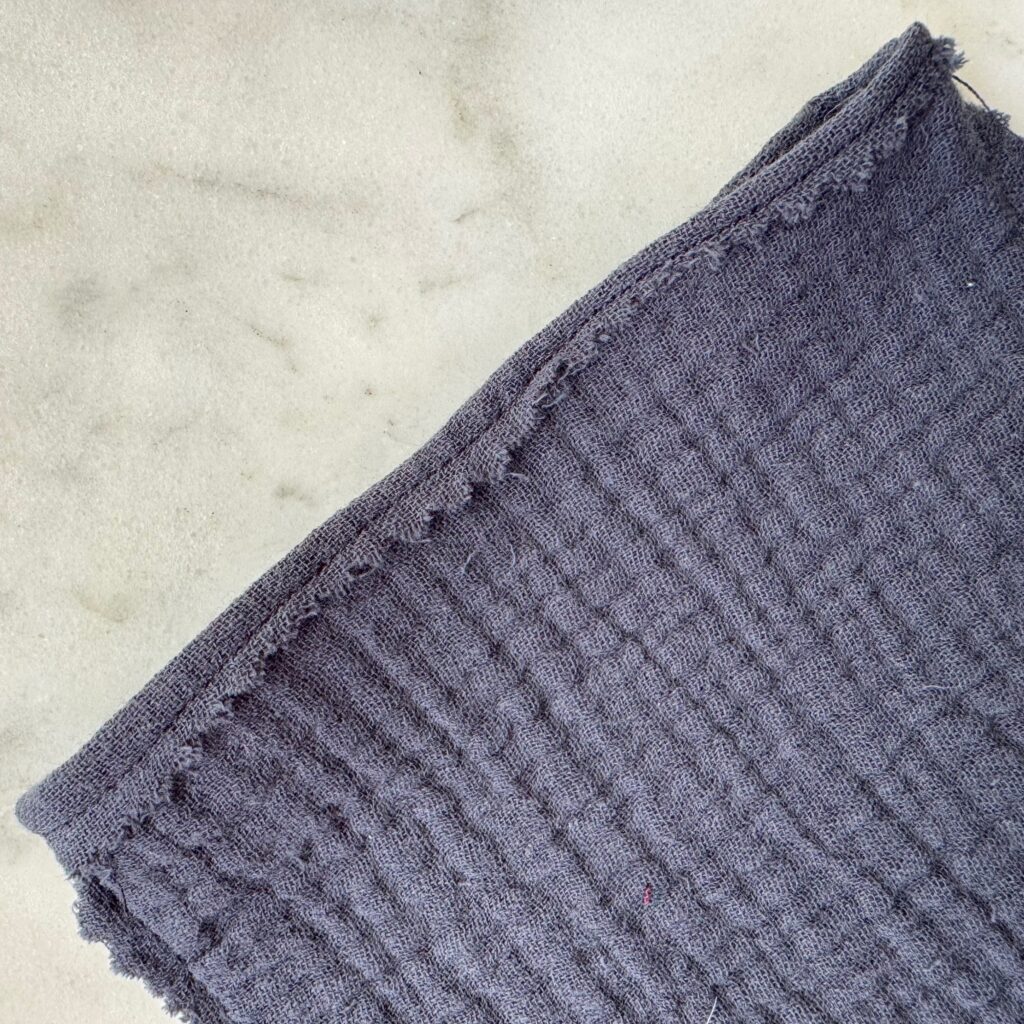
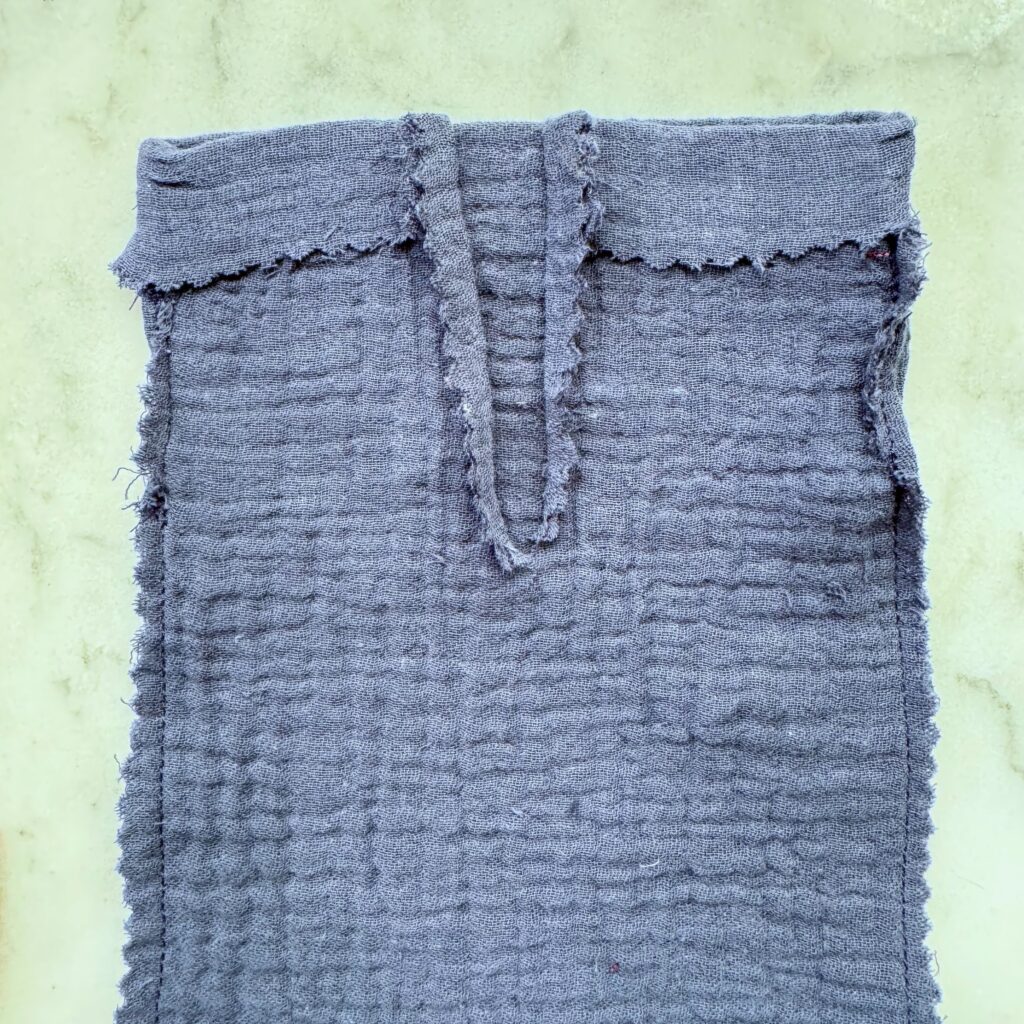
STEP 3: sew the bottom hem all the way around. Sew the top hem, but leave a 1/2 inch opening to thread the elastic through. Keep in mind that with this top hem you are making a channel for a 1/4 inch elastic. Be generous with your spacing!
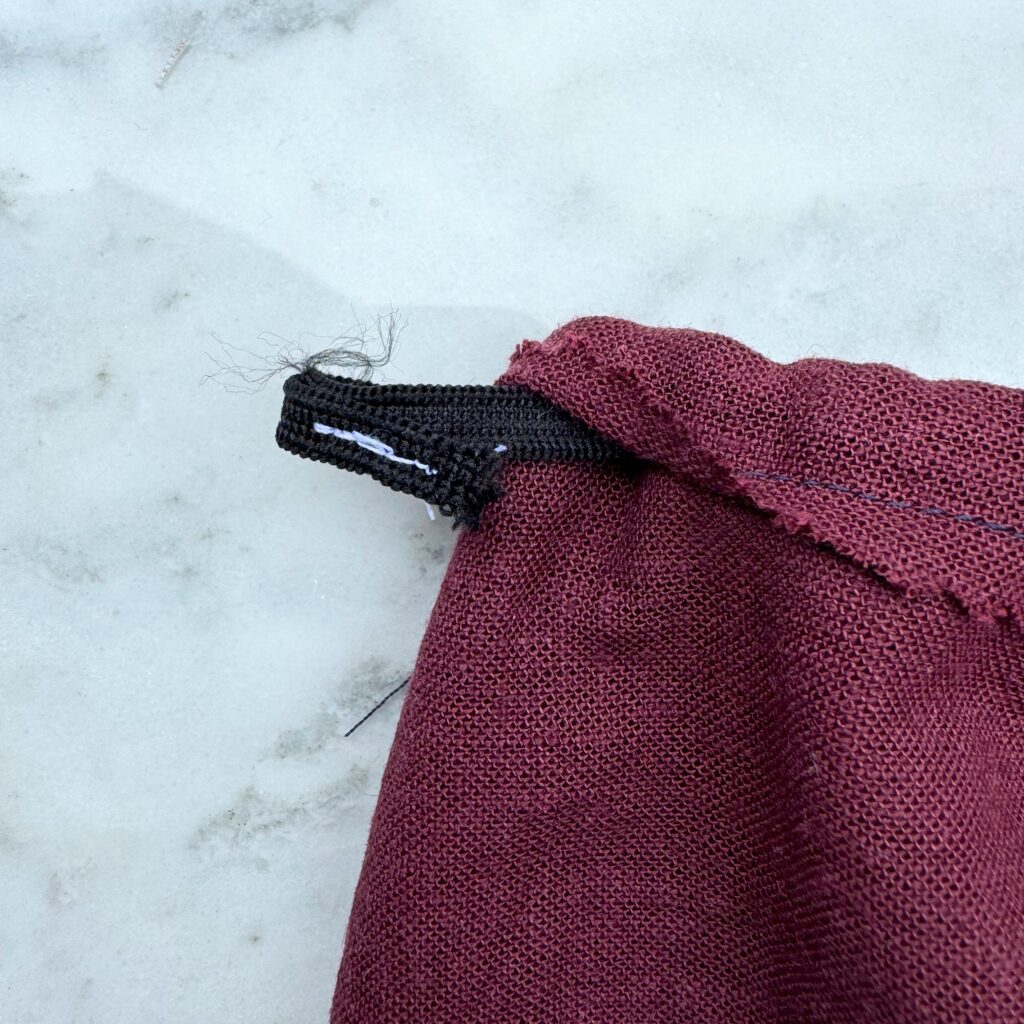
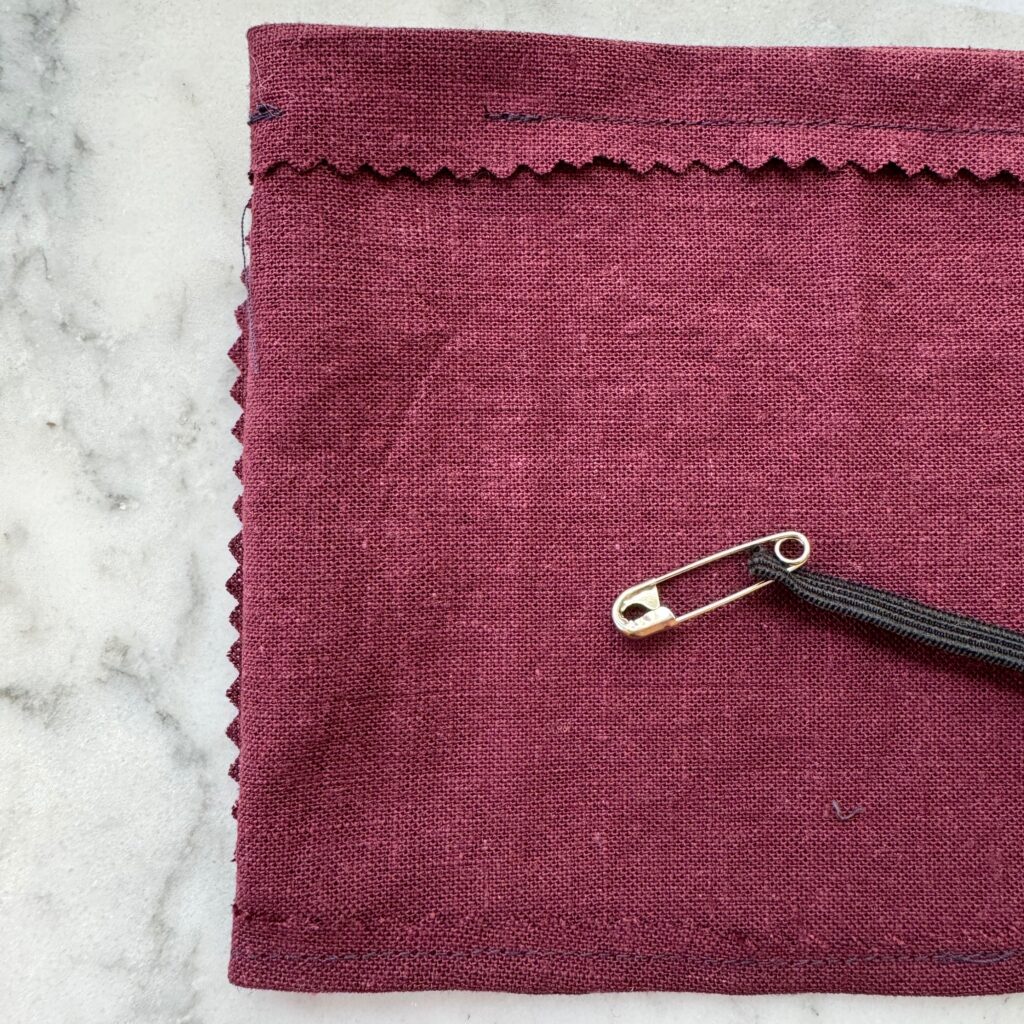
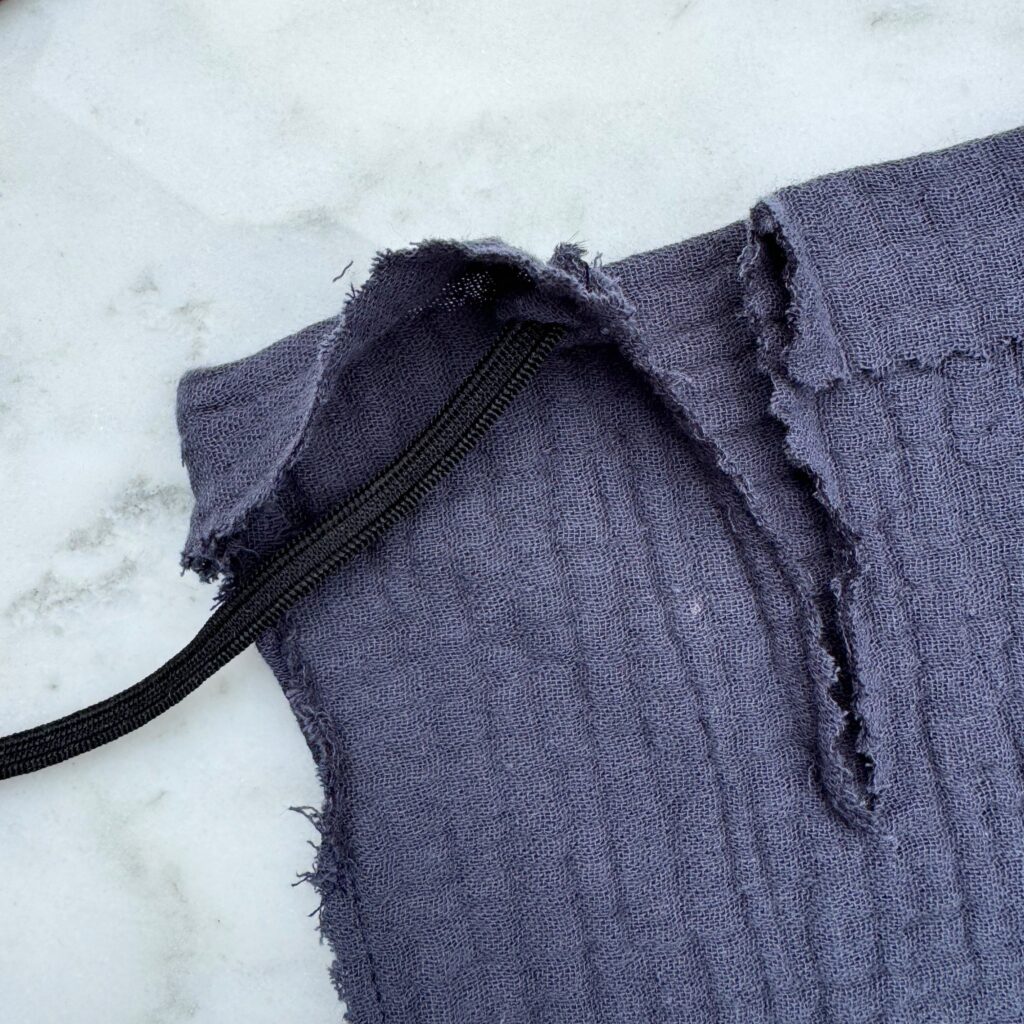
STEP 4: using a safety pin, thread the 1/4 inch 6 inch long elastic through the channel. When it comes out the other side, make a few stitches to hold the elastic together.
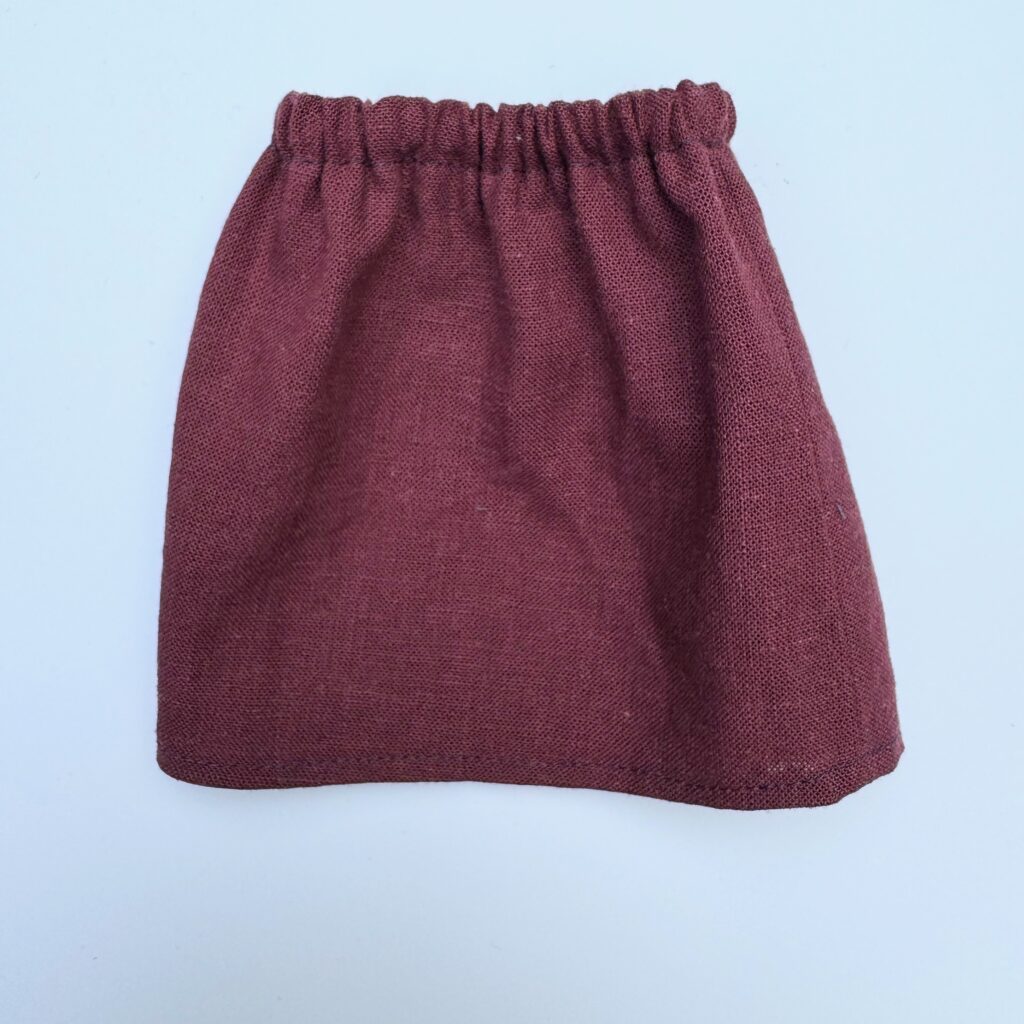
STEP 5: Sew the remaining top hem closed and enjoy your skirt! This is one of my favorite patterns for how simple and adorable it is!
Rag Doll Shirt Pattern
This free rag doll shirt pattern is available in my freebies library, which is available to anyone who subscribes to my email news letter.
I love this little shirt pattern, but to give you a bit of a warning, it is one of the harder pieces to sew. The construction of this kind of shirt is difficult. In an human size shirt the seams for the neck and arm holes are finished with bias tape or a facing, but with the scale of this shirt, those options weren’t possible. So instead I figured out a little hack to finish the arms and neck holes.
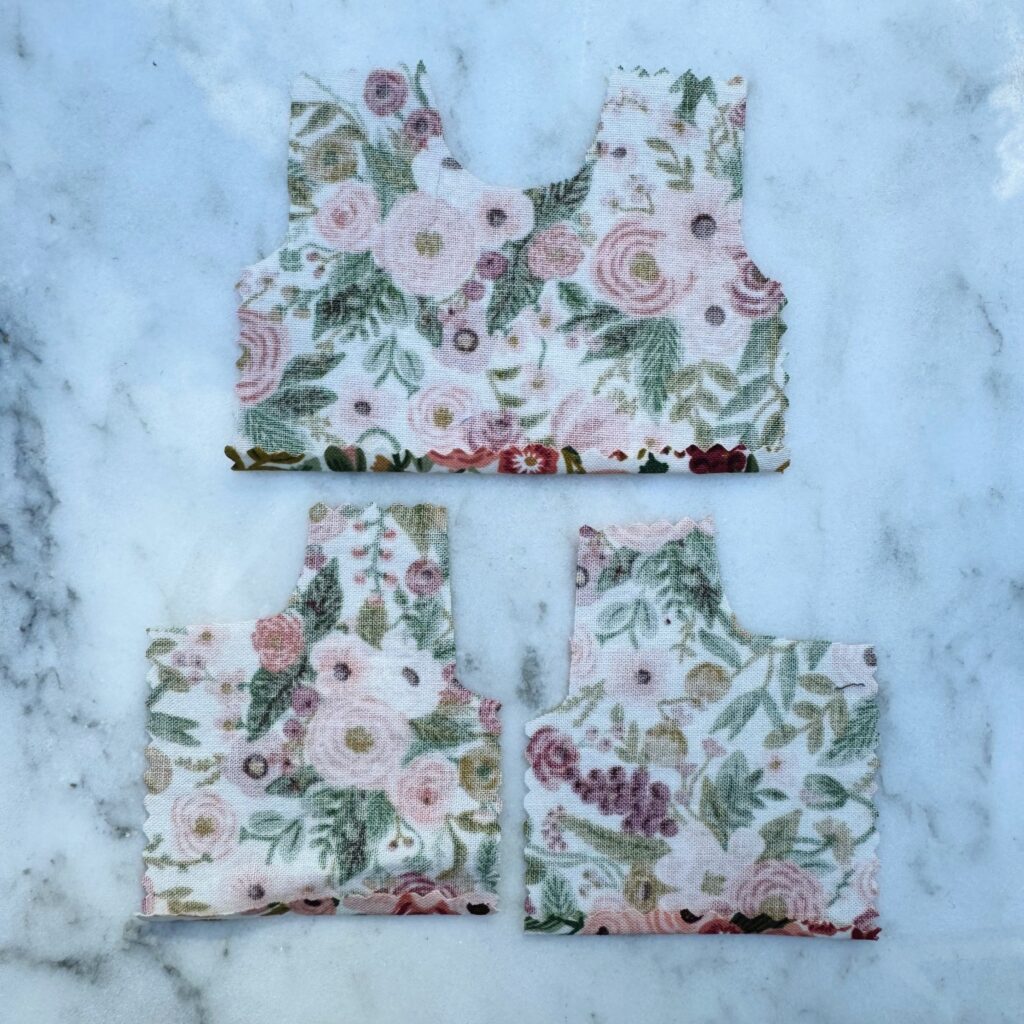
STEP 1: cut out the pieces for the shirt. I used pinking shears on the bottom and top of the shirt and traditional scissors to cut out the neck and arm holes. Iron a small 1/4 inch hem at the bottom of the shirt pieces.
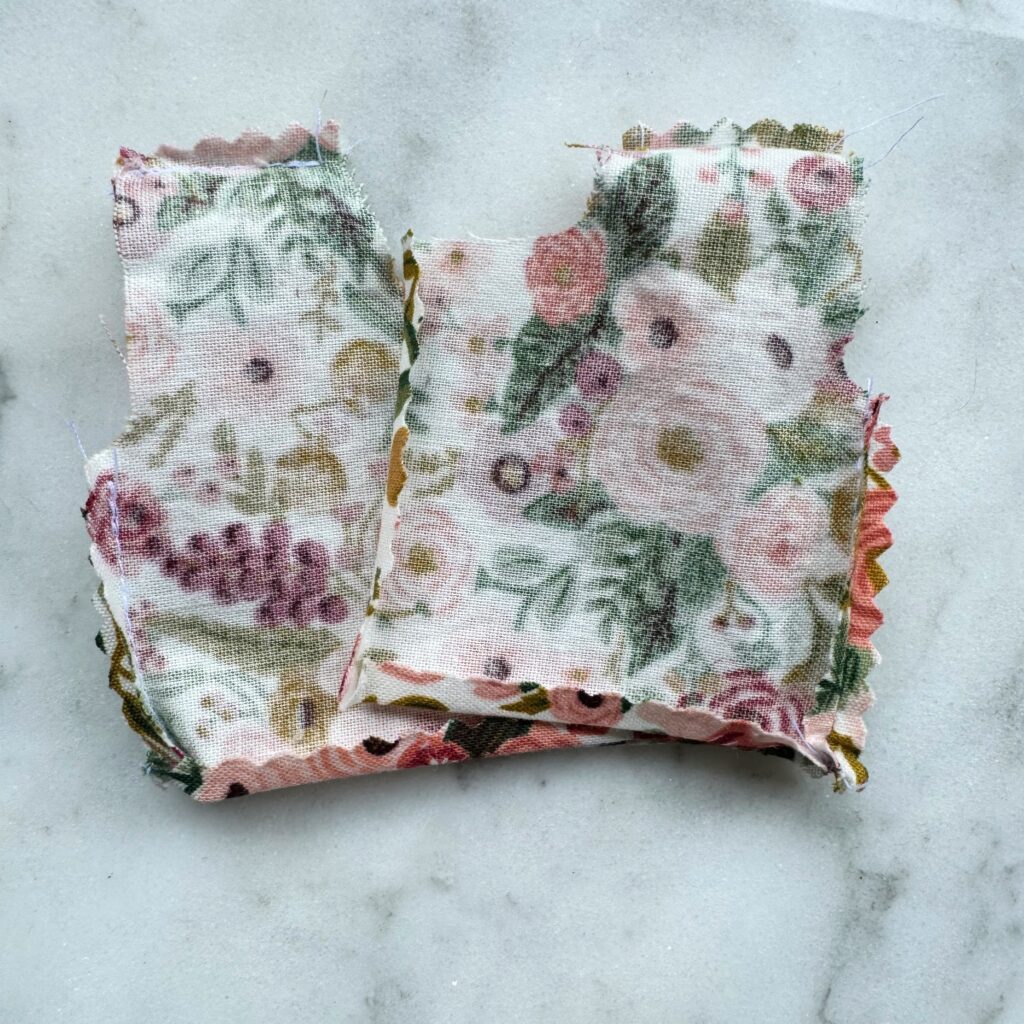
STEP 2: sew together the top shoulder seams and side seams. Unfold the hem to finish sewing the side seams.
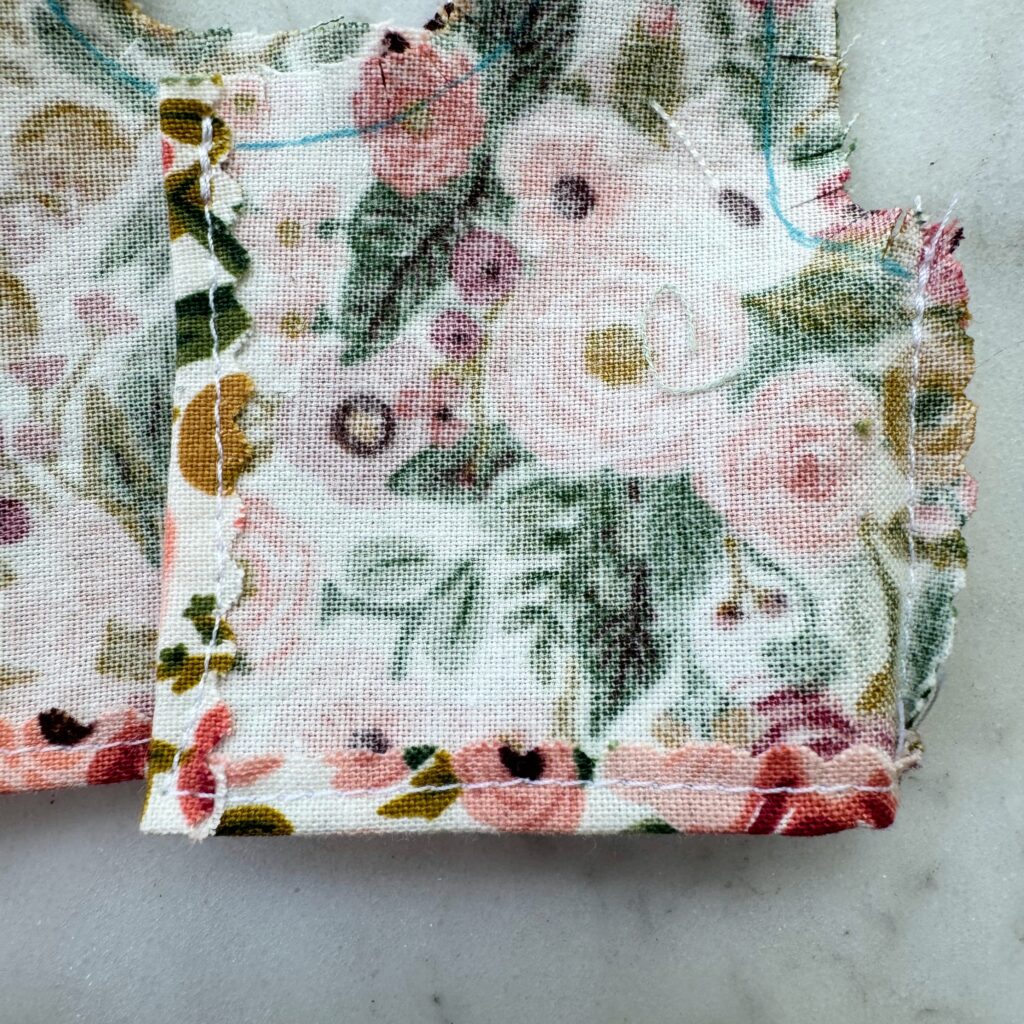
STEP 3: iron the side seams open, repress the bottom hem, and iron a hem in the back sides of the shirt. Sew from the upper back, down the back hem, all around the bottom, and back up the other side of the back hem.
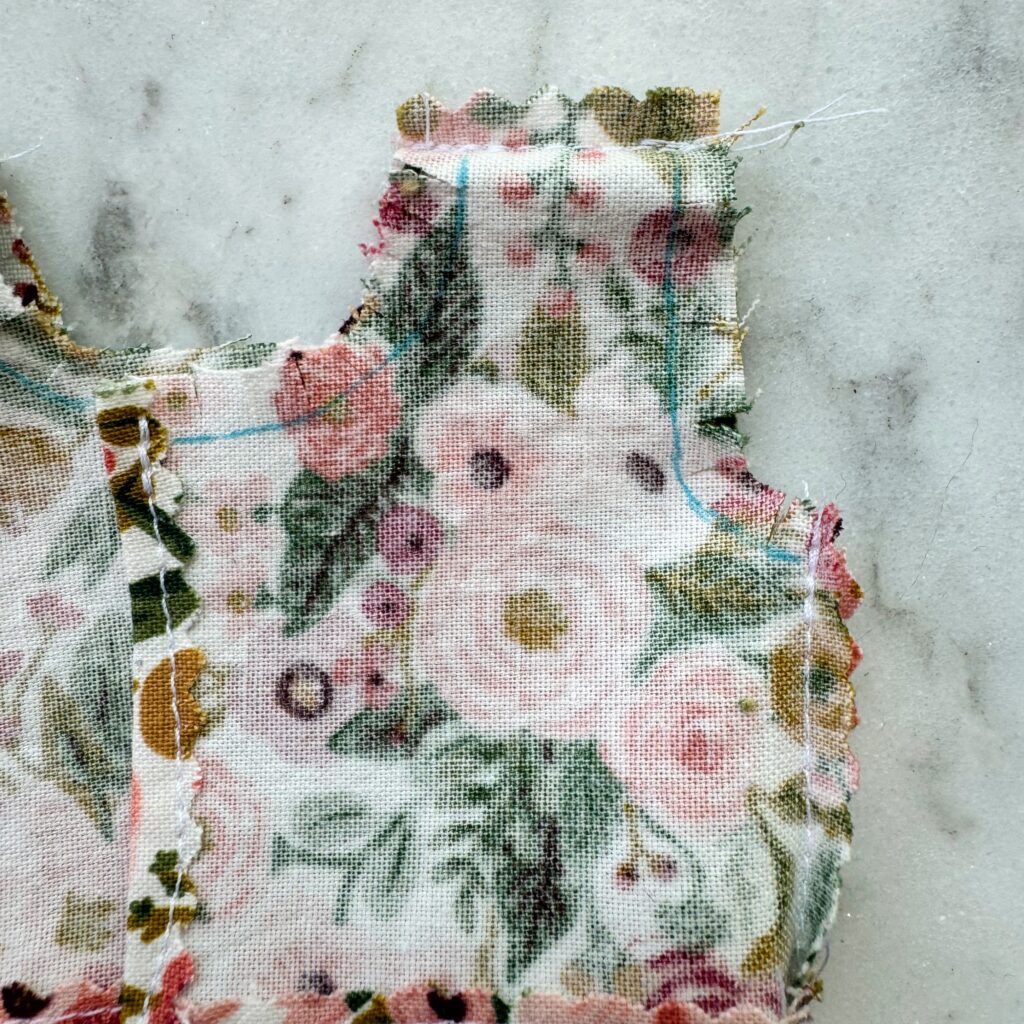
STEP 4: using a water or air soluble marker, marker a 1/4 inch line around the neck and shoulder seams. Carefully, snip the fabric to this line all around the arm and neck holes. I made cuts approximately every 1/4 inch.
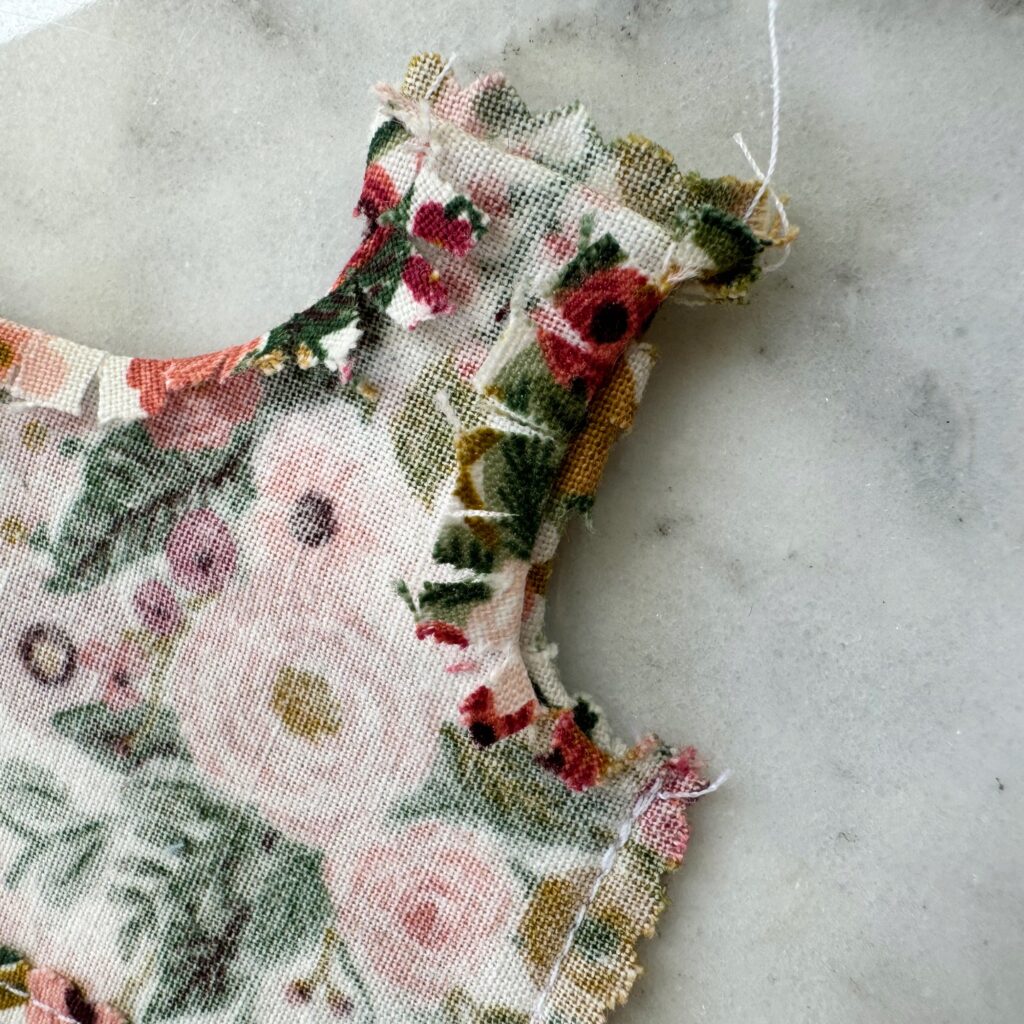
STEP 5: very carefully finger press and then press with an iron these little cut flaps into the inside of the shirt. This can be tricky. Go slowly and be extra careful around the bulkier hemmed portions of the shirt.
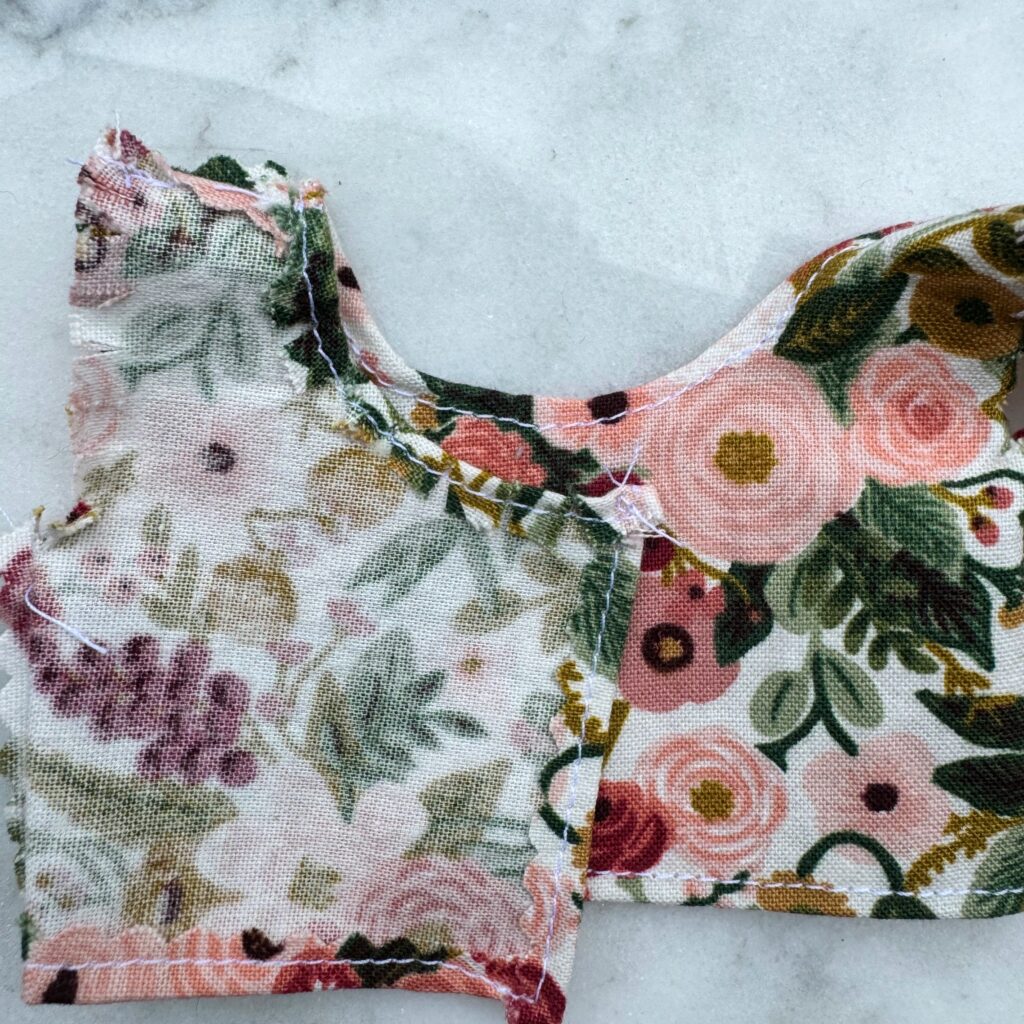
STEP 6: carefully stitch around the neckline to hold down these flaps.
STEP 7: repeat the same clipping, ironing, and stitching process with both arm holes. I found it too difficult to sew the arm holes on my machine, so I hand sewed them with a running stitch.

Rag Doll Pants Pattern
This free rag doll pants pattern is available in my freebies library, which is available to anyone who subscribes to my email news letter.
These pants are an easy sew and so fun! They could cut them short to make shorts, or you could cut them wider to make a more flowier pants. It’s up to you!
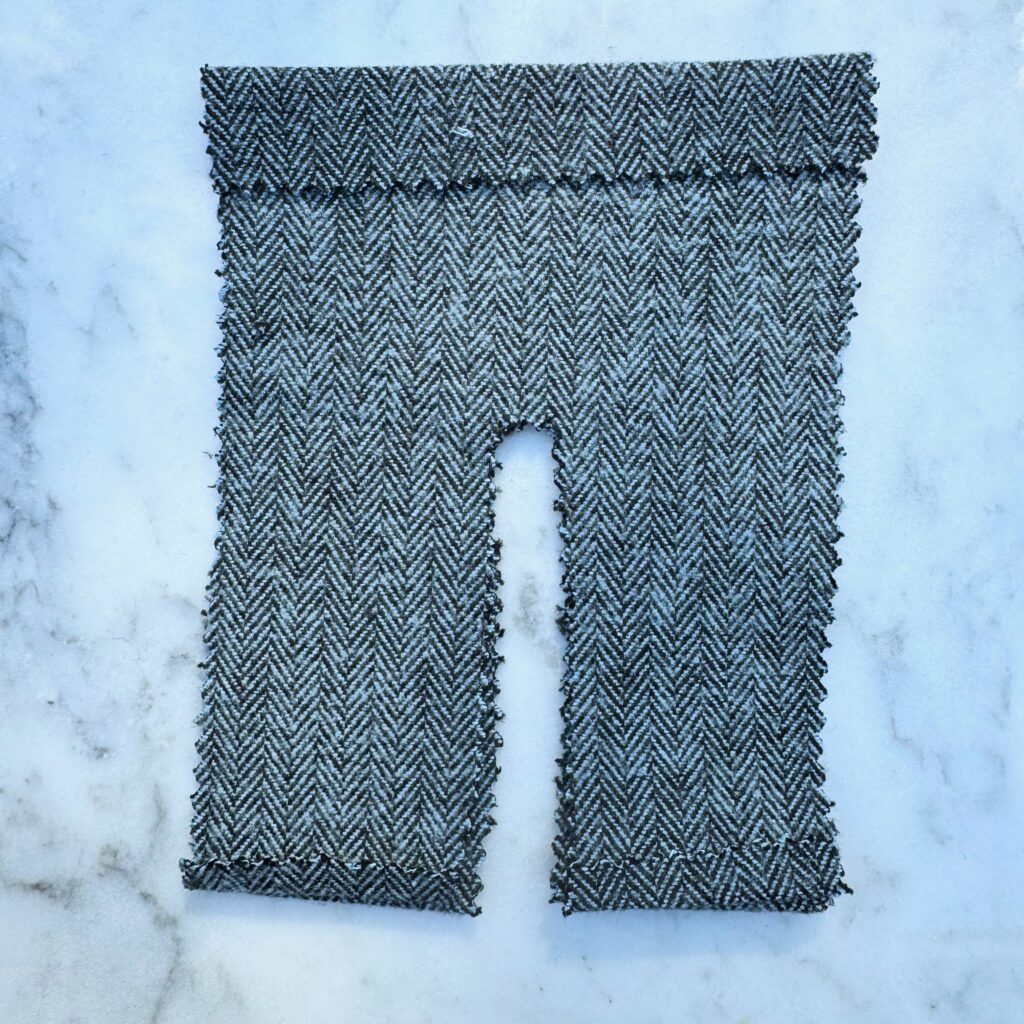
STEP 1: cut out the pants with pinking shears. Iron the bottoms with a 1/4 inch hem and the top with a 3/4 inch hem. You should also cut a 6 inch piece of 1/4 inch elastic for the waistband.
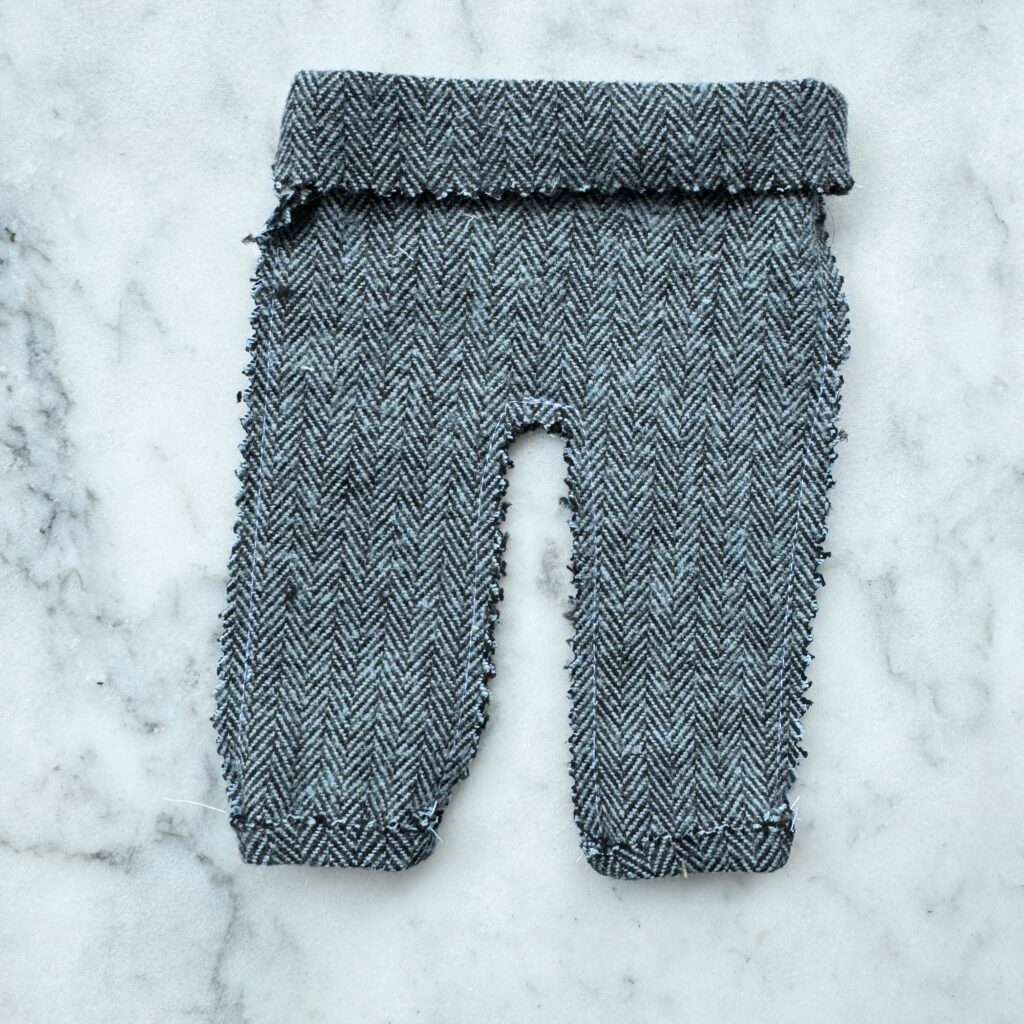
STEP 2: sew the side seams and inside leg seams with a 1/4 inch seam allowance. When you are sewing near the ironed hems, just temporarily unroll them, sew the hem, and re-roll the hems. (I find ironing hems to be so much easier before the side seams are sewn.)
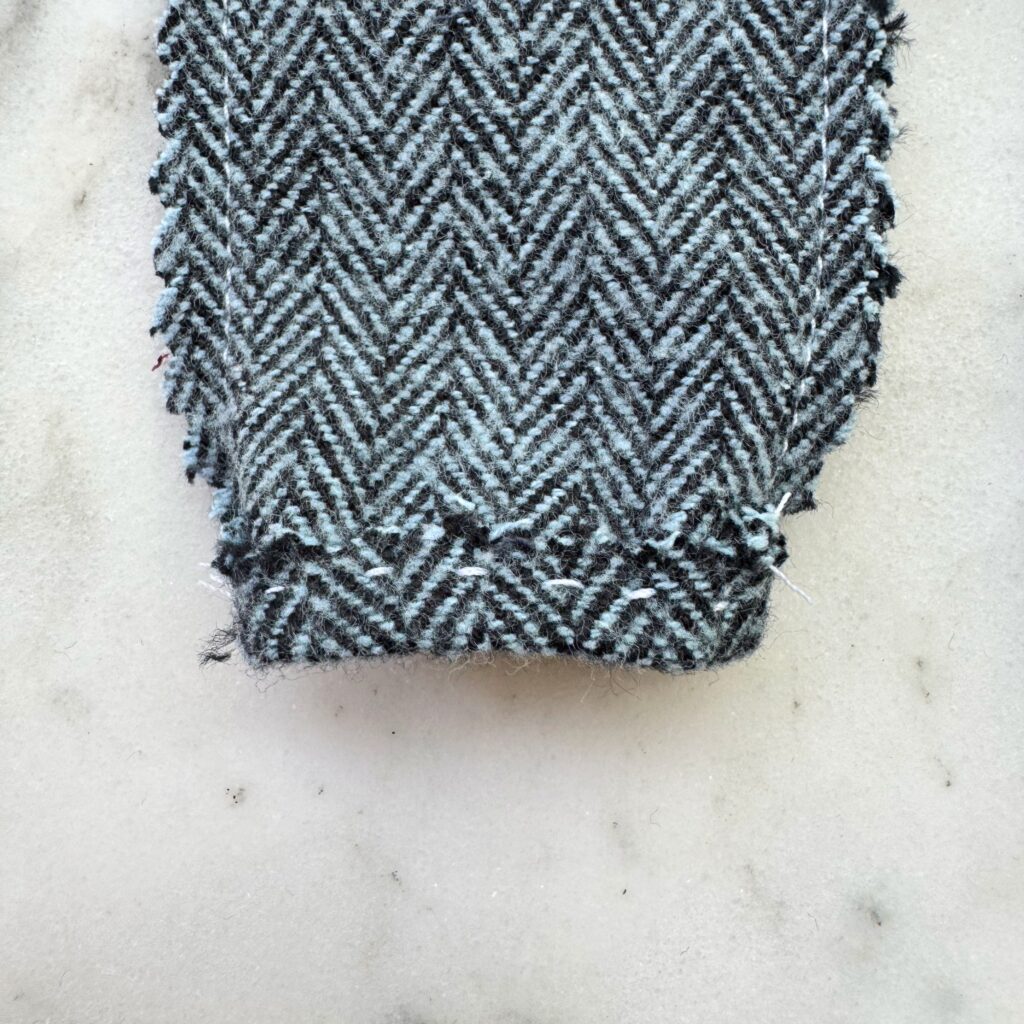
STEP 3: sew the bottom hems. These hems were too small for me to sew on my machine, so I simply stitched them by hand.
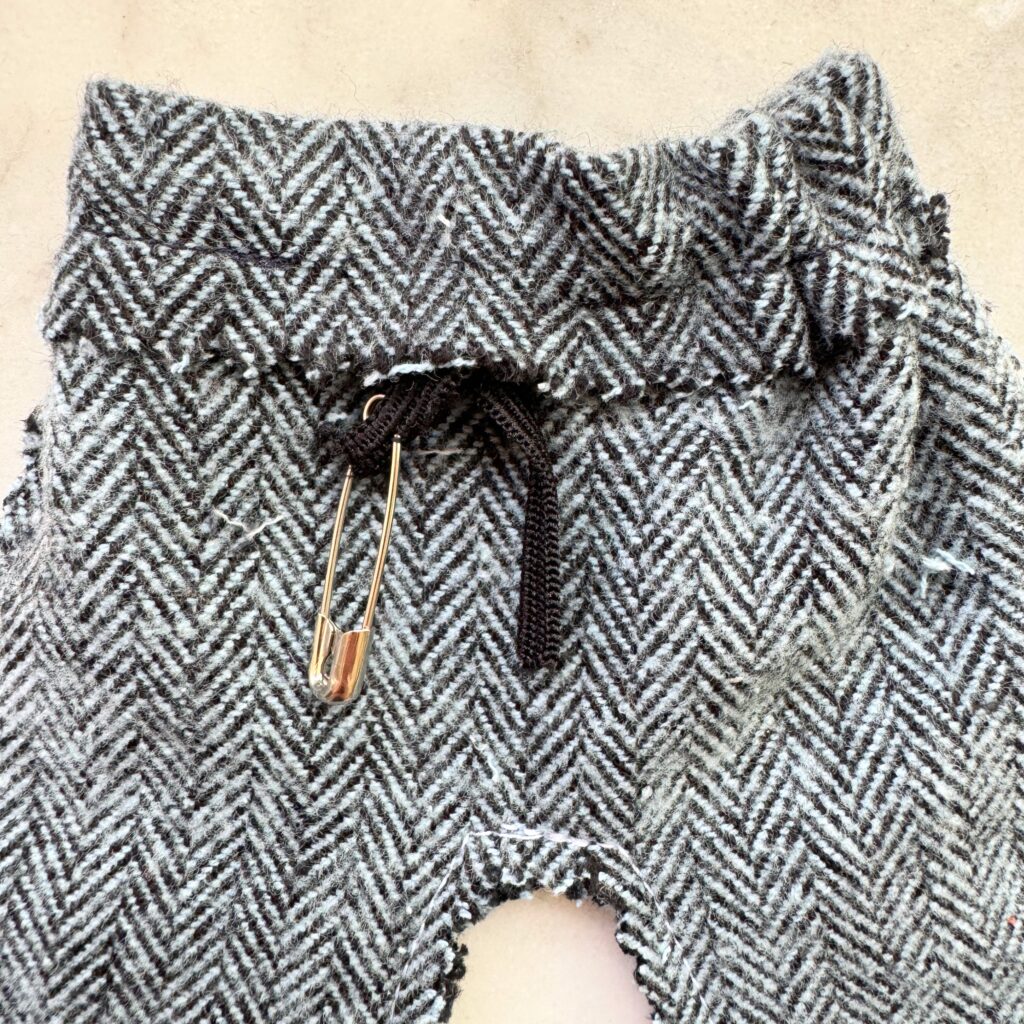
STEP 5: sew the top hem with a 1/2 inch seam allowance, leaving a 3/4 inch gap to thread the elastic.. Thread the 6 inch, 1/4 inch elastic through the waist band. Overlap the elastic by 1/2 inch and sew it together. Distribute the elastic and sew the hem shut.
Rag Doll Gathered Dress Pattern
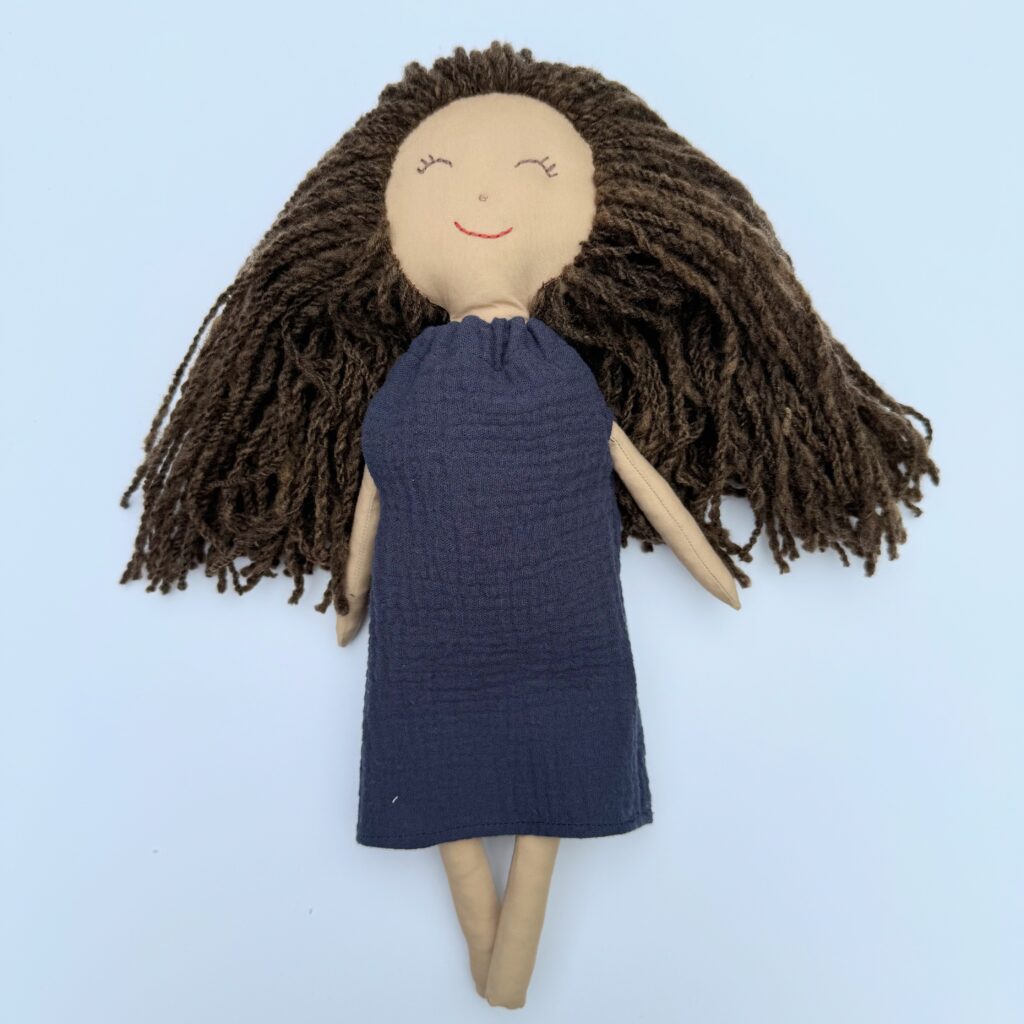
This free rag doll gathered neck dress pattern is available in my freebies library, which is available to anyone who subscribes to my email news letter.
This is a simple boxy dress with a gathered neck line. A perfect use for any double gauze or linen you have in your scrap stash!
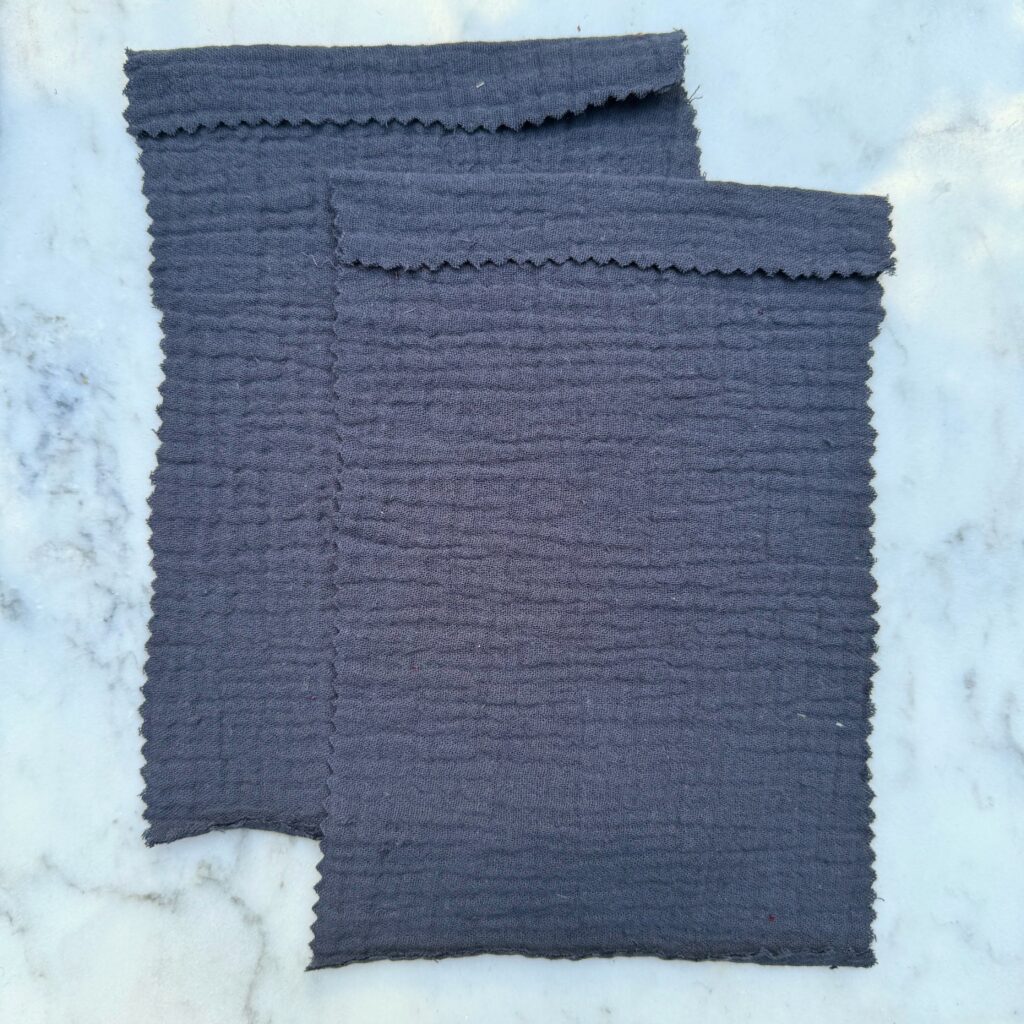
STEP 1: cut out two of the pattern pieces with pinking shears. Iron a 1/4 inch hem on the bottom and a 1/2 inch hem on the top.
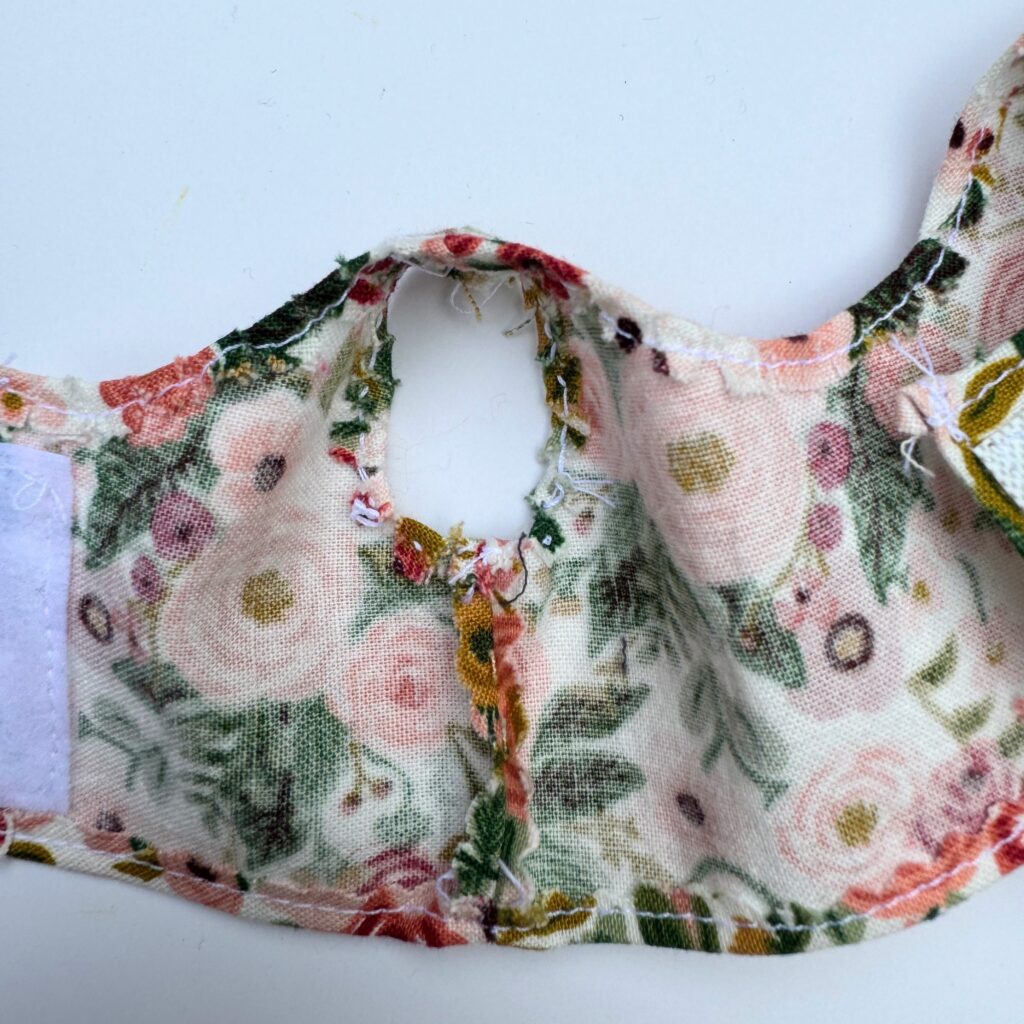
STEP 2: sew the side seams, unrolling the hems when needed to finish sewing the side seams. There are four little marks on the pattern pieces. DO NOT sew the side seams between these marks. These are the arm holes.
STEP 3: sew the bottom hem.
STEP 4: gently iron the side seams open and paying extra close attention to the arm holes. Once the arm holes are pressed, stitch just inside the openings to hold the fabric in place.
STEP 5: using pinking shears, cut a slit down the back of the dress to the height of the bottom of the arm holes. Using an iron, press a 1/4 inch hem to the sides and do your best with the bottom.
STEP 6: place a 5 inch piece of 1/4 inch elastic into the top hem. Sew it in place.

STEP 7: sew around the top hem with a 1/2 inch seam allowance, making sure to not sew the elastic. Keep the elastic in the channel as you sew.
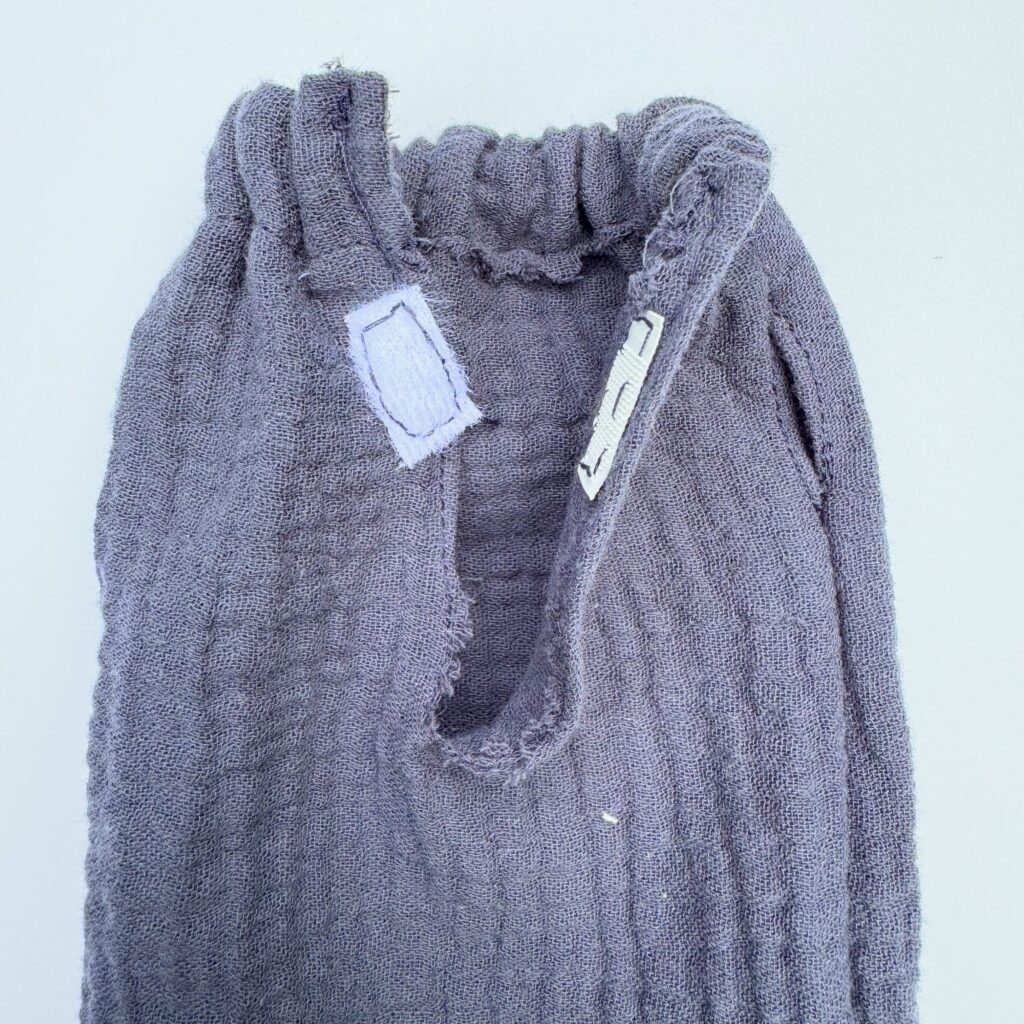
STEP 8: sew down and up the back opening, securing the hem and end of the elastic in place.
STEP 9: sew in some small pieces of Velcro right under the elastic neck band.
Hope You Have Fun!
Learning how to sew clothes for rag dolls is a great use of scraps, and a good use of imagination. There are an unlimited amount of modifications that you could take from these patterns to make new outfits.
How fun would it be if a child could match their rag doll? Or had costumes? The possibilities are endless.
I hope you found this to be a good jumping off point for how to sew clothes for rag dolls.