How to Use a Pom Pom Maker
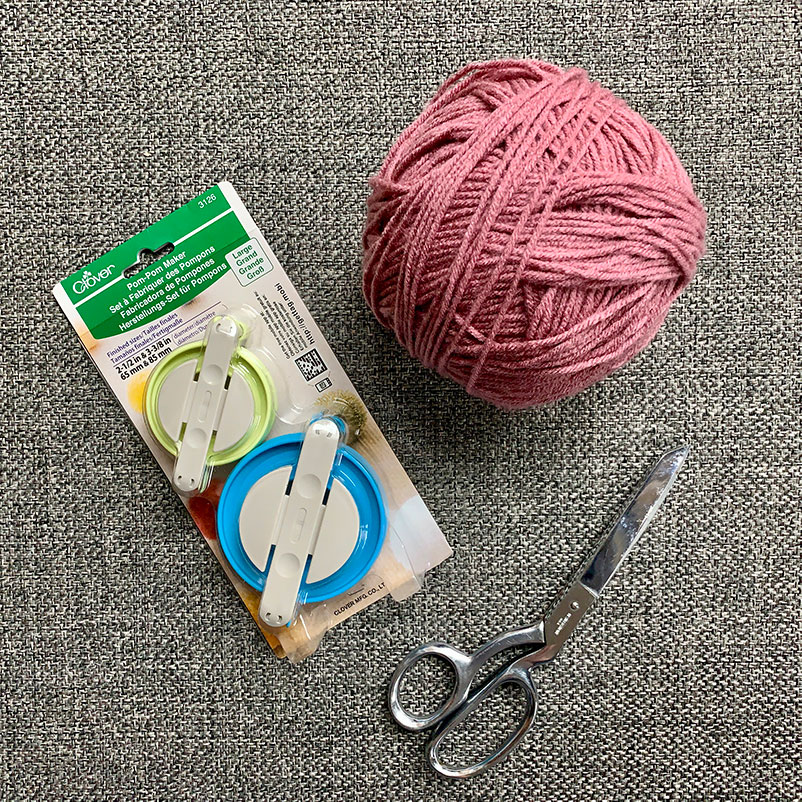
What is a Pom Pom Maker?
A pom pom maker is a useful tool that makes a (somewhat) uniform pom pom easily. There are plenty of methods to make pom poms without one of these tools, but it ensures that your pom poms will be consistent and the right density. (No flimsy pom poms here!)
You can easily purchase one online or at your local craft store. Mine is from Clover. I purchased the large size (2.5″-3.5″ pom poms) since I like to make pom poms for decor and for topping knitted hats. They do have smaller sizes, even one that is only 1 3/8 inches.
Do I Really Need One?
No, absolutely not. There are many methods out there to make pom poms with just your fingers, a piece of cardboard, or even a small book. You can easily get by without one!
If you want to know how to make a pom pom without a special tool, check out this post on how to make pom poms without a pom pom maker.
How to Use a Pom Pom Maker
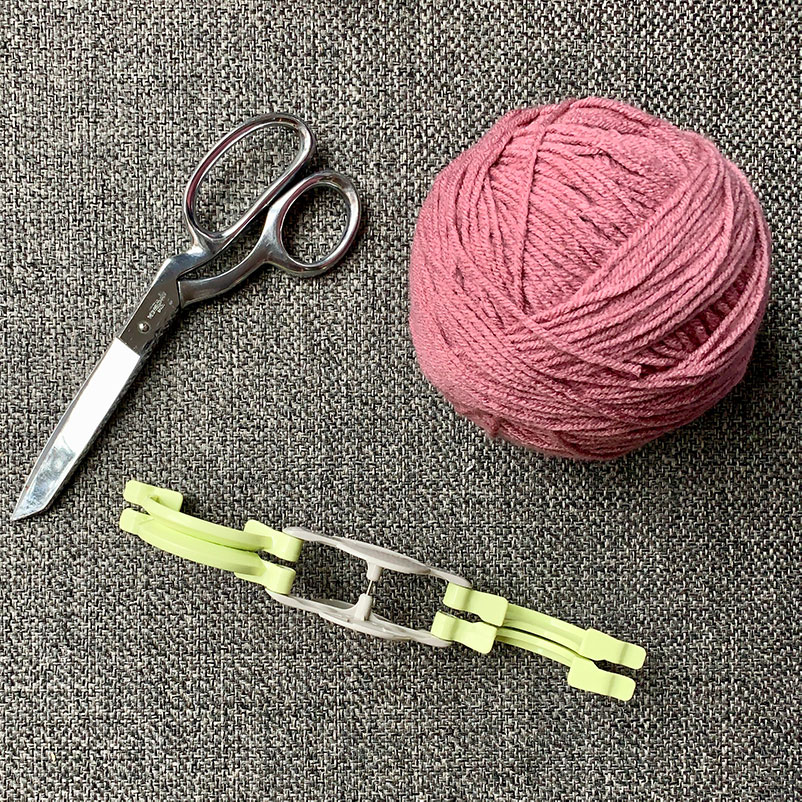
Step 1: Open up the pom pom maker so the green pieces make an s shape when viewed from the side.
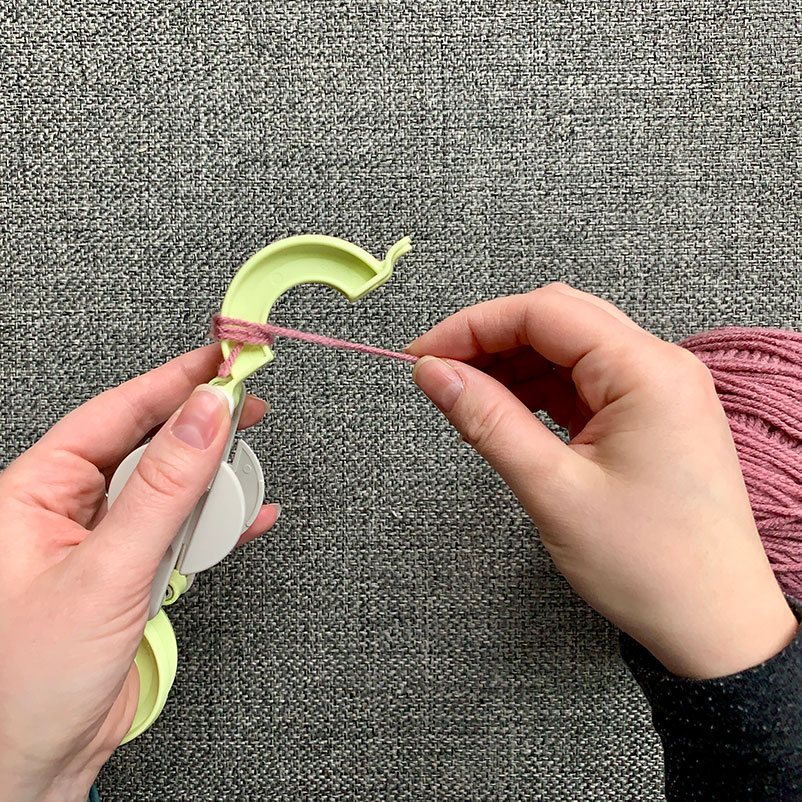
Step 2: Begin to wrap your yarn around both of the green pieces on one side of the pom pom maker.
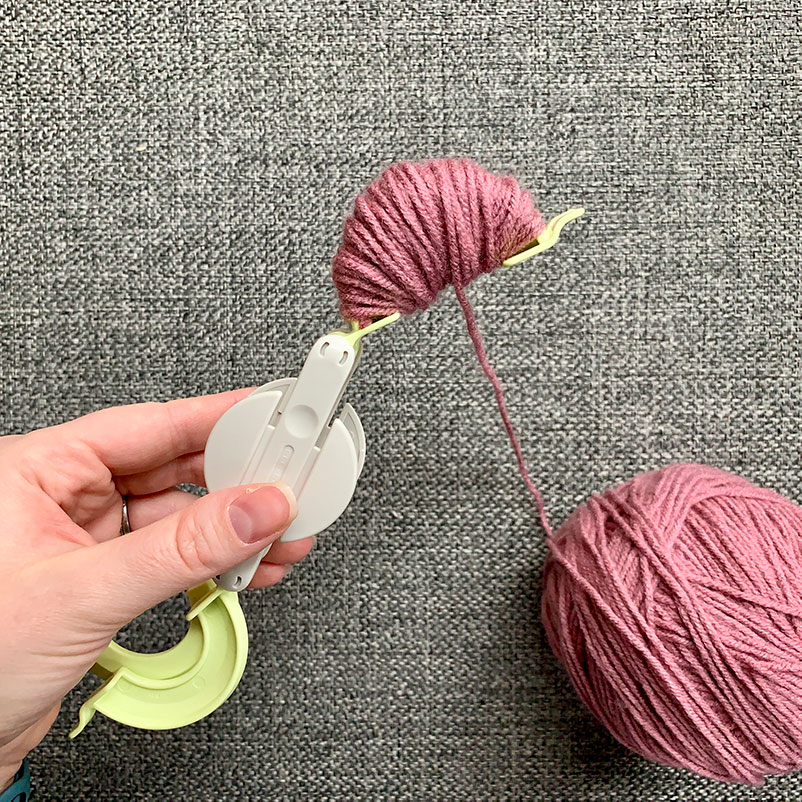
Step 3: Continue to wrap until the yarn makes a half circle. Note that the yarn is level with the ends of the green half circle. Finish with the tail end of the yarn towards the outside edge of the pom pom maker.
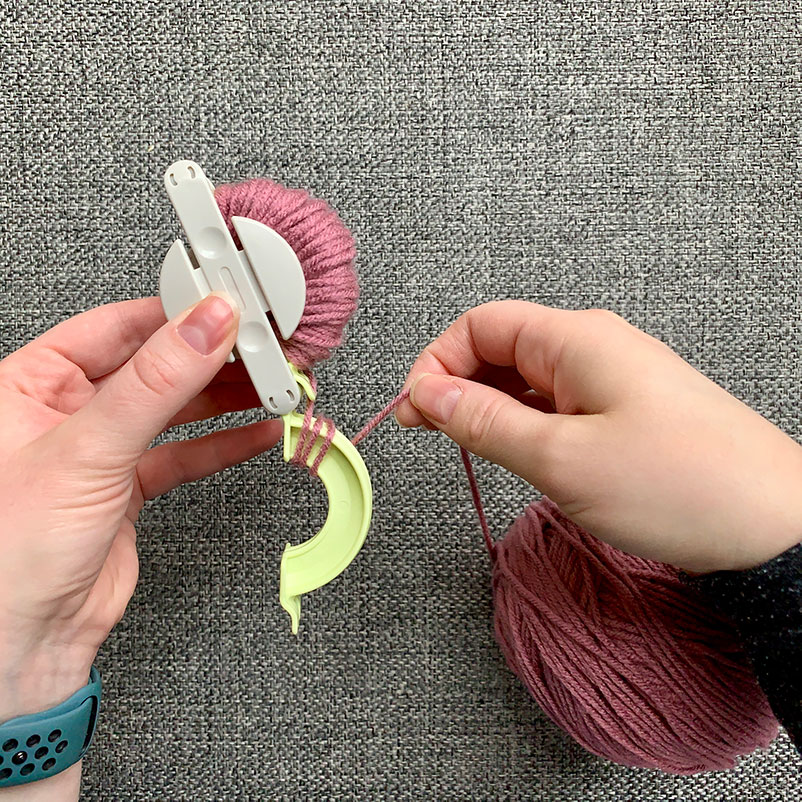
Step 4: Close the side that you just finished and begin wrapping the yarn around the remaining side.
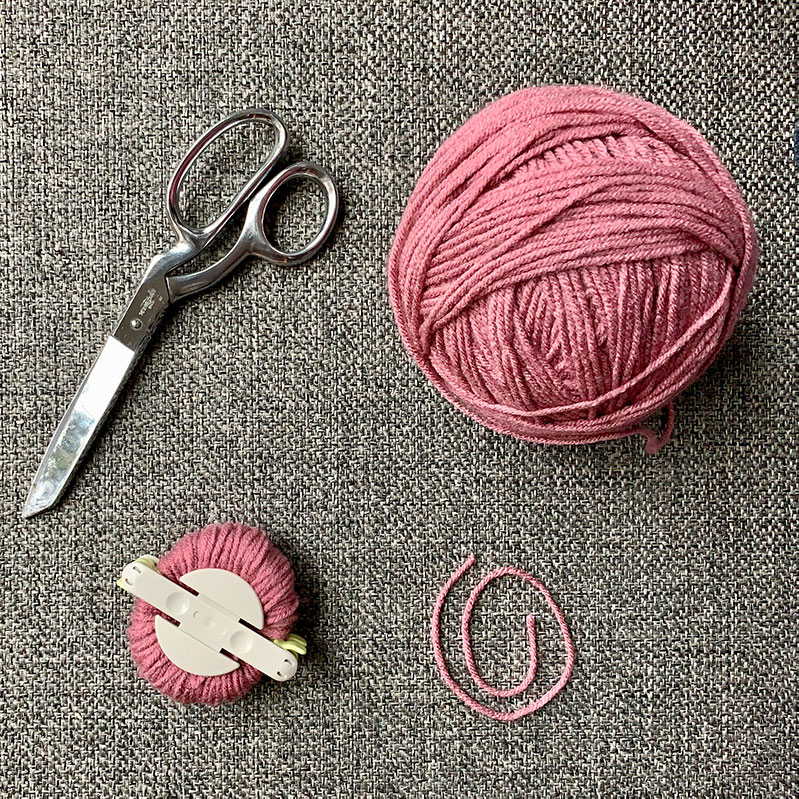
Step 5: When you are finished with the second side, close the pom pom maker and cut the yarn. Cut another piece of yarn around 10 inches long.
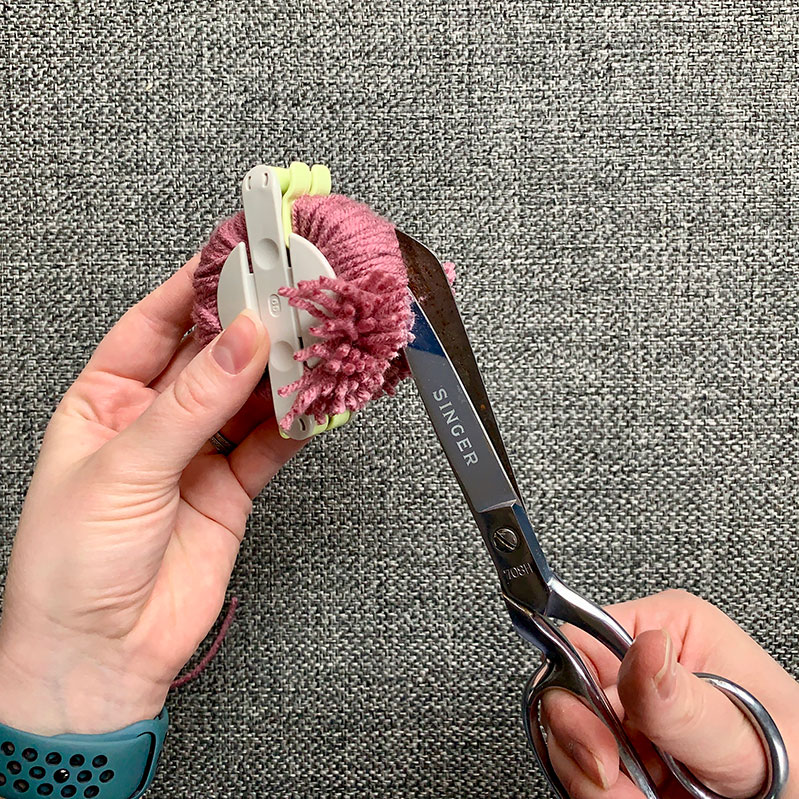
Step 6: You will notice that your scissors sit nicely within the v shape of the green sides of the pom pom maker. Place your scissors here and use it as a guide to cut the yarn.
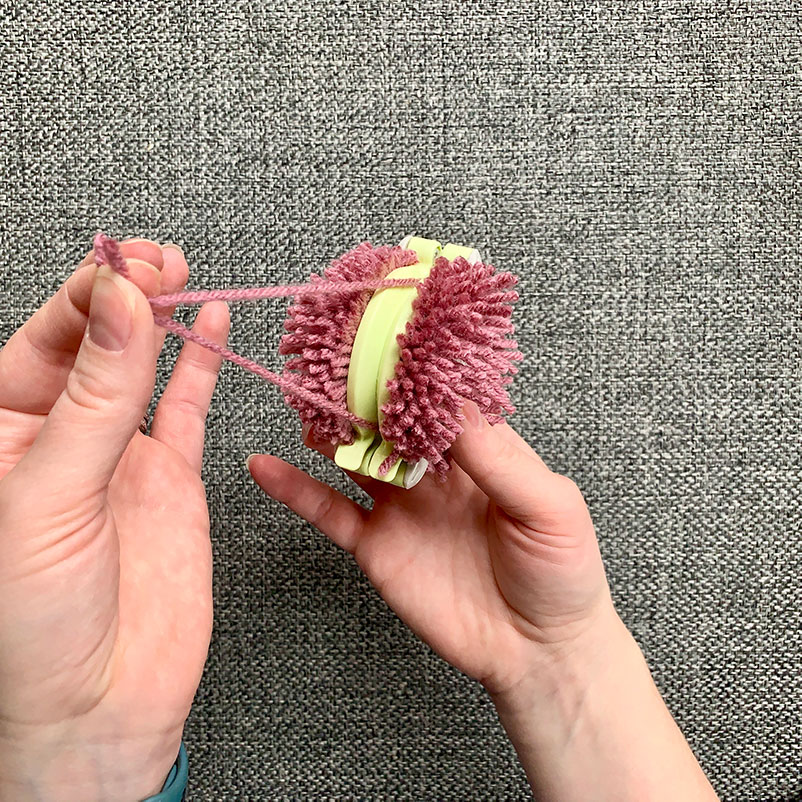
Step 7: Place the 10 inch piece of yarn that you cut in the groove. Pull tight and knot the yarn twice. Turn the pom pom maker over to the other side, thread the ends of the yarn around the center, and tie another set of knots. This ensures that your pom pom stays secure.
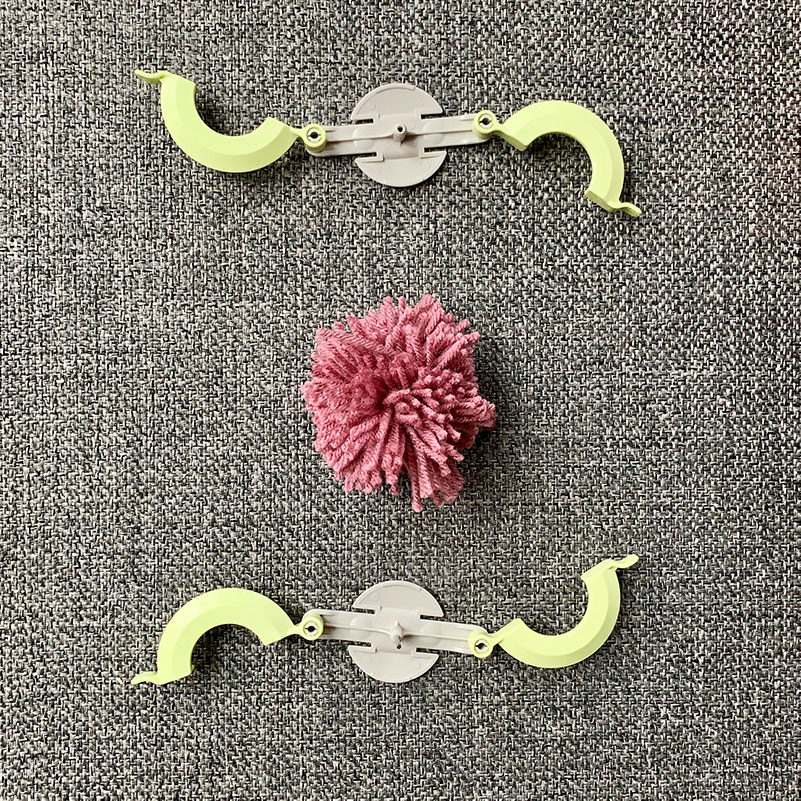
Step 8: Pull the two green pieces away from the middle and pull the two sides apart and your pom pom should fall out!
Trimming
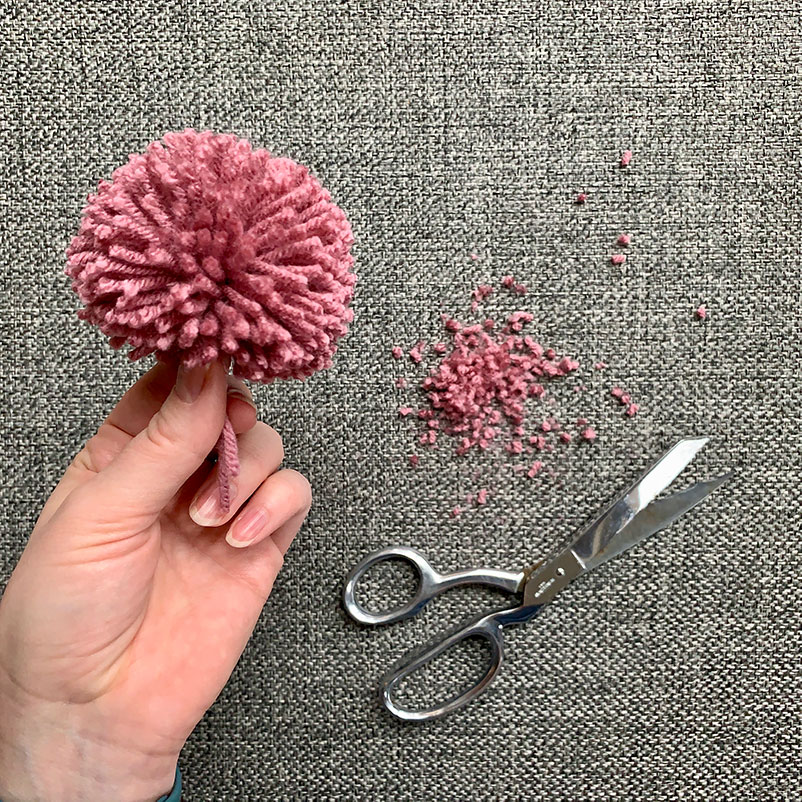
You may notice that you didn’t make a gorgeous uniform pom pom. There are different lengths of yarn making up the ball. (The first few center loops you made around the pom pom maker were smaller than the outside loops, which creates different lengths of string.)
All your pom pom needs is a little haircut to make it more uniform. You should only need to trim two sides of the pom pom to turn it from an oblong shape to more of a uniform sphere.
I suggest vacuuming up the leftovers, the trimming process can be quite messy!
What To Do With All Your Pom Poms?
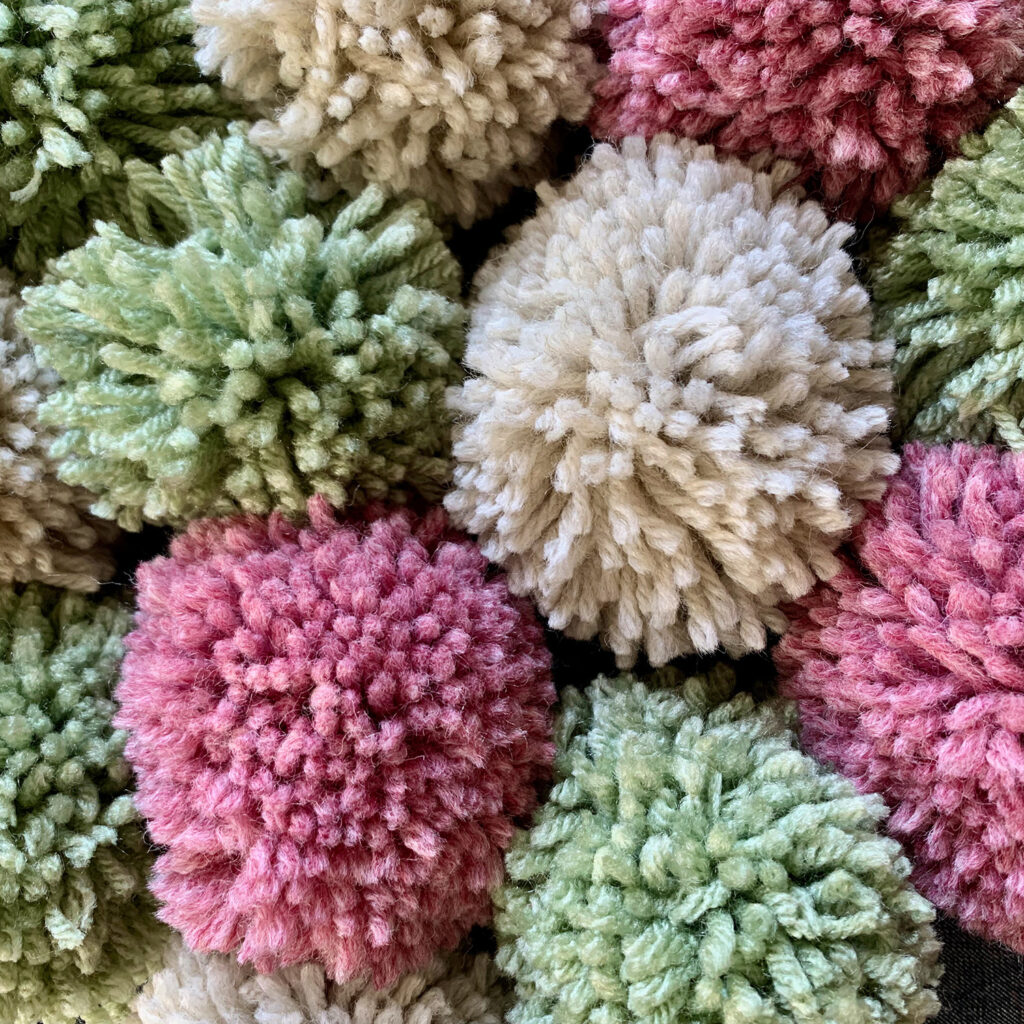
Did you make a bunch of pom poms or do you need to repurpose some? Here are just a few ideas…
- Make a pom pom flower bouquet (one of my more popular posts!)
- Use small pom poms as a vase filler (or trim down large ones)
- Put them on top of gifts as a gift topper
- Pretend indoor “snowballs” for kids to play with
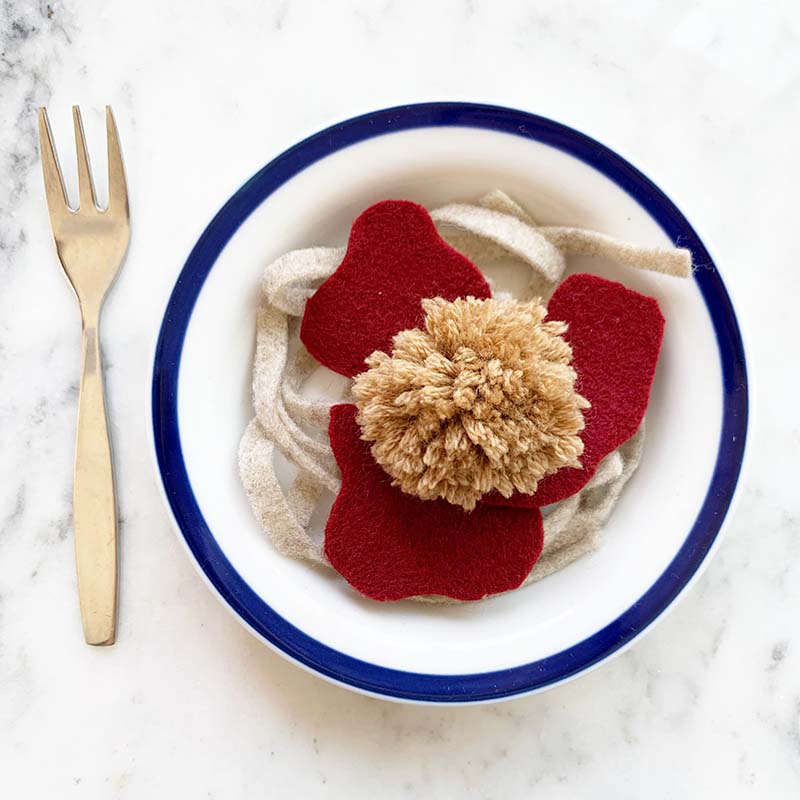
- Place them in a bowl for a table display
- Sew them onto the top of a hat or ends of a scarf
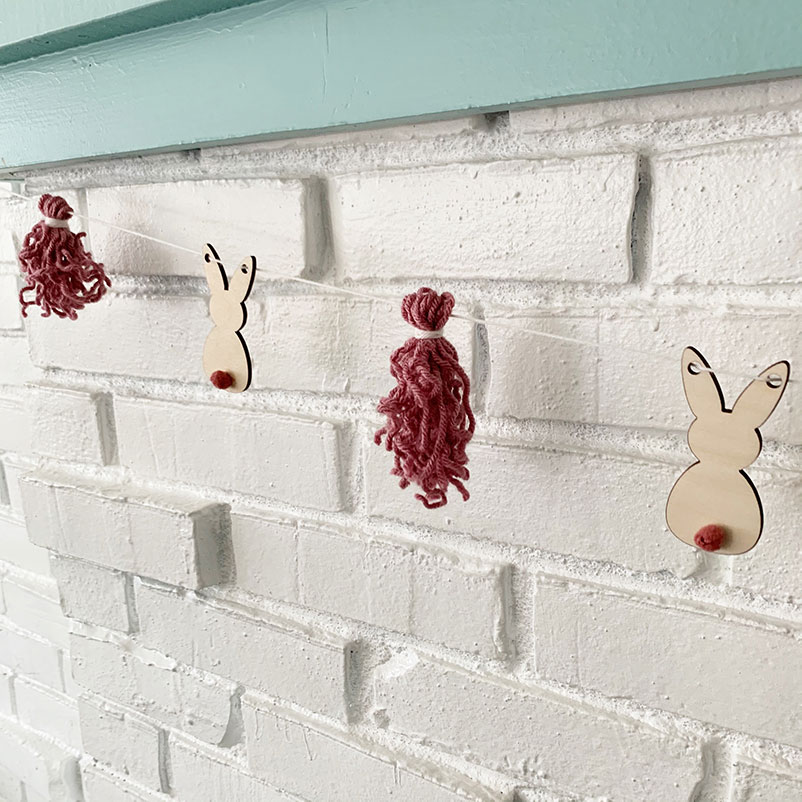
- Add them as bunny tails for Easter decor

Do you have any other fun ideas? Let me know in the comments below!
