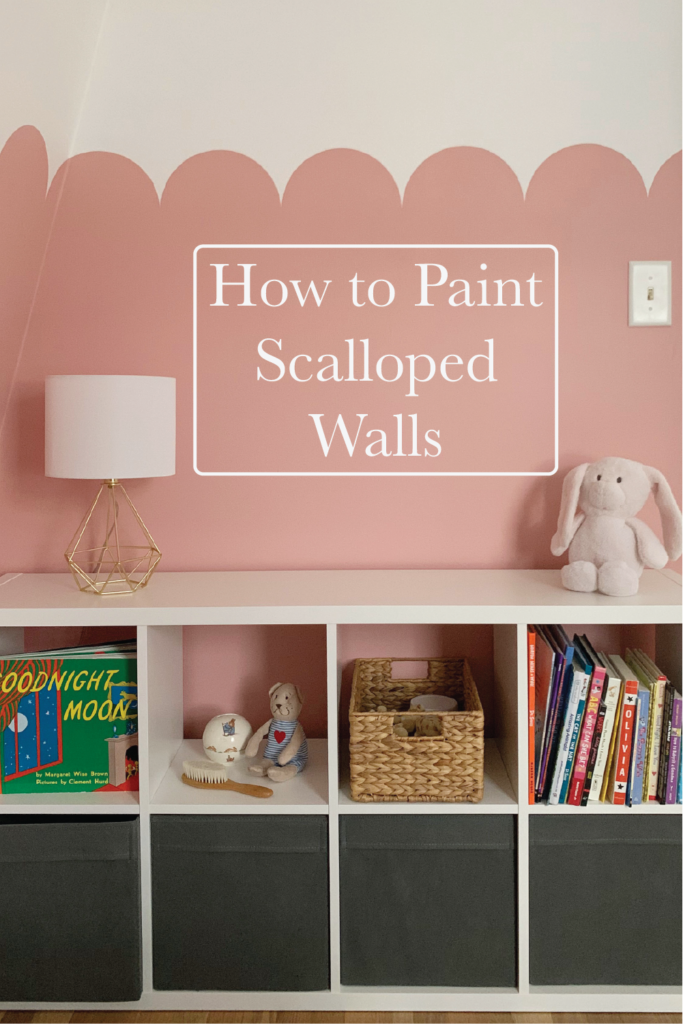
How to Paint Scalloped Walls
Inspiration for Painting Scalloped Walls
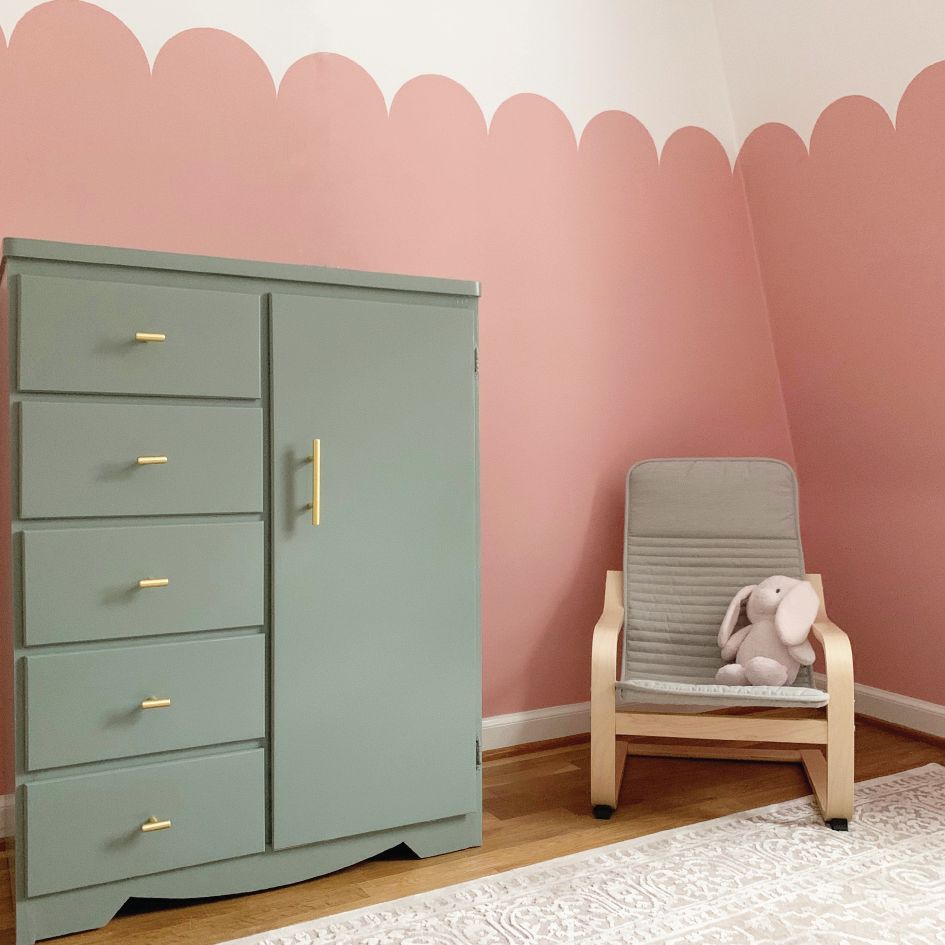
We are about to have another little kiddo join our family, which means my daughter got the boot out of the nursery and into her own big girl room. I knew I wanted to make her room special, but I didn’t want to invest in wallpaper or anything that seemed super permanent. Painting scalloped walls was a fun and easy way to add character to her room.
This project was surprisingly easy and I love the way they turned out! Follow along for tips on how to paint your own scalloped walls.
Quick Overview of Painting Scalloped Walls
Here is just a quick recap of what I did:
- Painted the top half of the walls white.
- Laser leveled and taped around the room.
- Painted the lower portion pink.
- Used the downloadable stencil (see Stencil the Scallops section for download) to trace scallops onto the wall.
- Painted in scallops with a large & small paintbrush.
If you want more details and tips, read on for the more detailed version of how to paint these scalloped walls!
Step 1: Paint Top Half of Walls
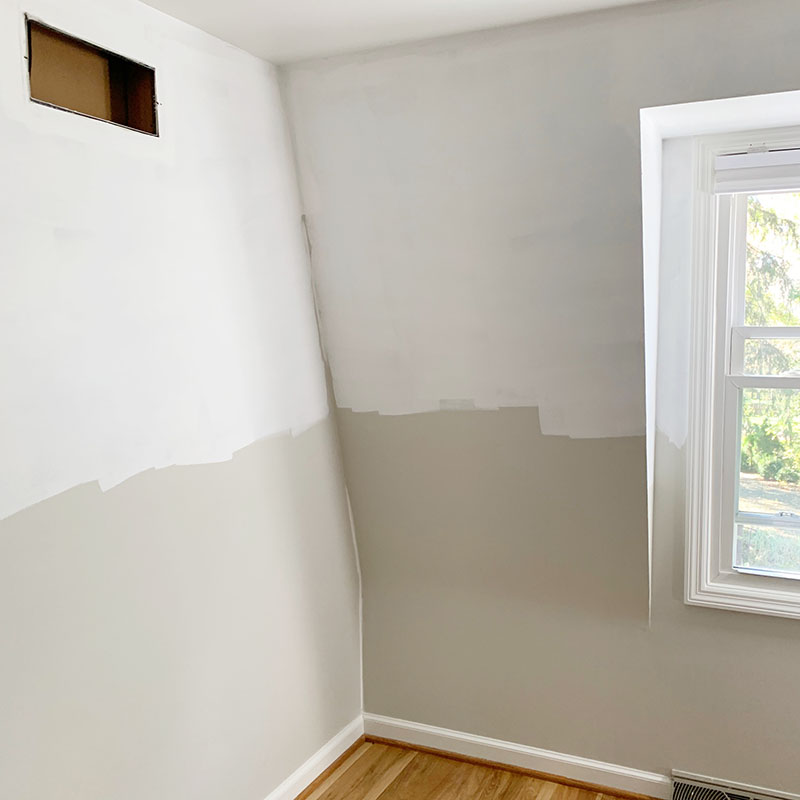
First I needed to paint the top half of the walls. I used Chantilly Lace by Benjamin Moore. This paint is known for being a very white paint color. It really helps to brighten up a space.
I wanted the scallops to cover ⅔ of the wall, since things visually look better when broken up into thirds. So I painted approximately the top half of the wall, just to be safe
When rolling, make sure that you don’t leave a thick line of paint at the bottom. You want as smooth a transition as possible!
Step 2: Paint Lower Portion of the Wall

Starting with a straight line to add your scallops to is an important detail! I used a laser level to tape an even line a little less than ⅔ up the wall. A laser level is a great tool and ensures that you have a straight line.
If you don’t have a laser level, You could measure a particular height up from the wall every few feet and connect the points to make your line. You could also use an actual level tool to make your lines.
Once taped I painted the lower portion of the walls. I used the color Cabbage Rose by Magnolia Paints, which I was able to pick up easily at my local Ace Hardware.
Step 3: Stencil the Scallops (Free Scallop Stencil Download)
I made a stencil in Illustrator, which you can download:
I wanted a stencil that was exactly half a circle and that had tabs on each side to ensure that all of the scallops were level. I’ve seen some people use a circular object as a stencil. This is a clever idea, but didn’t provide enough guidance for me. If you didn’t use the exact center of the circle each time, the height of the scallops could be uneven.
If you want your stencil to be slightly bigger or smaller, you can just simply change the “custom scale” setting in your print dialogue box to make it bigger or smaller.
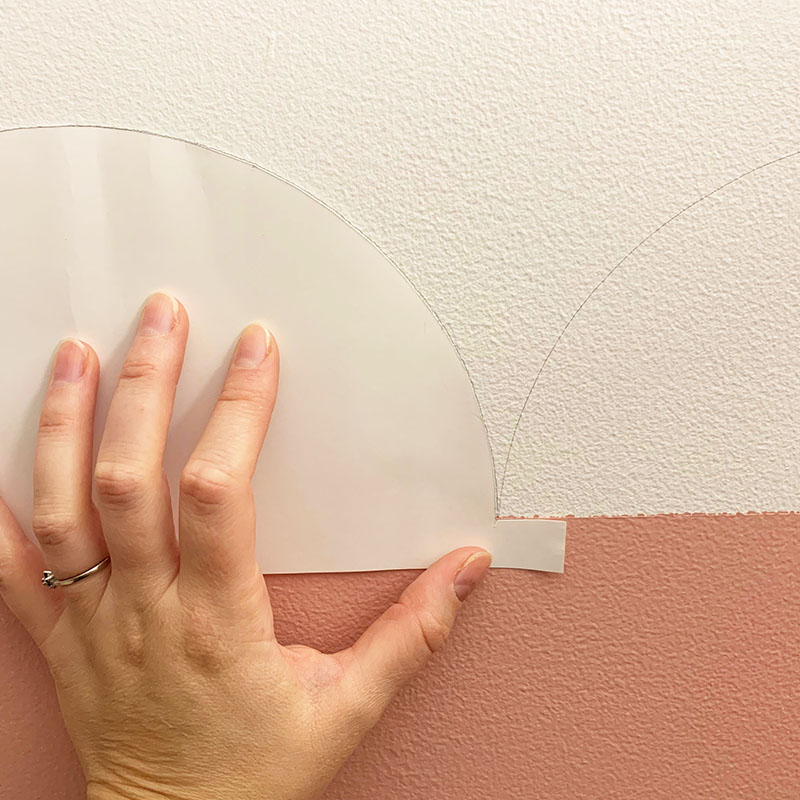
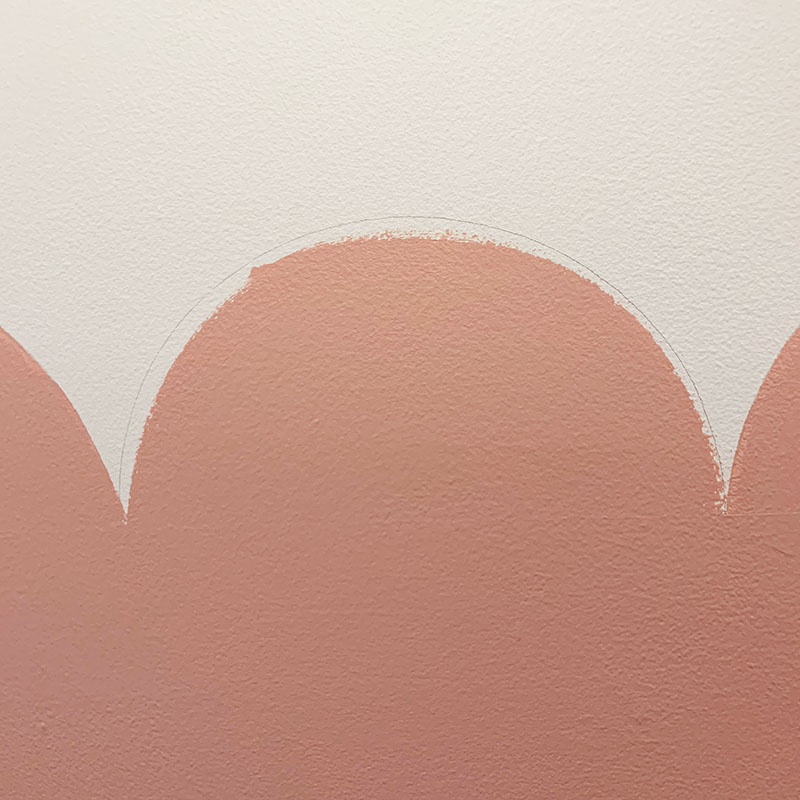
Once you cut out the stencil, align the tabs to the top edge of the paint line and lightly trace around the scallop with a pencil.
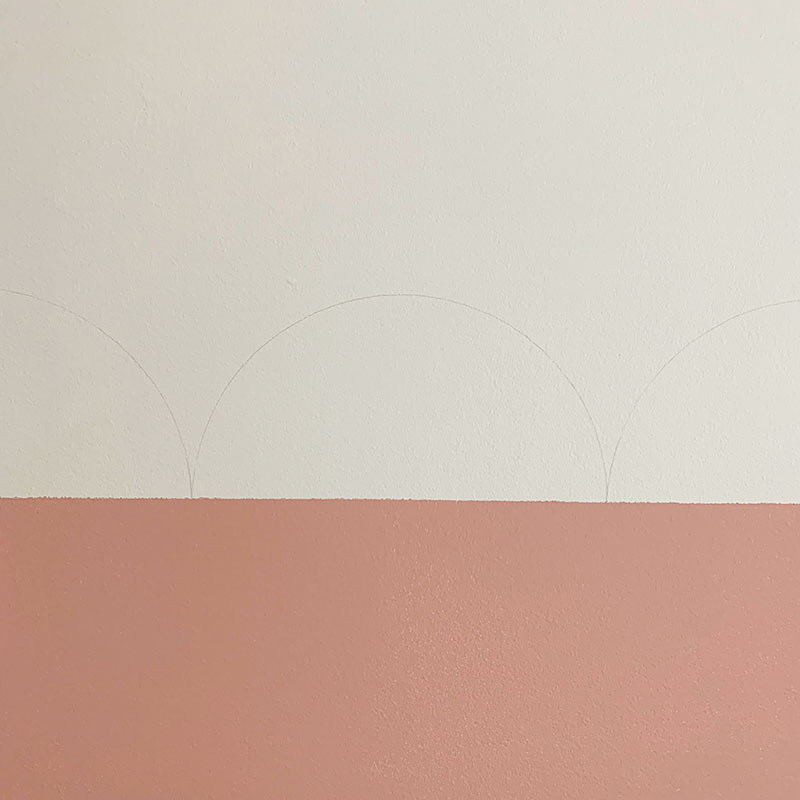
Continue tracing scallops around your room. The stencil can also be folded whenever you arrive at a corner. This ensures that you have a uniform stencil pattern around your room!
Step 4: Paint the Scallops
Now the fun (and slightly tedious part), paint the scalloped walls! I knew I wouldn’t be able to paint with the precision that I wanted with a large paint brush. So I did a first pass at the scallops with a larger paint brush just getting close to the pencil lines.
When painting make sure that you have just a thin coat of paint. You don’t want to be able to see a bump where you stopped painting. You want an overall smooth wall.
I went back and did a second coat in the scallops to ensure that I had good coverage and smoothed away any paint bumps on the edges.
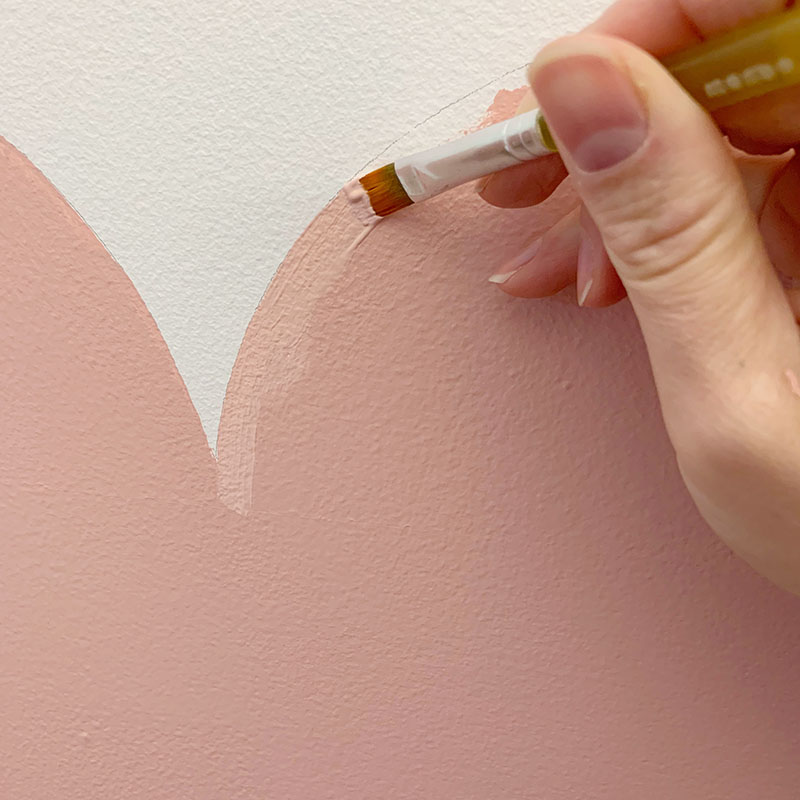
To ensure that I had crisp edges on my scallops, I went back in with a small flat craft paintbrush and painted up to the stenciled lines. This was a little tedious because I had a smaller brush, but I love how crisp my scallops turned out!
Painting Over it in the Future
When I decide to repaint this room in the future I will give the edges of the scallops a light sanding. I tried to ensure that I didn’t have thicker paint blobs at the edges, but I wasn’t able to make them perfect.
The last thing you want is to repaint the room to find the scallop design peek through your fresh coat of paint!