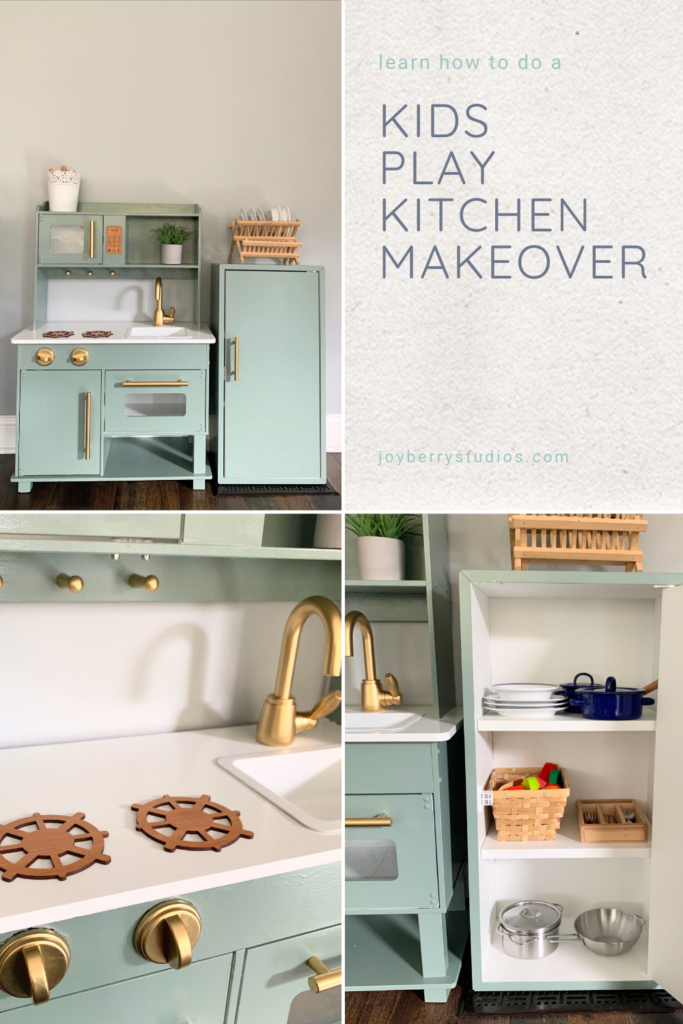
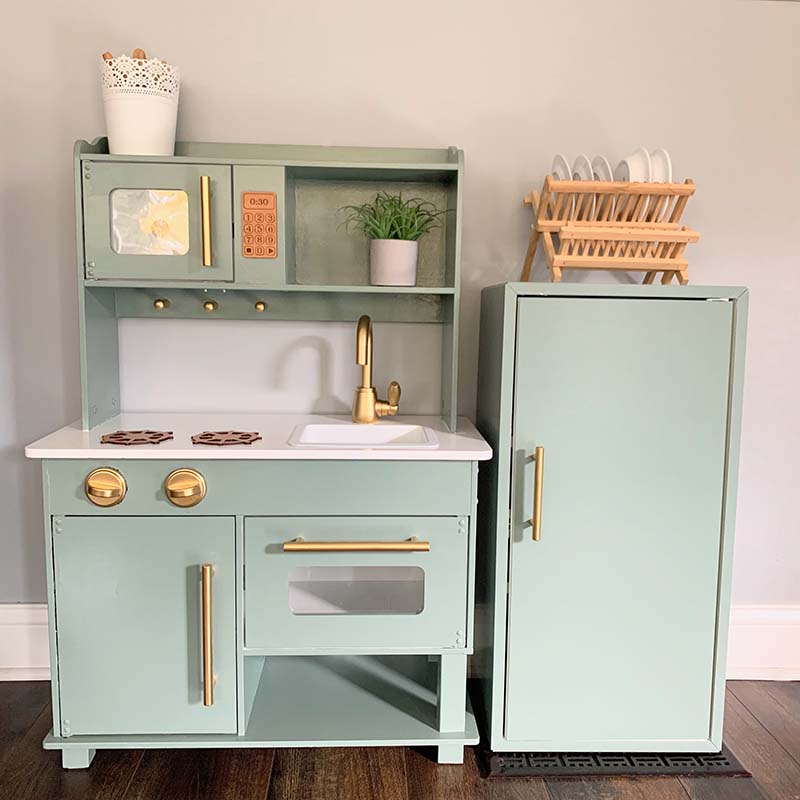
Play Kitchen Makeover
Play kitchens have come a long way, but if you don’t have the money to buy the newest Pottery Barn play kitchen, you may be looking for a fun way to upgrade a second hand or IKEA play kitchen. With just a bit of paint and some small additions, I gave our second hand play kitchen a makeover.
Play Kitchen Makeover – With Free SVG Designs
A quick Pinterest search for Kids Play Kitchen Makeover will give you inspiration for days. I love seeing how others transformed the very popular IKEA Duktig Play Kitchen and old furniture into play kitchens for kids.
A kids play kitchen renovation is so fun, because it’s like a kitchen renovation but without the expense and anxiety that comes with making expensive decisions. A win-win in my books! Have you wanted to try a trendy kitchen cabinet color? Bold accents? Wallpaper? This is your opportunity!
I also love that making over a play kitchen is a great way to upcycle an older toy or piece of furniture. It is a great way to sustainably add to your child’s toys.
Finding a Play Kitchen
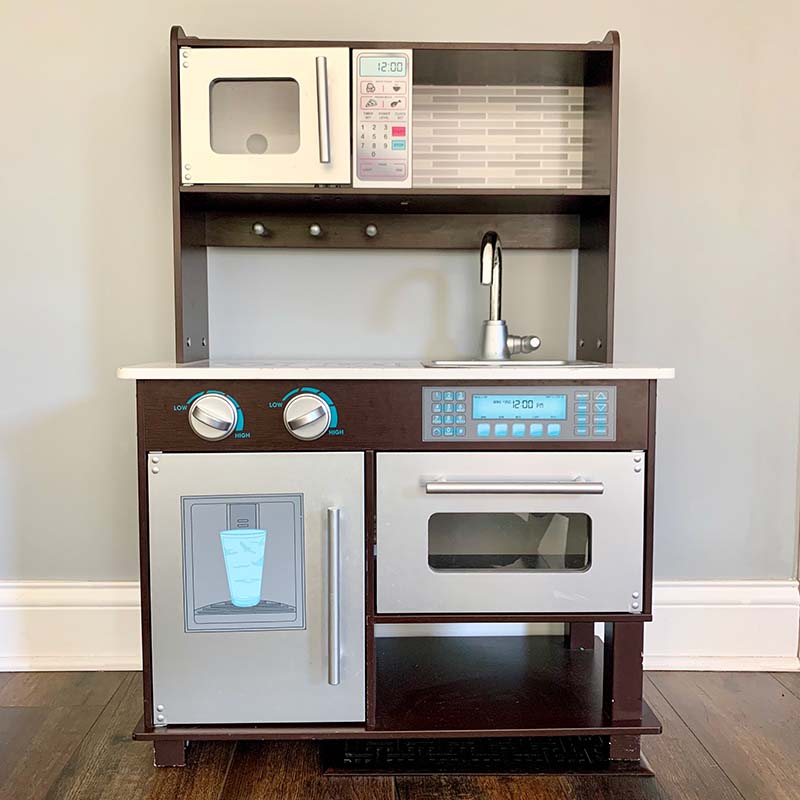
Purchasing a brand new play kitchen and then painting it and making modifications felt a little risky and wasteful to me. Play kitchens are large toys that families cycle through within a few years. Check Facebook Marketplace, yard sales, or thrift stores for gently used play kitchens to renovate.
I was incredibly lucky that a neighbor was getting rid of one during a pre-cycle event my town put on. I was able to pick it off the curb for free. Together we saved it from the landfill and it has been filling my daughter with joy ever since I gave it to her!
I’m always trying to find ways to be more sustainable. Finding things second hand is a great way to keep our landfills a little less full and my wallet a little more full.
If you’re in a pinch, the IKEA Duktig is incredibly popular and under $100. There are other options at traditional big box stores as well.
Prepping & Painting the Play Kitchen
It is so important to note that you SHOULD NOT SIMPLY PAINT OVER the original kitchen. Any kids toy will go through a beating and if you just throw on some latex or acrylic paint, it will most likely start to peel and dent within a few days. If you’re going to put in the effort, take these few extra steps to ensure your paint stays put.
Give your play kitchen a light sand. 120 grit sandpaper works well. The purpose of the sand is not to make things smooth, but to actually rough up the surface so the primer sticks to the surface better. Don’t go too crazy! Most cheaper play kitchens are made with MDF and you don’t want to sand down to the inside particle board. Wipe down the dust with a damp cloth.
Let’s take a moment to talk about brushes. You most likely want a smooth finish. You should use a high quality new brush or foam brush/roller. Be sure to stay away from high nap rollers, those are better for textured walls. I used a foam brush and a small 4 inch foam roller to prime/paint the kitchen.
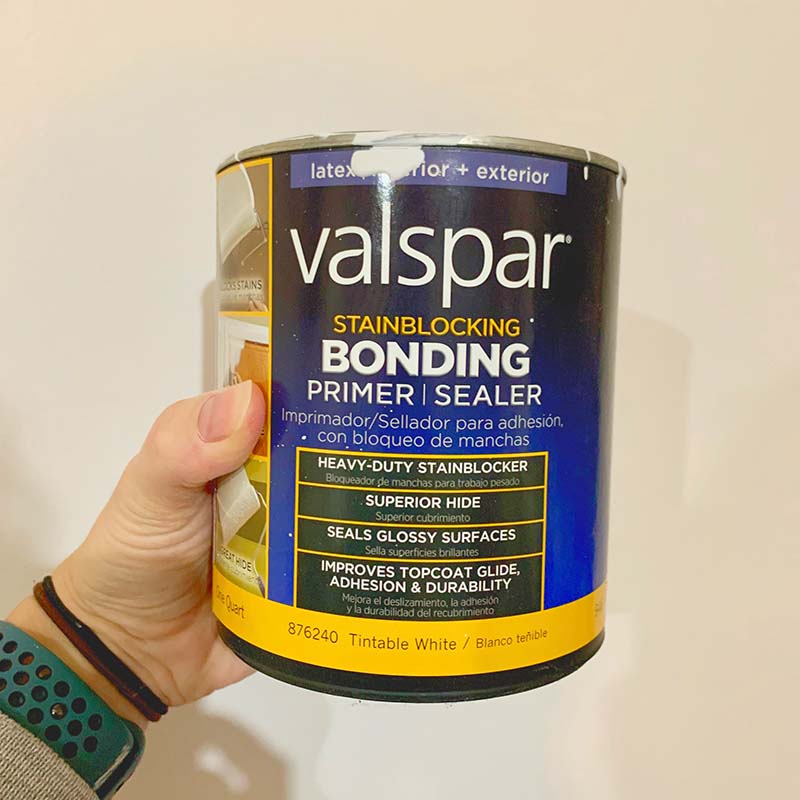
Prime the play kitchen with a high adhesion primer. My favorite is the Valspar Bonding Primer/Sealer. When purchasing a primer, you should double check that it is water based for easy clean up! Also choose one that has high adhesion, not just a typical wall primer.

When choosing a paint, it is best to go for a trim/cabinet paint. These paints are acrylic enamel and dry with a harder more durable finish. Perfect for a piece of furniture that will be bumped into and scratched! I used Silverado Sage from Magnolia Paint,which I had leftover from another project. This trim/cabinet paint did have a stronger smell to it than typical wall paint. I suggest painting in a well ventilated area (garage/outside/windows open).
I also used another white paint that I had laying around for the interiors. This paint unfortunately was just normal wall paint, but it had a gloss sheen. Glossy sheens are known for being easier to wipe clean. A second best option if you want to use paint from your stash.
After you’ve painted, be sure to let the paint cure for a few days. Paint can be dry to the touch, but still off gas and be easy to dent for several days.
Gold Accents
The silver handles, knobs, and faucet didn’t align with my overall vision. I thankfully had some Rust-oleum Metallic gold spray paint in my stash that I used to give the accents a more modern look.
A quick tip for spray painting, take a piece of cardboard and pierce the screws through it so the entire handle/knob/faucet can sit upright. This way you can spray paint all sides at once without needing to flip things over. The finish looks more even as well.
Several light coats work best for spray paint! If you spray too much at once it will quickly start to drip.
Wood Accents
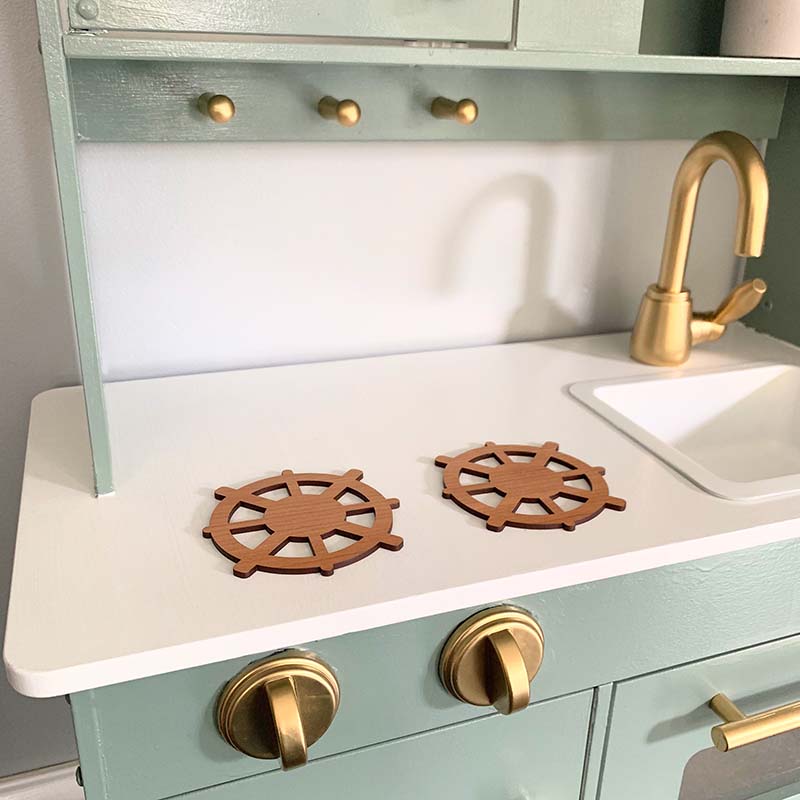
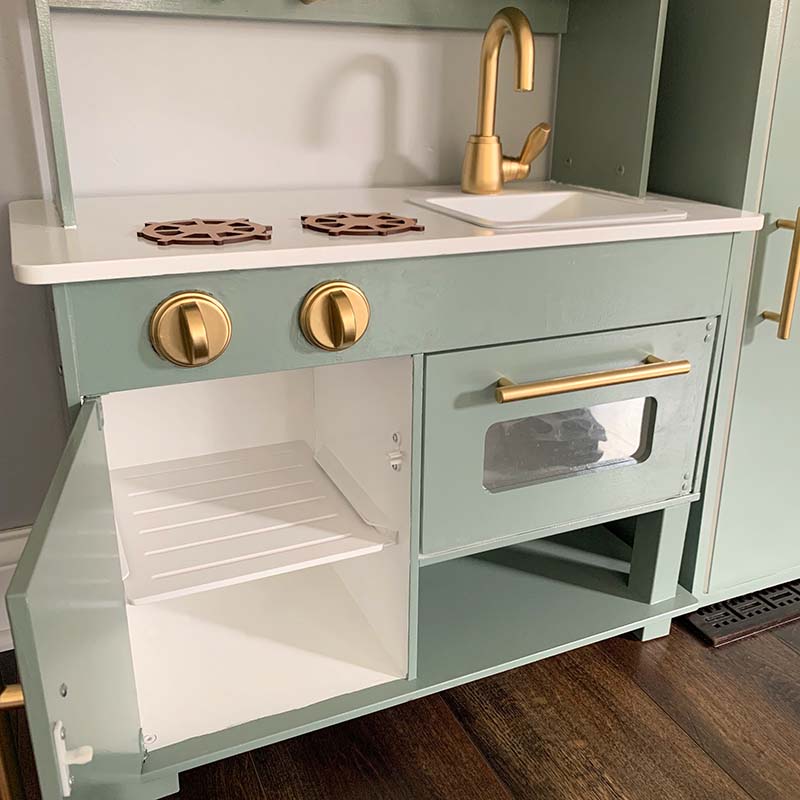
At this point all I did was add some paint. I thought the kitchen looked entirely different, but I knew I wanted to add a little something special as well. I laser cut two stove burners, a microwave display, and an oven display out of some cherry plywood that I had in my stash.
You can find the SVG downloads for these files in my freebies library, accessible to all email subscribers.
If you don’t have a laser cutter you could also use a cricut and cut some stencils out of vinyl or simply print out something similar and modge podge it onto the kitchen.
The faux buttons are one of my daughters favorite features of the kitchen! She loves to put things in the microwave and say “beep beep beep” as she sets the timer. Absolutely melts my heart.
Eket Pantry
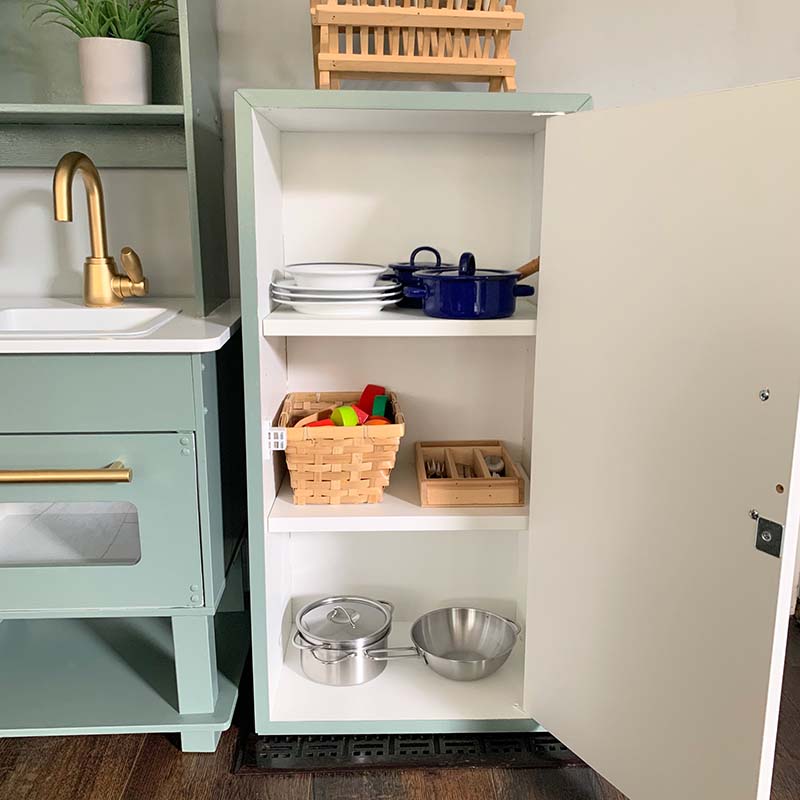
We’ve somehow accumulated a large assortment of play kitchen accessories through hand me downs. The kitchen we had was quite small, so I thought it would be cute if I made my daughter a pantry as well. I couldn’t find a piece of furniture second hand that was the right size in time for her birthday, so I purchased an Eket cabinet from IKEA.
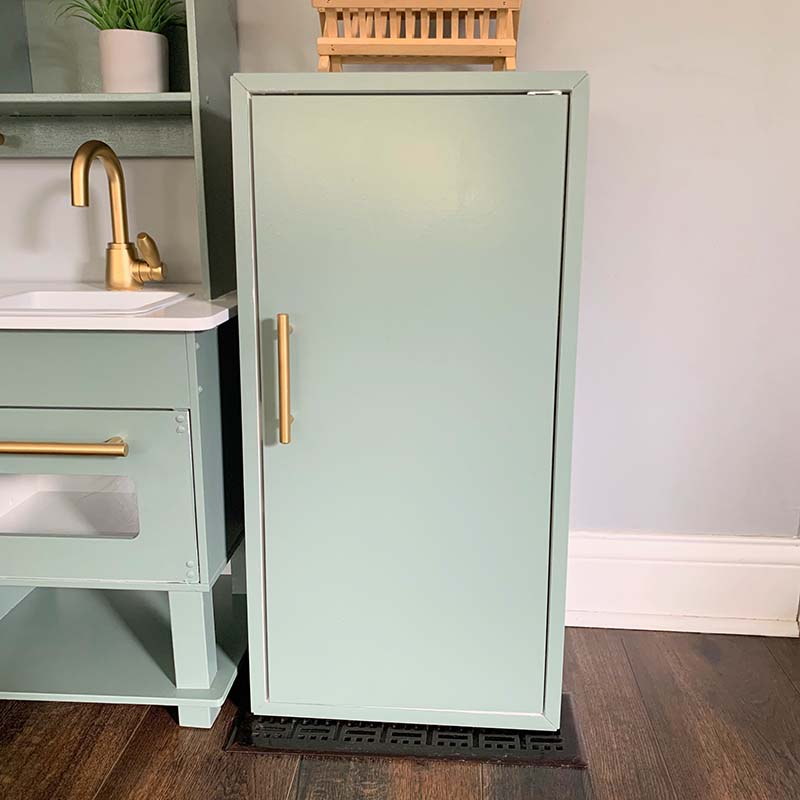
I painted it the same color as the kitchen and added a drawer pull that I spray painted the same gold. Instead of the closure that came with the Eket, I added a light duty magnetic door catch. so my daughter could easily open and close the pantry.
A word of caution. This cabinet can tip easily, especially if you have curious climbing little ones. You should mount it to a wall to ensure your child’s safety.
Final Thoughts – Play Kitchen Makeover
We’ve used this play kitchen nearly every day for weeks now. It has held up incredibly well so far with how rough my daughter is with it.
I love how simple and transformative the makeover was. Just a little bit of paint from our stash and a few extra items and I was able to completely transform this kitchen.
Aside from purchasing the Eket cabinet for the pantry, it also didn’t cost me anything since I found the kitchen at a community event and used paint from my stash. I am thrilled that it will continue to serve my family for years to come!