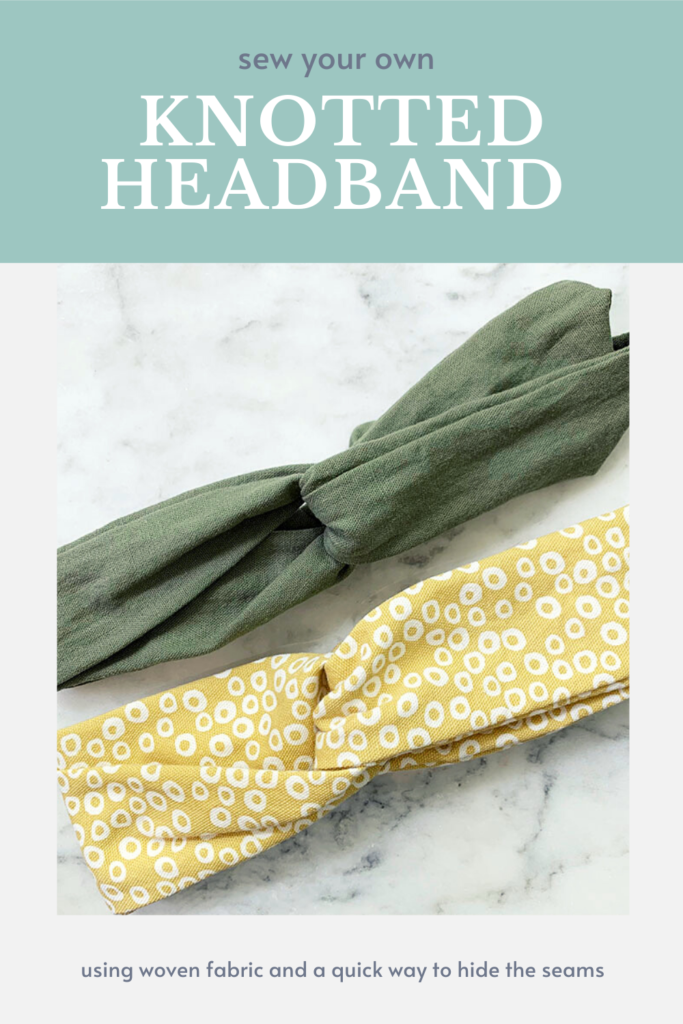
How to Sew a Knotted Headband
Why Sew a Knotted Headband?
Growing up I’ve always had “halo hairs”, those hairs that are too short to lay flat around your forehead. Instead they just stick out and make me look like a dandelion. They were cute when I was a little kid, but at 30 with postpartum hair they are in full swing and let’s just say it is not a polished look. This knotted headband is the solution!
I’ve been wanting some hairbands for awhile. The large velvet ones aren’t really my style, I didn’t want a sports headband, and I was too nervous to just start purchasing some online until I found one that I liked. Then it occurred to me that I love a quick sewing project and I have a ton of scrap fabric to choose from! Obviously, I can just sew my dream headband.
This knot headband is one of my fastest sewing projects. (Maybe even faster than a burp cloth!) They are really cute and trendy at the moment. You can use a wide variety of woven fabrics. What is there not to like?
Don’t Have Sewing Supplies? No Problem!
Not an issue! These are so simple and can even be sewed by hand with a needle and thread from a mending kit you may already have. You can also fabric from old clothing that you may have lying around. No fancy supplies needed!
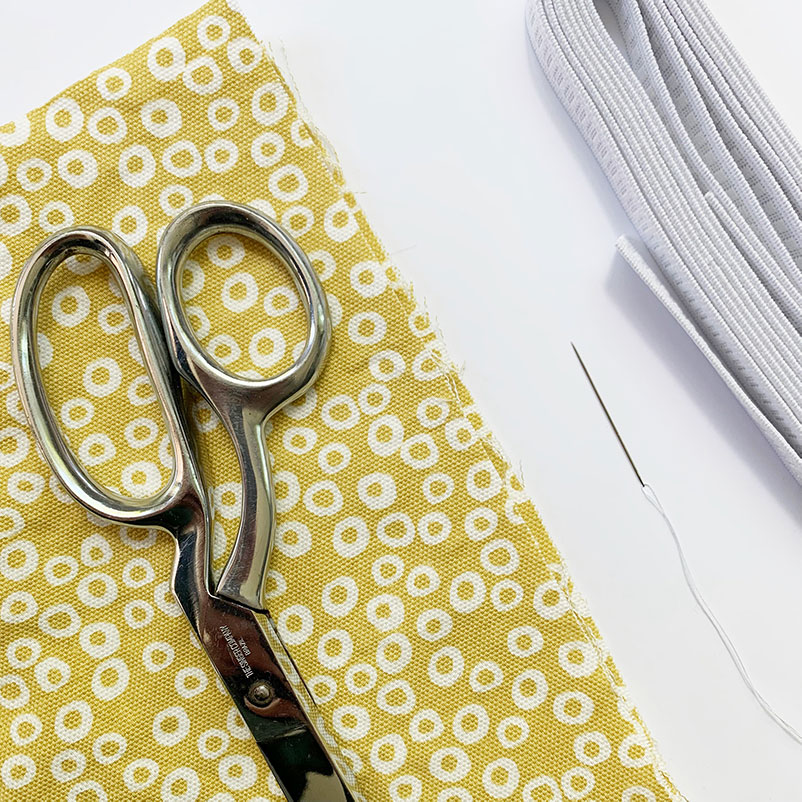
Cut Fabric & Elastic
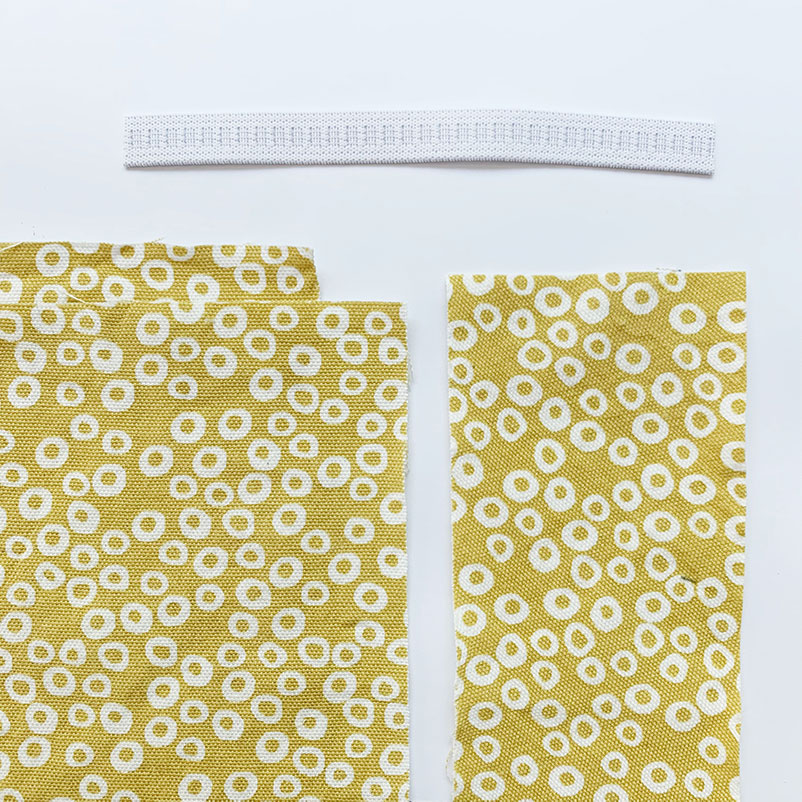
- 18 in x 6 in (cut two) – fabric
- 11 in x 3 in – fabric
- 6 in – of 0.5 inch wide elastic
There is a little bit of flexibility in the width of the fabric that you cut. The wider the fabric the more volume your headband will have. If you are using scrap fabric and tight on making your cuts, sacrifice width instead of length! I wouldn’t go smaller than 4.5 inches though.
Sew your Knotted Headband
Fold each piece of fabric in half hotdog style with right sides touching. Sew the long seams closed with a ¼ inch seam allowance. Turn all three pieces right side out.
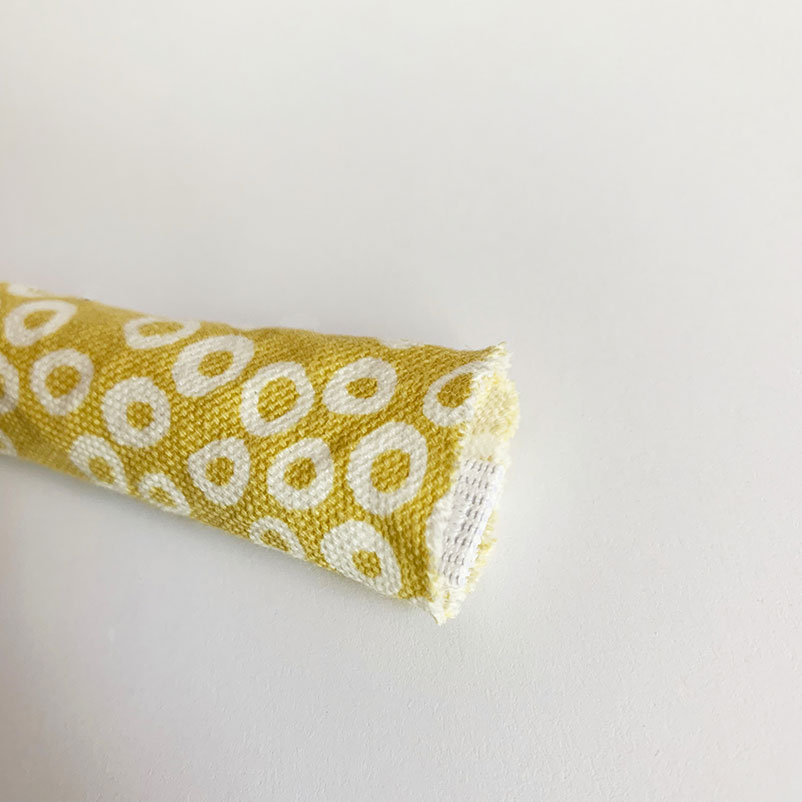
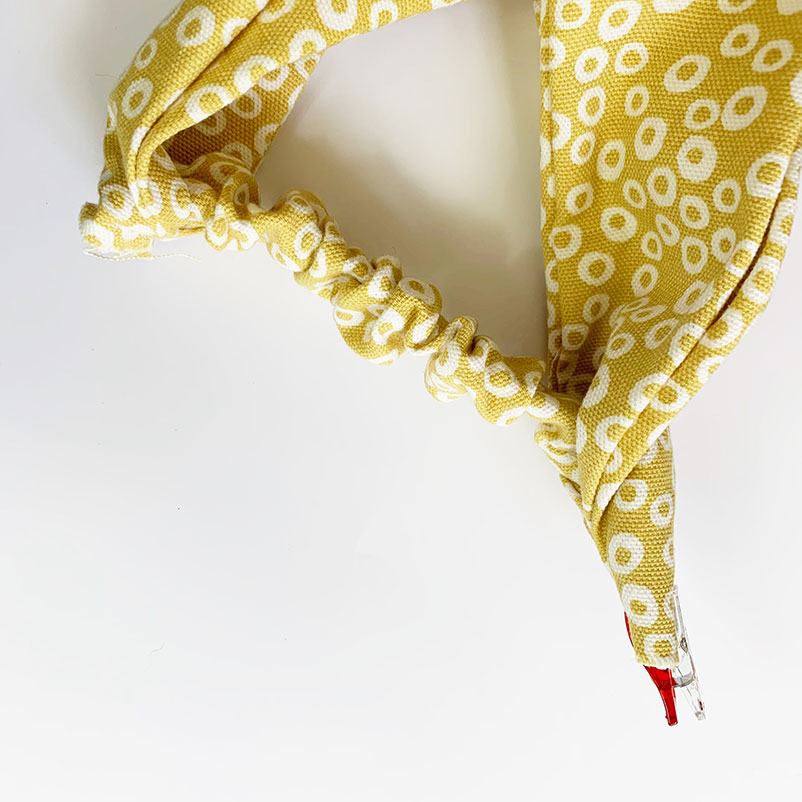
Thread your elastic into the smallest tube that you sewed. Place the elastic so it is even with the edge of the fabric. You can add a few stitches to hold it in place if you would like.

Fold ONE of your larger tubes of fabric in half, lengthwise. Place the fabric with the elastic in the center. All of the raw edges should align. Fold the sides over the elastic. (It should look like the photo above.)
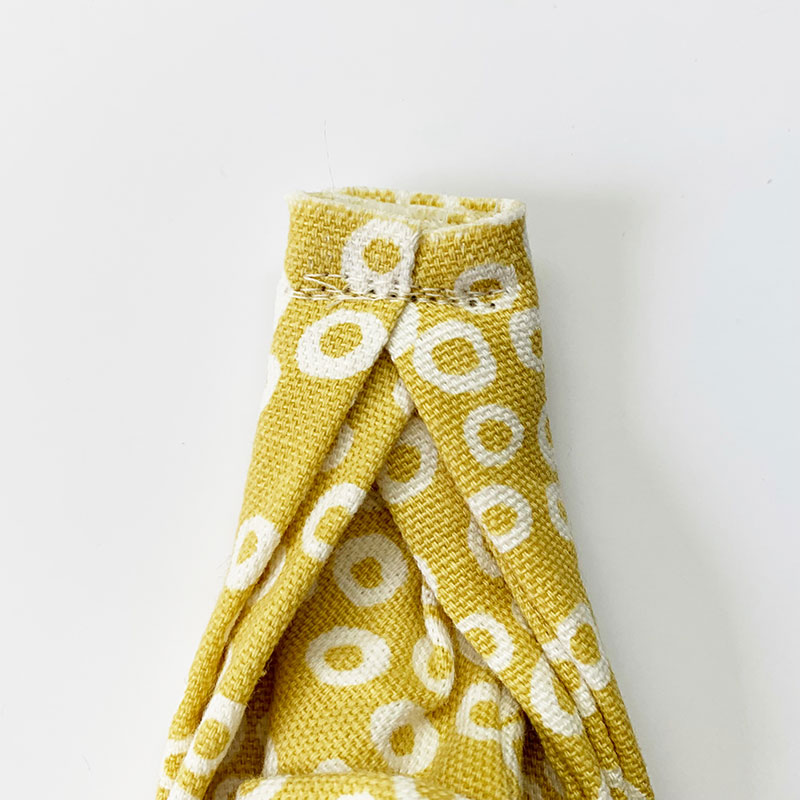
Slowly stitch back and forth over these several layers of fabric. You want to make sure this is a strong seam! Trim up the ends. You can use a bit of fabric glue to make sure these ends don’t fray. They will be hidden when you’re finished. You want to make sure everything is strong and it doesn’t deteriorate with use.
Pinch and pull on the elastic so it peeks out of the other side of the fabric tube it is enclosed in. You can give it a few quick stitches to make sure it doesn’t recede back into the fabric when you try to sew the other side.
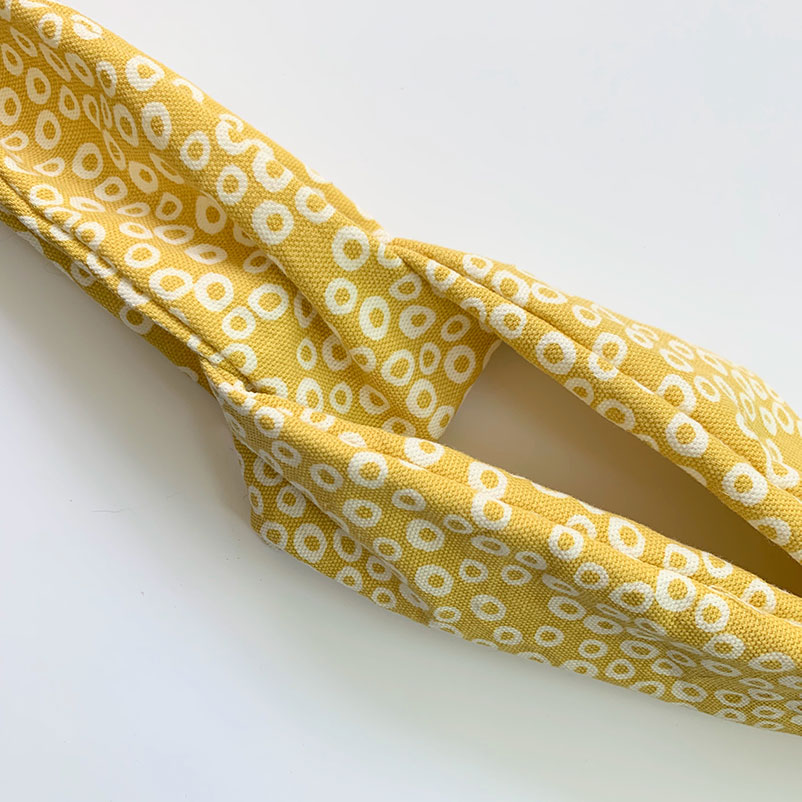
Thread your other main piece through the first main headband piece that you just sewed the elastic to. You are creating the “knot” at the top of the headband.
Repeat the same process as before to attach the elastic to the headband piece. Make sure that you don’t twist your elastic!
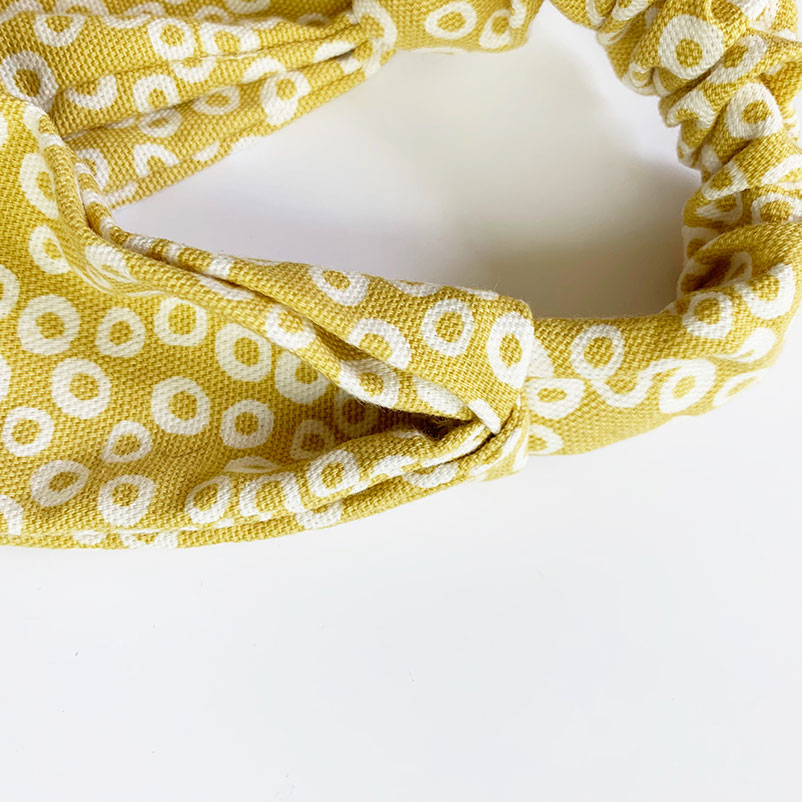
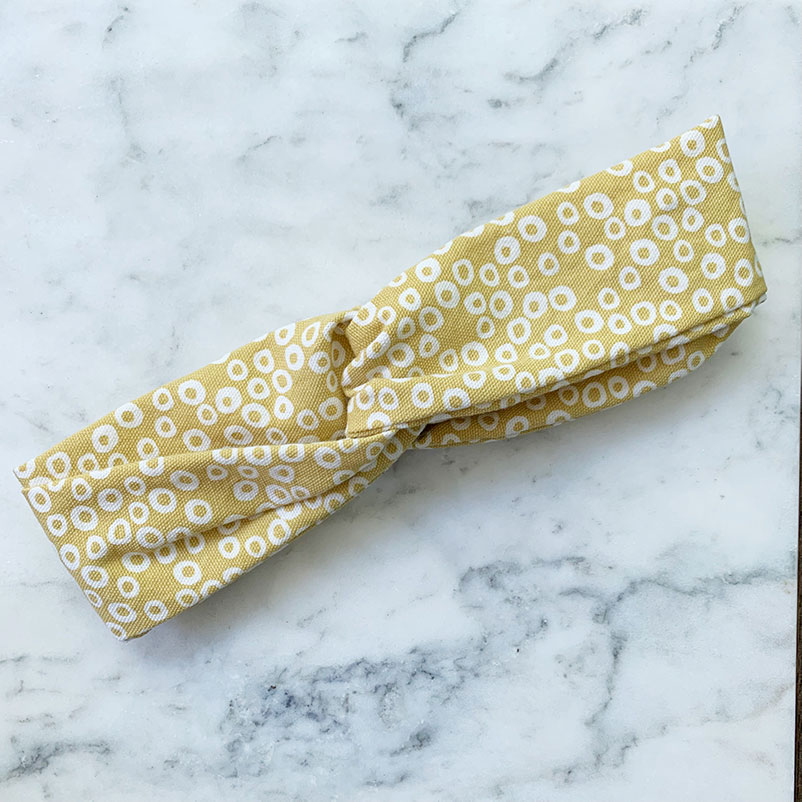
Now this is the exciting part! Give the headband pieces a little bit of a tug away from the elastic and the elastic will pop into this little fold that is made. It instantly hides the raw edges and there aren’t any crazy seam finishes or topstitching!
Wear Your Knotted Headband with Pride!

This is such a fun, easy, and fast sewing project! I got carried away and made four in one night! I also love that it is a perfect scrap busting project and one that I will absolutely use and enjoy.
If you follow along with this tutorial, please reach out to me on Instagram! I would love to see your work!