How to Sew French Seams
What are French Seams?
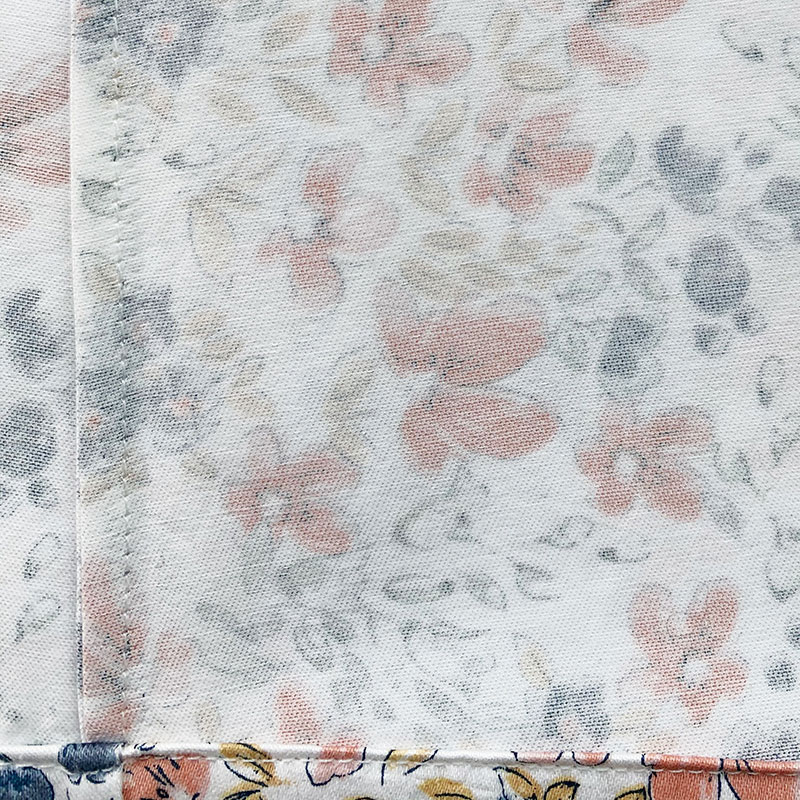
French seams are also known as enclosed seams. The cut edge of the fabric if enclosed within the seam, hiding it away to prevent fraying.
It is an easy way to make a clean seam finish. They are regarded as simple and elegant and can make any hand sewn garment look professional. They also don’t require any fancy sergers or extra sewing machine feet!
Pros – French Seams
- Clean and professional looking finish
- Can be done on any machine – don’t need a serger
- Strong seam
- Works well with lighter weight fabrics that may be harder to finish with an overcast or zigzag stitch
- Not as irritating as exposed serger or overcast threads
Cons – French Seams
- Adds bulk (not suggested for heavier fabrics)
- More time consuming (extra ironing and sewing)
- Not advised for curved seams
- Need larger seam allowance
- Little room for error with seam allowances
When to Use French Seams
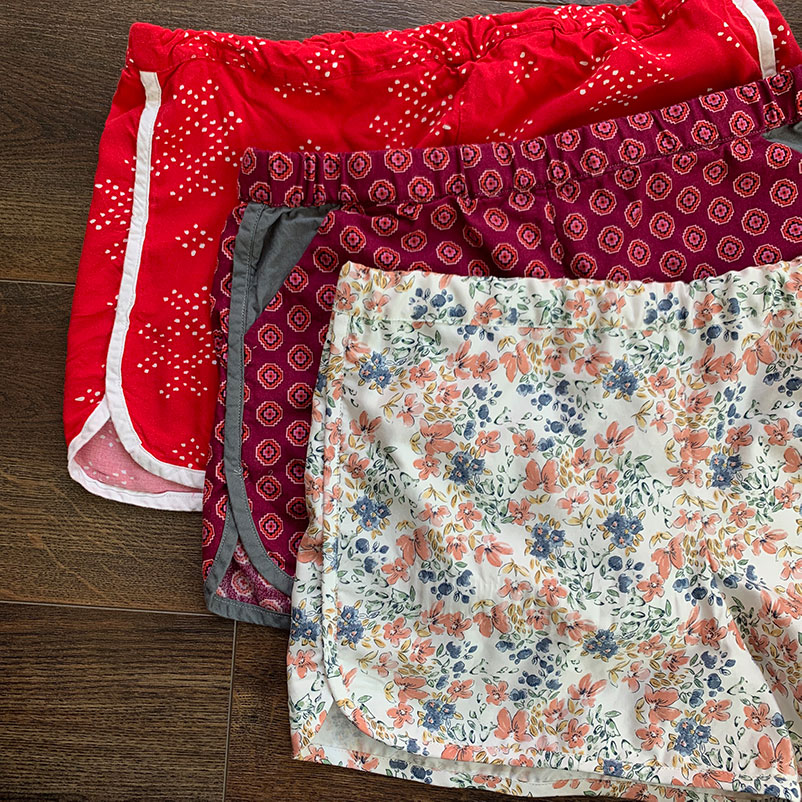
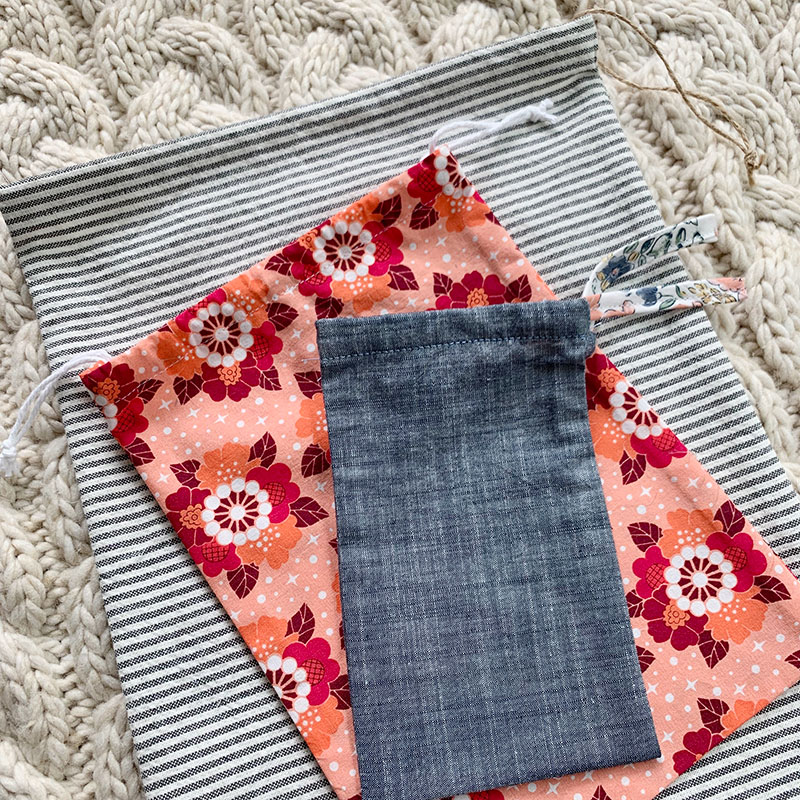
- On projects that get heavy use (pillow cases, children’s clothes)
- With sheer and lightweight projects where the seams may show through or serged edges may be bulky
- With any fabrics with excessive fraying
How to Sew a French Seam
1. Sew the First Seam
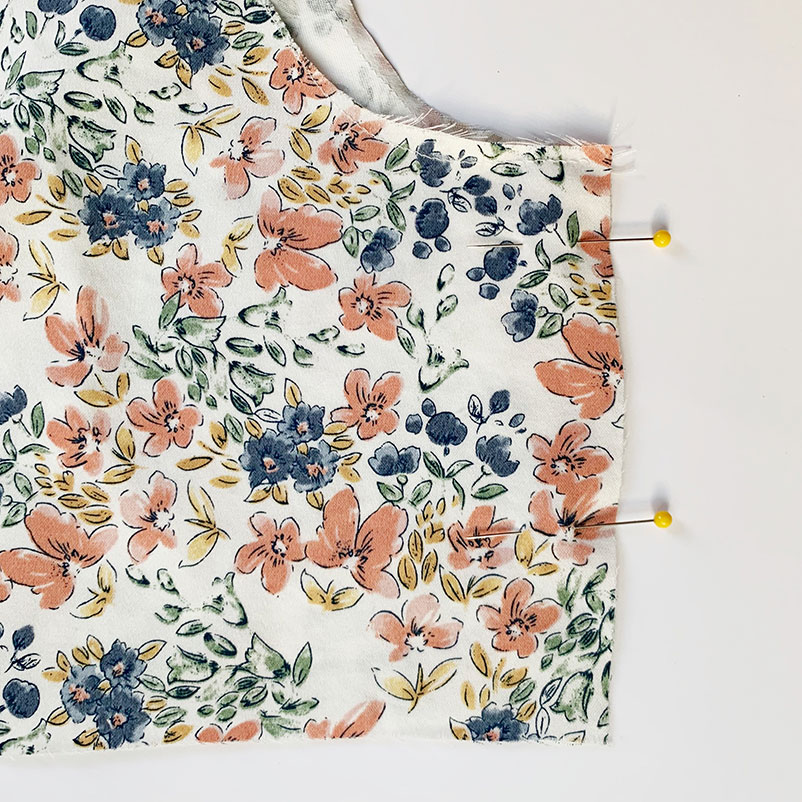
Pin the WRONG SIDES of your fabric together. (When doing a regular seam, you pin together the right sides. For French seams, it is the opposite!)
Patterns call for different seam allowances. You always want to sew your first seam ¼ inch less than your overall seam allowance. To be super clear:
½ Inch Seam Allowance: sew your first seam at ¼ inch from the edge
⅝ Inch Seam Allowance: sew your first seam ⅜ inch from the edge
2. Trim The Seam
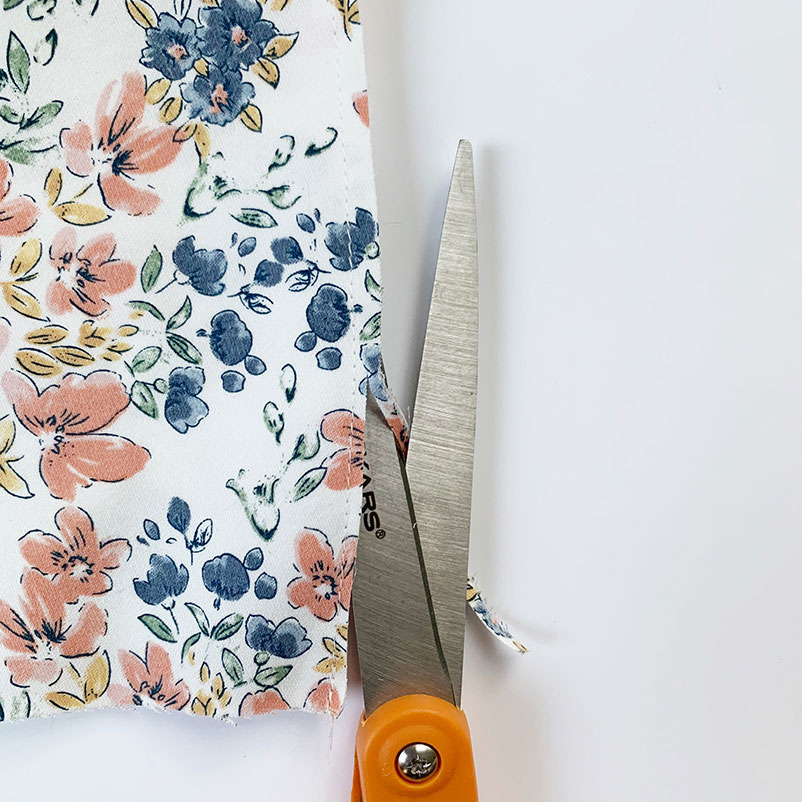
Trim down the seam allowance to ⅛ inch. Be careful not to cut into the seam!
You can easily do this with a rotary cutter and quilting ruler if it is a straight seam. If you feel more comfortable with scissors or you are working on a slight curve, feel free to cut with scissors.
If you are sewing a seam on a slight curve, at this point you would make slight clips into the seam allowance. Be sure not to clip into your stitches.
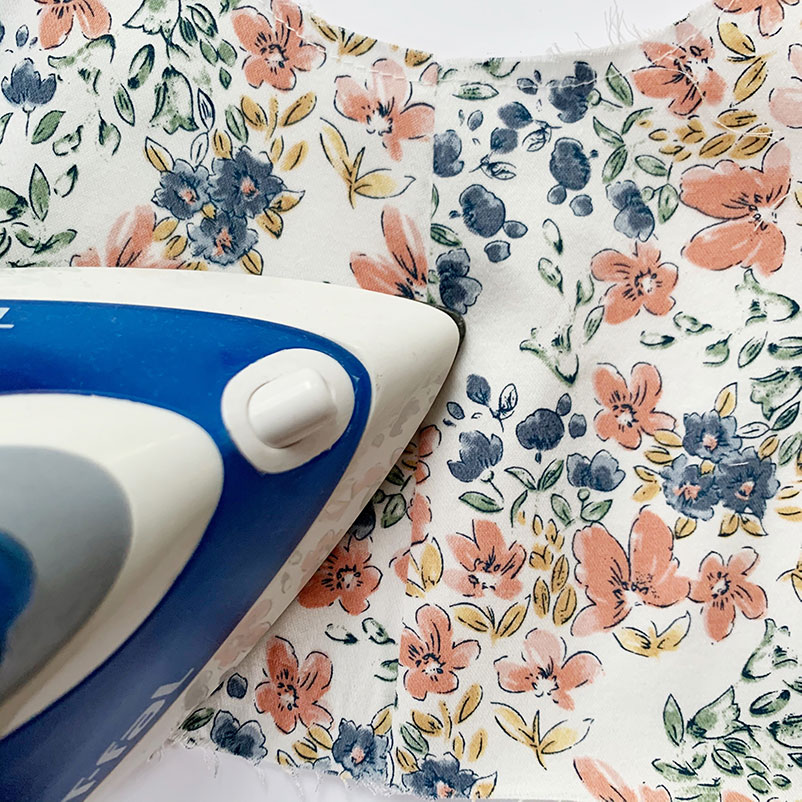
3. Press
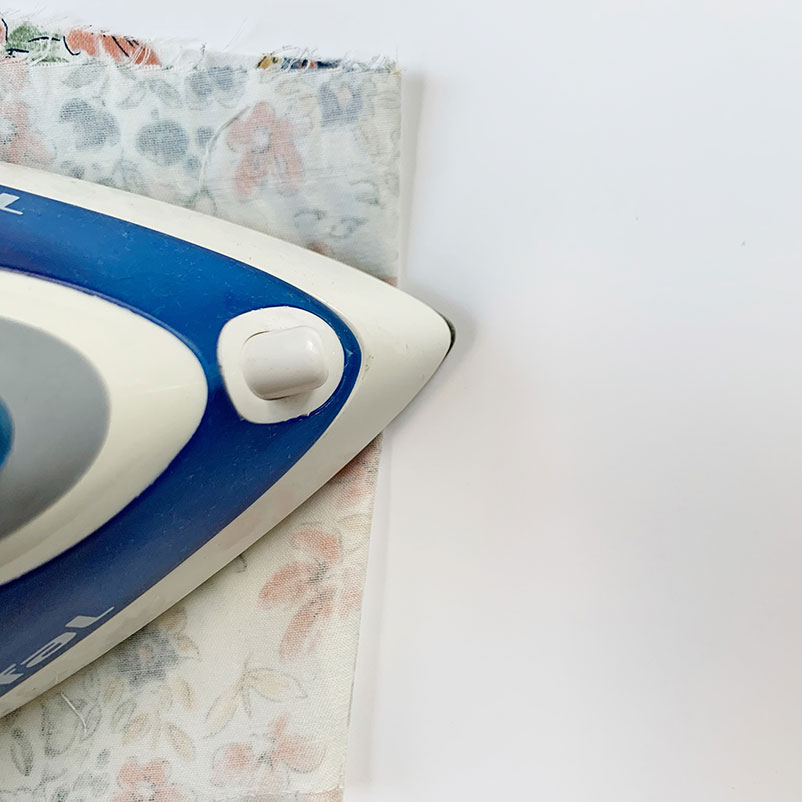
Press the seam allowance open (seems unnecessary, but ensures that the seam is nestled right into the edge when pressed right sides together). Then fold your fabric to press right sides together.
4. Sew the Second Seam
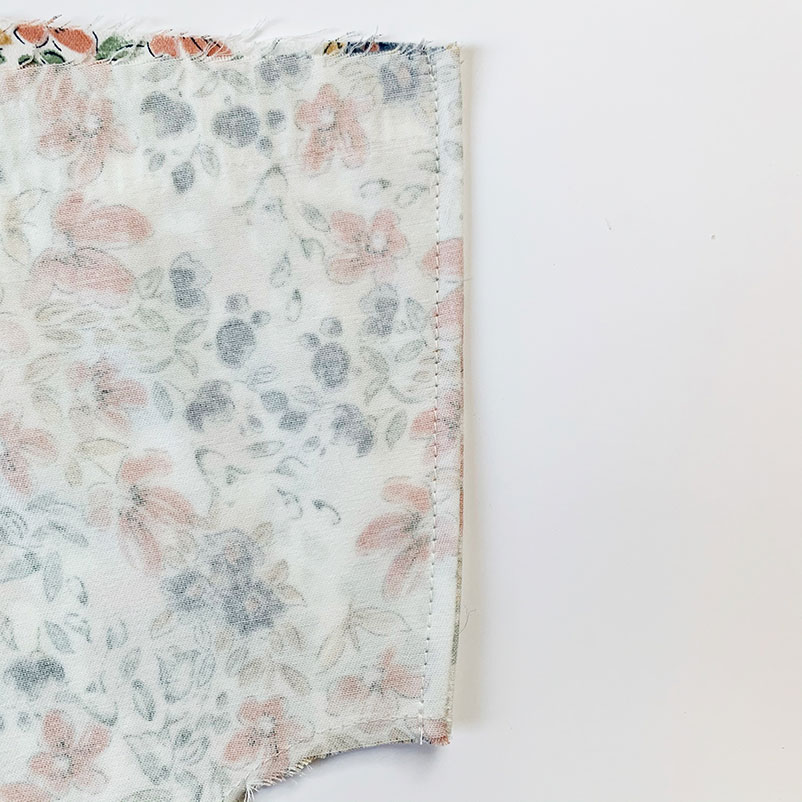
Sew the seam again with a ¼ inch seam allowance. Be sure that you’ve encased your raw edges in the seam and that there aren’t any raw edges or threads poking through.
5. Final Press
Open the seam allowance again and press it to one side. Turn your fabric over and press again from the outside to make sure you have a nice and clean finish. Congrats you just sewed a French Seam!