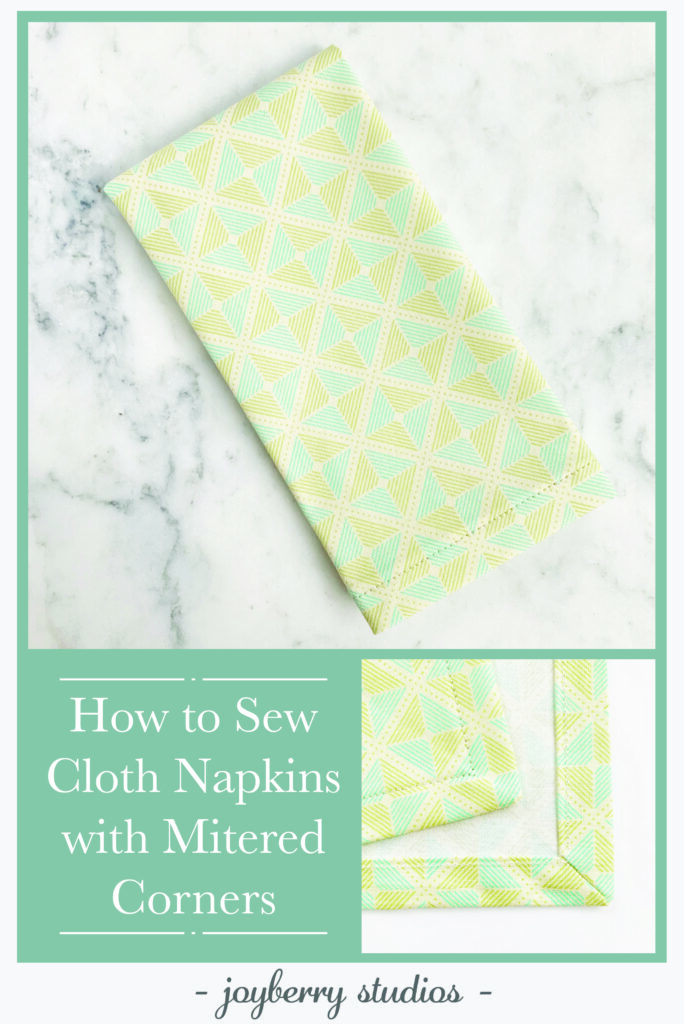
How to Sew Cloth Napkins with Mitered Corners
Cloth napkins are not only eco-friendly, they are also a simple and useful beginner sewing project. Learn to sew cloth napkins and your possibilities are endless. You can make them out of fun quilting cottons, gorgeous linen, or with whatever scraps you have on hand. They can be fun small cocktail napkins or fancy large dinner napkins.
There are a few different techniques to sew cloth napkins, but the cloth napkins with mitered corners are my favorite. They look the professional, but once you get the technique down they are pretty easy!
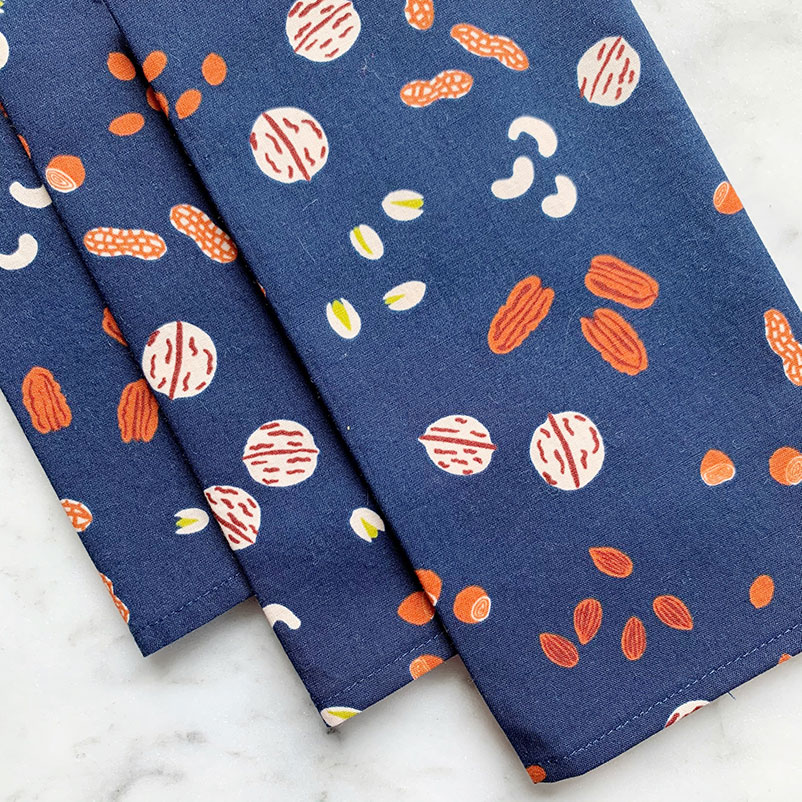
For Christmas I made my mom a set of cloth napkins out of this adorable nut print, from my favorite local fabric store, Sew to Speak. It was such a fun gift.
Cloth napkins made with mitered corners have a high quality look to them and since they are so easy to make you can easily have a set of napkins for different occasions: holidays, fun florals for spring and summer, plaid for winter, maybe even make some for a particular party. The opportunities are so fun and endless!
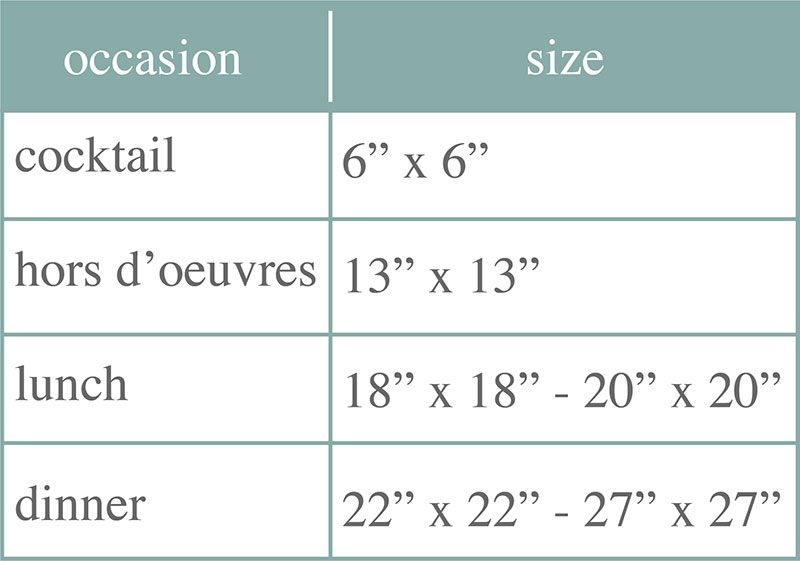
Sizes of Cloth Napkins
Whenever I want to sew cloth napkins I always get caught up on what size to make. These are the traditional sizes, all of which are squares:
I also believe that you should make whatever size napkins you like. When I made my mom’s cloth napkins I cut them into rectangles that I thought were a good size and utilized the cut of fabric I bought. I cut an 18”x14” rectangle of fabric to make these napkins. I was able to make 12 of them in just two yards!
If you want to make the large 27”x27” napkins you can only cut one napkin in an average yard of fabric, which to me just isn’t practical.
Whenever you cut your fabric, be sure to add an extra inch to each side of your rectangle/square to account for the seam allowance. So if you want to make 16”x16” napkins, you need to cut an 18”x18” square. (Adds an inch to the top, bottom, left, and right sides of your square.)
Which Fabric to Use
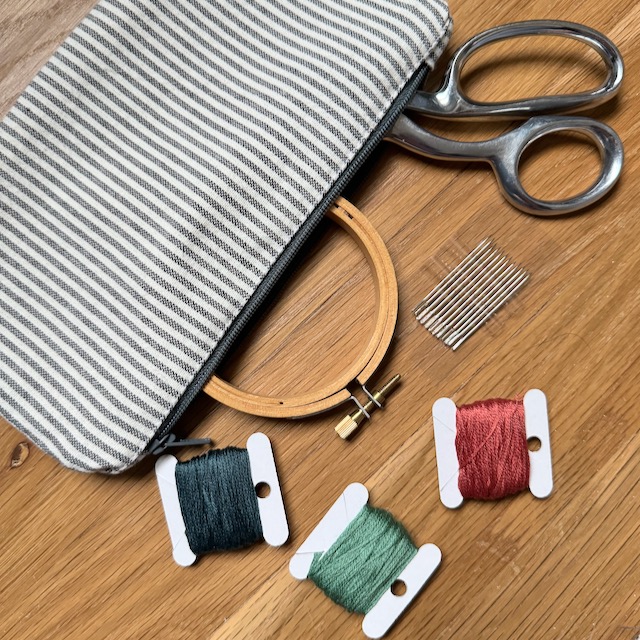
For this project you can use any kind of quilting cotton. I love this option because there are so many different patterns to choose from, quilting cotton is relatively cost effective, and it holds up well.
You could use a gorgeous linen if you wanted more high end napkins.
Synthetic fibers should be avoided for napkins. Stick to cottons and linens since they are the most absorbent!
Don’t forget to also prewash your fabric! If you skip the prewash you could end up with napkins that warps and has trouble sitting flat.
Ironing
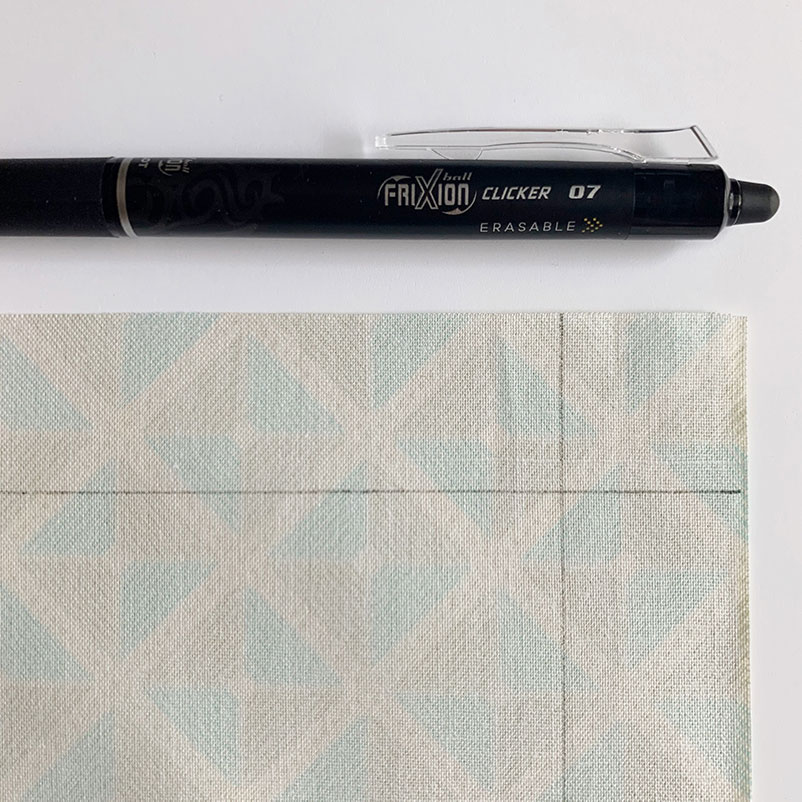
Once you cut out your fabric, you will need to mark a one inch line on all four sides of your napkin.
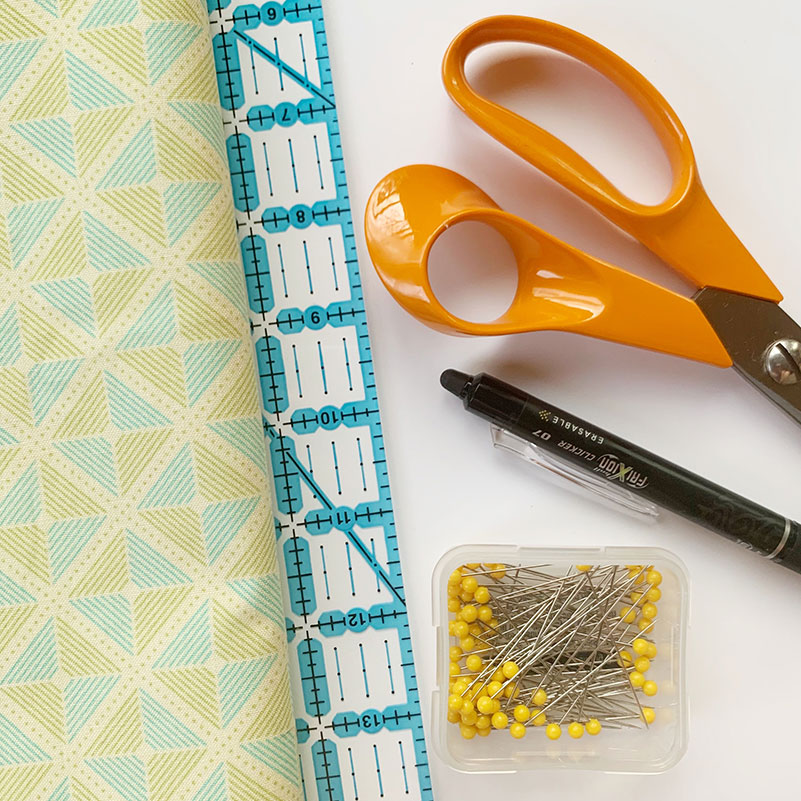
I used a frixion pen to do my markings. I love these pens because they disappear with heat, which is great and problematic. I am confident the markings will disappear, but they disappear during the next ironing step. You could use another marking tool. Just make sure it’s not permanent and will not discolor your fabric. (Test it in a little spot or on scrap fabric!)
You can use a quilting ruler to mark the one inch edges or you can mark a few 1 inch marks and then draw a line through them with a straightedge.
Take your fabric to your iron and iron a ¼” seam along all four edges. If you are using a striped or repeating pattern you can use the design to help you line up these iron creases.
Fold and press your fabric over 0.75″. The original 1″ line that you drew is now in the fold. (My marking disappeared with the heat of the iron, but it was there, I swear!) It will be a little hard to see this seam as you are ironing, but try your best to make it even. Pin along the edges to hold your ironing
Sew Cloth Napkin – Corners
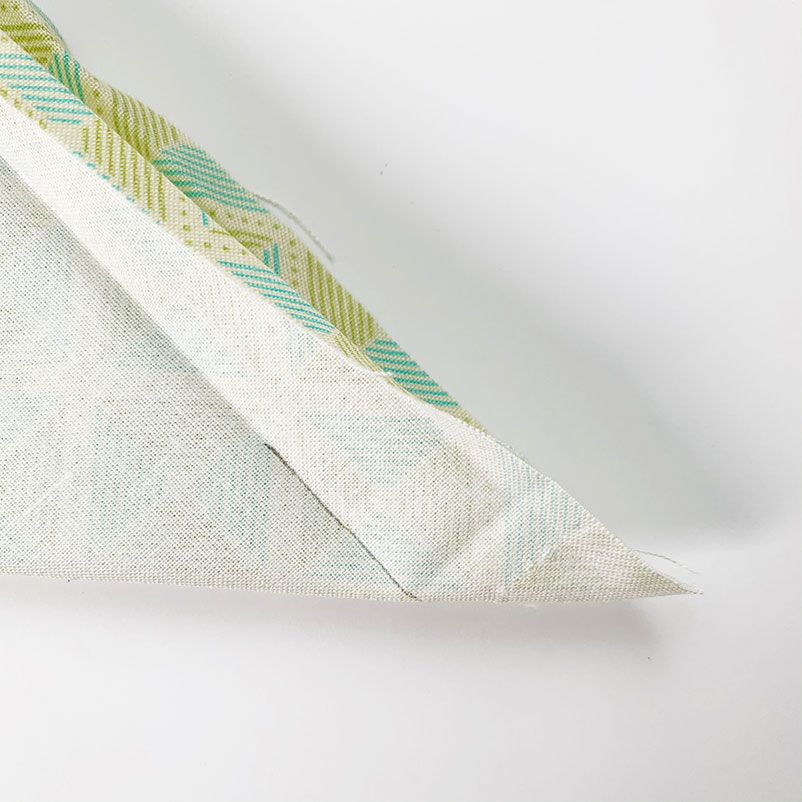
Next we need to miter the corners. Unravel a bit of your ironing and fold the corner into a triangle so both raw edges align.
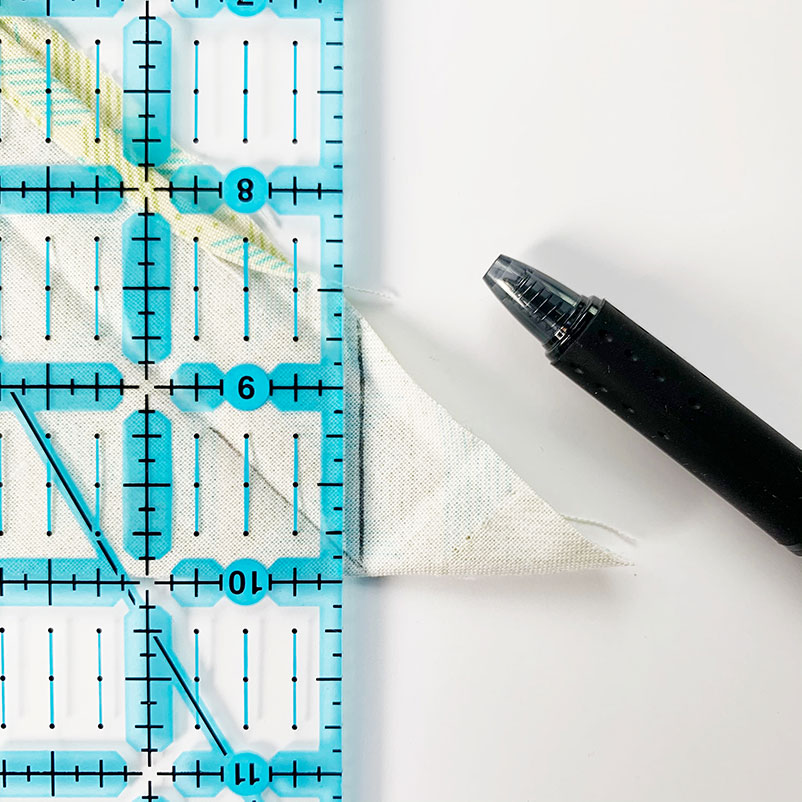
Draw a line, perpendicular to the fold, right where the 1 inch crease mark meets the folded edge of the fabric.
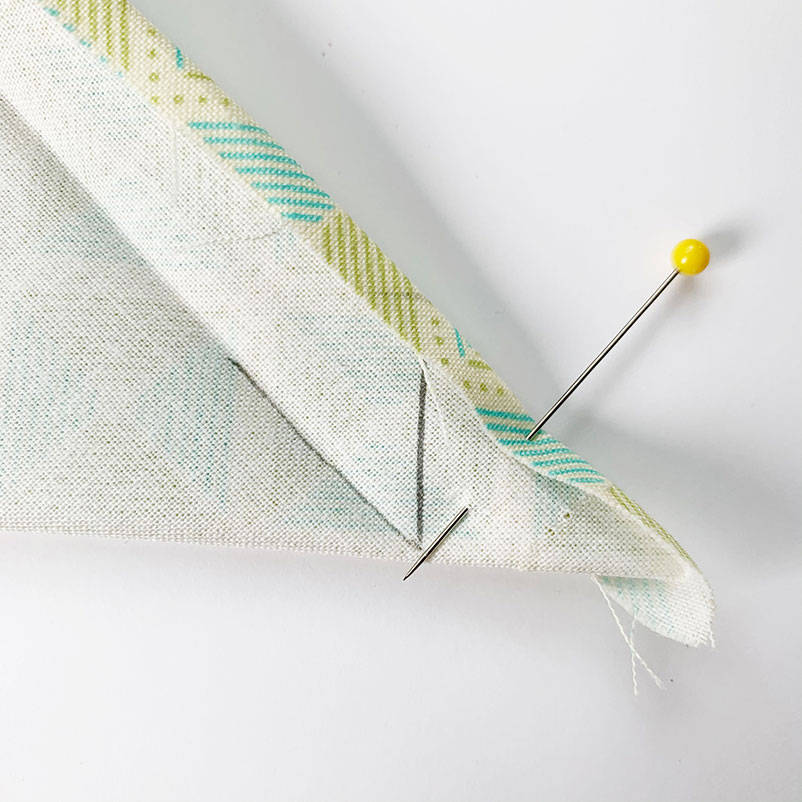
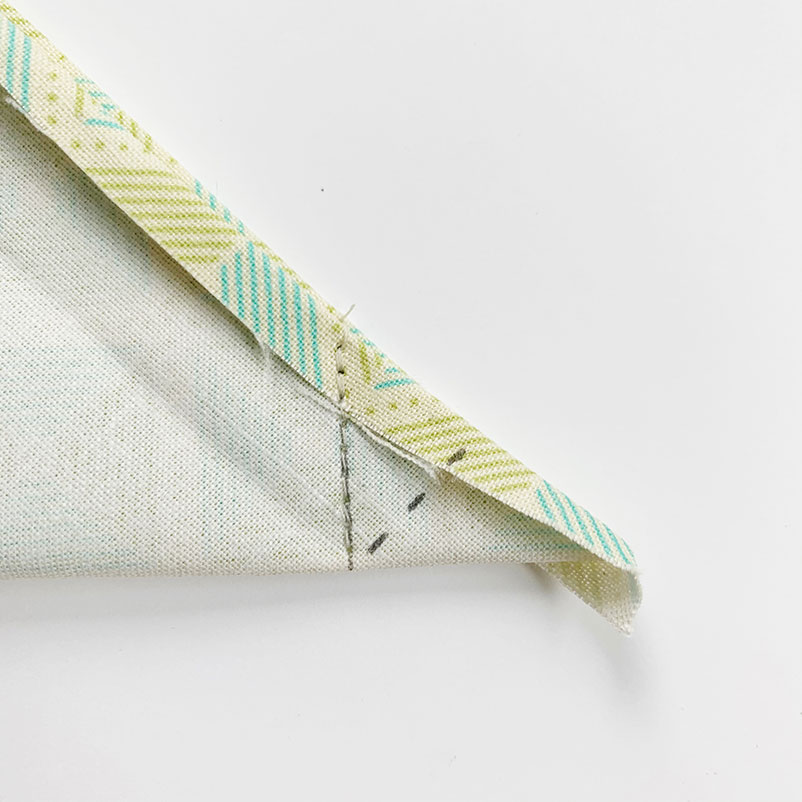
Fold the ¼” seams back down and make sure those folded edges align. Bring your fabric to your sewing machine and sew down the perpendicular line that you just marked.

This is such a small place to sew. I sewed straight down it and then back stitched to the beginning. Repeat on the remaining three sides.
We need to trim this fabric if we want the corners to lay nice. You first want to make a cut from just beside your stitches outward at an ~45 degree angle (dashed line in photo). You don’t need to be super precise with your angle, but be so careful that you don’t cut into your stitches or right up to the very edge!
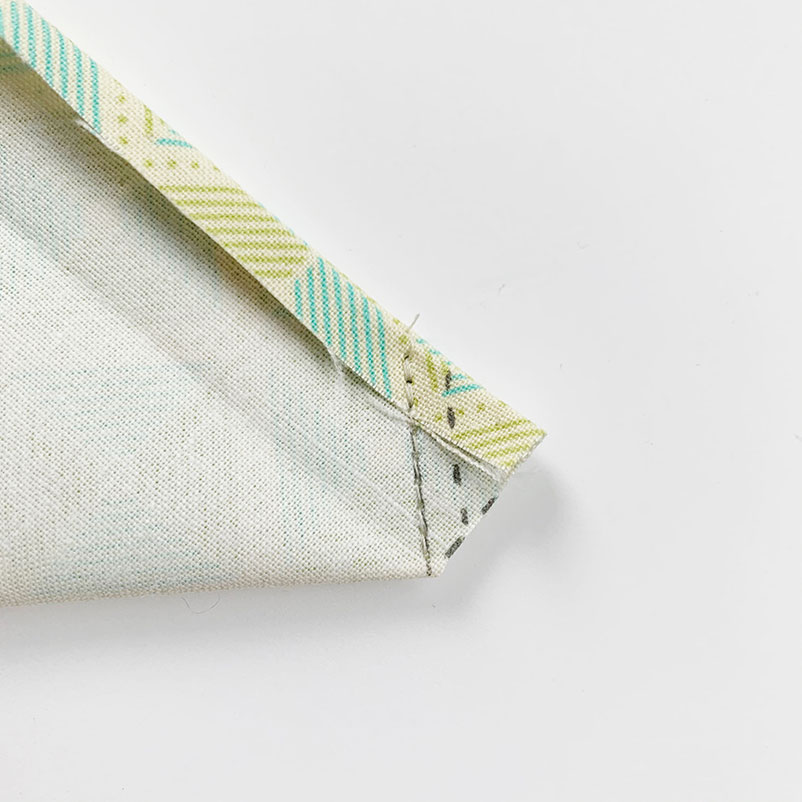
Next trim your corner again so there is a ¼” seam allowance on the seam you just made (dashed line in photo). Repeat for the other three corners.
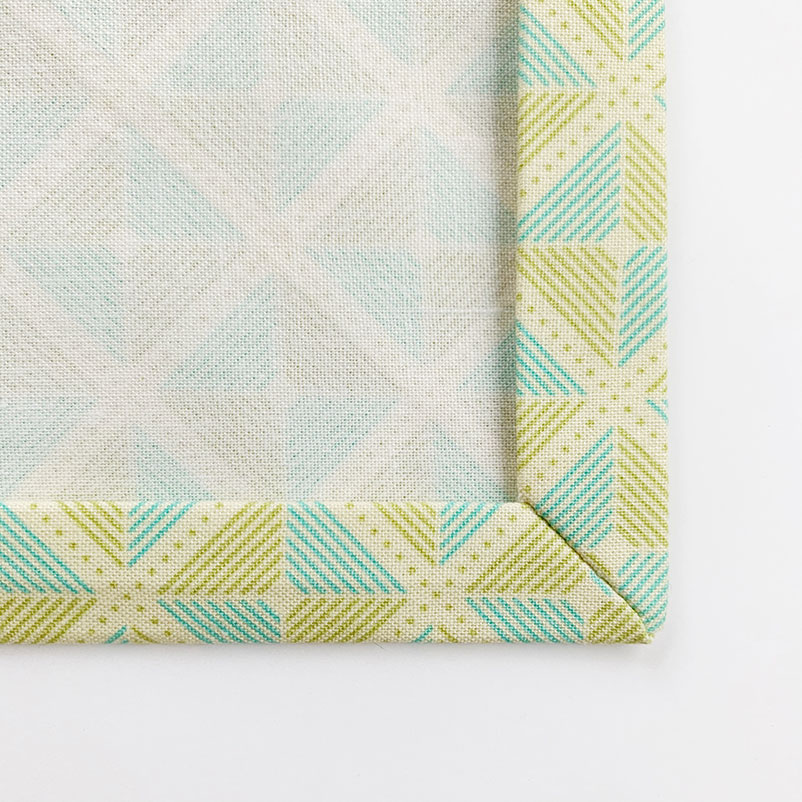
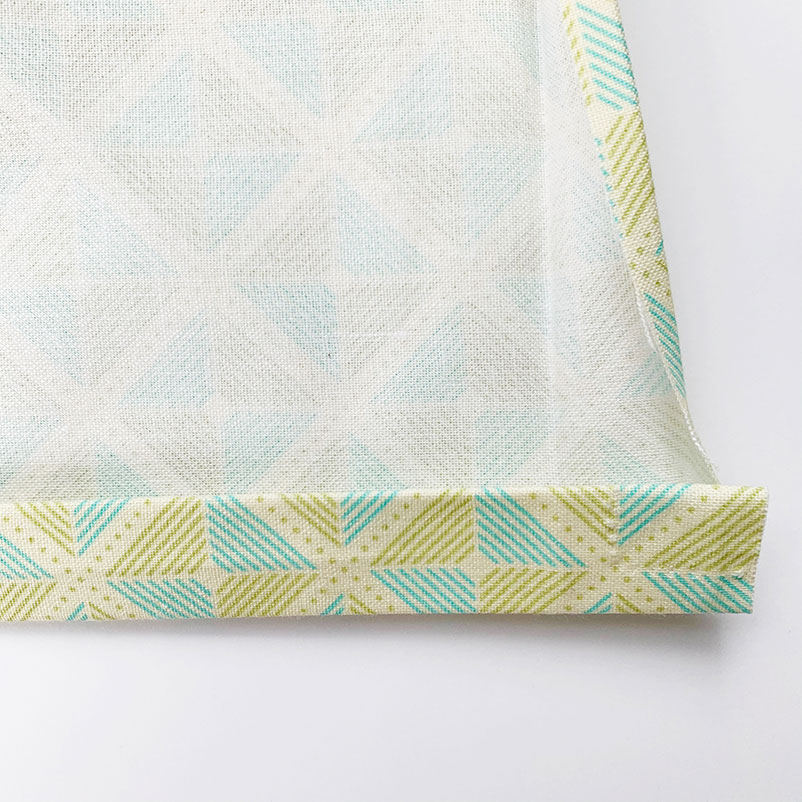
Fold your corners right side out. They should lay nicely against your fabric. Give it a final press to make sure everything is crisp before you sew everything down.
Sew Cloth Napkins – Final Step
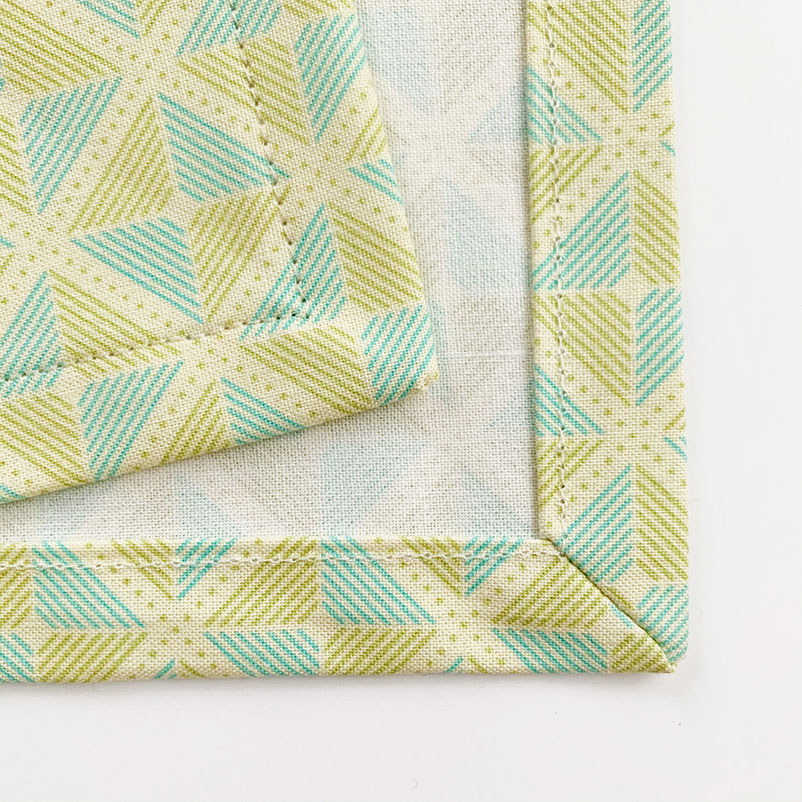
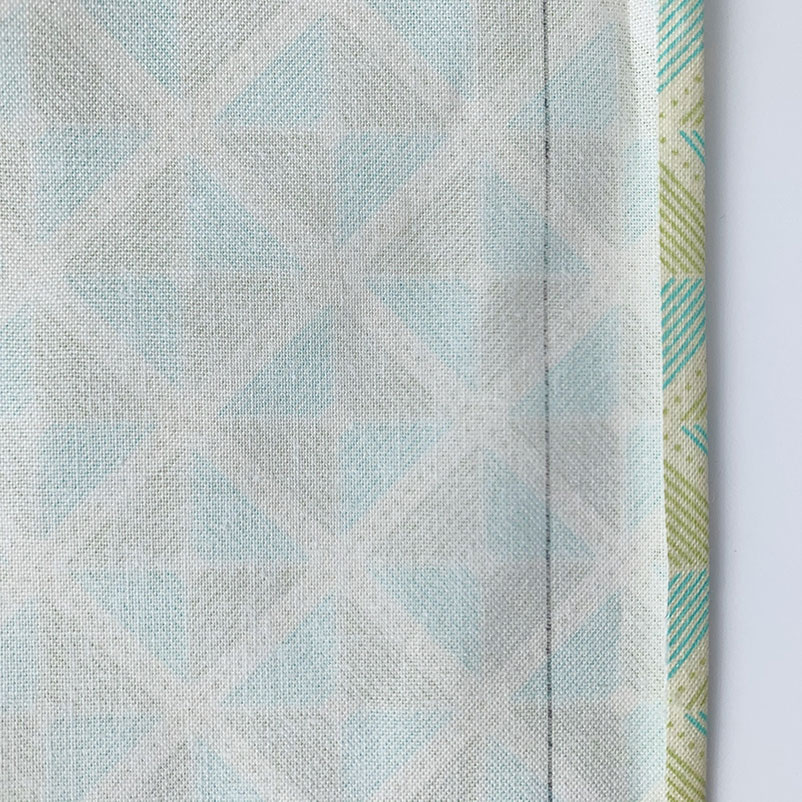
Take it to your sewing machine once again and sew all the way around the napkin, make sure that you catch the first folded seam!
Care
Depending on how you want to use your napkins you can care for them differently. We have everyday cloth napkins that I don’t mind wiping marinara sauce off of my daughters face with. We also have nicer napkins that I would actually iron before setting out for a more formal holiday dinner.
You should spot treat and wash according to your fabric!