How to Make An Envelope – With Free Template!

Whether you’re sending a heartfelt letter, a Valentine, a handmade card from a kiddo, or a small gift, creating your own envelope adds a personal and creative touch. I love to transform my children’s artwork into a special envelope for their letters to their grandparents.
Learning to make an envelope is easy, cost-effective, and allows you to customize the size, color, and style to suit your needs. Follow this step-by-step guide to craft your own envelope in just a few minutes!
What You’ll Need
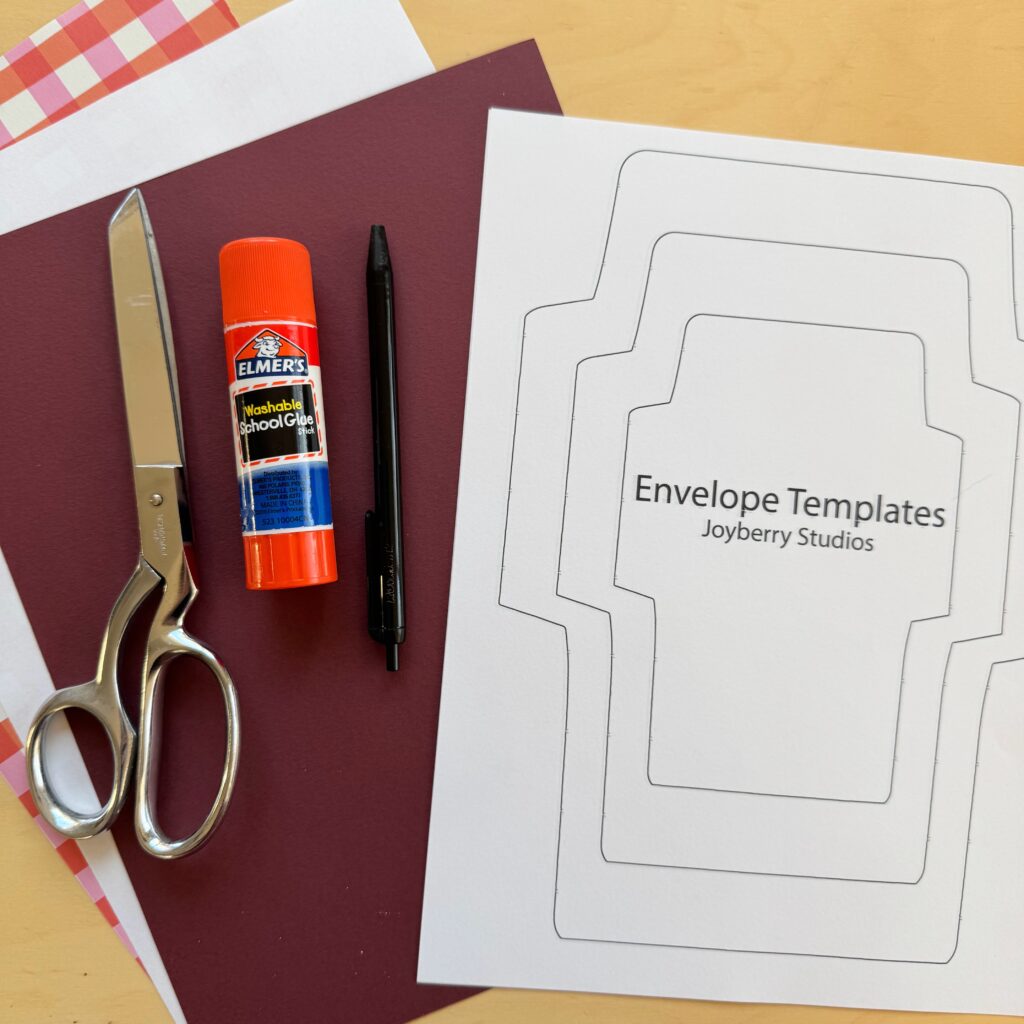
- Paper: Choose a material like craft paper, scrapbook paper, a child’s artwork, or even recycled materials like pages from old books, maps, or magazines.
- Template: Download for free in my freebies library. Available to all email subscribers!
- Pencil
- Scissors
- Glue stick
Step-by-Step Instructions
1. Choose Your Paper

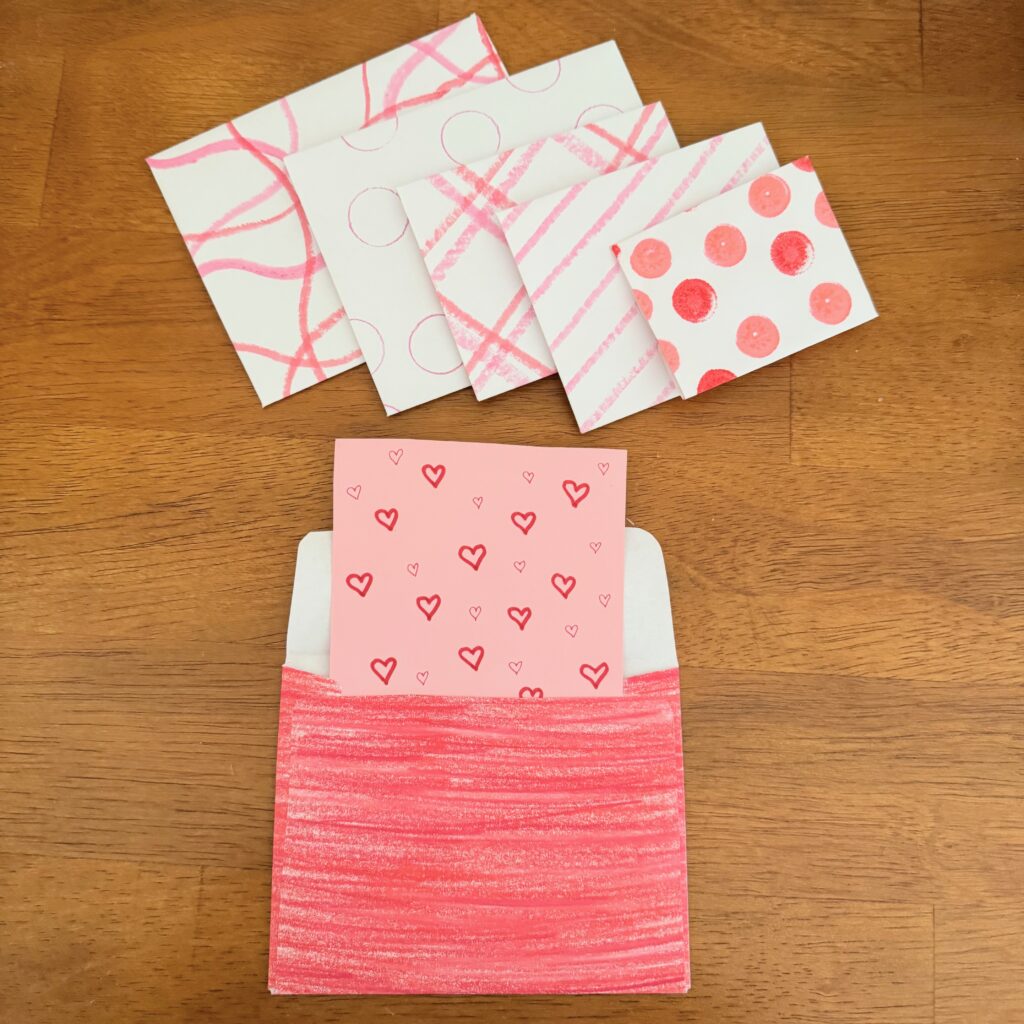
Select paper that fits the size and theme of what you’re sending. For example, patterned scrapbook paper is perfect for decorative envelopes, while plain textured paper works well for a classic look. If you are writing an address on it and sending it in the actual mail, you may want a lighter colored paper or to add a separate label with the address to the envelope.
For fun themed envelopes, like these Valentine’s Day envelopes, you can make some simple doodles on pieces of plain paper. This could be fun to change up for the different seasons: flowers for spring, bats for Halloween, Christmas trees for Christmas.
2. Use the Template
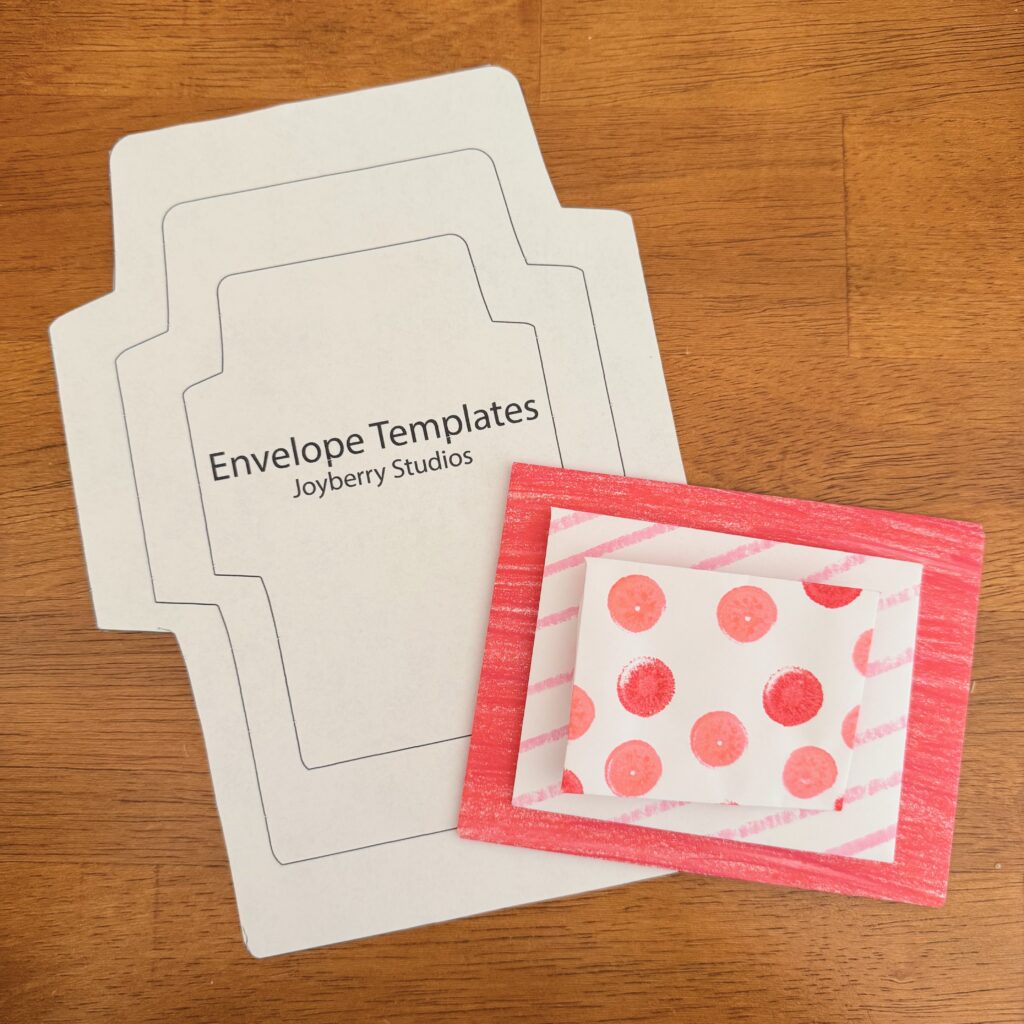
I have this envelope template available in my freebies library, which anyone can gain the password for by simply joining my email list.
The template prints well on a standard piece of paper and has three different sizes for the following envelopes:
- Small: 2.5 x 3.25 inches
- Medium: 3.5 x 4.25 inches
- Large: 4.5 X 5.75 inches
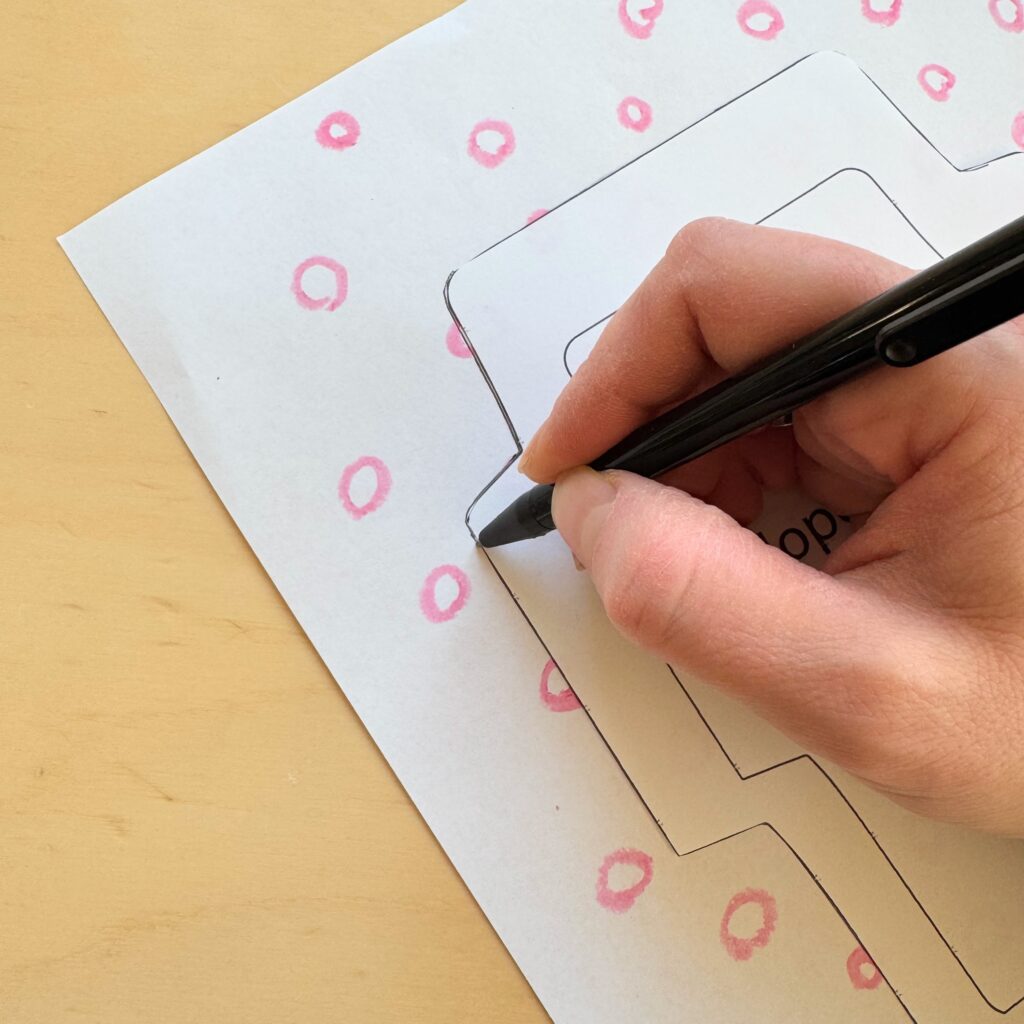
Once you choose your envelope size, cut out the template and use it to trace onto your artwork or piece of envelope paper.
3. Cut the Paper
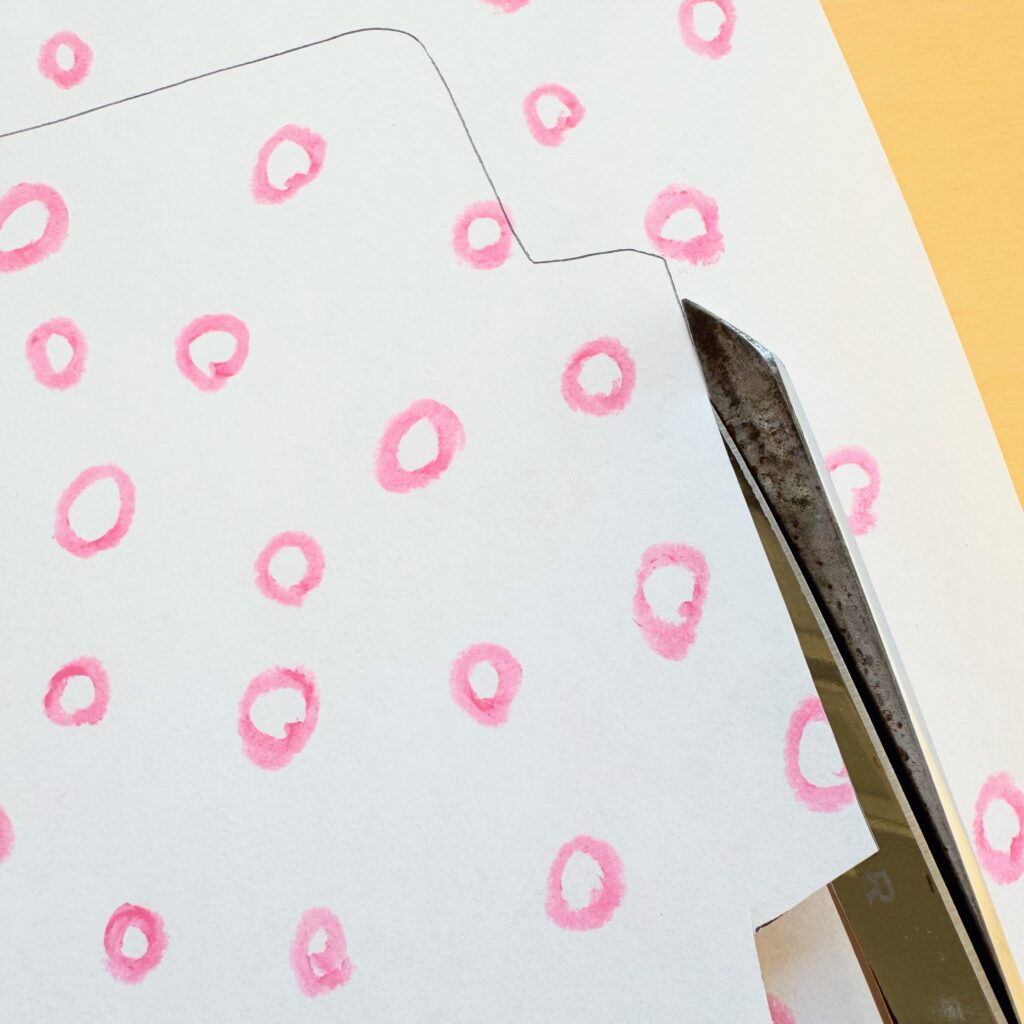
When cutting out your envelope you want to make sure that you are cutting just inside the template lines. That way you don’t have extra pen marks on your envelope.
4. Fold & Secure the Sides
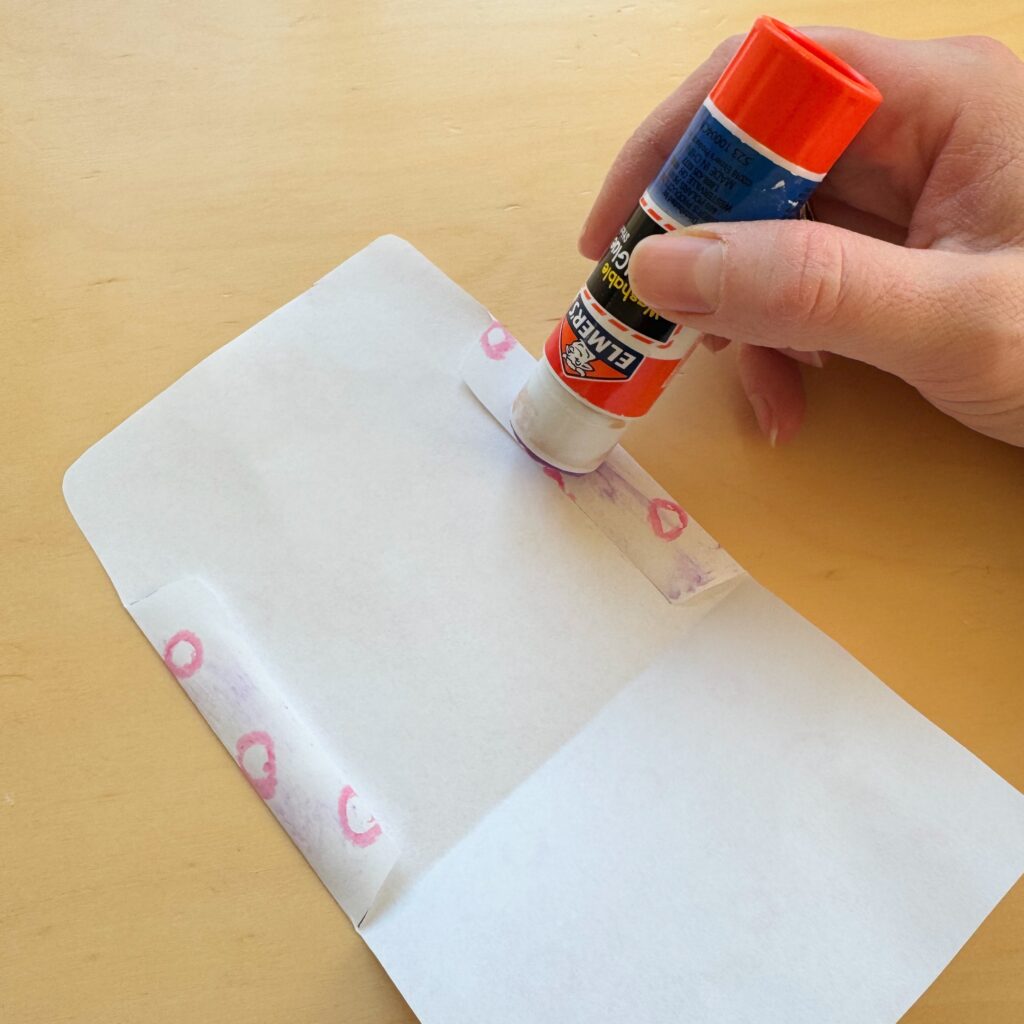
Fold the sides in so they are flush with the edge. Then fold up the bottom (larger of the two sides) so it is flush with the bottoms of the sides.
Apply glue to the patterned/artwork of the smaller side tabs. Fold up the bottom to secure the envelope’s shape.
5. Seal the Envelope
After placing your card or letter inside, apply glue or tape to the underside of the top flap and press it down to seal the envelope.
Decorating Your Envelope
Add a personal touch with:
- Stickers: Use to seal or decorate the front.
- Stamps: Add a vintage or themed flair.
- Calligraphy: Write the recipient’s name in an elegant font.
- Washi Tape: Perfect for sealing or adding a pop of color.
Tips for Success
- Test the Size: Before gluing, place your card or item on the paper to ensure it fits. Or easier yet, make a handmade card to fit the size of the envelope.
- Use a Template: If you’re making multiple envelopes, create a cardboard or cardstock template to trace onto your paper.
- Reinforce: For heavier items, use thicker paper and extra adhesive on the seams.
Why Make Your Own Envelope?
- Resourceful: Instead of using new resources to buy envelopes, use what you already have to make some.
- Cost-Effective: Save money by avoiding a trip to the store or online order.
- Customizable: Match the size, style, and color to your needs.
- Eco-Friendly: Upcycle materials like old calendars or wrapping paper.
Making your own envelope is a fun, resourceful way to personalize your correspondence. Give it a try and add an extra touch of care to your letters and gifts!