How to Make Paper Mache Paste from Flour and Water
Paper mache (also known as papier-mâché) is a versatile crafting technique loved by kids and adults alike, and it all starts with a simple paste. The great news? You probably already have everything you need to make paper mache paste from flour and water right in your kitchen!
This easy, non-toxic recipe is perfect for creating decorative bowls, Easter eggs, sculptures, piñatas, and even into a clay when combined with egg carton pulp. In this post, I’ll walk you through the process step-by-step, plus share some tips for success.
Why Use Flour and Water for Paper Mache?
Making paper mache paste from flour and water is an eco-friendly and budget-friendly choice. It’s easy to mix up, safe for all ages, and surprisingly durable once it dries. Unlike store-bought adhesives, this homemade paste doesn’t rely on harsh chemicals, making it a great option for sustainable and kiddo-friendly crafting. If your final project does not have paint, it will also be compostable!
Materials Needed
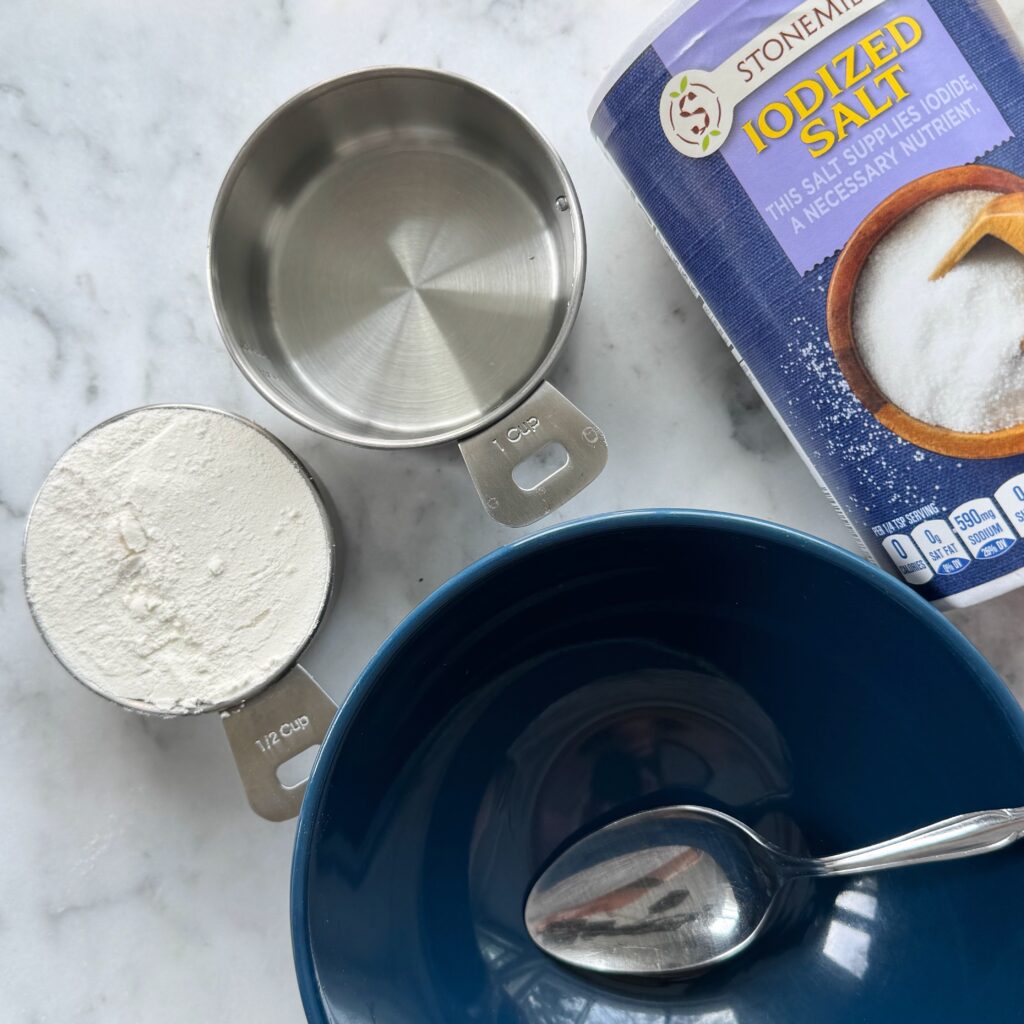
Here’s what you’ll need to make paper mache paste from flour and water:
- 1/2 cup of all-purpose flour
- 1 cup of water
- 1 teaspoon of salt
- A microwave safe mixing bowl
- A whisk or spoon
- Optional: small pot
Step-by-Step Instructions
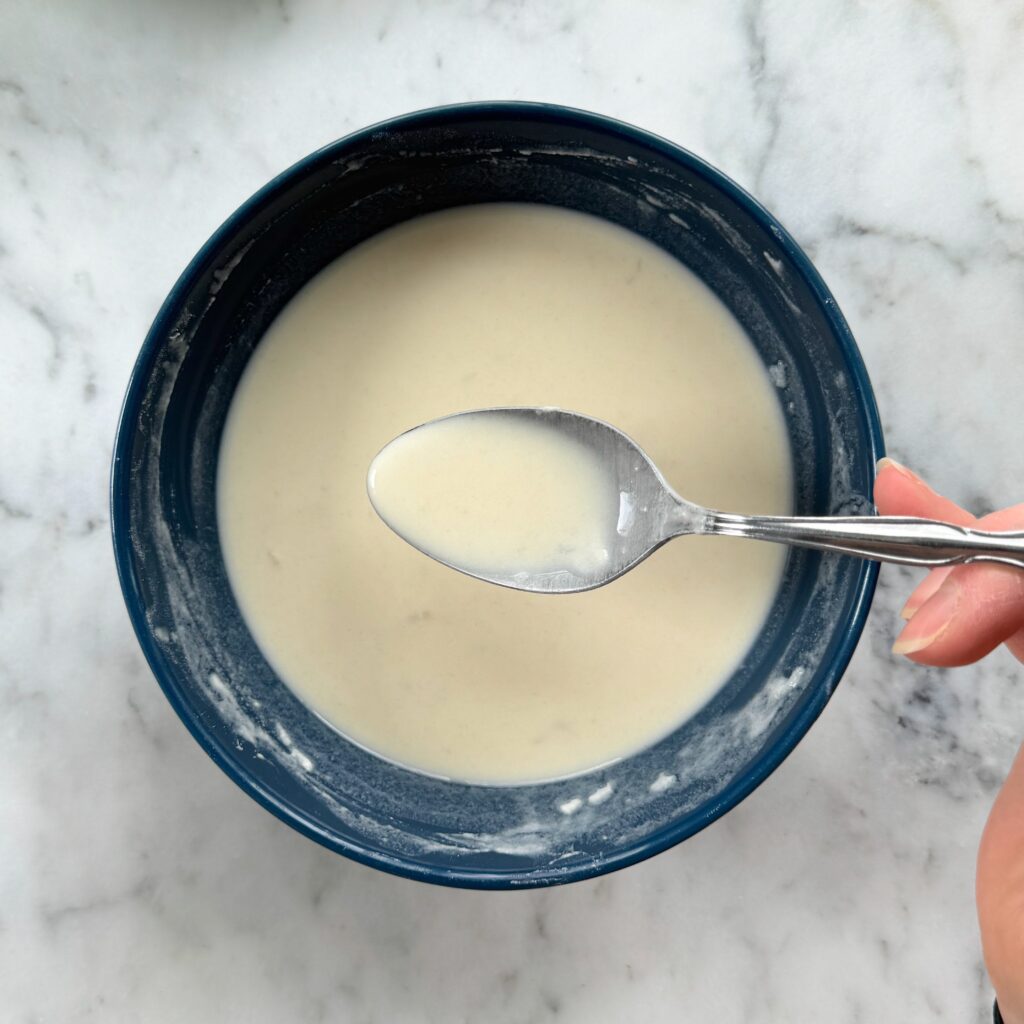
- Combine the Flour, Water, and Salt
Start by placing 1/2 cup of all-purpose flour and the 1 teaspoon of salt into a mixing bowl. Gradually pour in 1 cup of water while stirring. - Mix Thoroughly
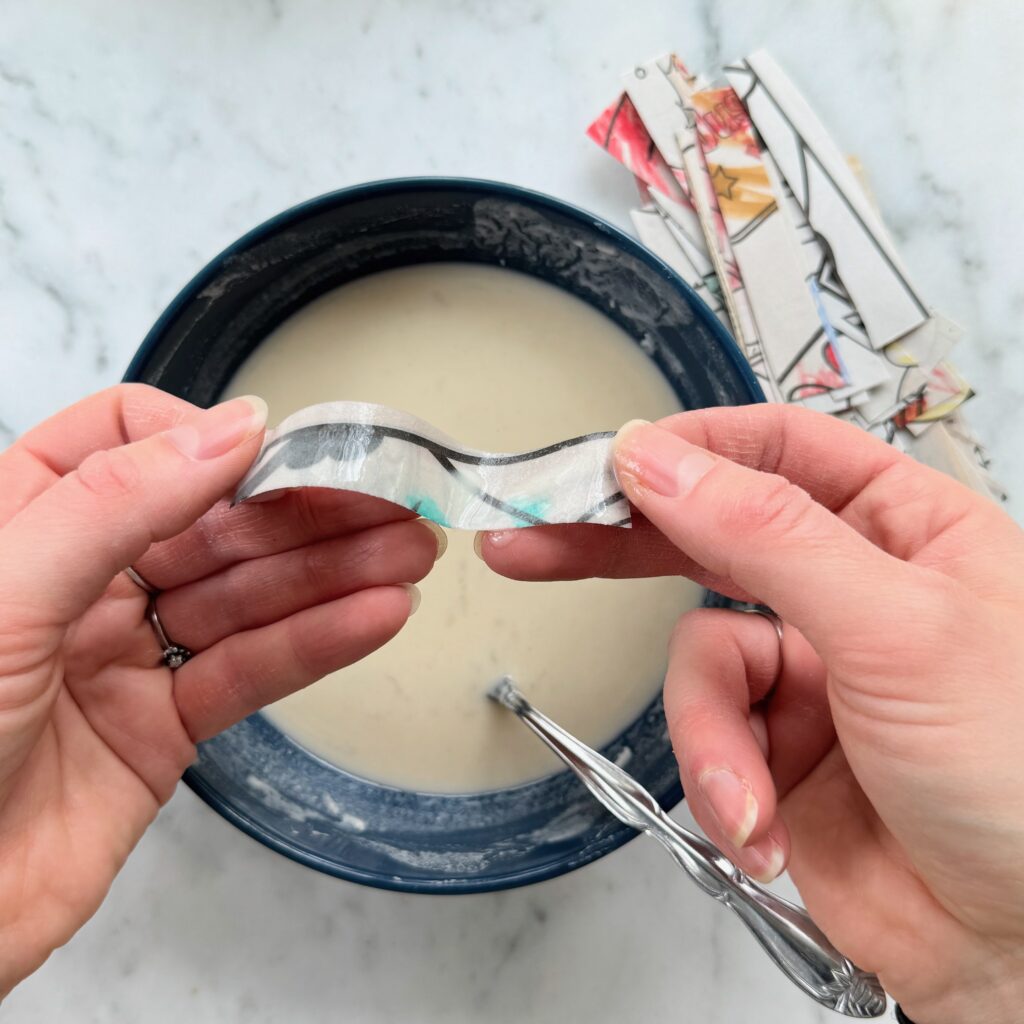
Use a whisk or spoon keep mixing until the paste has a smooth, creamy consistency, similar to pancake batter. A lump-free paste will spread more easily and create a smoother finish on your paper mâché projects. - Cook the Paste
For a stronger adhesive, you can cook the paste on the stove or in the microwave.
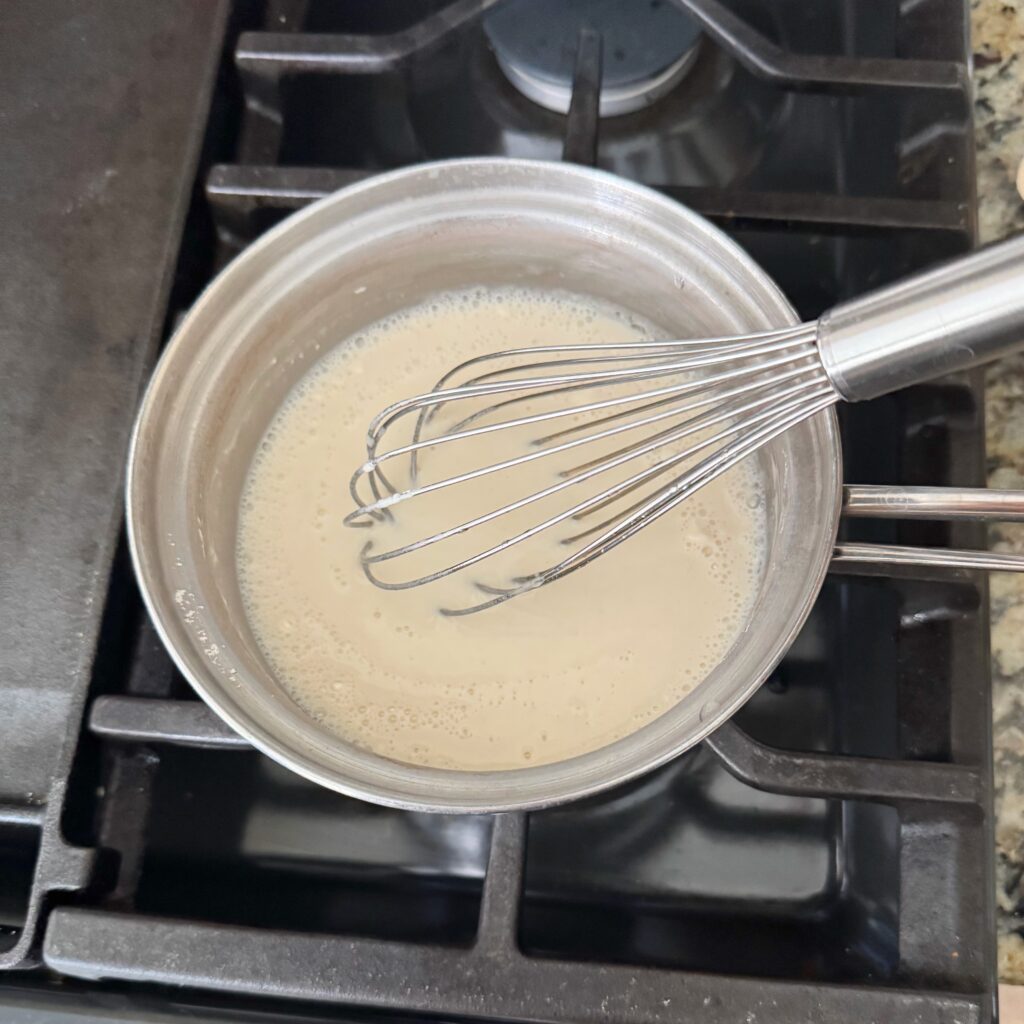
STOVE: Pour the flour and water mixture into a saucepan and heat it over medium heat, stirring constantly, until it thickens. Let it cool completely before use.
MICROWAVE: Place the flour and water mixture into the microwave. Microwave on high for 20 second intervals, mixing between. Repeat for a minute or so until the paste is thickened. Let it cool completely before use.
How to Use Your Paper Mâché Paste

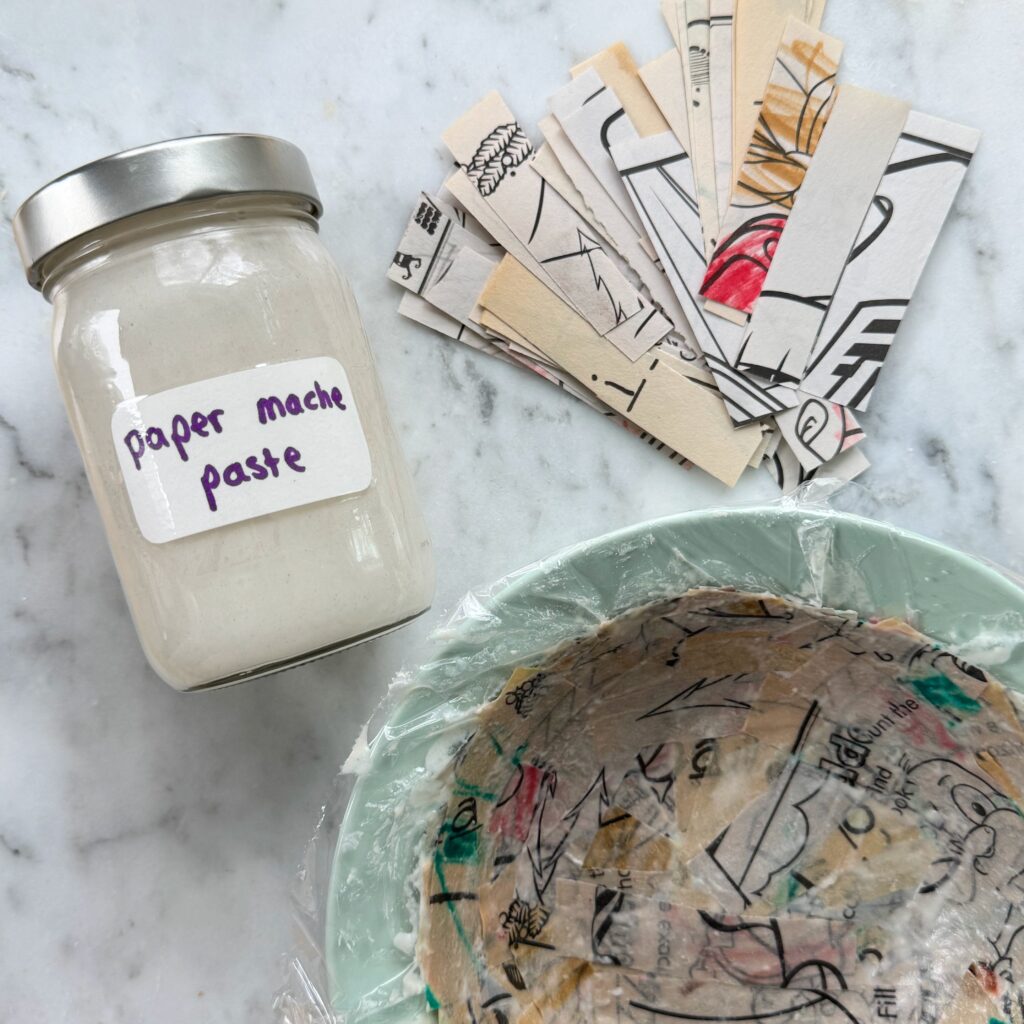
Now that you’ve made your paste, it’s time to get crafting! Tear newspaper or other thin paper into strips and dip them into the paste. Remove excess paste by running the strip between your fingers, then layer it onto your project’s base (like a balloon, bowl covered in plastic wrap, or a cardboard frame).
Repeat until your project is fully covered, and let it dry completely before adding more layers or paint.
Tips for Success
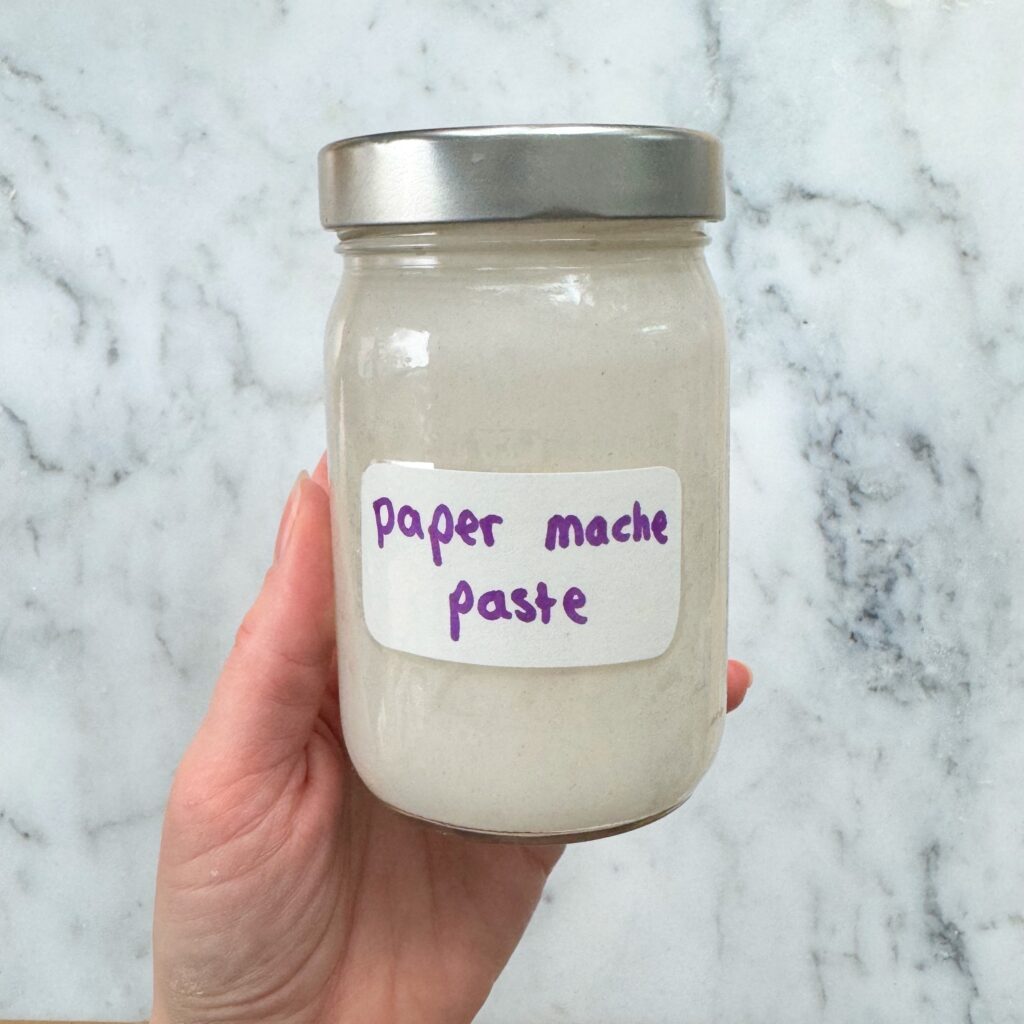
- Storage: Store unused paste in an airtight container in the fridge for up to 3 days. Stir well before use.
- Adjust Consistency: If your paste thickens too much over time, simply add a little water and stir.
- Sealing: For outdoor projects, seal your finished piece with a clear oil based varnish to protect it from moisture.
Why Make Paper Mache Paste from Flour and Water?
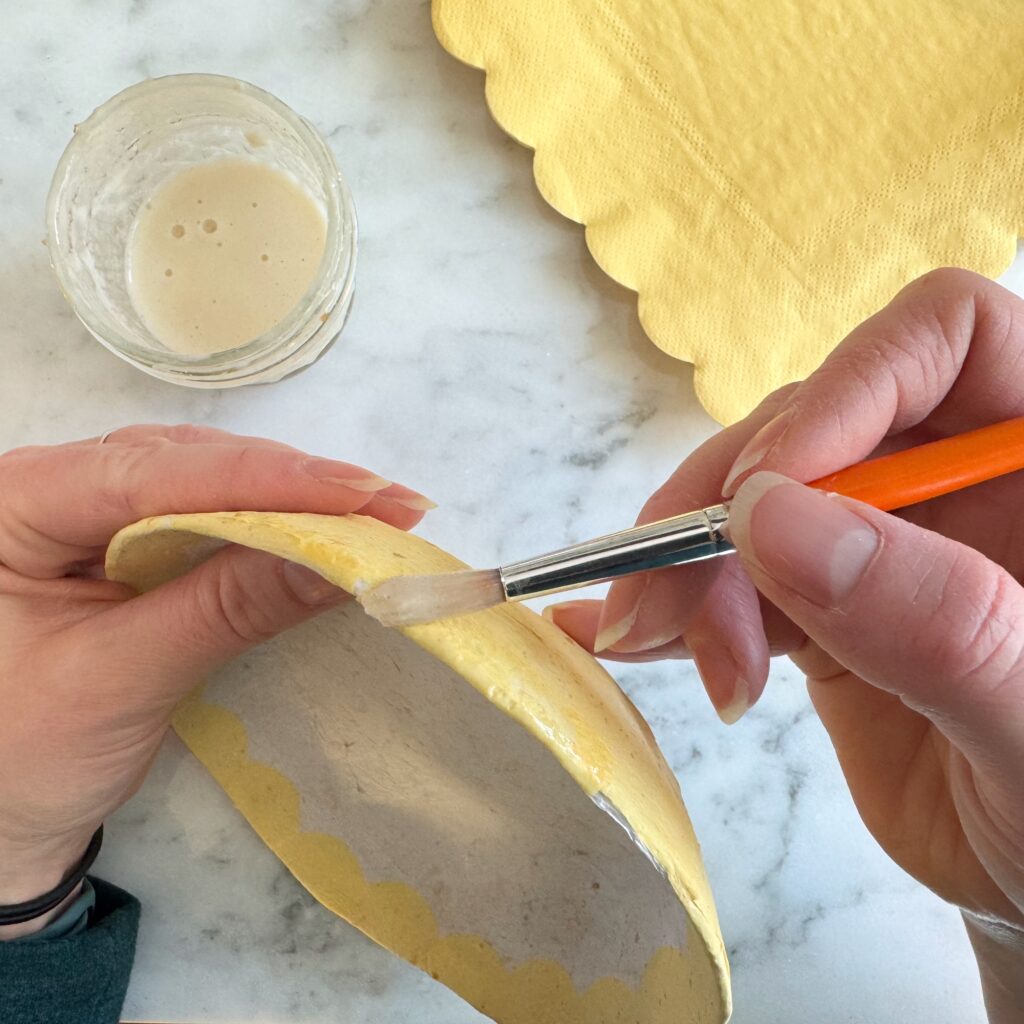
This method is not only simple and effective, but it also encourages resourcefulness by using common kitchen ingredients. Making paper mache paste from flour and water helps you save money while reducing waste (no container to dispose of!), and it’s a great way to involve kids in creative activities.
So, what will you create with your homemade paper mâché paste? Whether it’s an elaborate piñata, Easter Eggs, a simple decorative bowl, or egg carton clay, this easy recipe is the perfect starting point. Don’t forget to share your creations and tag me on Instagram — I’d love to see what you make!
