How to Make Salt Dough Ornamnets
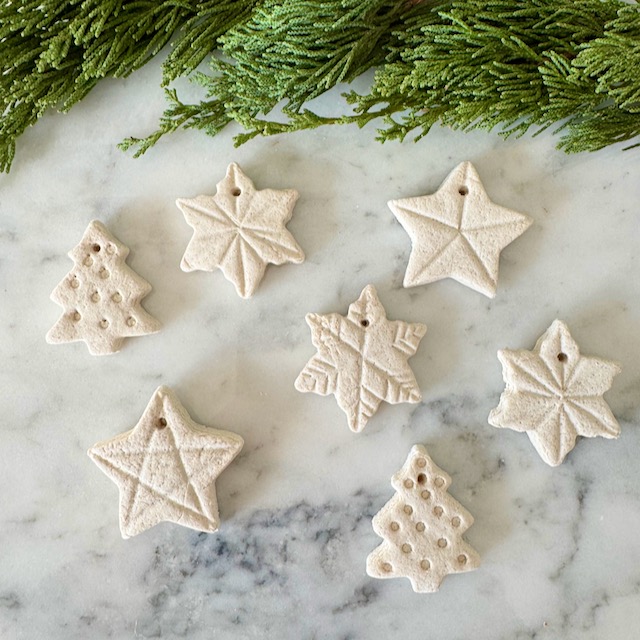
Salt dough ornaments are a timeless, easy craft that’s perfect for all ages. Whether you’re looking for a fun activity to do with your kids, a creative way to decorate your tree, or a handmade gift idea, this project has you covered. With just a few pantry staples, you can make salt dough ornaments that are versatile, customizable, and long-lasting.
Why Make Salt Dough Ornaments?
Salt dough ornaments are not only fun to create but also eco-friendly and cost-effective. Unlike store-bought decorations, they allow for endless creativity, and the materials are likely already in your kitchen. Plus, they make wonderful keepsakes or gifts, adding a personal touch to the holiday season.
Ingredients You’ll Need
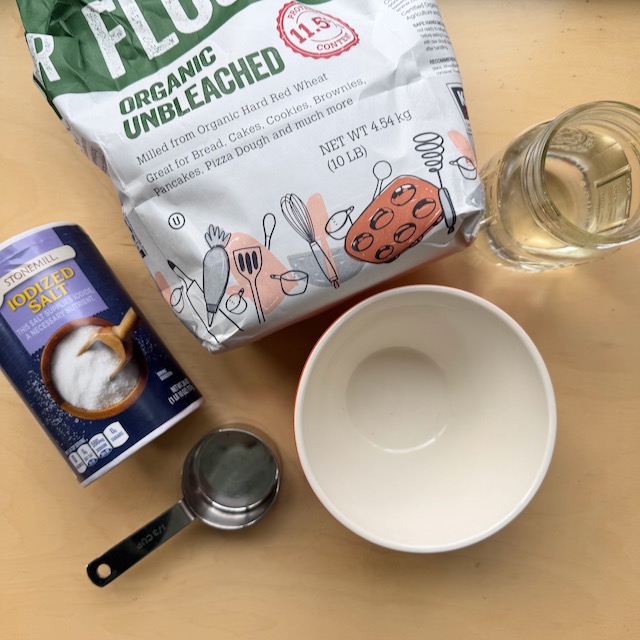
The recipe for salt dough is simple and requires just three ingredients:
- 2 cups of all-purpose flour
- 1 cup of salt
- 3/4 cup of water
Optional supplies for decorating:
- Acrylic paint or watercolor
- Glitter
- String or ribbon
- Clear sealant (optional, for longevity)
Step-by-Step Instructions to Make Salt Dough Ornaments
Step 1: Mix the Dough
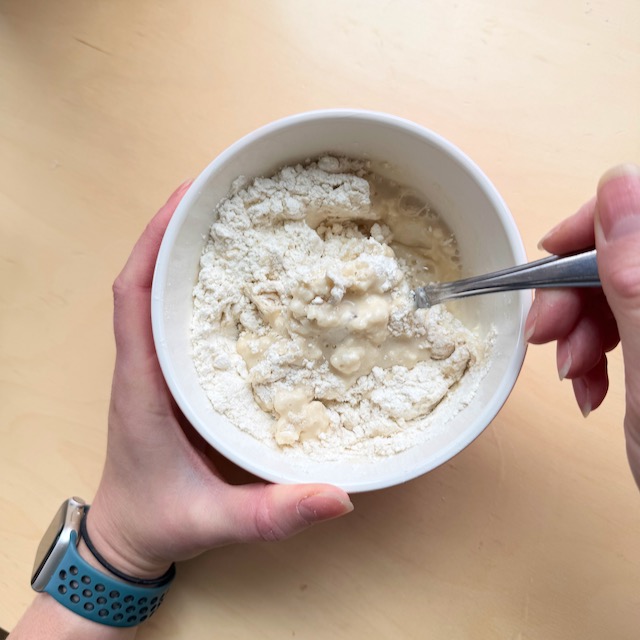
- Combine the flour and salt in a large mixing bowl.
- Gradually add water while mixing, until the dough forms a smooth, pliable consistency.
- Knead the dough for about 5–7 minutes. If it feels too sticky, add a bit more flour; if too dry, add a few drops of water.
2: Roll Out the Dough
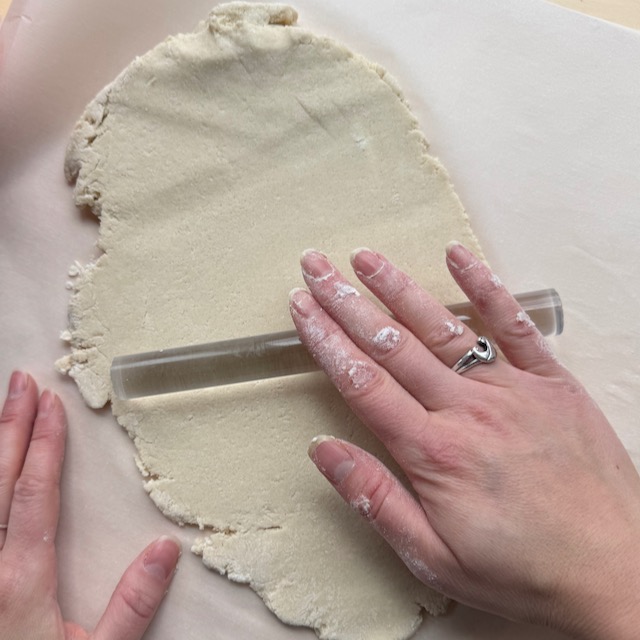
- Place the dough on a clean, floured surface or parchment paper.
- Use a rolling pin to roll it out to about 1/4-inch thickness. Avoid making it too thick, as this can prolong drying time.
3: Cut Out Shapes
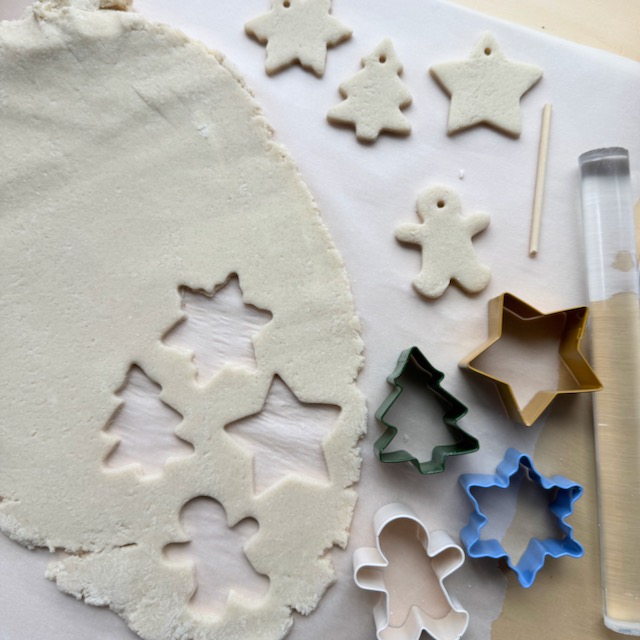
- Use cookie cutters to cut shapes from the dough. Holiday-themed cutters like stars, trees, and gingerbread men work well.
- If you don’t have cookie cutters, you can use a knife to create custom shapes.
- Don’t forget to poke a small hole at the top of each ornament using a straw or skewer for stringing later.
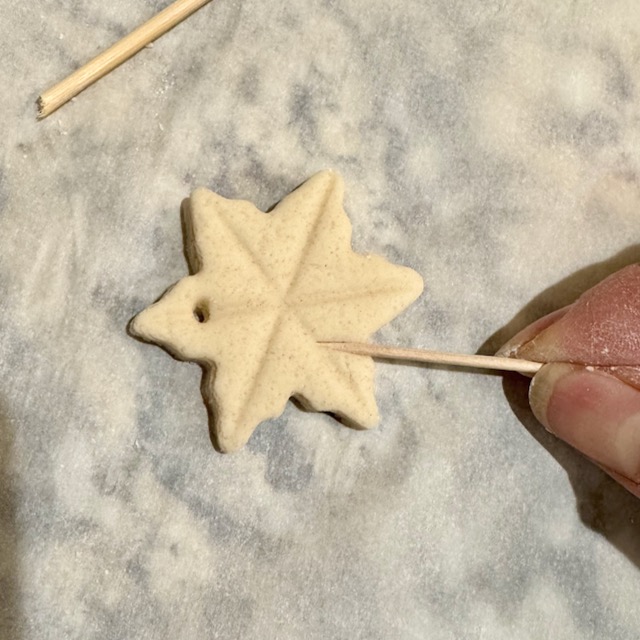
4. I also added a few indentations with a tooth pick to my ornaments at this point. This is a great way to add some character to them or make them a little more special without painting (makes them no longer compostable with paint.)
4: Bake or Air-Dry
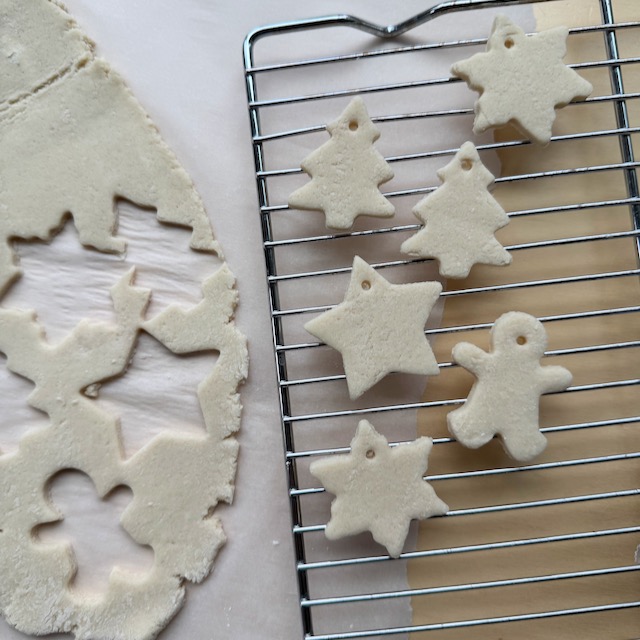
- Preheat your oven to 170°F (93°C).
- Place the shapes on a parchment-lined baking sheet and bake for 2–3 hours, flipping them halfway through.
- Alternatively, you can air-dry the ornaments, though this may take 1–3 days depending on their thickness.
5: Decorate
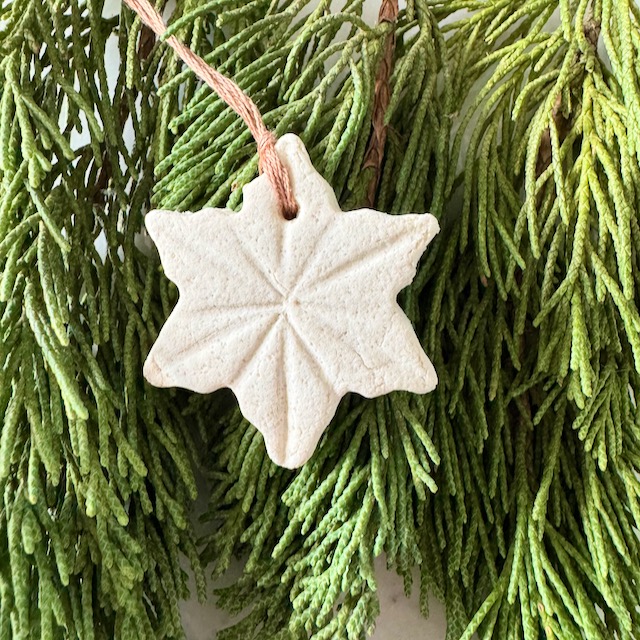
- Once completely dry, paint the ornaments using acrylic paint or watercolor. Let the paint dry thoroughly before adding any additional decorations like glitter or sealant.
- Tie a ribbon or string through the hole for hanging.
Ideas for Decorating and Using

Salt dough ornaments can be customized for any occasion, but they’re especially popular during the holiday season. Here are some ideas for inspiration:
- Classic Christmas Decor: Paint them in festive colors like red, green, and gold.
- Personalized Keepsakes: Use letter stamps to add names, dates, or holiday greetings.
- Rustic Style: Leave them unpainted for a natural, minimalist look.
- Gift Tags: Write the recipient’s name on an ornament and tie it to a wrapped gift. Pair with a frayed fabric ribbon.
- Holiday Garland: String multiple ornaments together for a festive garland.
Why Salt Dough Ornaments Are a Sustainable Craft
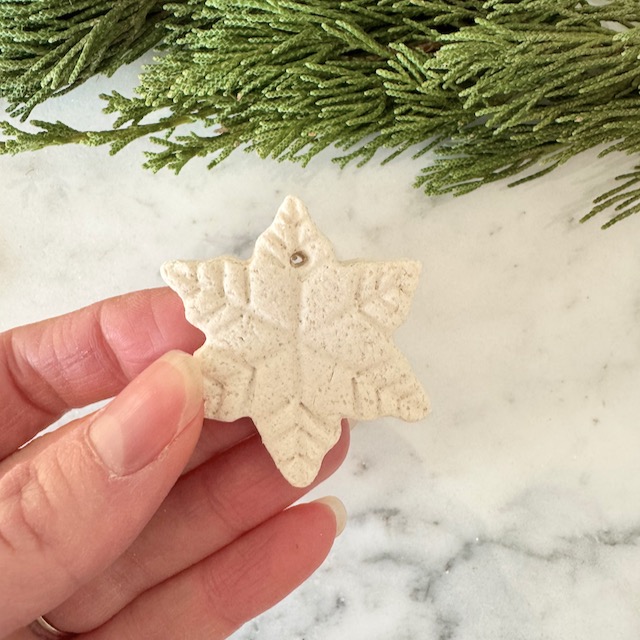
One of the best reasons to make salt dough ornaments is that they are eco-friendly. They’re made with non-toxic, biodegradable/compostable ingredients, and you can decorate them with sustainable supplies like natural paints (like food coloring) or twine. Plus, the memories made during the crafting process are priceless and don’t come with a carbon footprint!
With these simple steps, you can make salt dough ornaments that are as fun to craft as they are to display. Whether decorating your home, creating meaningful gifts, or enjoying quality time with loved ones, this project is sure to add a little extra joy to the holiday season. Grab your ingredients and get started today!
