DIY Foraged Witch Broom
If you’re looking for an easy, eco-friendly way to create Halloween decor or a costume accessory, a DIY foraged witch broom made from sticks found outside is the perfect project. This rustic craft not only adds authenticity to your decorations or costume but also makes use of natural materials, keeping it sustainable and budget-friendly.
Here’s a step-by-step guide to creating your own DIY foraged witch broom from materials you can gather from nature.
Materials Needed:
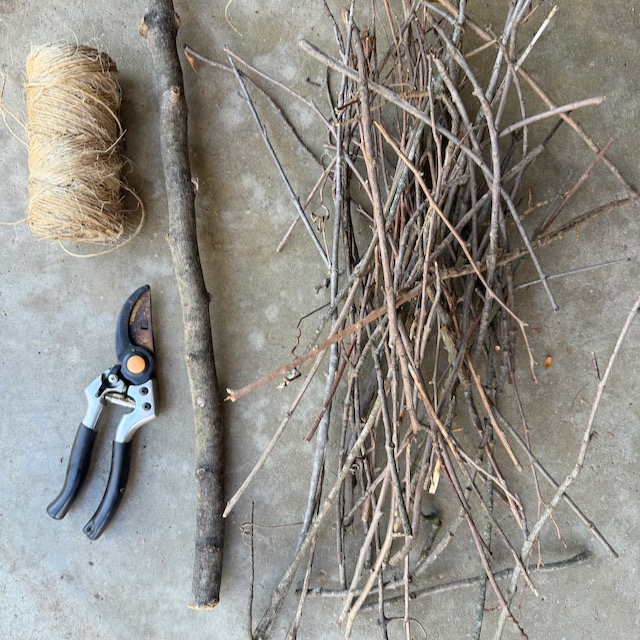
- A sturdy branch or thick stick (about 3-4 feet long for the broom handle)
- Thin twigs and smaller branches (for the broom bristles)
- Jute twine, string, or rope
- Scissors or garden sheers
Step 1: Gather Your Materials
Start by heading outside to collect your materials. The best part of this DIY foraged witch broom project is that nature provides everything you need!
- Handle: Look for a thick, sturdy branch that will serve as the broom’s handle. It should be about 3-4 feet long and easy to grip.
- Bristles: Gather thin twigs and small branches for the broom’s bristles. These will create the classic sweeping look of a witch’s broom. Aim for a variety of twig lengths to give the broom some dimension.
Step 2: Prepare the Handle
Once you’ve found the perfect branch for the handle, you can either leave it in its natural state for a rustic look or clean it up by removing any rough bark and trimming unwanted offshoots. If you want a more polished look, you could sand the branch down or paint the handle black or brown. (If you do paint it, the broom will no longer be compostable.)
My branch came from a cut down tree in our neighbors yard. Since it was good fresh wood, I just left it alone.
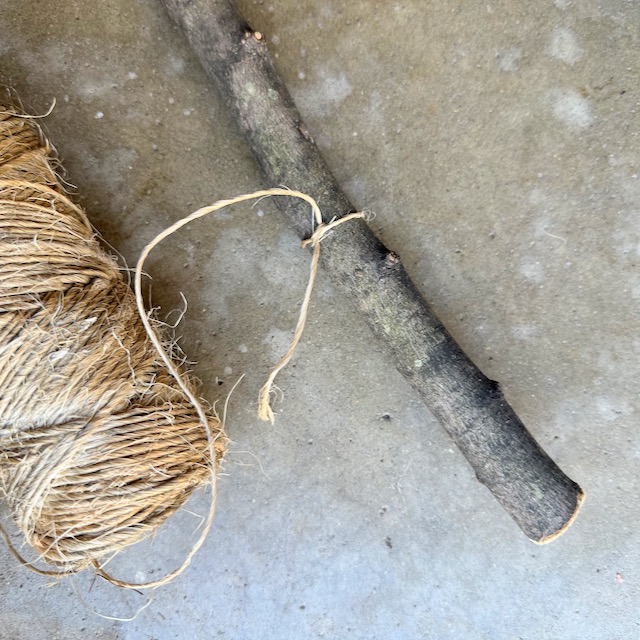
Tie the twine or rope towards the bottom of the branch handle. Leave several inches towards the bottom to help support your twigs.
Step 3: Attaching the Twigs
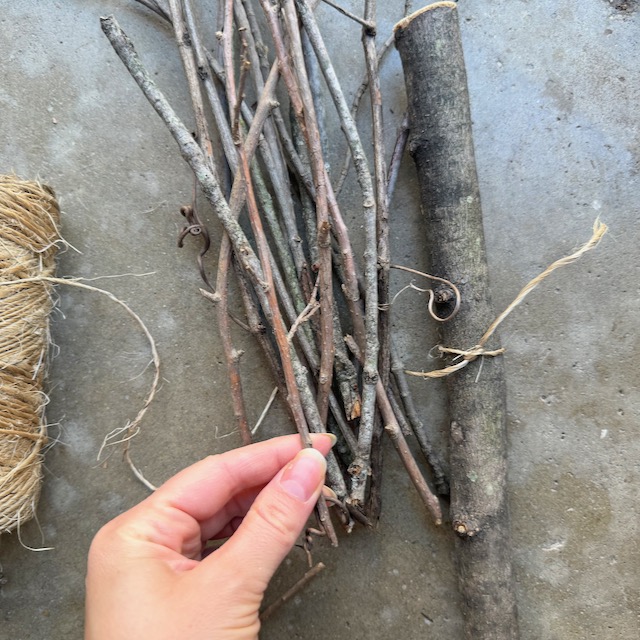
Start by placing your twigs across the twine, while lining up the tops of the twigs as evenly as possible.
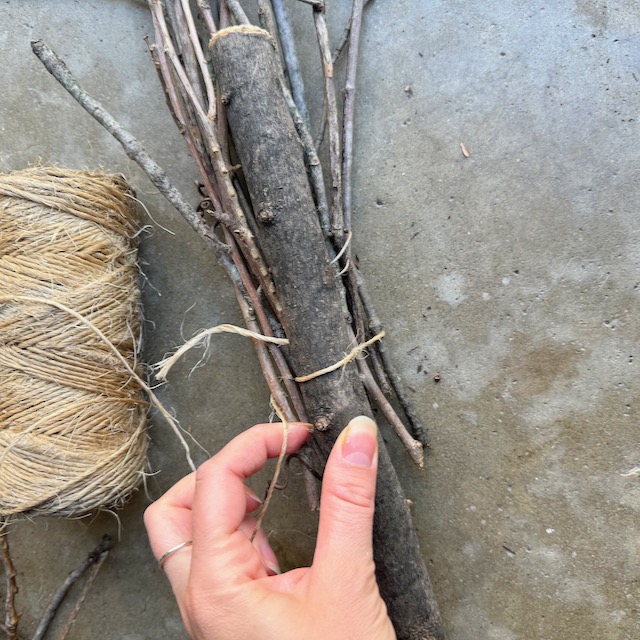
Roll the handle over on the sticks to secure the sticks. Continue to add more sticks to the top of the handle and secure with the twine.
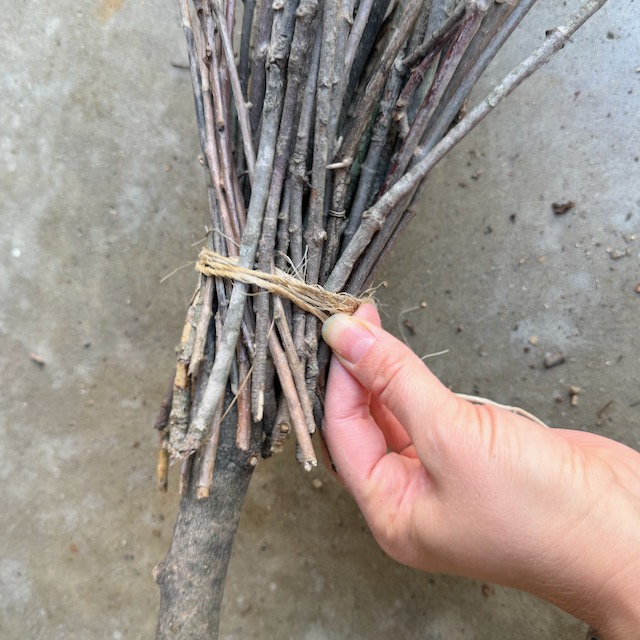
Continue to add a few more branches here and there to ensure your broom is looking full enough. I did this through a couple of layers. It’s okay if your twine looks a little uneven, just try not to overlap the twine. We will fix it in the next step.
If you’re really struggling, you could add a bit of hot glue to keep some twigs in place, which can later be picked off so your broom is still (mostly) compostable!
Step 4: Secure the Twigs
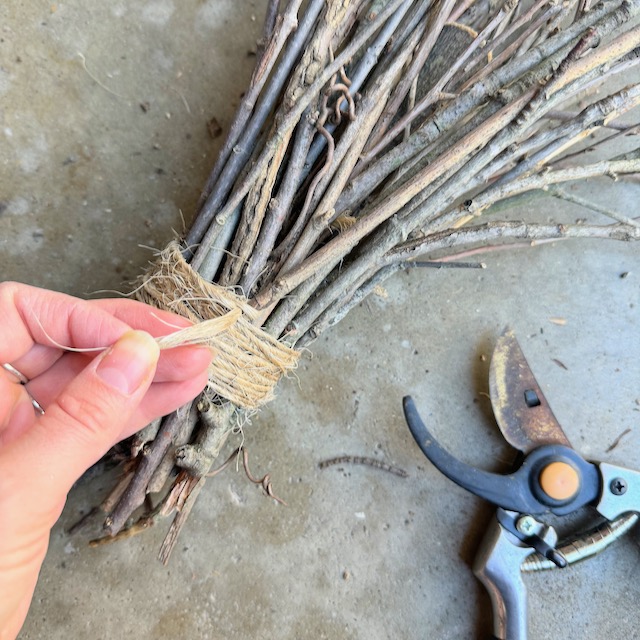
Secure the twig bundle by wrapping the twine around the bristles for 1-2 inches. It looks best if the wrapping starts at the top and works its way evenly down. Feel free to coverup your first wraps of the twine when securing the twigs in place.
Step 6: Trim Your Broom
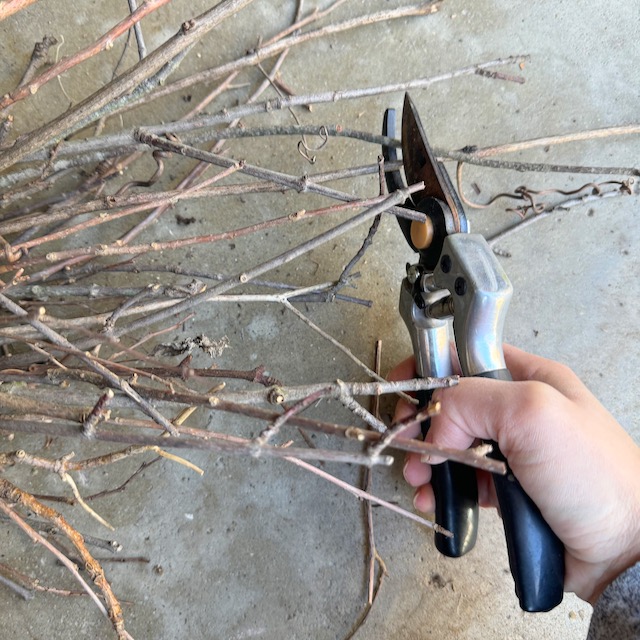
In order for your broom to rest evenly, you will need to trim at least a few sturdy twigs to be the same length. Use some garden shears or just simply break the twigs at the desired length.
Customize Your Broom (Optional)
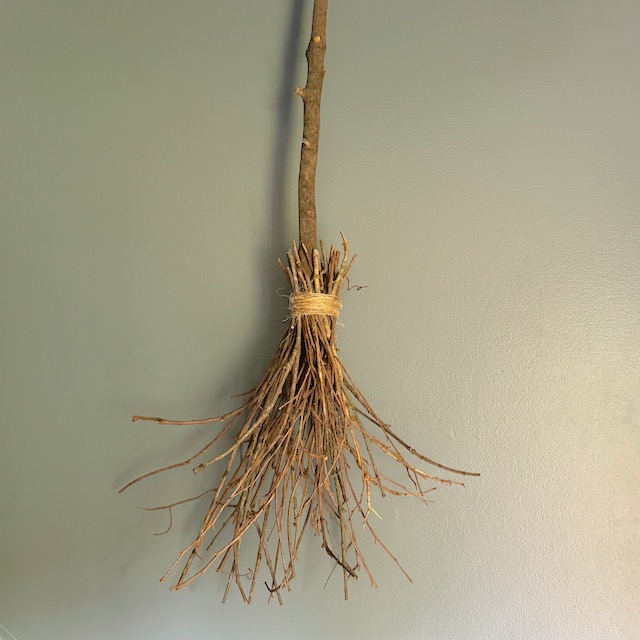
Your DIY foraged witch broom is ready, but you can add some personal touches to make it uniquely yours:
- Decorative Wraps: Add a bit of flair by wrapping the handle with extra twine or drill a hole and add a loop for hanging the broom.
- Painted Accents: Paint stars or mystical symbols on the handle.
- Nature Additions: Attach dried leaves, pinecones, or flowers to give your broom an autumnal look.
Display Your Broom
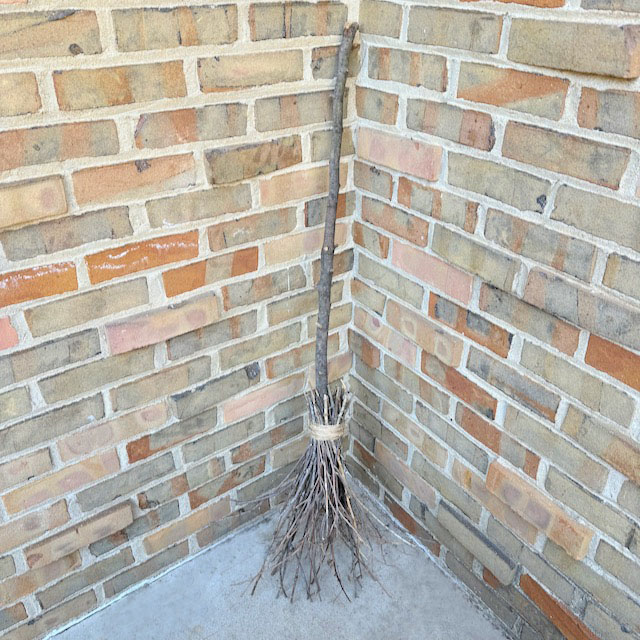
Now that your DIY foraged witch broom is complete, there are several ways you can use it during the spooky Halloween season.
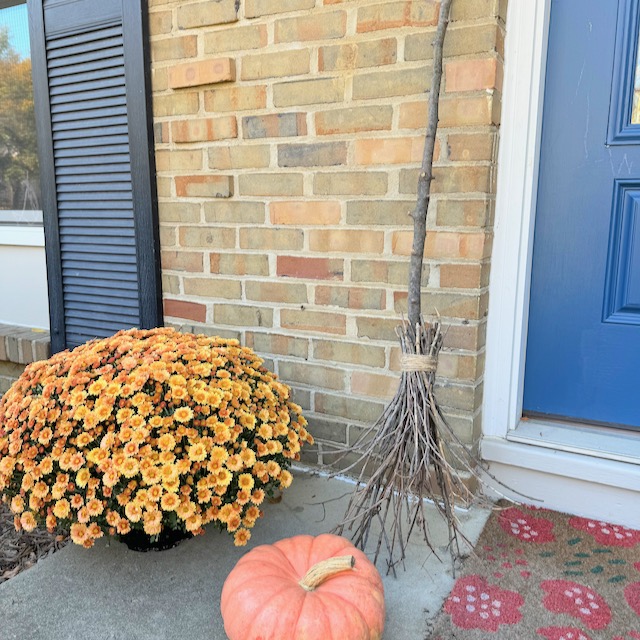
I made this broom originally for my daughter’s witch Halloween costume. (I’m so thankful I don’t have to store a witch broom during the off season since I can just easily put all of this into yard waste!)
But after I made it I noticed that it is the perfect Halloween porch decor. Paired with a mum and a few pumpkins it looks so cute.
Eco-Friendly Crafting
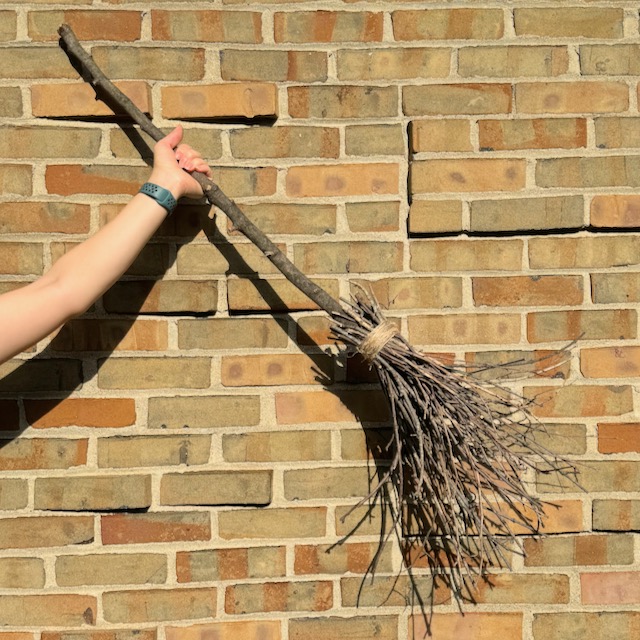
The DIY foraged witch broom is a great way to reuse natural materials. By gathering sticks and twigs from your yard, you reduce waste and avoid plastic decorations. After Halloween, you can compost the broom or toss the entire thing into yard waste or back into a more wild part of your back yard. This keeps your decor as sustainable as possible and you won’t need to store anything in the off season!
Happy Crafting!
Creating a DIY foraged witch broom is a fun and sustainable way to bring a little magic to your Halloween season. Whether you’re adding it to a costume or displaying it around your home, this craft is simple, budget-friendly, and enjoyable for all ages. Gather your materials and let your creativity fly as you make your very own foraged witch’s broom!
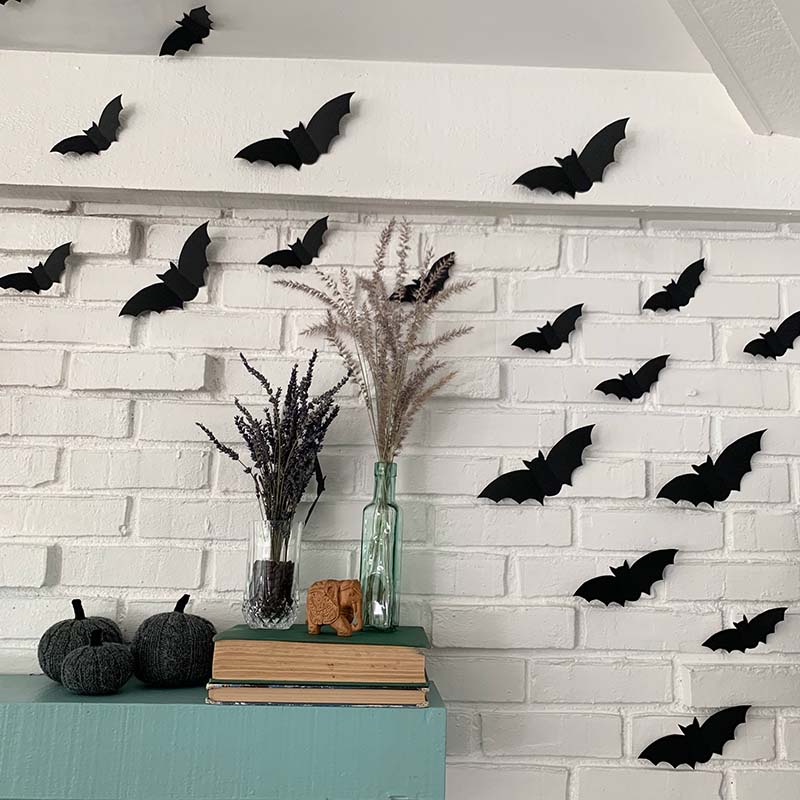
If you’re looking for more ways to sustainably decorate for Halloween, check out my blog post here.
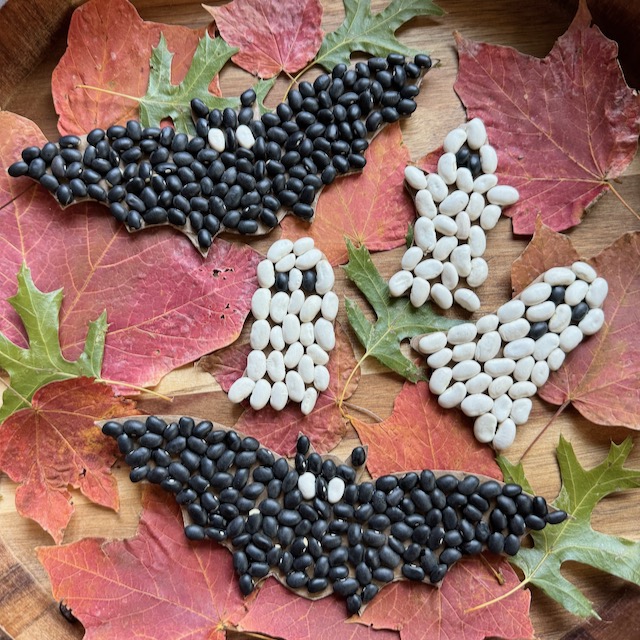
If you want another fun Halloween activity to share with kids, why don’t you check out these adorable bean mosaic ghosts and bats craft.
All of my fall and Halloween themed blog posts are kept here, under the fall seasonal category.
