How to Preserve Fall Leaves with Beeswax

There are so many things to look forward to during fall. I love all things pumpkin, sweaters, and soup. One of my family’s favorite fall activity is to collect maple leaves on our daily walks. By learning to preserve fall leaves with beeswax, you can capture the essence of autumn and keep it alive long after the season has passed. The process is simple, natural, and results in long-lasting, flexible leaves that are perfect for seasonal decor or craft projects.
If you’re looking for more inspiration on how to sustainably decorate for fall, check out my blog post here!
Or perhaps you’re looking for inspiration on sustainably decorating for Halloween, check out my suggestions here!
Here’s a step-by-step guide on how to preserve fall leaves with beeswax, along with some tips on finding the best leaves.
Why Preserve Fall Leaves with Beeswax?
Beeswax is a natural and eco-friendly way to preserve leaves. It helps seal in the moisture, keeping the leaves soft and preventing them from curling or crumbling. Additionally, beeswax gives the leaves a lovely sheen and helps retain their vivid colors, making them perfect for displaying in your home.
Added bonus, since you are using beeswax, the leaves are still compostable when you are finished enjoying them!
Materials Needed:
- Freshly fallen fall leaves (still a bit soft)
- Beeswax pellets or a beeswax block (check out your local beekeeper!)
- A double boiler or a heat-safe bowl and saucepan (beeswax can be hard to clean, don’t use your best bowl)
- Parchment paper or wax paper for drying
- A string or clothesline for hanging leaves to dry (optional)
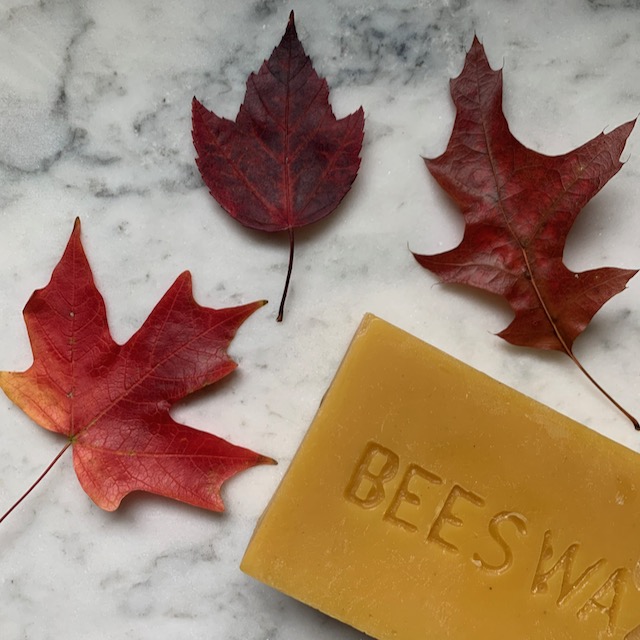
Step 1: Collecting the Best Fall Leaves
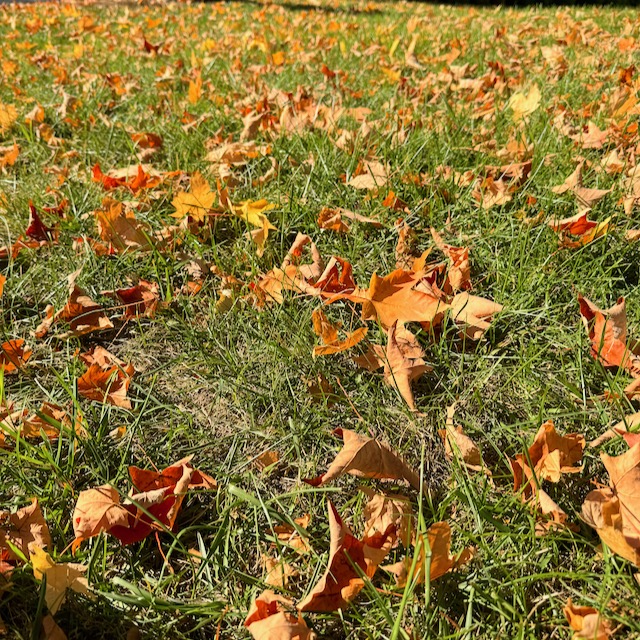
When it comes to preserving leaves, it’s essential to choose the right type. The best leaves for this project are freshly fallen ones. You want leaves that still have some flexibility and moisture in them rather than dried, brittle leaves. Here are some of the best types of leaves to look for:
- Maple Leaves: Known for their beautiful star shape and wide variety of fall colors, maple leaves are one of the top choices for leaf preservation. They are durable, easy to work with, and hold color well.
- Oak Leaves: Oak trees produce sturdy leaves that often turn stunning shades of red, orange, or bronze. Their leathery texture makes them excellent candidates for beeswax preservation.
- Ginkgo Leaves: These fan-shaped leaves often turn bright yellow in fall, creating a striking look. They are unique and look beautiful when preserved.
Make sure to pick leaves that are free of holes or tears and that have vibrant colors for the best results.
Step 2: Preparing the Beeswax
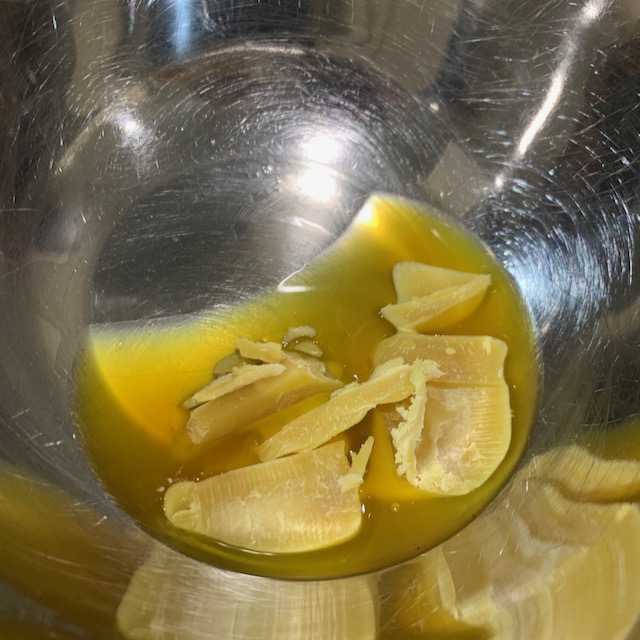
To melt the beeswax, you’ll need to create a makeshift double boiler. Place a heat-safe bowl or a small pan over a pot of simmering water. Add your beeswax pellets or block to the bowl and allow them to slowly melt. Keep the heat on low, as you don’t want the wax to overheat or burn. (It can turn a dark brown when it burns.)
As the beeswax melts, stir it occasionally to ensure an even texture. I like to use a wooden chopstick or clean stick to stir since beeswax can be difficult to clean. Once it’s fully melted, you’re ready to dip the leaves.
Step 3: Dipping the Leaves
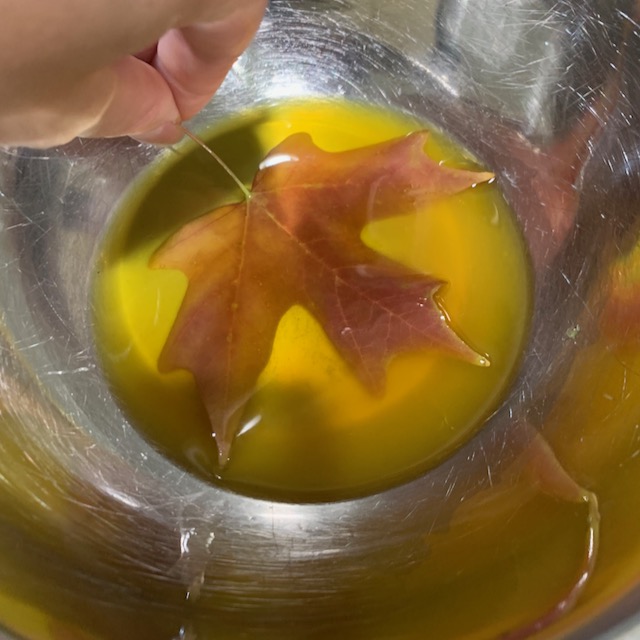
Once your beeswax is melted, it’s time to preserve the leaves. Holding the stem, dip each leaf into the beeswax, making sure the entire surface of the leaf is coated. You may need to swirl the leaf around gently to get an even coat on both sides. Once dipped, lift the leaf out of the wax and allow the excess to drip off.
To create a smoother finish, you can dip the leaf again for a second coat. This helps to seal the leaf and make it more durable.
Step 4: Drying the Leaves
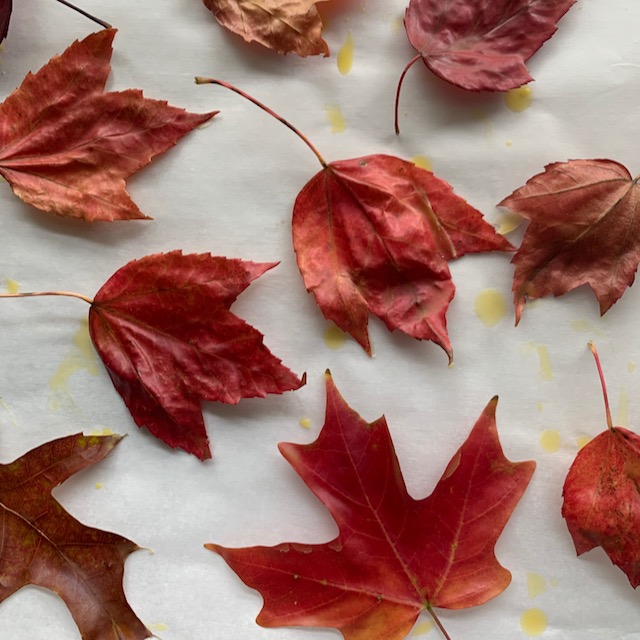
After dipping, place the leaves on parchment or wax paper to dry. If you prefer, you can also hang them on a string or clothesline to dry completely. The leaves should dry fairly quickly as the beeswax cools and hardens.
Once the leaves are dry, you’ll notice that they’ve taken on a beautiful, slightly glossy finish. The beeswax will help preserve their vibrant fall colors and prevent them from drying out and becoming brittle.
Step 5: Displaying Your Preserved Leaves Fall Leaves
Now that your leaves are preserved, there are countless ways to use them in your fall decor. Here are a few ideas to showcase their beauty:
Leaf Mobiles: Create a hanging mobile by attaching leaves to strings of varying lengths and suspending them from a piece of driftwood or a thin branch. This makes for a dynamic, artistic way to showcase the preserved leaves.
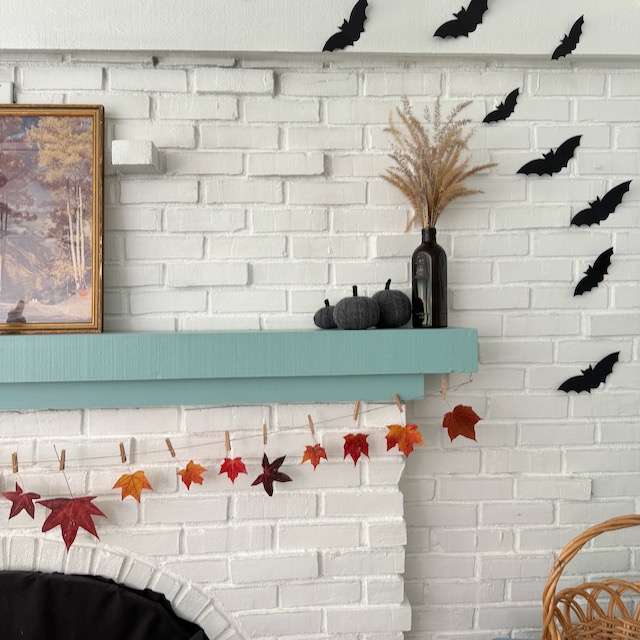
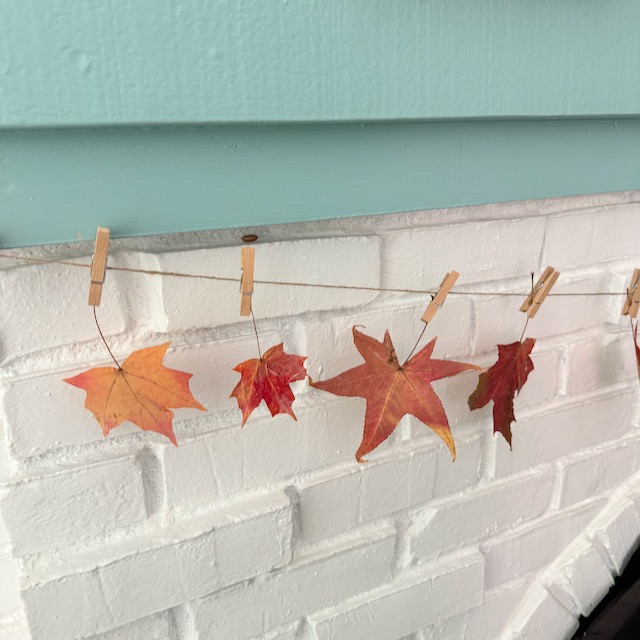
Garlands: String your preserved leaves together to create a vibrant fall garland. You can use twine or thin string and space the leaves evenly to hang across mantels, windows, or doorways. We assemble this garland every year as a fall tradition.
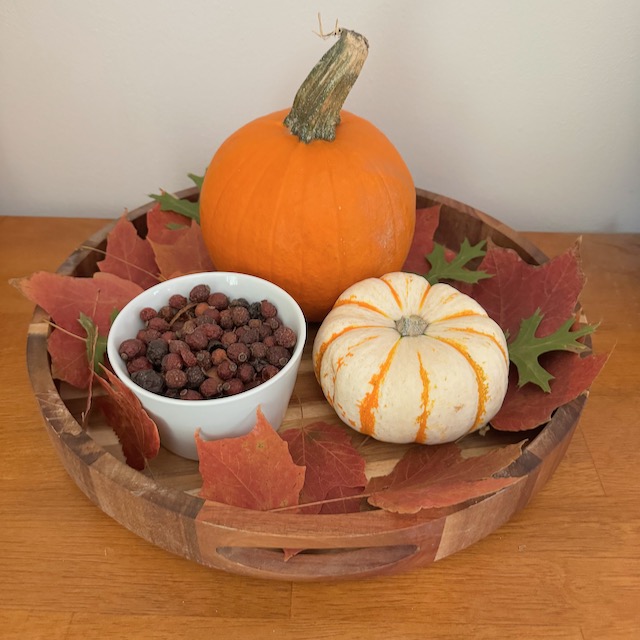
Table Centerpieces: Place your preserved leaves in a decorative bowl or scatter them along a fall-themed table runner. Pair them with pumpkins, pine cones, and candles to create a stunning autumn centerpiece.
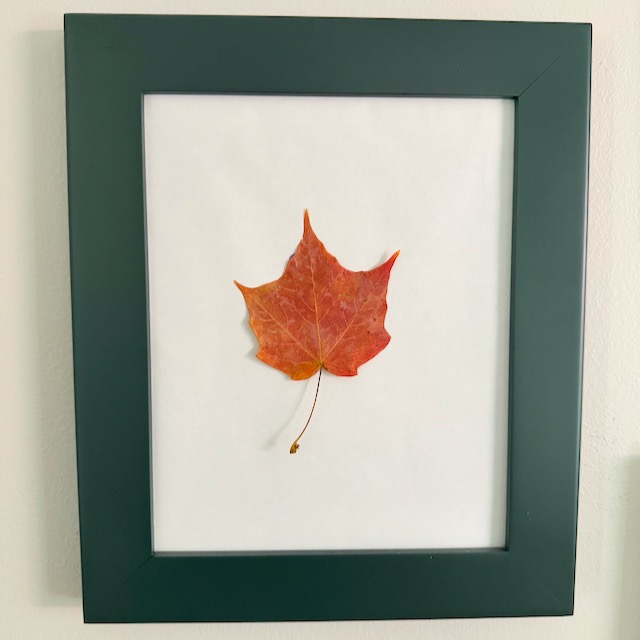
Framed Art: For a more permanent display, frame a few of your best-preserved leaves. Arrange them in a pattern or keep them simple with one leaf per frame. This adds a nature-inspired, minimalist look to your home.
Wreaths: Use preserved leaves to create a beautiful, natural wreath. You can attach the leaves to a wreath form using hot glue, layering them for a full, textured effect. Combine them with dried flowers, small gourds, or pine cones for a truly autumnal look.
Create a Faux Tree: Place some larger branches into a vase with a filler to hold them in place. Use thin wire to wrap beeswaxed leaf stems onto the branches to give the look of a tree.
Make it a Tradition to Preserve Fall Leaves with Beeswax!
Preserving fall leaves with beeswax is a simple yet effective way to keep the beauty of autumn alive in your home. With the right leaves and a little patience, you can create long-lasting, stunning fall decorations that celebrate the natural beauty of the season. When you are done with them, they are compostable! Happy leaf hunting!