How to Sew a Tulle Cape
Creating a whimsical tulle cape for children is a fun project that brings joy and sparks imagination. This easy-to-make cape, featuring a cotton band secured with Velcro around the neck, is perfect for dress-up play and Halloween costumes. Learning to sew a tulle cape is a great skill to have, especially if you have creative littles in your life!
This tutorial can easily be modified to make a simple cape out of cotton or silk fabric as well. This cape would be more of a superhero style of cape.
Follow these simple steps to sew a magical cape that your child will adore.
Imaginative Play and Halloween Ideas
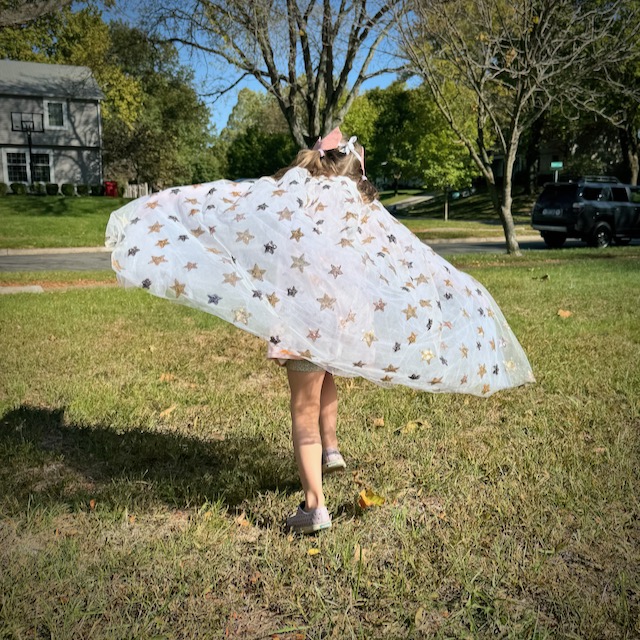
A tulle cape is a versatile accessory that can be used in a myriad of ways, sparking a child’s creativity and enhancing their playtime experiences. Here are some exciting possibilities:
- Fairy Tale Adventures
- Children can transform into fairies, wizards, or magical beings. Pair the cape with a wand, a crown, or other fantasy-themed accessories for an enchanting fairy tale experience.
- Superhero Missions
- The cape can become part of a superhero costume. Add a felt emblem or initials to the back of the cape to create a personalized superhero identity. This encourages imaginative play and active adventures.
- Royalty and Nobility
- The cape can be part of a royal ensemble for playing kings, queens, princes, or princesses. Add a faux fur trim or gold ribbon to give it a regal touch. This is perfect for reenacting scenes from favorite storybooks or movies.
- Seasonal Celebrations
- The cape can be used as a Halloween costume element. Whether your child wants to be a mystical witch, a ghostly apparition, or a mythical creature, the cape adds a touch of mystery and flair. Use different colors of tulle to match the chosen character.
- Everyday Dress-Up
- The cape is perfect for everyday dress-up fun. Children can wear it while playing pretend, hosting a puppet show, or simply feeling special. The lightweight tulle makes it comfortable for prolonged play.
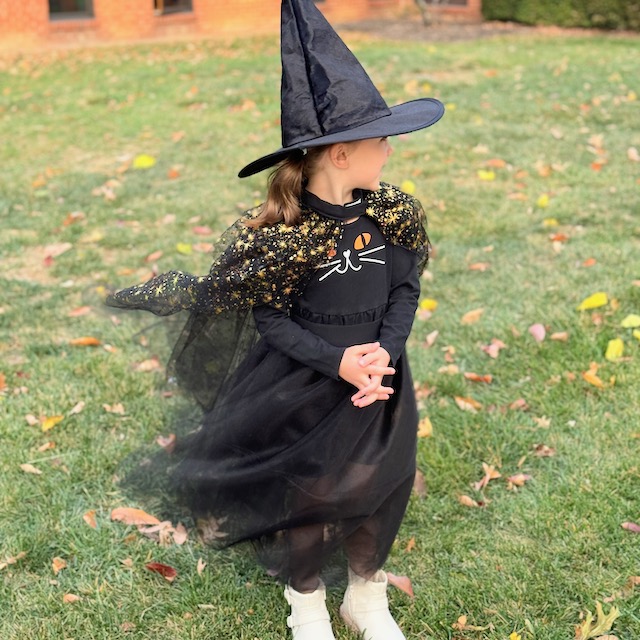
Here is a picture of my daughter dressed up as a witch for Halloween one year. I made her the cape following this tutorial and a simple tulle skirt, which has all the details in this blog post!
Materials Needed to Sew a Tulle Cape
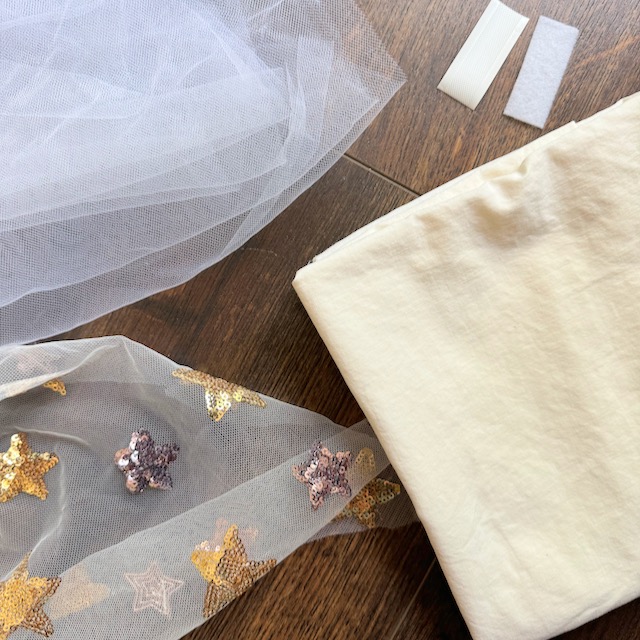
- Tulle, netting, or other lightweight fabric (~3 yards, depending on desired volume of poof)
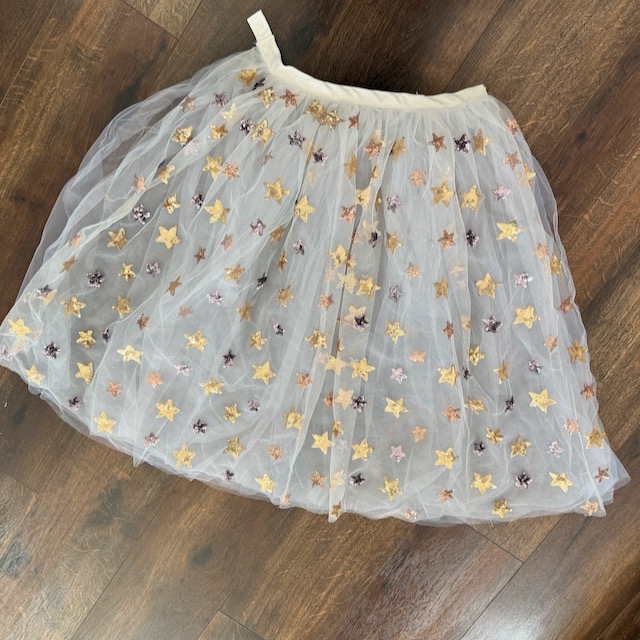
- I love to get a fancier version of tulle with embellishments for the top layer and matching plain tulle for the bottom layers
- Woven fabric for the band (1/4 yard)
- Velcro (~0.5 inch wide, 1.5 inches long)
- Basic Sewing Materials (sewing machine, thread, pins, scissors, iron)
Alternative Materials
FABRIC: This cape is great if you want to include several layers of tulle to give it some volume. If you’re going to go for a more super hero look, you could replace the tulle with a single layer of cotton or silk. Lightweight woven fabrics work best! If you don’t have scrap fabric laying around you can always use an old sheet, cloth shower curtain, or larger adult shirt.
VELCRO: Velcro (or hook and loop tape) is the safest option for the cape since it should come undone if the cape gets caught on something. For safety reasons, I don’t suggest using a button or tie closure for the cape since a child could get seriously hurt.
Sewing Machine: If you don’t have a sewing machine, you could still pretty easily sew this cape by hand!
Instructions to Sew a Tulle Cape
1. Measure and Cut the Tulle
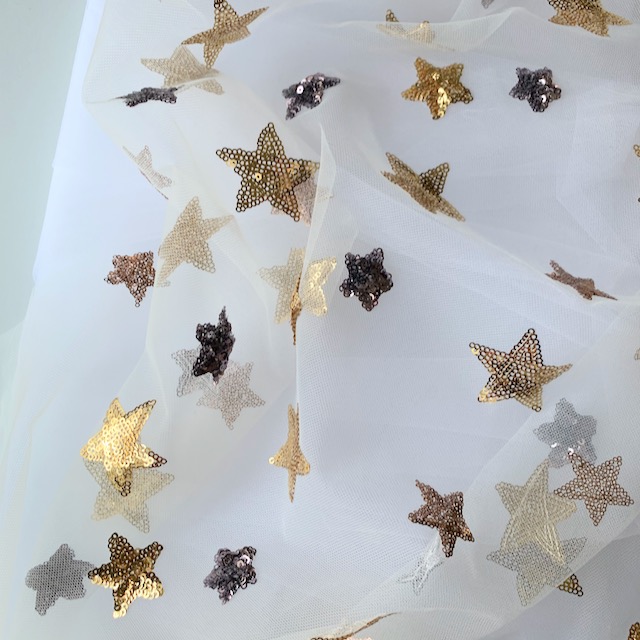
- I like to use one yard of tulle gathered around the neckline for the cape. This gives the cape enough “poof” and makes purchasing tulle by the yard easier.
- Three layers of tulle seems like the perfect amount of volume for a cape, but you could easily do more or less depending on your desired look.
- Decide on the length of the cape. Measure from the child’s neck to their desired length (e.g., waist, knee, or ankle).
- Cut the tulle to the appropriate length. If you have a continuous length of tulle, cut it into separate 1 yard increments.

- OPTIONAL: I sometimes like the look of a cape with a little frill at the shoulders. I made my daughters Halloween witches costume with this. I just took the bit of tulle I trimmed off and added it to the top of the layers of tulle.
2. Prepare the Cotton Band
- Place a flexible tape measure or piece of string around your child’s neck to determine the size of the neck to be for the cape. I like there to be some wiggle room around the sides so it doesn’t feel uncomfortable.
- Cut a strip of cotton fabric 4 inches wide and the length of the child’s neck measurement plus 4 inches (for overlap and Velcro).
- Fold the strip in half lengthwise with the wrong sides together and press.
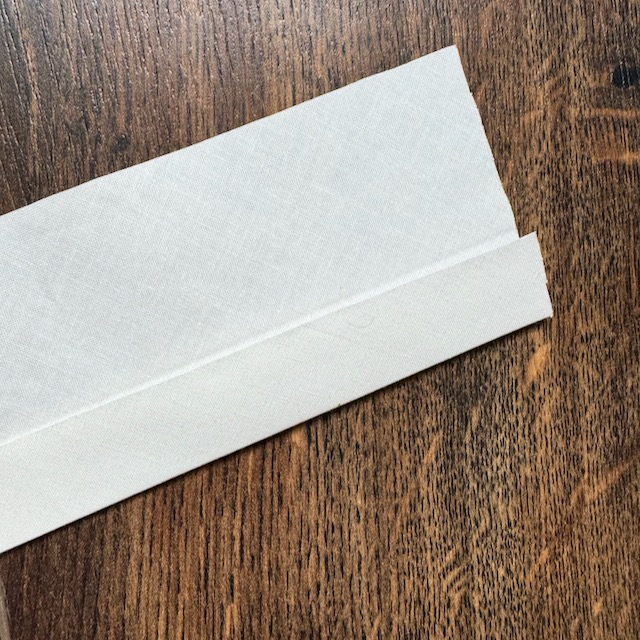
- Open the strip and fold each side lengthwise into the middle and press.
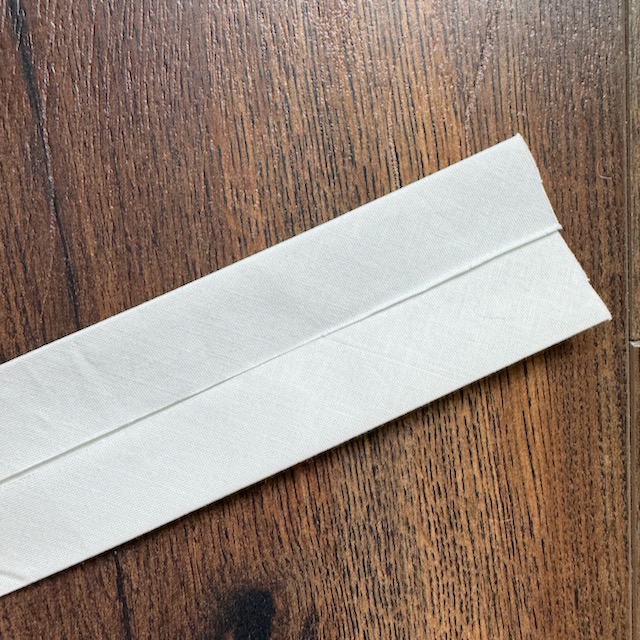
- Don’t open the strip! Fold the fabric back in half lengthwise and press. (You are making double fold bias tape. There should be four layers of fabric.)
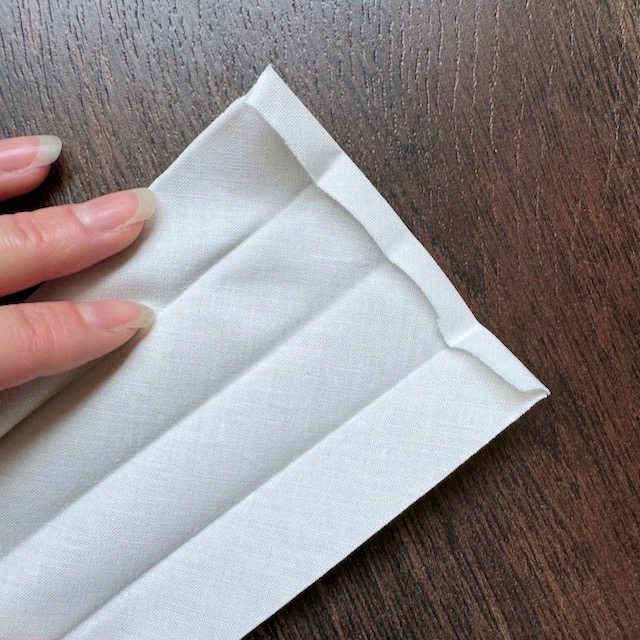
- Open up the ends just a bit to press a 1/4 inch hem. Refold.
3. Attach the Velcro
- Unfold the cotton neck band just once so there is one ironed seam down the middle. Place the side with the raw edges in the middle DOWN onto the table.
- Take one piece of velcro (approximately 0.5 inches x 1.5 inches) and pin it to one end of the neckband on one side of the fold.
- Take the other piece of velcro and pin it to the other end of the neckband on the opposite side of the fold.
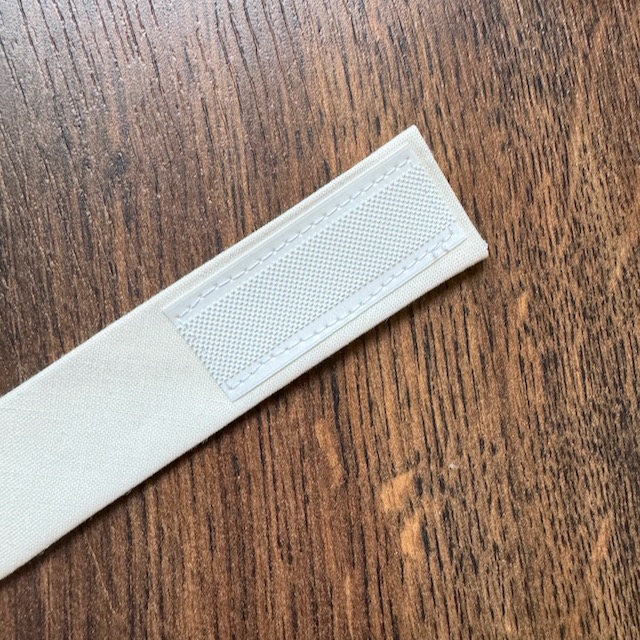
- Edge stitch the velcro into place. (Be careful! Sew the velcro on with the neckband in the still open position that you pinned things in. You will want to be able to open and close the neckband over the pressed seam.
3. Attach the Tulle to the Band
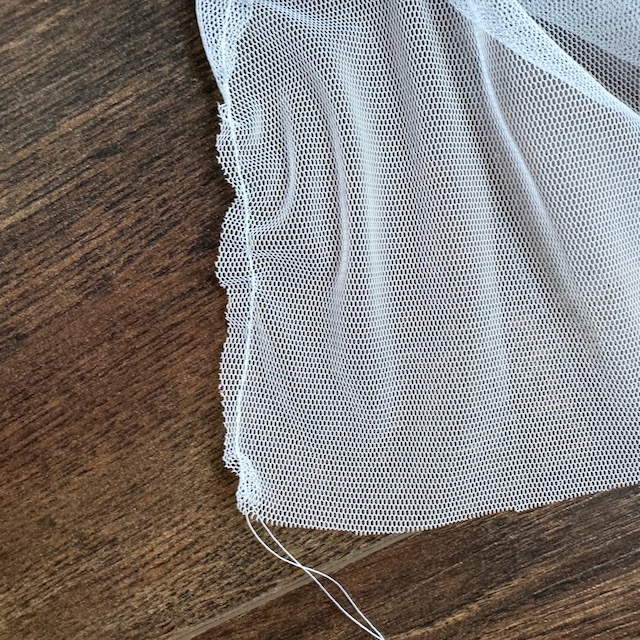
- Gather the top edge of the tulle by sewing a long basting stitch and pulling the thread to create gathers. The gathered edge should be about four inches shorter than the cotton band. (You can either gather each piece of tulle individually or all together. It’s up to you!)
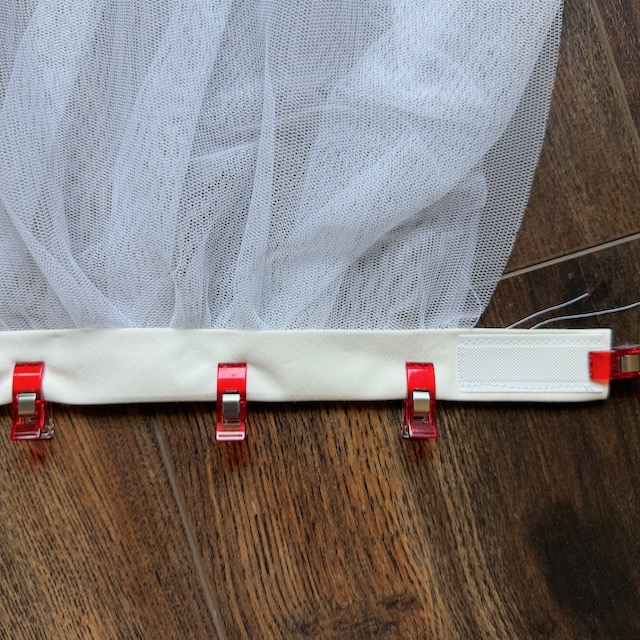
- Place the gathered edge of the tulle into the fold of the cotton band until it reaches the Velcro. (It’s nice to have a bit of a gap in the front for the kids to easily reach their arms out.)Refold the cotton band and pin or clip it shut.
- Sew the long open edge of the cotton band with the tulle sandwiched between.
4. Finishing Touches
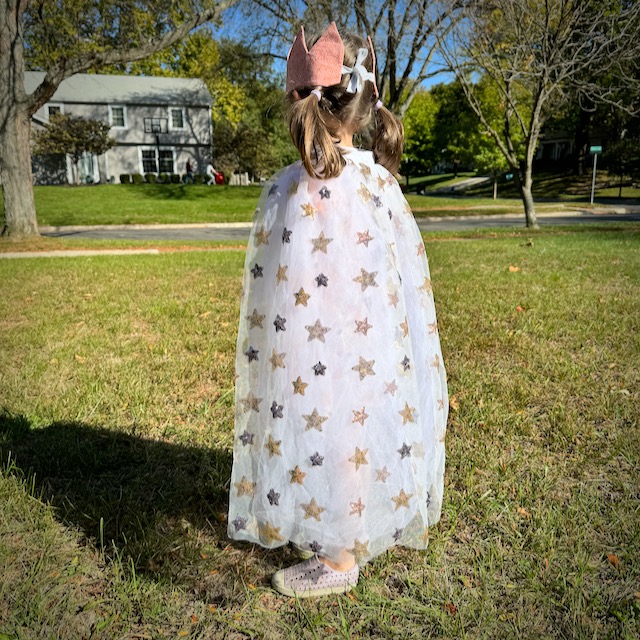
- Trim any excess threads and ensure all seams are secure.
- If desired, add decorative elements such as ribbon, sequins, or fabric paint to personalize the cape.
Celebrate! You Know How to Sew a Tulle Cape!
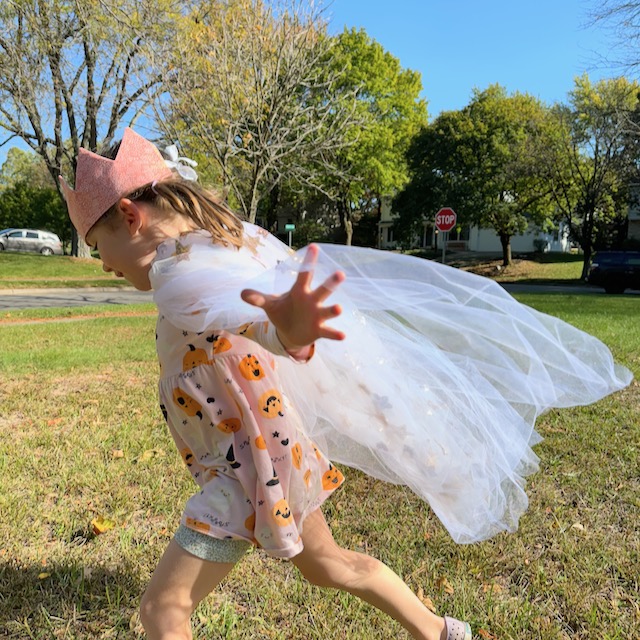
Learning to sew a tulle cape for children is a rewarding project that brings endless joy and imaginative possibilities. With just a few materials and simple steps, you can create a beautiful cape that will become a cherished part of your child’s dress-up collection. Whether for Halloween, fairy tale adventures, or everyday fun, this tulle cape is sure to inspire countless magical moments.

