DIY Large Scale Art Piece with Handmade Paper
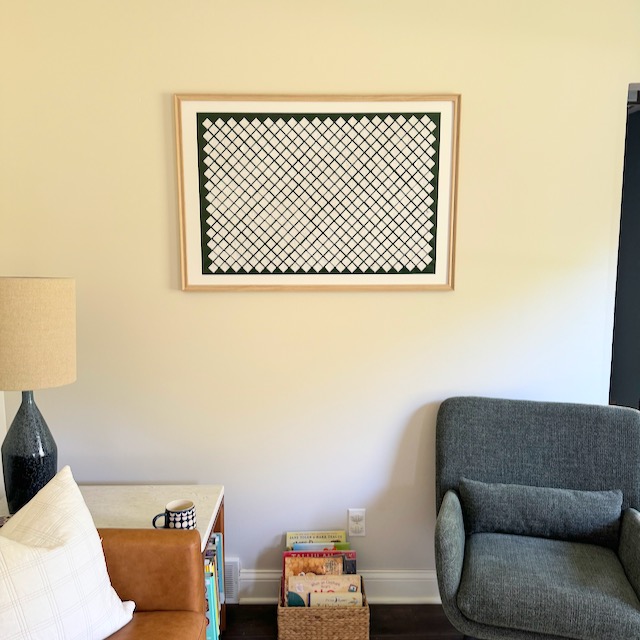
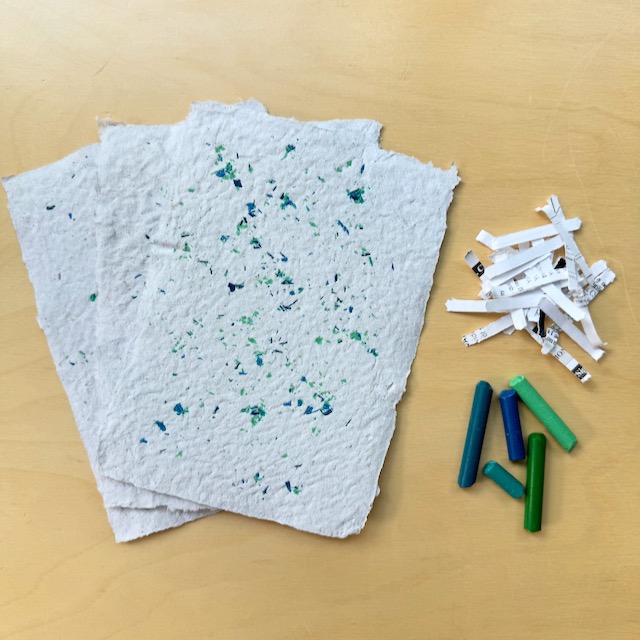
I’ve always loved the look of large scale art, but struggled with the price tag of even an art print at a larger size. So I found a way to make a DIY large scale art piece with handmade paper (learn to make some here) and wrapping paper.
This project is not only enjoyable but also relatively simple, making it perfect for artists of all skill levels. In this tutorial, I will walk you through the steps to create your own handmade paper art, from selecting materials to assembling your masterpiece.
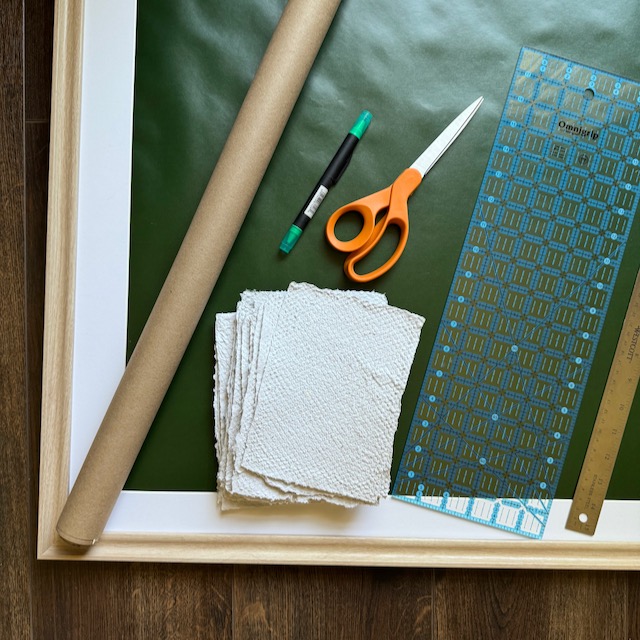
Materials and Tools Needed
- Handmade paper (could also substitute a nicer cardstock, scrap book paper, or maybe even cut up paper of children’s artwork)
- A larger piece of colored paper for the background (wrapping paper, paint butcher paper, bulletin board paper, maybe paint a piece of paper or the back of whatever art is in the frame you have)
- Scissors, craft knife, or rotary cutter
- Glue (white glue, glue stick, or a glue gun)
- Pencil and ruler
- Cutting mat (optional)
- Frame
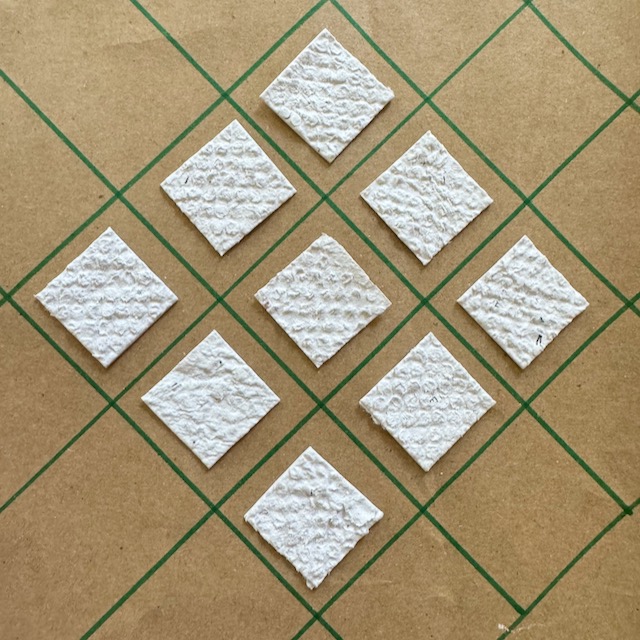
Testing Your Designs
You can simply follow my design or come up with your own. If you’re working through ideas I suggest placing them out and testing them on a smaller scale before committing to your frame. I went through several iterations before I settled on my final design.
You could easily add lines drawn in with a marker, or small circles of paint made with a q-tip. It may also be fun to use different colored papers in different designs. Experiment and see what works best for you!
Step-by-Step Instructions for DIY Large Scale Art
1. Prepare the Background:
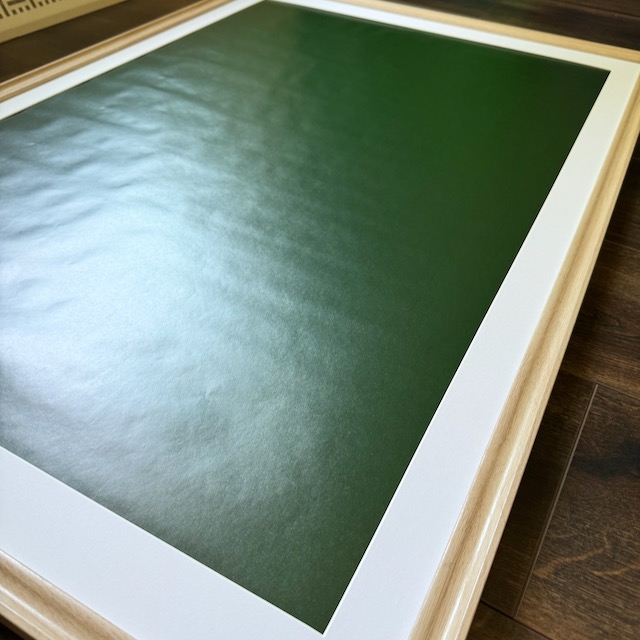
Choose a larger piece of colored paper that complements your smaller paper pieces. This will serve as the background for your artwork. Ensure the paper is sturdy enough to support the glued pieces without wrinkling or warping. I used a simple green wrapping paper that I got from IKEA.
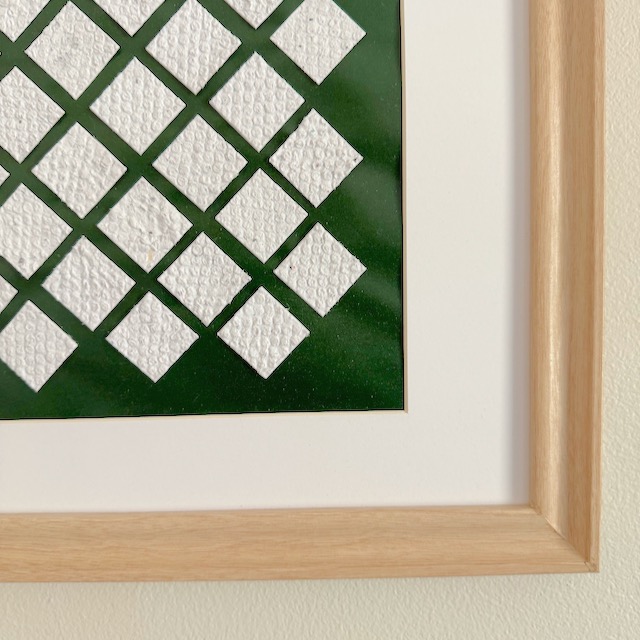
Place the paper into the frame and place the piece of glass behind the paper. This piece of art includes cut and glued pieces of paper that look best when not squished behind a piece of glass.
2. Cut the Handmade Paper
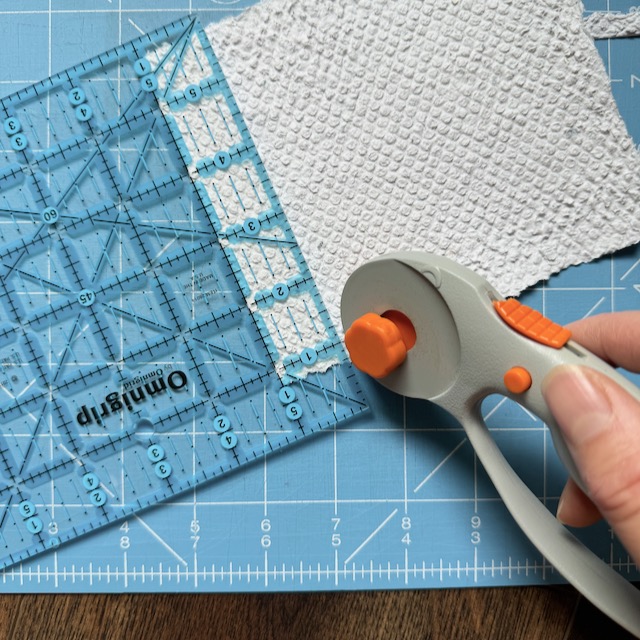
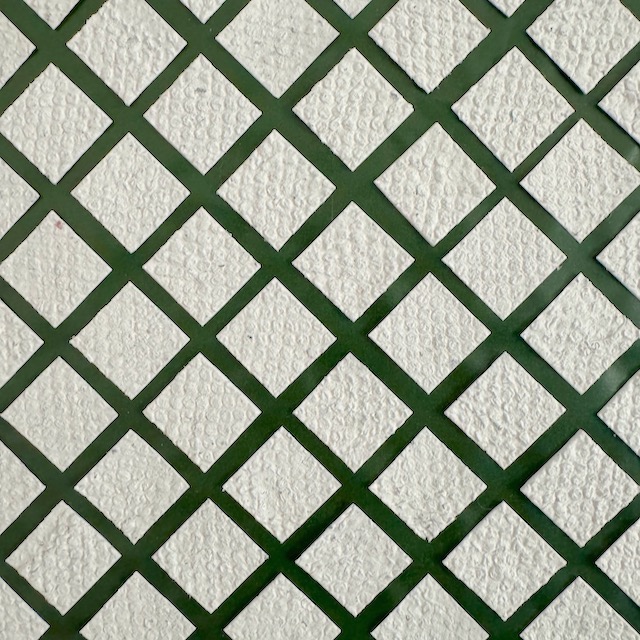
Using scissors or a craft knife, cut the handmade paper. I chose to cut mine into 1 inch squares. You can do something different! Maybe think about doing geometric shapes, organic forms, or irregular pieces, depending on your design.
3. Arrange & Place the Pieces
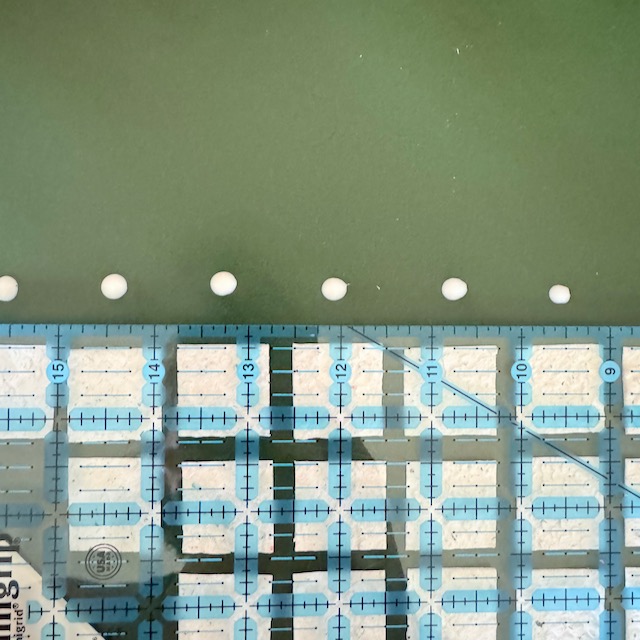
Once you’ve settled on your design, begin to glue the paper pieces in place. You don’t need a lot of glue to do this, a simple small dot worked well. Too much glue will bleed out the sides!
I started in one corner and worked my way through the piece. If you want to ensure your piece is centered. I suggest starting in the middle!
5. Ensure Even Spacing & Alignment
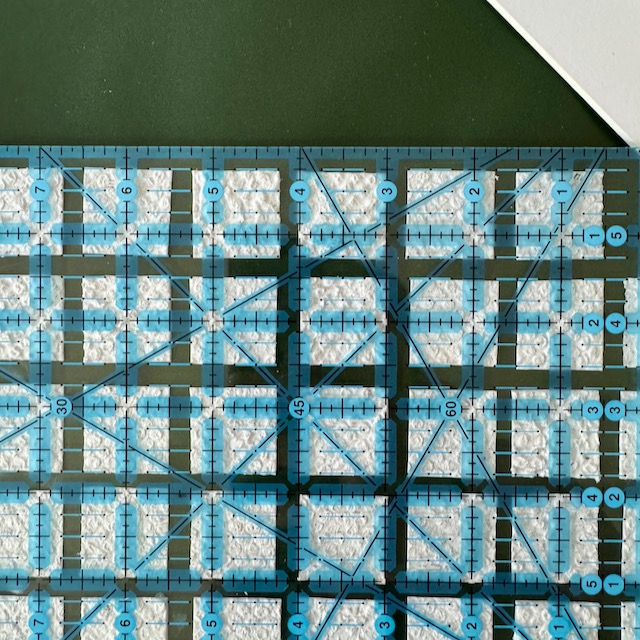
To help with placement I used a quilting ruler to help space each square 1/4 inch apart from its neighbors. If you don’t have a quilting ruler, you could use a scrap piece of paper cut to size with markings on it.
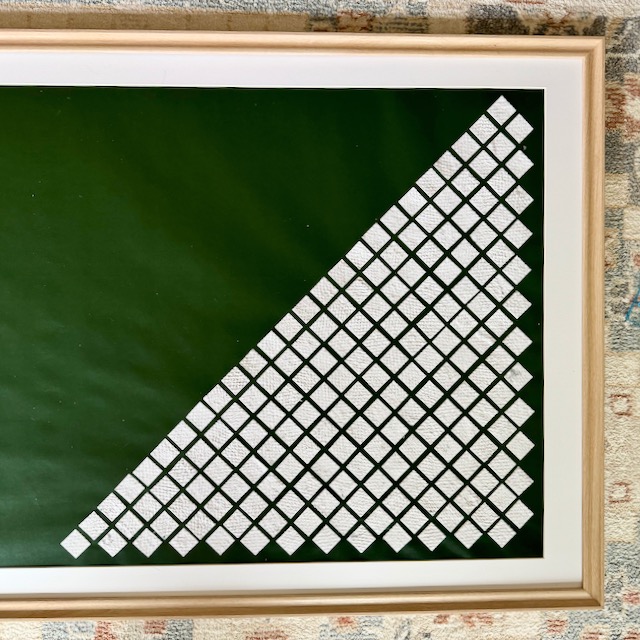
Be careful to not move the already glued pieces of paper while you are working. Since my piece had so many small squares, I let each row dry for around twenty minutes or so before gluing down the next one.
6. Finishing Touches
Once the glue is dry, check for any loose edges or areas that need additional glue. If desired, you can add extra elements such as painted details or embellishments.
Tips for Creating Any Stunning Handmade Paper Art
- Texture and Contrast: Use a variety of textures and contrasting colors to add depth and interest to your artwork. Combining smooth, rough, and patterned papers can create a dynamic visual effect.
- Layering: Experiment with layering different pieces of paper to create a sense of depth. Overlapping pieces slightly can add dimension and complexity to your design.
- Theme and Cohesion: Choose a theme or color palette to create a cohesive piece of art. Whether it’s a nature-inspired theme, a geometric pattern, or an abstract design, having a clear concept can guide your creative process.
- Personal Touch: Incorporate personal elements such as handwritten notes, drawings, or small mementos into your artwork to make it truly unique and meaningful.
Troubleshooting Common Issues
- Wrinkling: If your paper wrinkles when glued, ensure you’re using a thin layer of glue and smoothing out each piece carefully. Heavy or thick papers are less likely to wrinkle.
- Lifting Edges: If the edges of your paper pieces lift, apply additional glue and press firmly until they adhere. Using a heavier glue or a glue gun can help secure stubborn edges.
- Alignment: To keep pieces aligned, use a quilting ruler, normal ruler, or straight edge to guide placement. You can try lightly mark the background paper with a pencil to create a guide for positioning the pieces.
Conclusion – DIY Large Scale Art

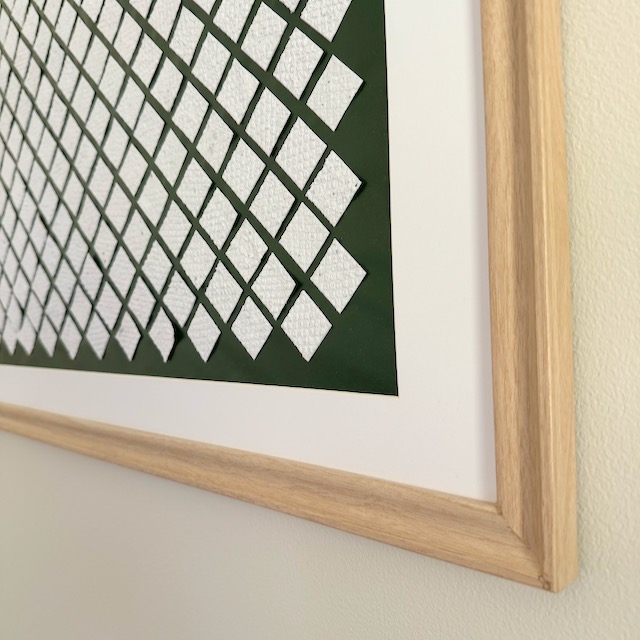
Creating a piece of DIY large scale art by gluing handmade paper to a larger piece of colored paper is a fun and straightforward project. This method allows you to explore different textures, colors, and compositions, resulting in a one-of-a-kind artwork that reflects your personal style.
By following these steps and tips, you can craft a beautiful piece that adds a unique touch to your home décor. I also love that this was a budget friendly option to making a larger piece of art, which can be quite pricey if buying new and used.