How to Sew Reusable Lunchbox Napkins

One of the easiest ways to reduce waste in your daily routine and save money is by swapping disposable paper napkins for cloth ones. Whether you’re packing school lunches, picnic snacks, or just prepping for your next family road trip, cloth napkins are a practical, frugal, and eco-friendly swap. In this tutorial, I’ll walk you through how to sew reusable lunchbox napkins using simple materials and an easy beginner-friendly technique. This is an excellent first time sewing project!

Why Sew Your Own Reusable Napkins?
Learning how to sew reusable lunchbox napkins is a great way to use up fabric scraps, old clothing, or repurpose textiles around your home. Not only are they environmentally friendly, but they also save you money over time.
Plus, homemade napkins add a personal touch to your child’s lunchbox. These are easily customizable! You can use fabric with their favorite animals or interests on them on them or embroider their names or a fun design.

What Fabric Works Best?
When choosing fabric for your lunchbox napkins, stick to woven cotton or cotton-linen blends. Quilting cotton, old button-up shirts, and cotton kitchen towels all make excellent napkins as well. These fabrics are soft, absorbent, and easy to wash.
This is a great opportunity to upcycle! If you have an old pillowcase, bed sheet, or shirt that’s seen better days, consider cutting it up for this project. Just make sure the fabric is clean and in good condition. Avoid stretchy or slippery fabrics, as they can be tricky to sew and don’t make the most effective napkins.

How to Sew Reusable Lunchbox Napkins
This project uses two 12-inch squares of fabric, making a generously sized napkin. You can easily adjust the size to your liking, smaller napkins for toddlers or larger ones for grown-ups. I also adjust my sizing simply based on how big my fabric scraps are. Here’s how to make them:
Materials:
- Two 12″x12″ squares of woven cotton fabric
- Thread
- Basic Sewing Supplies
Instructions:
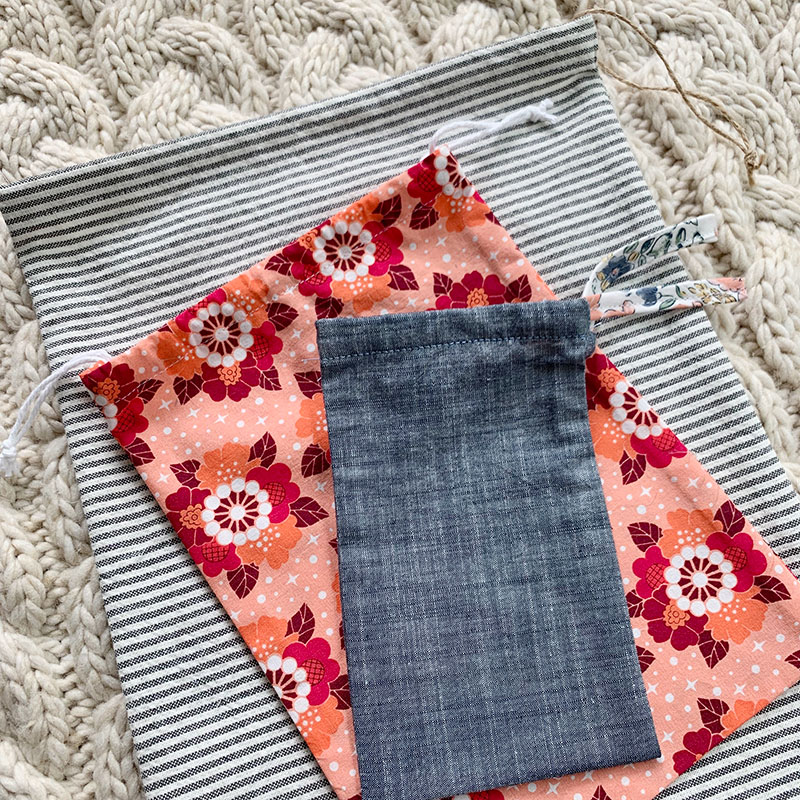
- Cut Your Fabric: Cut two 12” squares of your chosen fabric. You can use two different prints for a fun reversible napkin or the same fabric for a matching set.

2. Pin Right Sides Together: Place your fabric squares right sides together, aligning the edges. Pin or clip around all four sides to hold them in place.

3. Sew Around the Edges: Using a ¼” seam allowance, sew around all four edges, leaving a 2” gap on one side for turning.

4. Clip the Corners: Trim the excess fabric from the corners diagonally. This reduces bulk and helps create sharp corners when you turn the napkin right side out. Just be careful not to cut into your stitches!

5. Turn Right Side Out & Press: Carefully turn the napkin right side out through the gap. Use a chopstick or pencil to gently push out the corners. Press the napkin flat, making sure the edges are even and the corners are sharp. Tuck in the raw edges of the gap so they are aligned with the rest of the seam.

6. Topstitch: Sew a line of topstitching around the entire napkin, about 1/8” from the edge. This closes the gap and gives the napkin a finished, professional look. (Hint: this could be a fun place to use a decorative stitch or a coordinating thread color! A great way to use up extra scrap thread spools!)
You’ve just made your first reusable lunchbox napkin! Now go ahead and make a few more to build a full set.
Make It Your Own

You can personalize your napkins with different fabrics for each family member, or even add embroidered initials or decorative stitching. The size can also be customized based on your needs. Some people prefer a smaller 8” square for snacks, while others might want a larger 14” napkin for meals.
When you sew reusable lunchbox napkins, you not only reduce waste but also add something handmade and thoughtful to your everyday routine. They make great gifts, are perfect for back-to-school season, and can be washed and reused for years to come.
If you make napkins following this tutorial, I would love to know! Feel free to comment below or tag me on social media!