How to Patch Drywall Cracks

Cracks in drywall are a common issue for homeowners and renters alike. Whether caused by natural settling of a house, temperature fluctuations, or general wear and tear, these cracks can be unsightly. Fortunately, learning how to patch drywall cracks is a straightforward DIY project that requires minimal tools and materials.
Follow this guide to restore your walls to their smooth and polished state.
Do I Really Need to Use Drywall Tape?
When repairing cracked drywall, using drywall tape is essential to prevent the crack from reappearing. If you simply apply joint compound over the crack without reinforcement, the movement of the wall can cause it to split again over time or almost immediately.
Drywall tape bridges the gap, adding strength and stability to the repair. Whether you choose mesh or paper tape, properly embedding it in joint compound creates a more durable, long-lasting fix that won’t easily crack again.
Materials Needed to Patch Drywall Cracks

- Joint compound (also known as drywall mud, don’t get the small can of pink stuff, it is too thick and made for patching small holes)
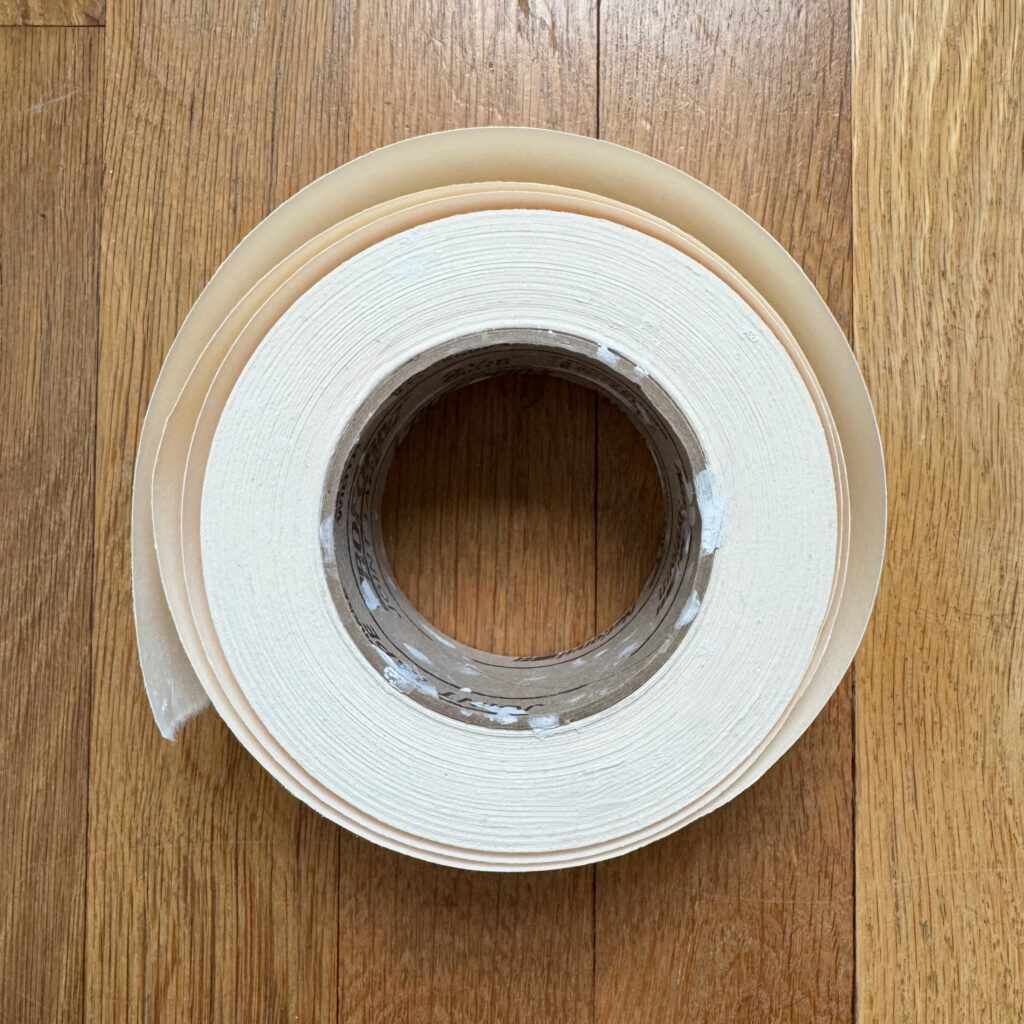
- Drywall tape (paper or mesh)
- Taping knife (I prefer to use both a smaller 4 inch and larger 10 inch taping knife)
- Sanding block or fine-grit sandpaper (120-150 grit)
- Primer and ceiling/wall paint (to match your ceiling/wall color)
- Roller & paintbrush
- Clean cloth or sponge
Step-by-Step Instructions to Patch Drywall Cracks
Step 1: Prepare the Area
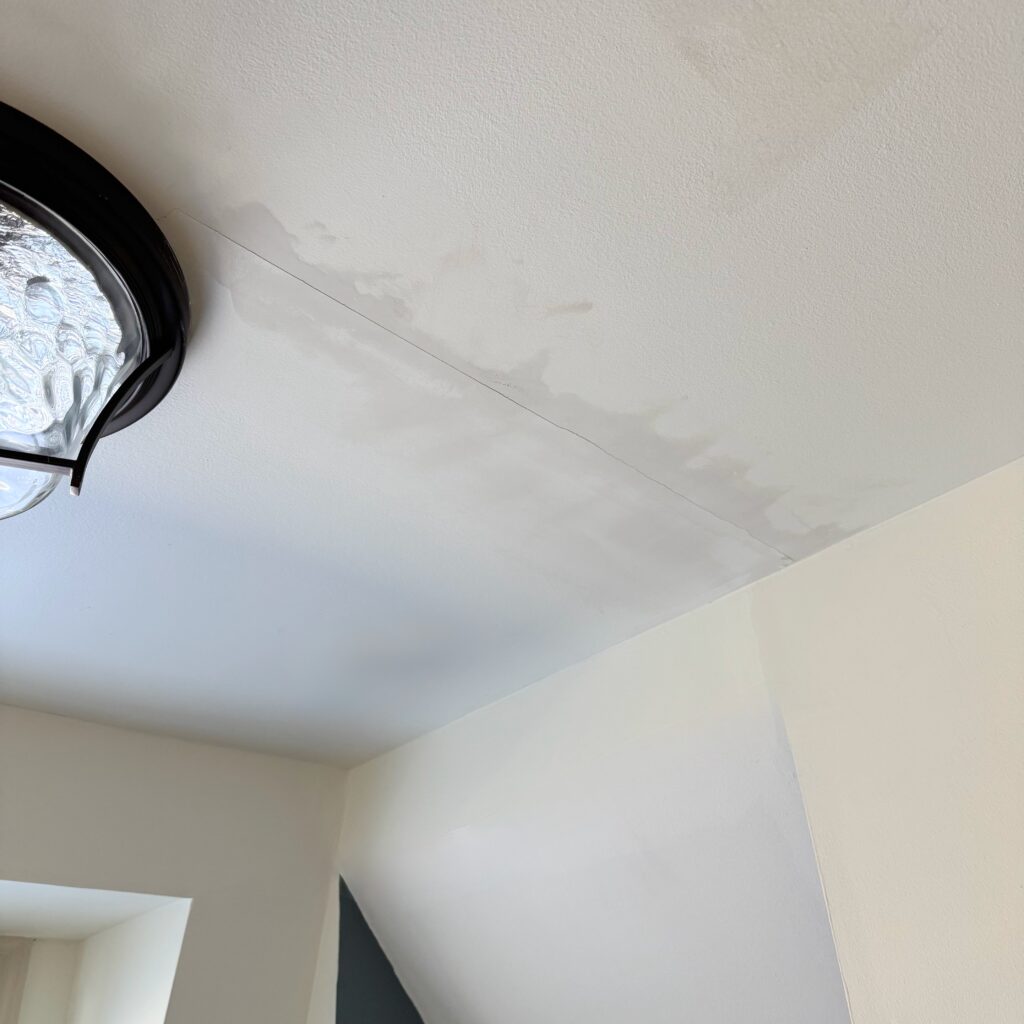
- Clean the Crack: Use a clean cloth or sponge to wipe away any dust, debris, or loose drywall from the crack.
- Widen the Crack Slightly: For hairline cracks, use the tip of a utility knife to slightly widen the crack. This step ensures the joint compound adheres better.
2: Apply Drywall Tape
- Cut the Tape: Cut a piece of drywall tape to fit the length of the crack.
- Position the Tape:
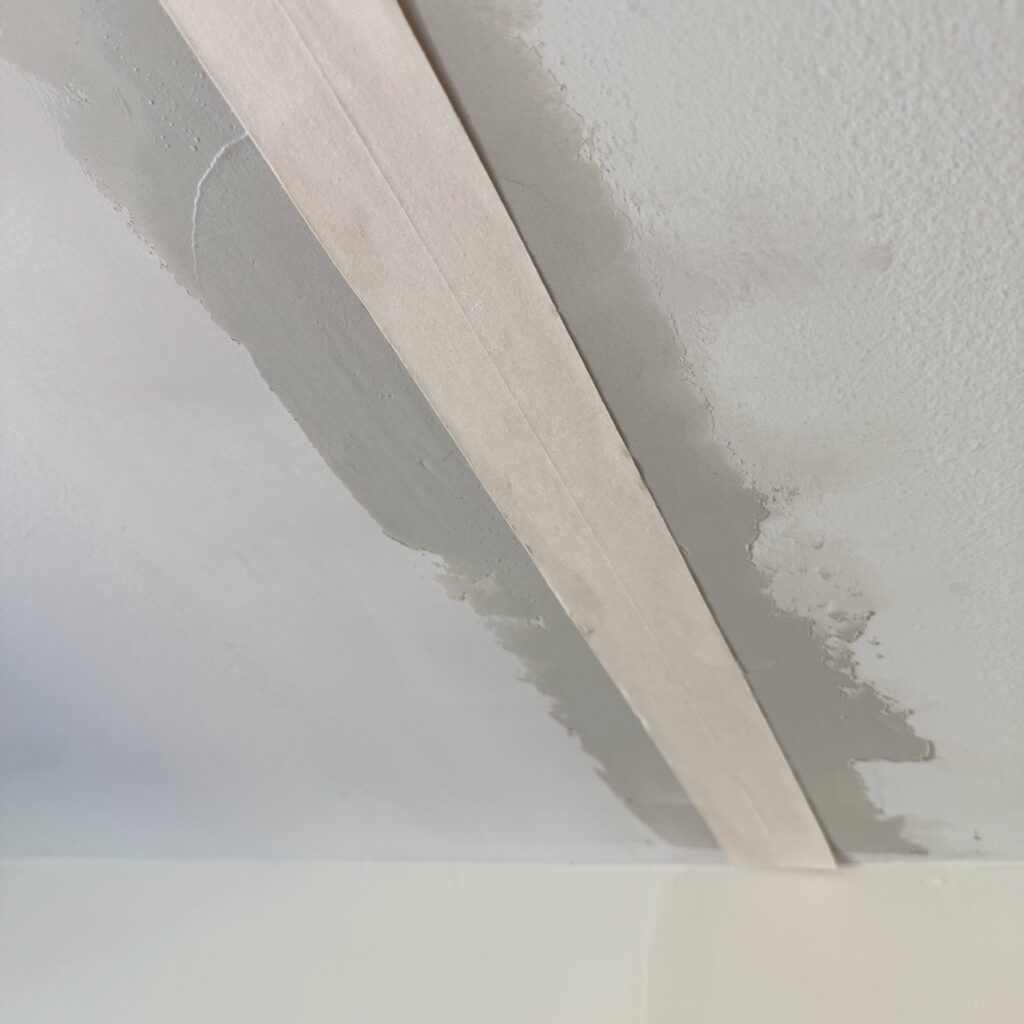
- For paper tape, you’ll need to apply a layer of joint compound first to hold the drywall tape in place. I suggest using a smaller taping knife to do this initial pass. Center and place the tape over the crack.
- If using mesh tape, it’s self-adhesive, so press it firmly onto the wall, centered over the crack.
3: Apply Joint Compound
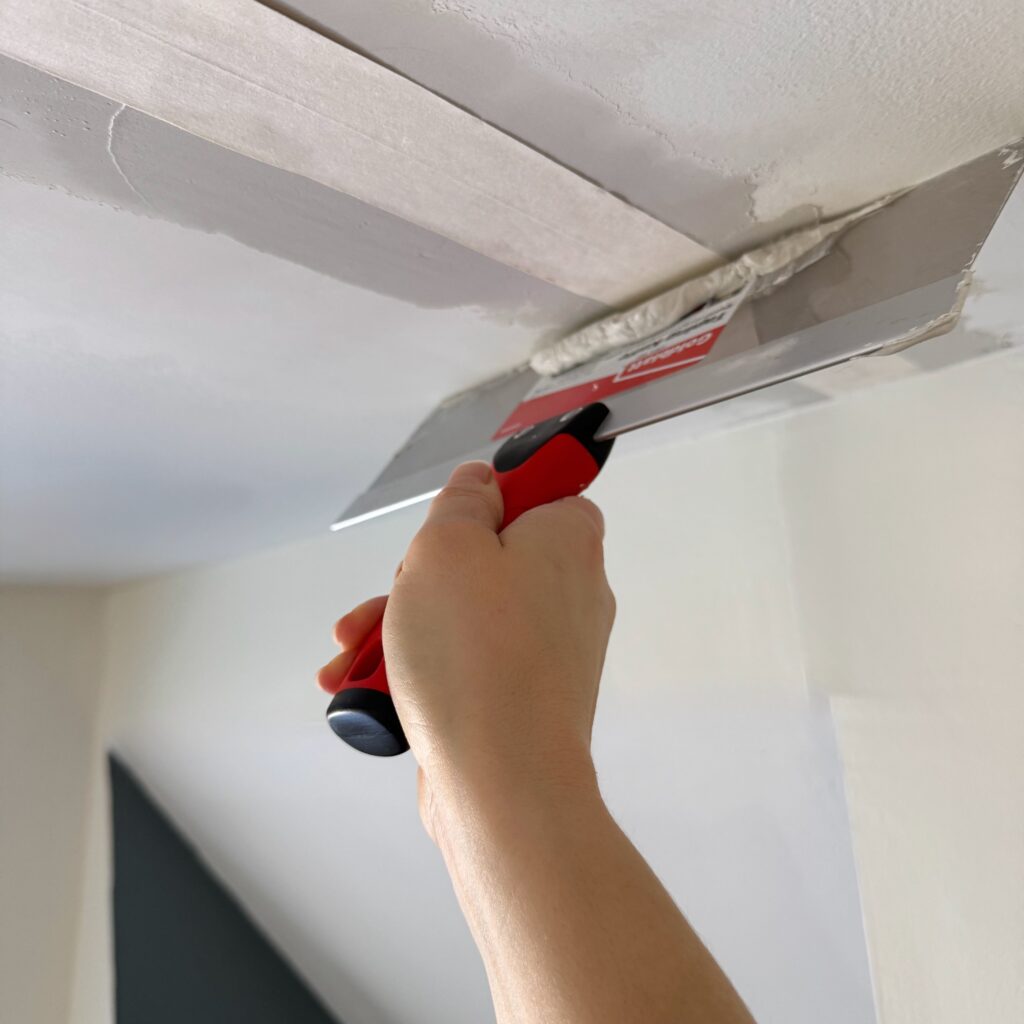
- First Layer: Use a larger taping knife to spread a thin layer of joint compound over the tape. Ensure the compound extends a few inches beyond the tape’s edges for a smooth blend. If you used paper tape, be sure to push the drywall tape into the initial layer of joint compound for a firm seal.
- Feather the Edges: Pass over the drywall mud maybe once or twice more to smooth the edges of the compound to blend it seamlessly into the wall.
- TIP: The more time you spend feathering the worse it will look. It will start to dry within a few minutes. I found it best to do several thin layers of joint compound instead of trying to make 1-2 layers look perfect.
- Dry Time: Allow the compound to dry completely. This may take a few hours or overnight, depending on the product.
4: Sand and Reapply Compound
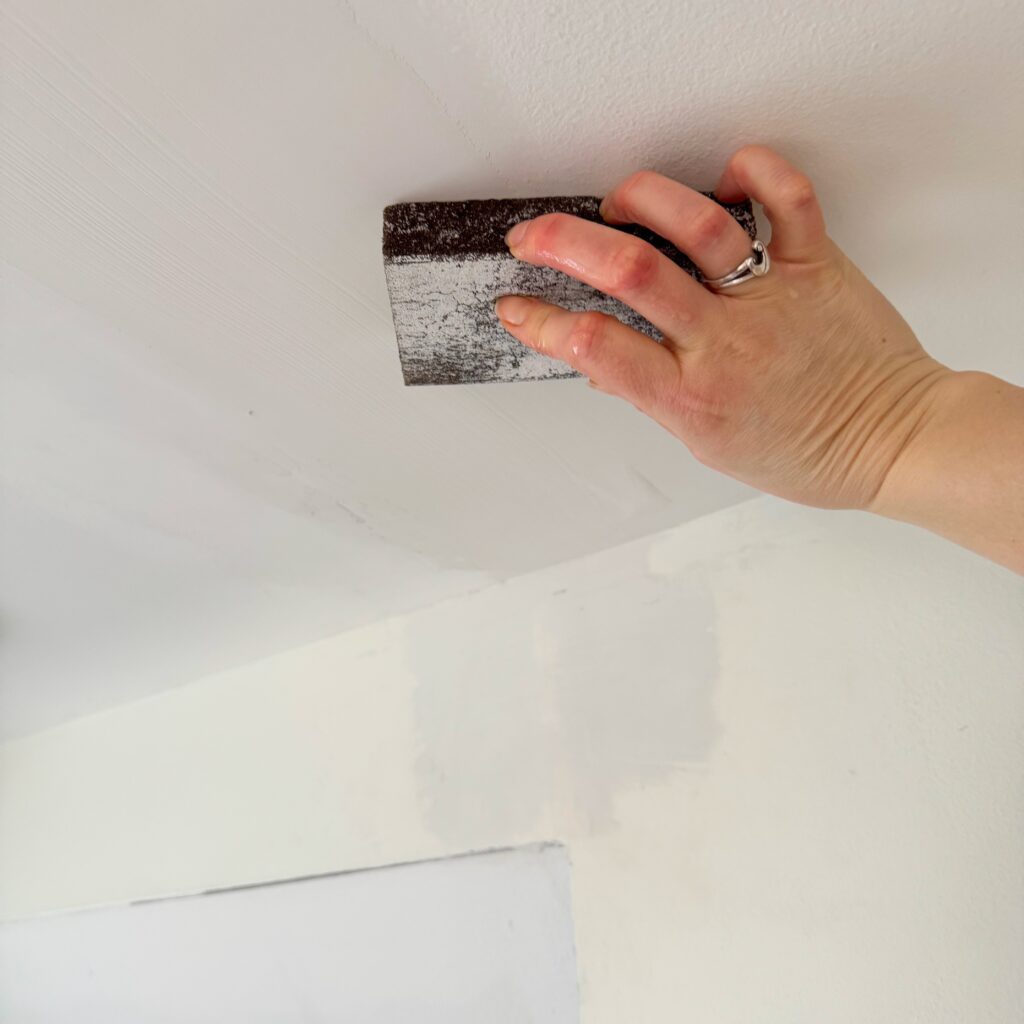
- Sand Smooth: Once the first layer is dry, lightly sand the area with a sanding block or fine-grit sandpaper to remove any ridges or bumps.
- TIP: Sanding drywall can be incredibly dusty. If you use a sanding block, you can do what is called a wet sand, where you simply put the sanding block in a bucket of water and sand with it wet. The drywall may become a bit wet, which is totally okay. Just let it dry before moving on.
- Second Layer: Apply a second, slightly wider layer of joint compound (with a larger taping knife), feathering the edges further out.
- Repeat if Necessary: For larger cracks, you may need to apply a third layer of compound. Sand between each layer.
5: Prime and Paint
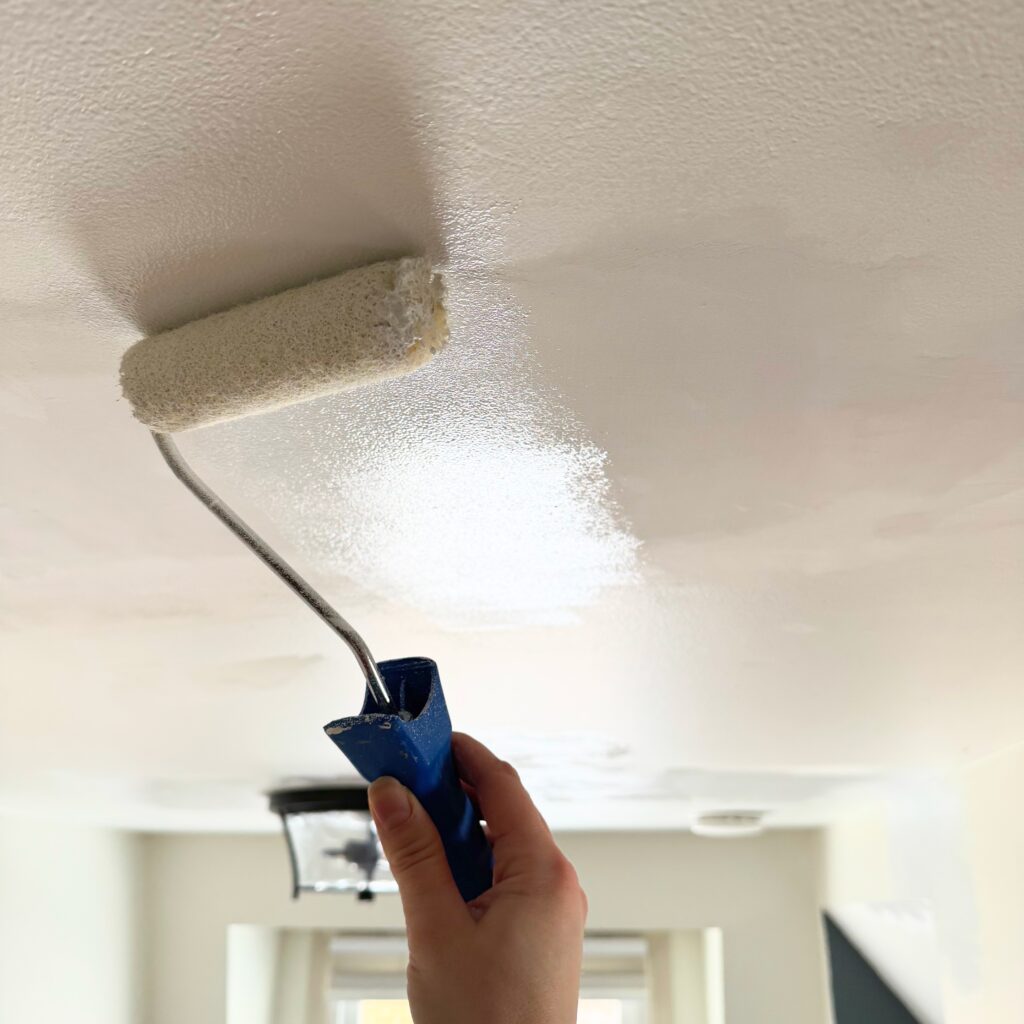
- Prime the Area: Once the final layer of compound is dry and smooth, apply a coat of primer to the patched area. This step prevents the patch from absorbing paint differently than the surrounding wall.
- TIP: I suggest you use a roller with a nap that is similar to what your wall is like. For example, if your wall or ceiling has slight bumps in it, use a roller with a 1/2 inch nap. This will the patched part of the wall or ceiling the same texture as the surrounding areas. Making your patch job blend in more seamlessly.
- Paint: Paint over the patch with a color that matches the rest of the wall or ceiling. Use a roller for an even finish that blends in.
Tips for Success
- Choose the Right Tape: Mesh tape is easier to use for beginners, but paper tape provides a stronger bond for larger cracks.
- Work in Thin Layers: Applying joint compound in thin layers reduces drying time and ensures a smoother finish.
- Use Proper Lighting: Good lighting helps you spot imperfections in the patching process.
- Blend the Edges: Feathering the compound into the surrounding wall and thorough sanding ensures the patch isn’t noticeable after painting.
When to Call a Professional
If the cracks are very large, recur frequently, or are accompanied by other structural issues, it’s best to consult a professional. Cracks of this nature may indicate foundational problems that require expert assessment.
By following these steps, you’ll have your drywall looking as good as new in no time. With just a little effort, you can patch cracks and maintain a smooth, beautiful finish in your home!