How to Make a Paper Mache Bowl
Paper mâché is a fantastic craft for creating unique and functional pieces of art – piñatas, Easter Eggs, masks, and many more. A paper mache bowl is a perfect beginner project!
Using just a few simple supplies, you can make a beautiful, one-of-a-kind bowl that’s great for holding lightweight items or used as a decorative piece. In this tutorial, I’ll guide you step-by-step, include my easy recipe for homemade paper mache paste from flour and water, and suggest a few alternative adhesives to suit your crafting needs.
Why Make a Paper Mache Bowl?
Paper mache bowls are not only fun to create but also a wonderful way to upcycle old newspapers, scrap paper, or even tissue paper. Whether you’re crafting for a school project, a gift, or just a fun weekend activity, these bowls are both eco-friendly and customizable.
Materials Needed
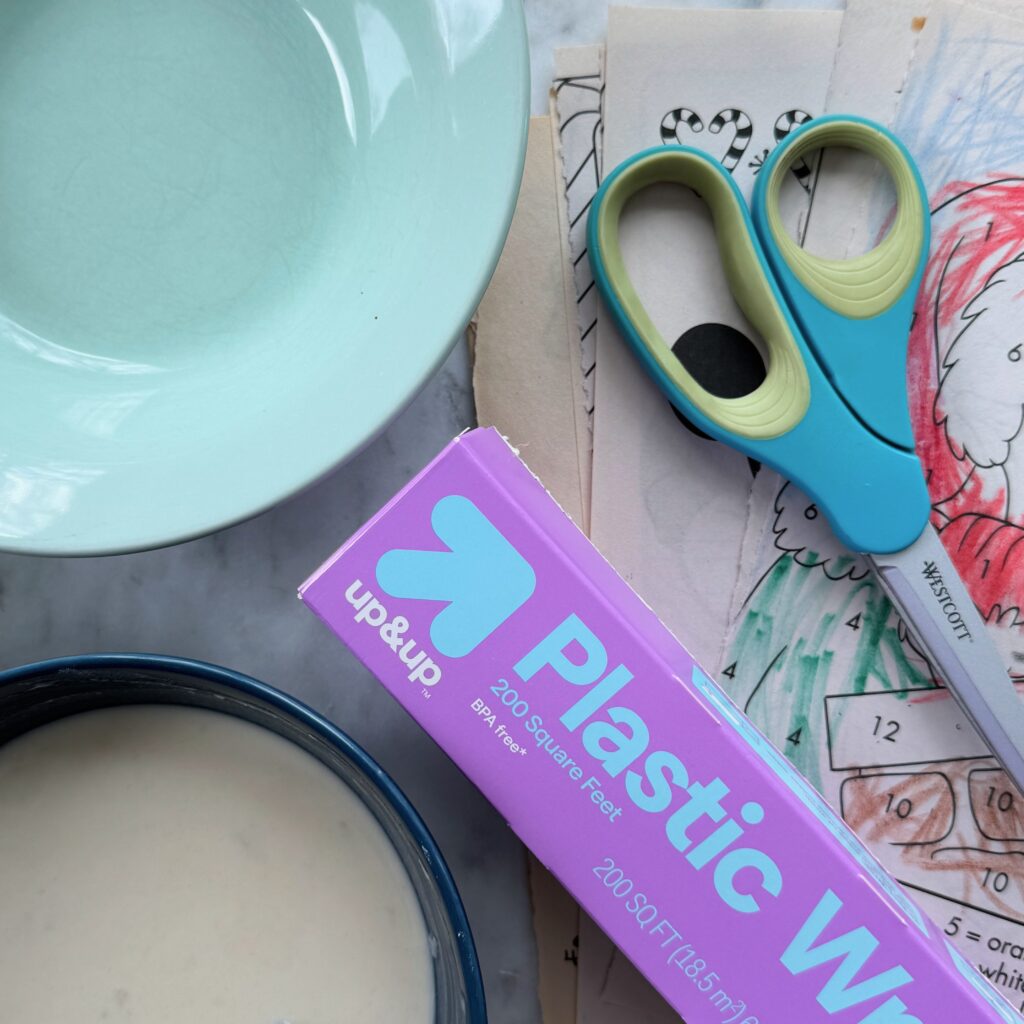
To make your paper mache bowl, you’ll need:
- Newspaper or scrap paper (torn or cut into strips)
- Paper mache paste (see recipe here!)
- A bowl to use as a mold
- Plastic wrap or a thin plastic bag like a grocery bag (to protect the mold)
- Brushes
- OPTIONAL for decorations: paint, napkins, paint alternatives (see below)
- OPTIONAL for sealing: Clear varnish or Mod Podge
Alternative Paint Options – Compostable & Natural
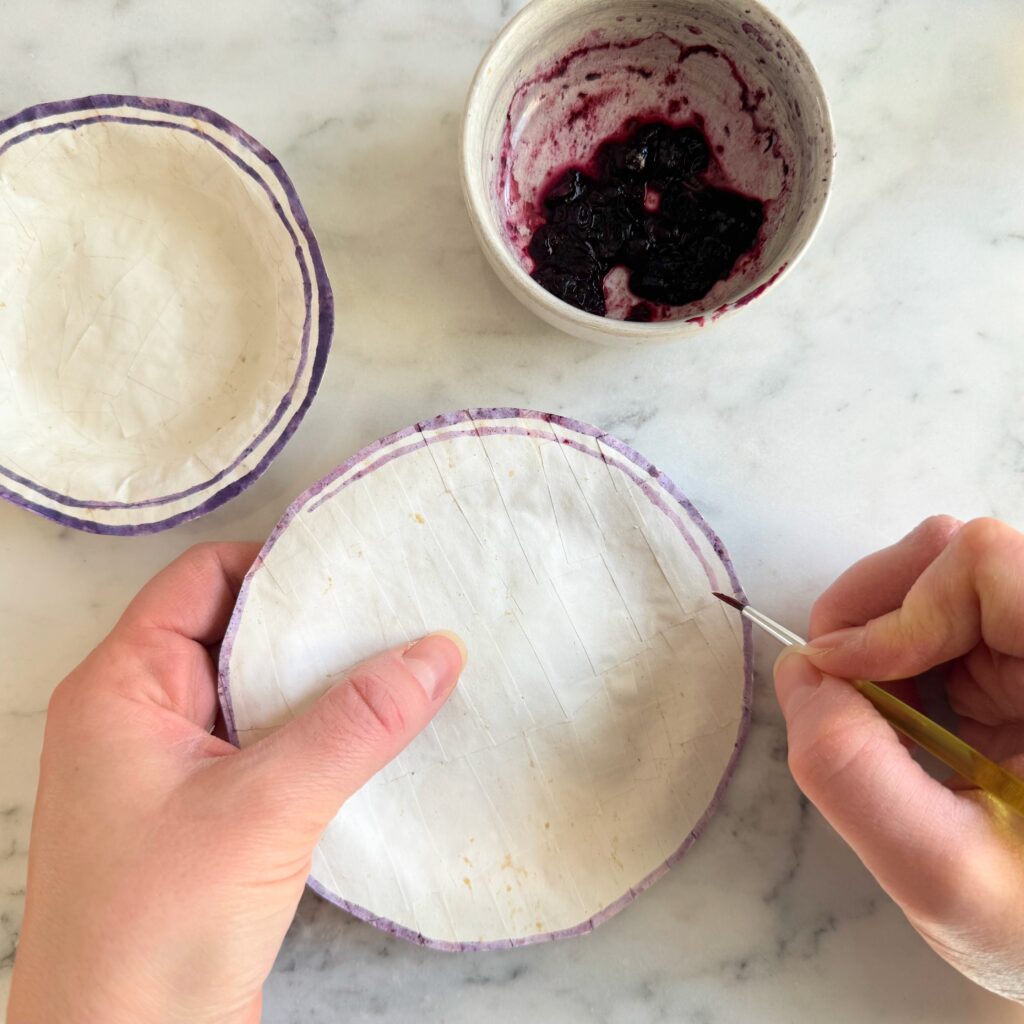
One of my favorite parts about paper mâché is that if using the flour and water glue recipe, your entire piece of compostable! Instead of throwing it into the trash when you’re done, it can be turned back into soil.
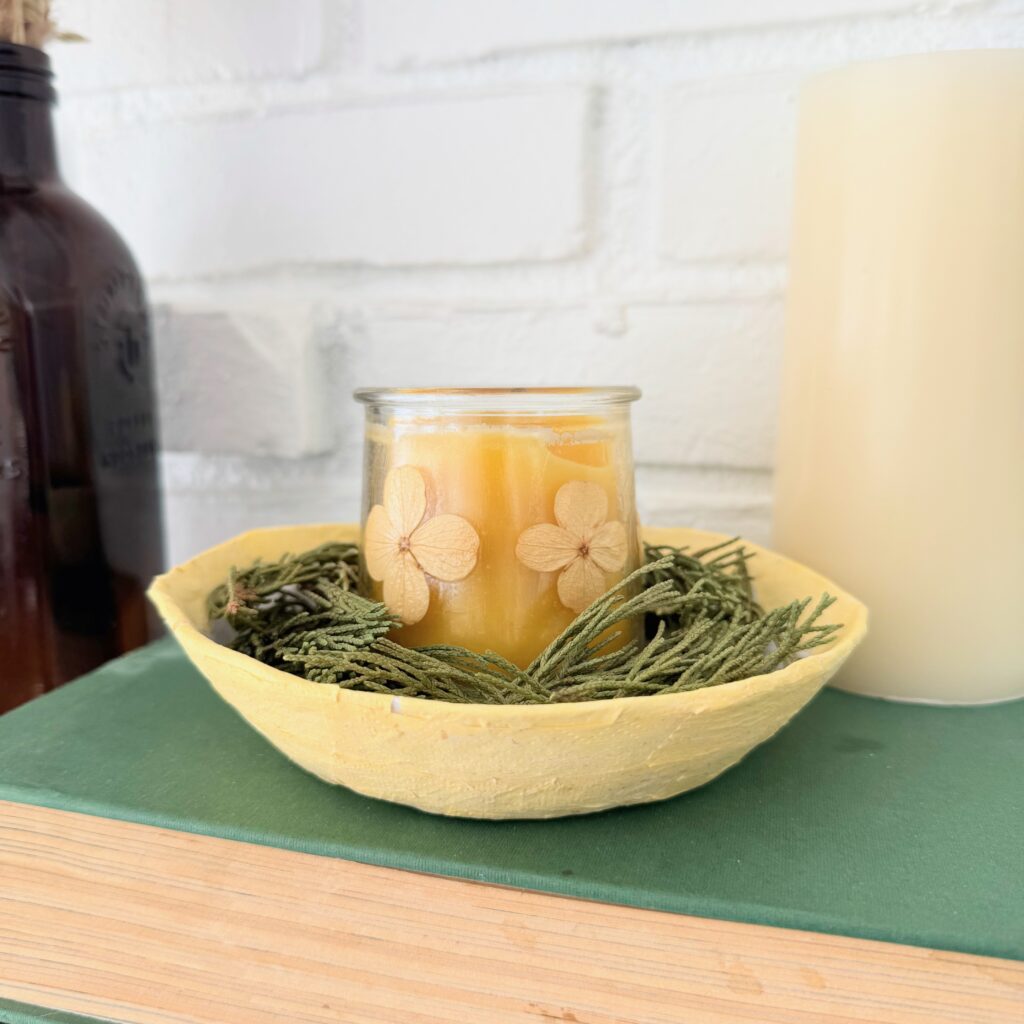
When decorating paper mâché, you will have to use compostable paints, like I did in the above photo. Here are some of my favorites!
- Purple: thaw frozen blueberries and mash them to release their juices.
- Red: crush raspberries or beets
- Yellow: try turmeric mixed with a bit of water.
- Green: Spinach or parsley
- Brown: strong brewed coffee or tea
Mix these natural pigments with a small amount of flour or cornstarch for a thicker consistency, or simply use water for a thinner paint. Once you’re done, the paint and any leftovers can be composted!
Step-by-Step Instructions
1. Prepare Your Paste
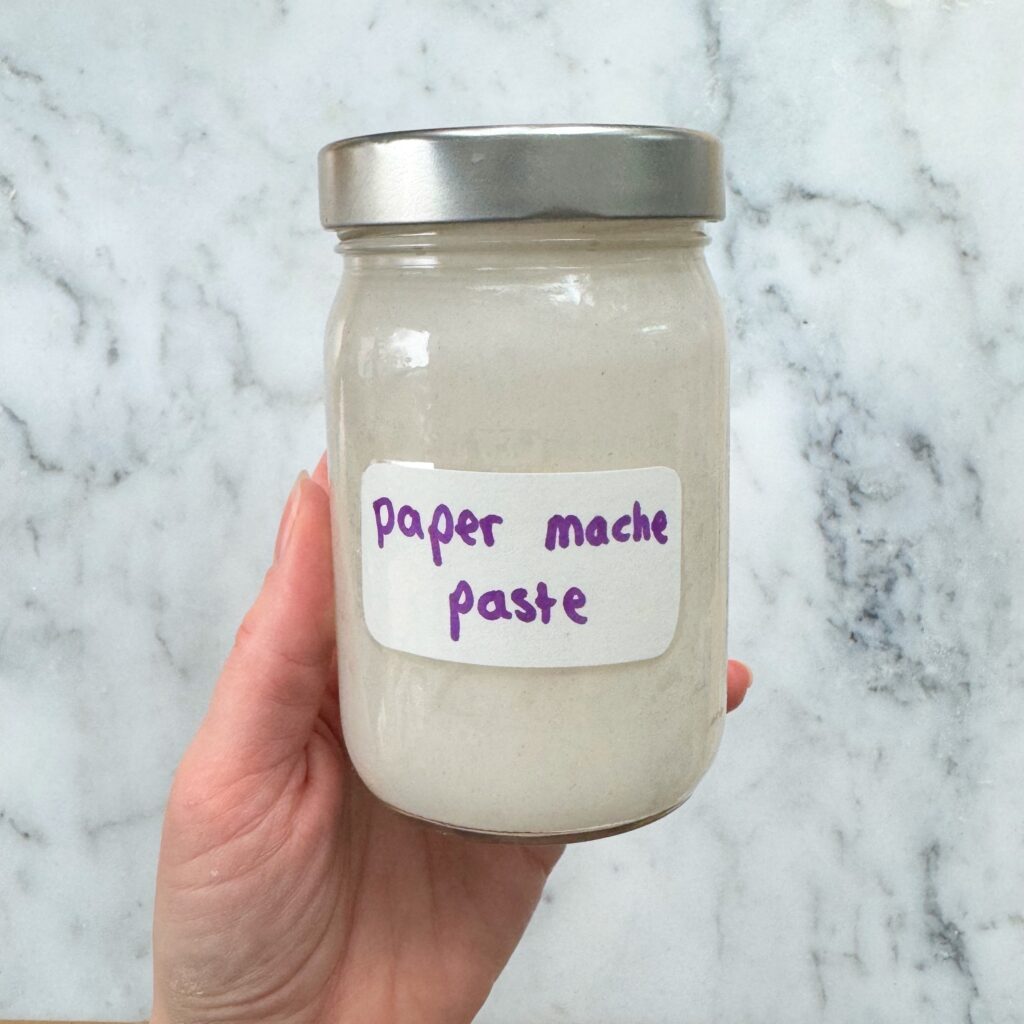
Start by mixing up a batch of paper mache paste using our simple recipe of flour and water.
If you’re looking for an alternative (but not compostable), you can use diluted white glue (mix equal parts glue and water) or liquid starch for a different texture and finish. Homemade paste is an eco-friendly option, but these alternatives can offer added convenience or strength.
2. Set Up Your Mold
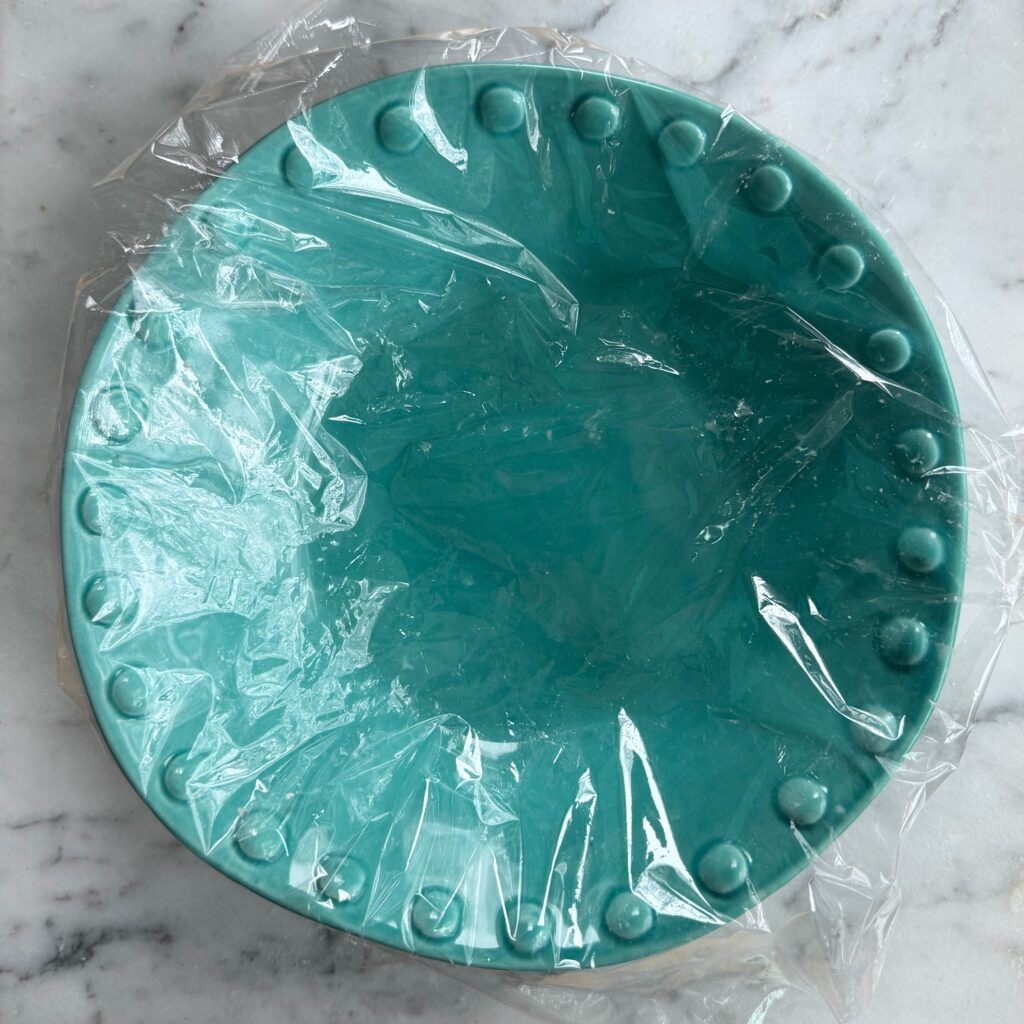
Choose a bowl in the size and shape you’d like your finished paper mache bowl to be.
I highly recommend using the INSIDE of the bowl as a mold. The paper mâché will shrink as it dries. I have read several stories of people breaking their bowls trying to dislodge their paper mâché if they use the outside.
Cover it completely with plastic wrap or a plastic bag to protect it from sticking to the paper mache.
3. Apply Paper Strips
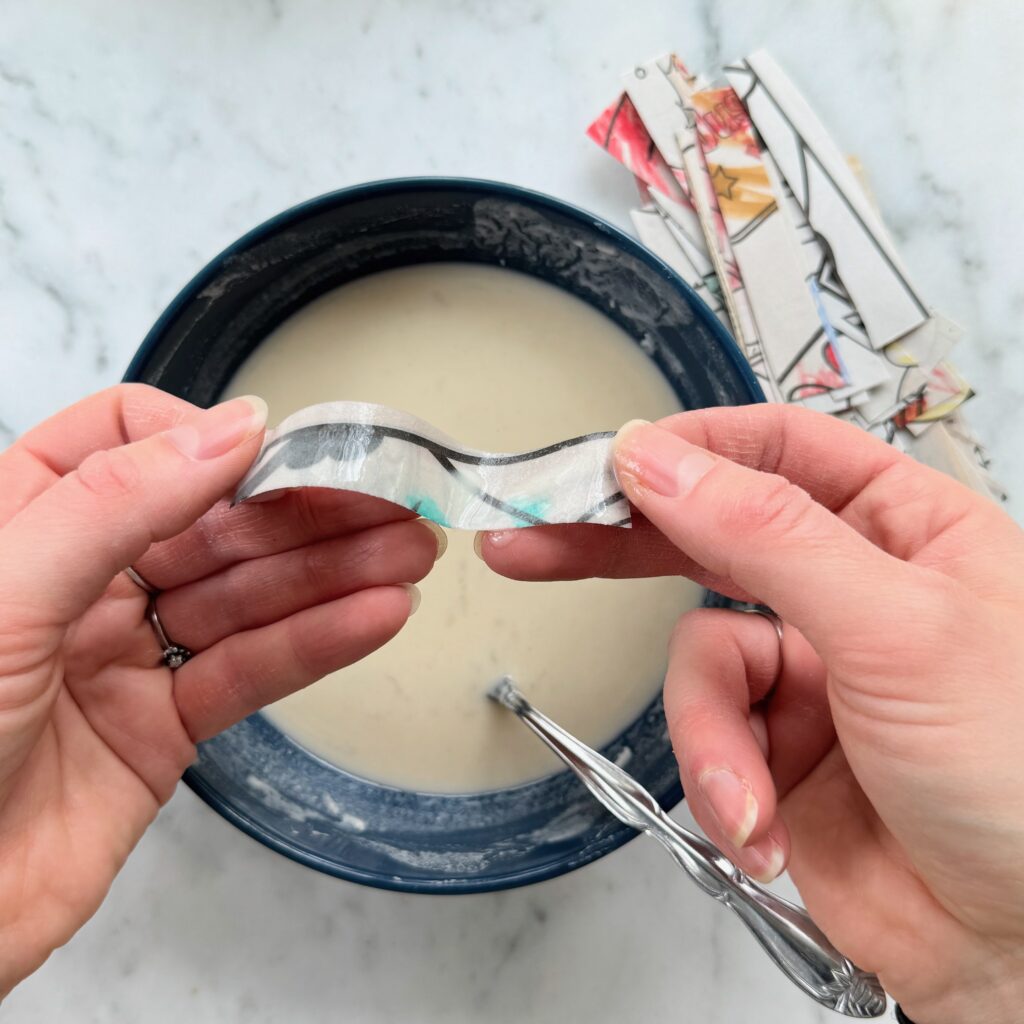
Dip each strip of paper into the paste, ensuring it’s fully coated. Remove any excess paste by running the strip between your fingers.
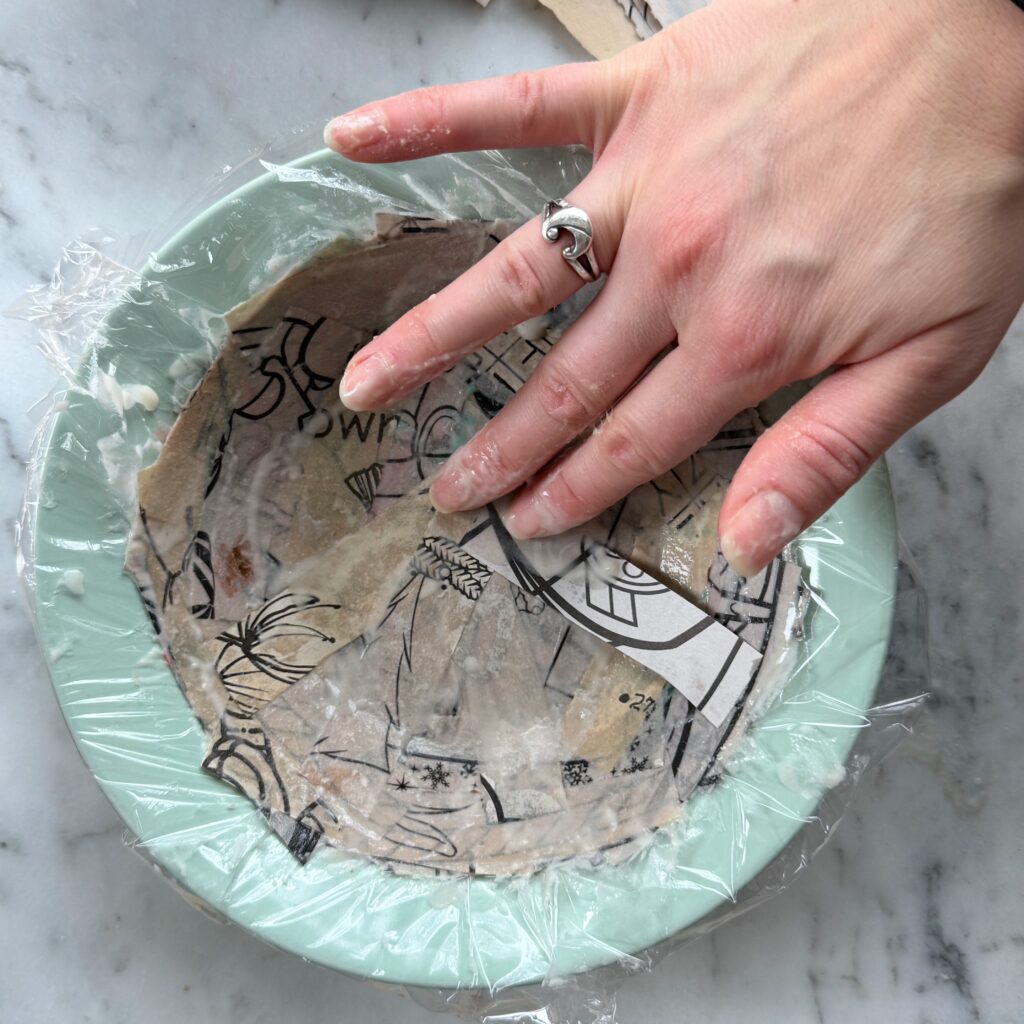
Place the strip over your mold, smoothing it out as you go to remove bubbles or wrinkles. Repeat this process, layering the strips in different directions until the entire bowl is covered.
Aim for at least 3-4 layers for sturdiness.
4. Let It Dry
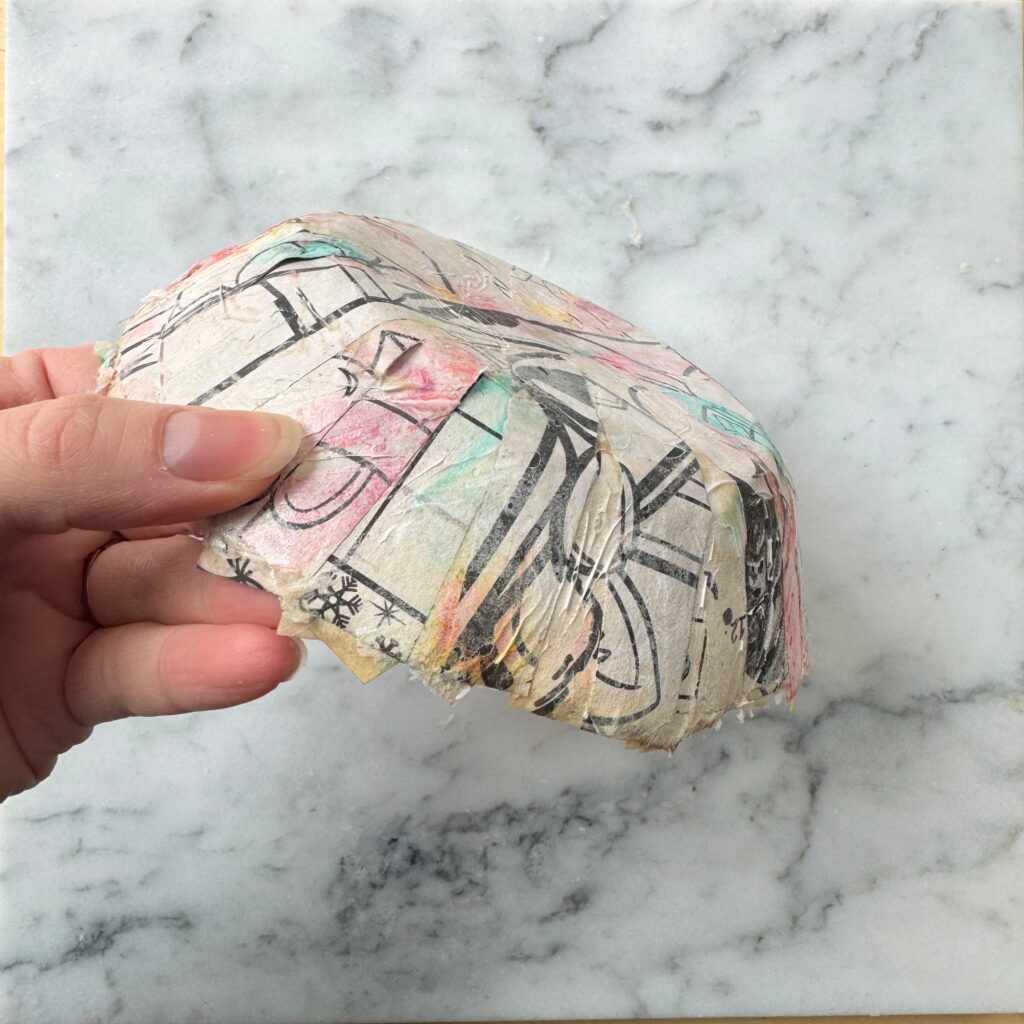
Allow your paper mache bowl to dry completely, which can take 24-48 hours depending on the humidity. Once dry, carefully remove it from the mold and peel away the plastic wrap or foil.
5. Trim the Edges
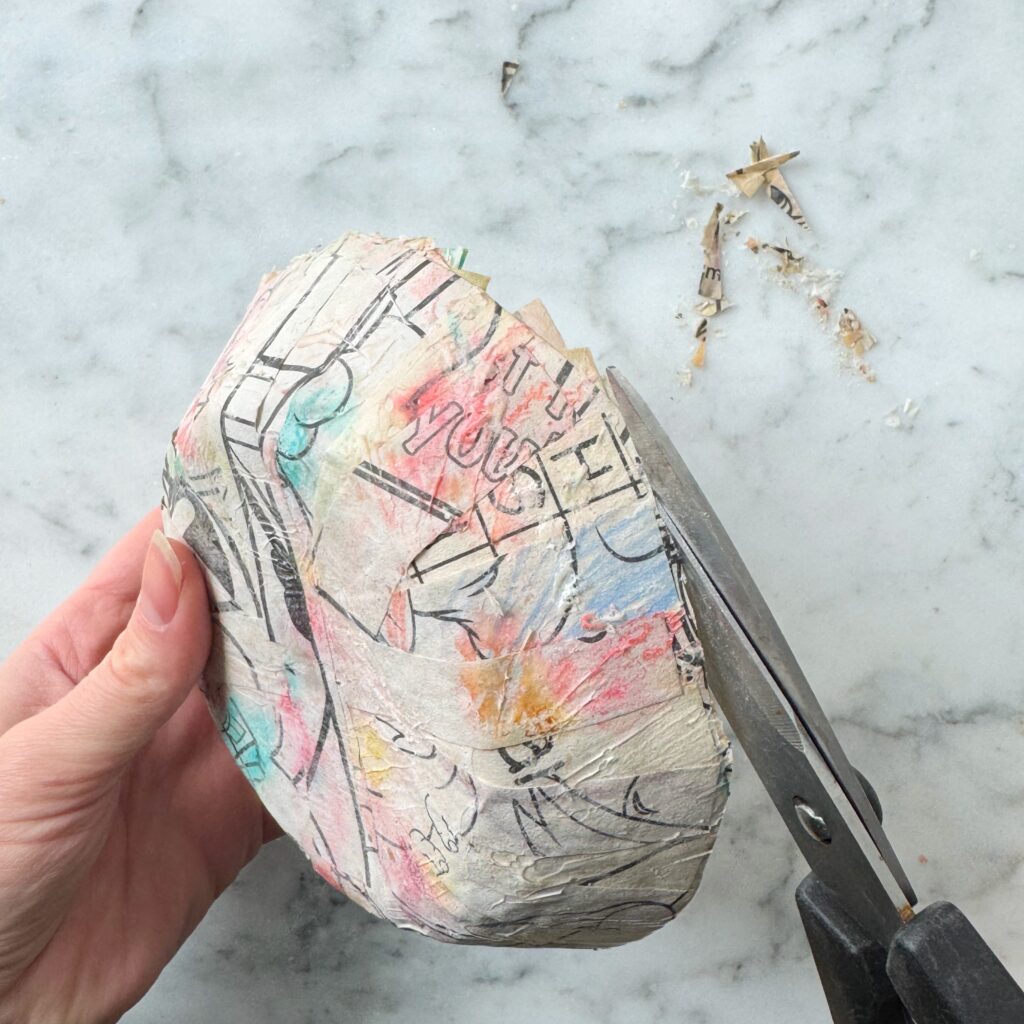
Your bowl will most likely have jagged edges from the outermost pieces of paper. I like to use scissors to give the bowl a clean edge.
6. Decorate and Seal
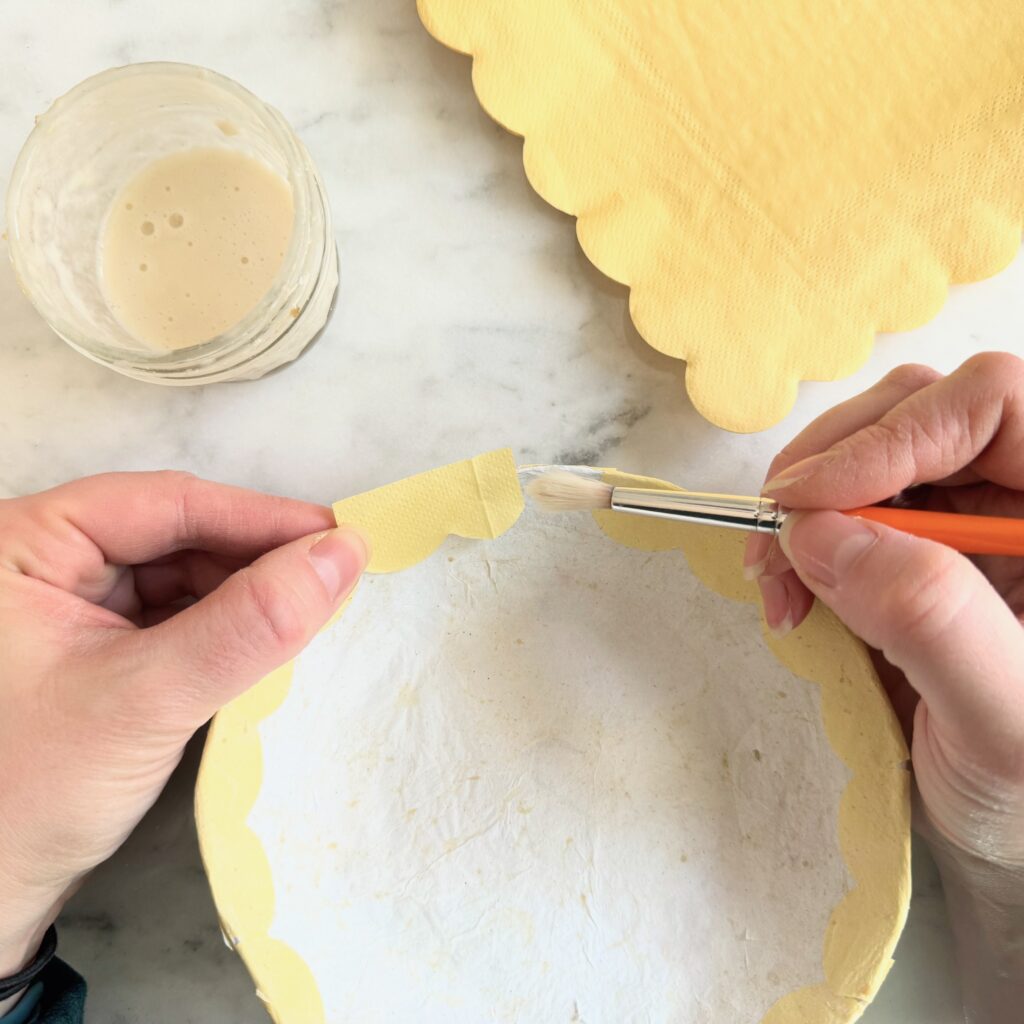
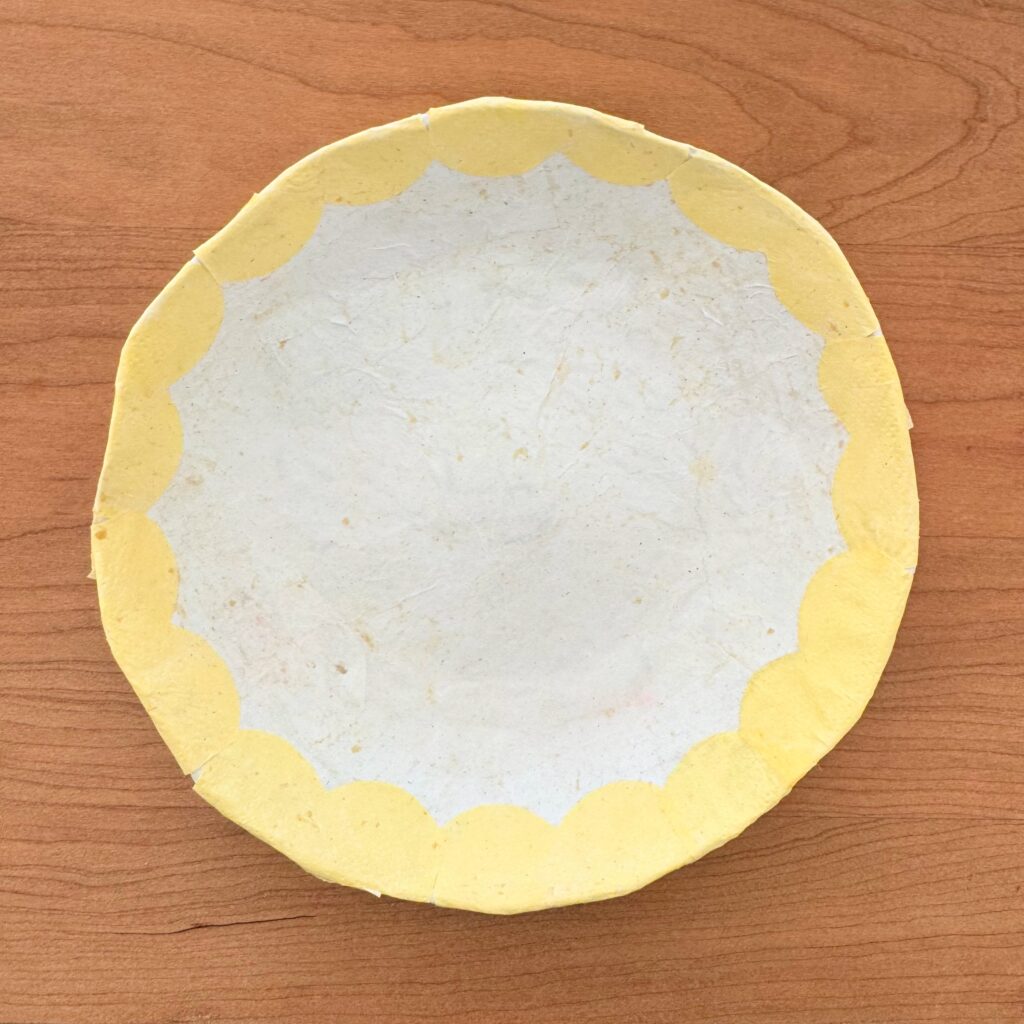
This is where you can get creative! Paint your bowl with natural paints (mentioned above), acrylics or watercolors. Or you can apply a layer or patterned or colored napkins. (If the napkins are shiny, they are not compostable).
I used yellow napkins that had a scalloped edge. The scallops were easy to cut up into smaller pieces and then I applied them to the inside of the bowl.
I found that the bowl with just the flour and water glue was incredibly strong on its own, but it is not waterproof. If you want to waterproof your piece you can apply a varnish to it. (But once again, the varnish does not make it compostable.)
Tips for Success
- Tear, Don’t Cut: Tearing paper strips creates frayed edges that blend better in layers. (Something I learned clearly after I did this project.)
- Layer Papers: If using different types of paper, alternate papers between layers to ensure you don’t miss any spots.
- Use Thin Layers: Avoid oversaturating your paper with paste to prevent sagging.
- Use Thin Paper: Newspaper or cheaper coloring book paper works really well for this project since it is so thin. Thinner paper means the layers will blend together better.
Why Make a Paper Mache Bowl?

Creating a paper mache bowl is a rewarding way to combine art and sustainability. By reusing materials like scrap paper and crafting your own paste, you’re not just making art—you’re contributing to a more eco-conscious lifestyle.
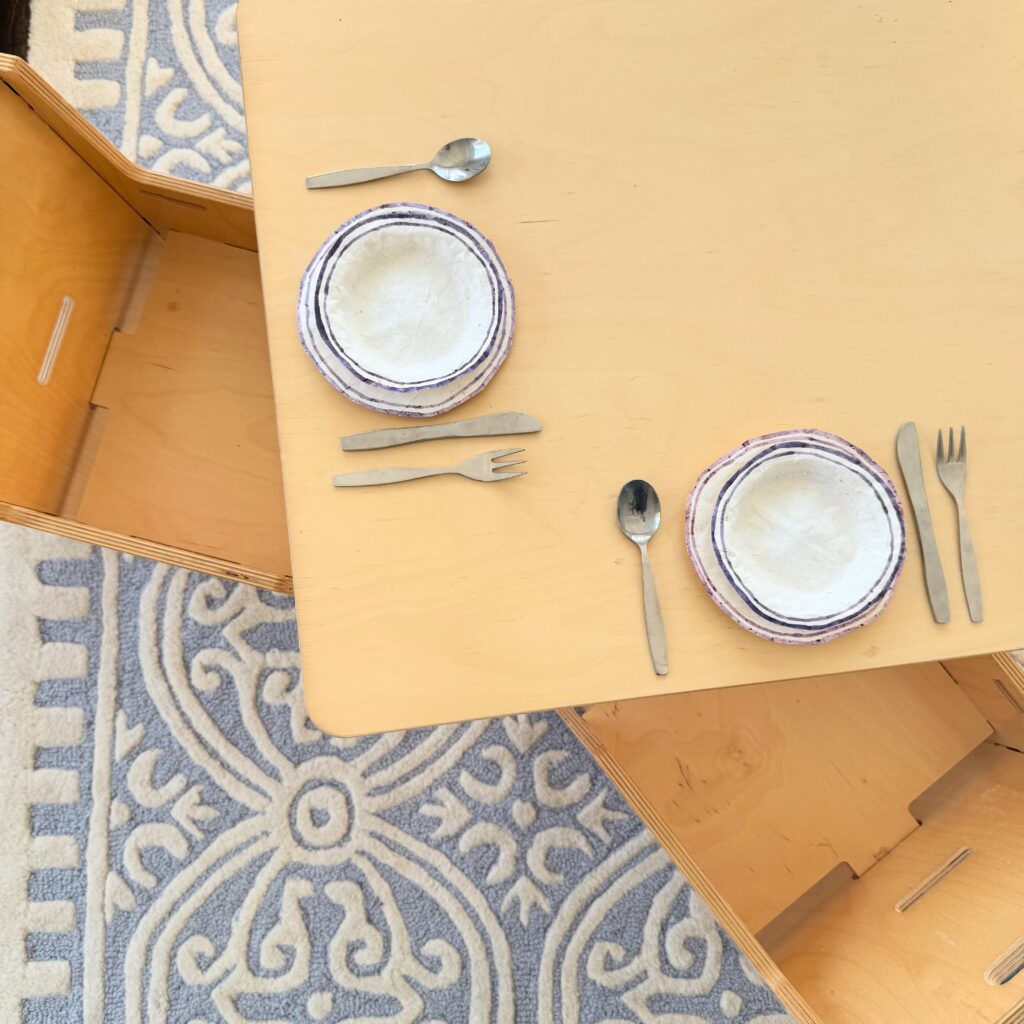
Once you also learn more about and do more paper mâché you will find more ways to incorporate it into your life. I had a set of vintage ceramic children’s bowls for my kids play kitchen. My son entered a throwing phase, so I knew I had to put them aside. So I made them a set of paper mâché bowls and plates to use instead!
There are so many fun things you can create with paper mâche: a piñata, Easter Eggs, a decorative bowl or plate, or egg carton clay. Don’t forget to share your creations and tag me on Instagram — I’d love to see what you make!
