How to Make Clay From Egg Cartons
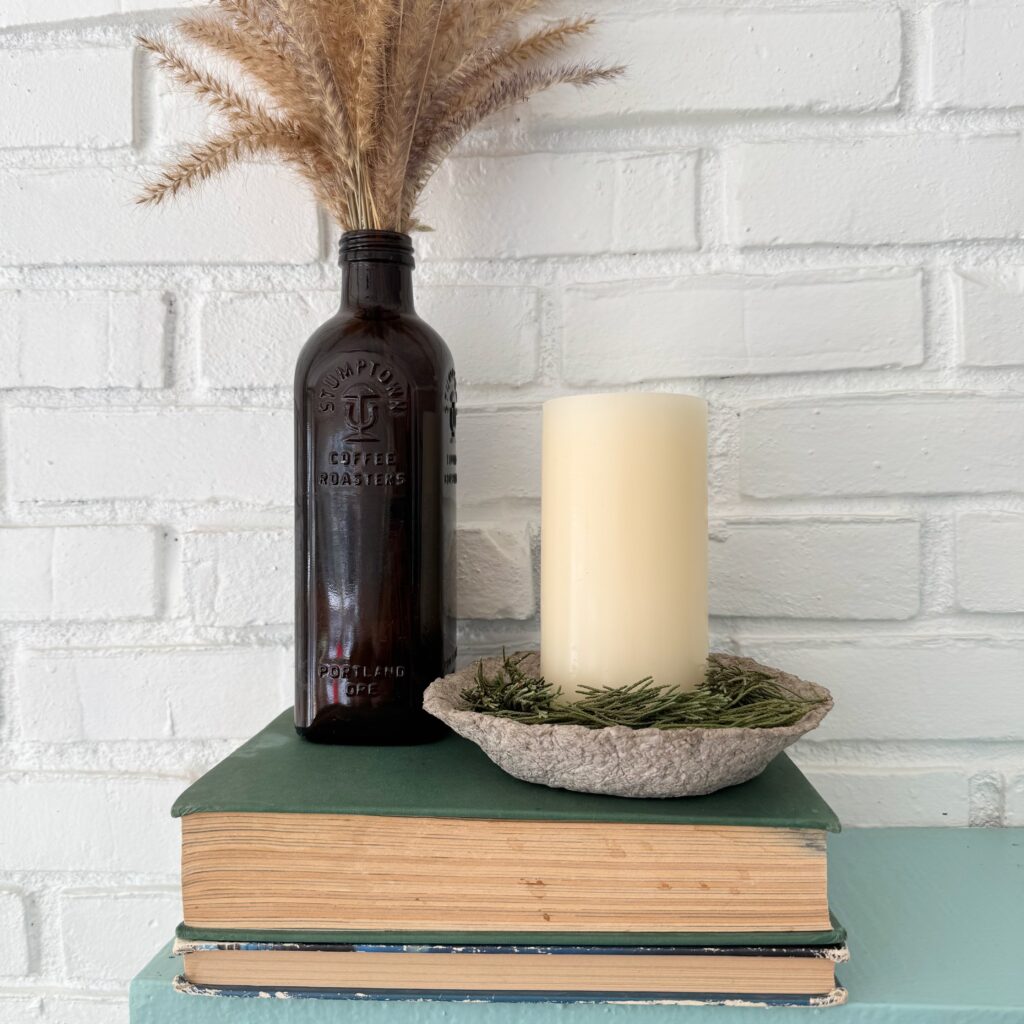
One of my favorite kinds of project are the ones that involve taking something from my recycling bin and giving it a complete makeover. I recently learned how to make clay from egg cartons and compostable glue! If you’re an egg eater, you probably have everything at home already to make this versatile and textured clay.
In this tutorial, I’ll guide you through the process step-by-step, using egg cartons and a cooked flour and water glue recipe to create a pliable, moldable clay that’s perfect for all sorts of crafts. What I love most about this clay recipe is that it is COMPLETELY COMPOSTABLE. Which means you don’t have to feel guilty keeping your DIYs when you’re done with them. Just simply turn them back into dirt through composting.
Why Make Clay from Egg Cartons?
Making clay from egg cartons is a sustainable way to craft. By repurposing egg cartons, you’re not only reducing waste but also creating a material that’s both versatile and biodegradable. Plus, this DIY clay is free of harsh chemicals, making it safe for kids and adults alike. If you don’t paint it, anything made with this clay can be put right into the compost!
Materials Needed
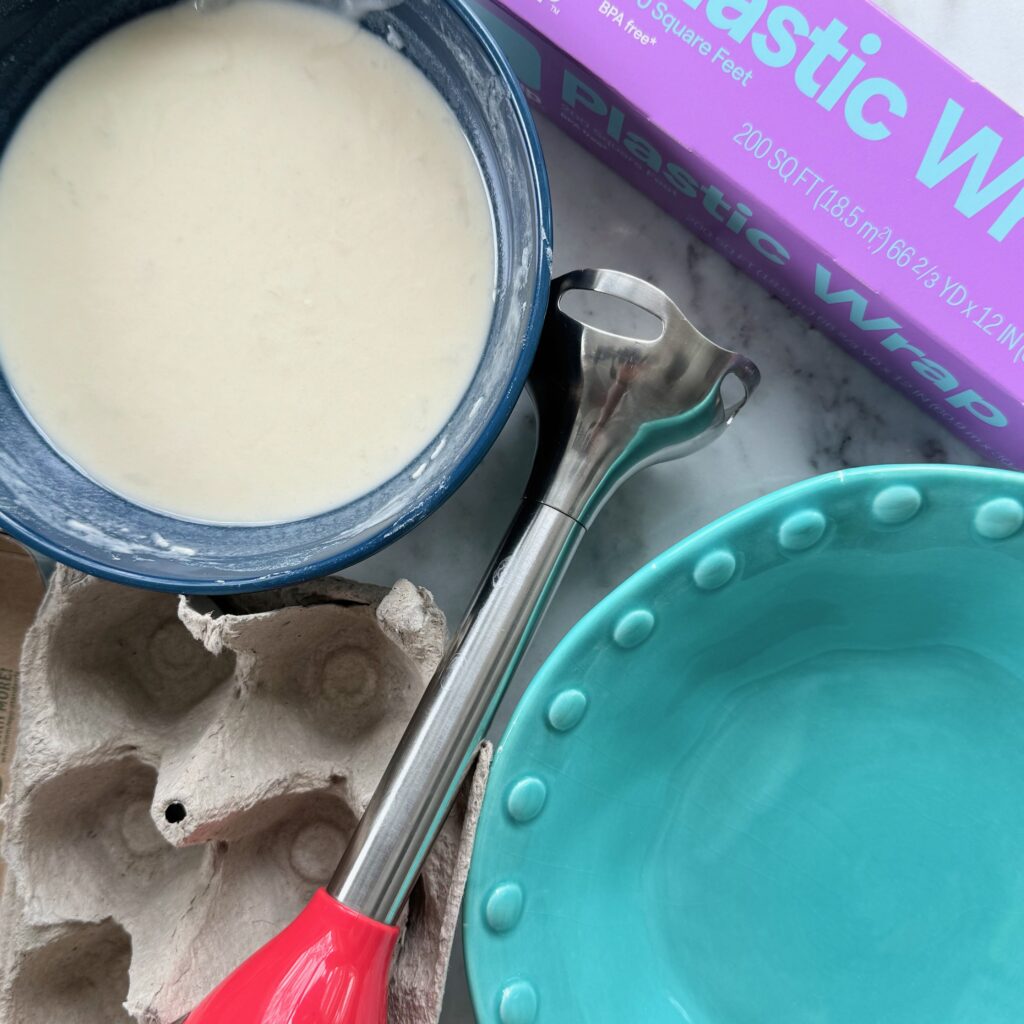
To make clay from egg cartons, you’ll need:
- Cardboard egg cartons (1 carton is plenty to make a bowl)
- Warm water
- Blender or food processor
- Cooked flour and water glue (recipe here!)
- A mixing bowl
If you want to make a bowl with egg carton clay, you will also need:
- Bowl to use as a mold
- Plastic wrap
How to Make Cooked Flour and Water Glue – Paper Mache Paste
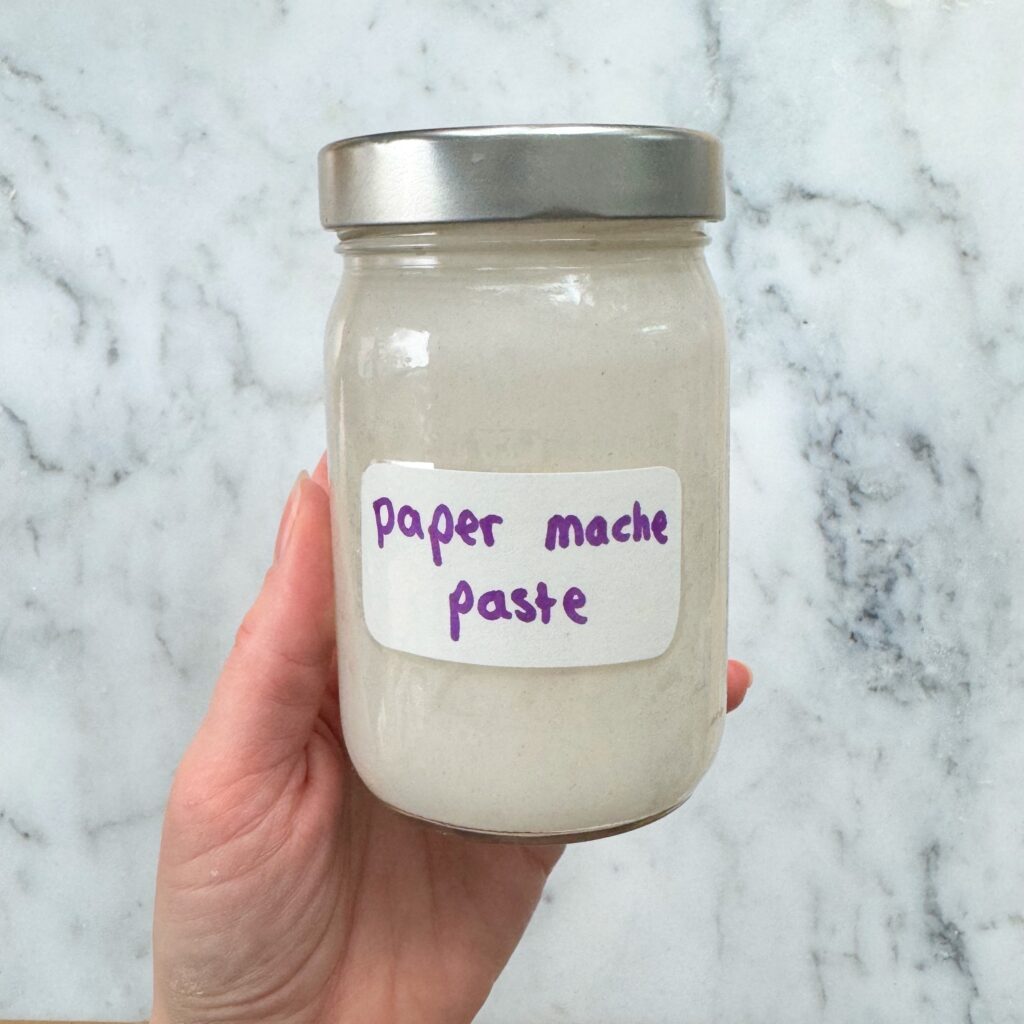
This simple adhesive is perfect for binding the fibers in your clay. Check out my blog post here to make your own!
Alternative Materials
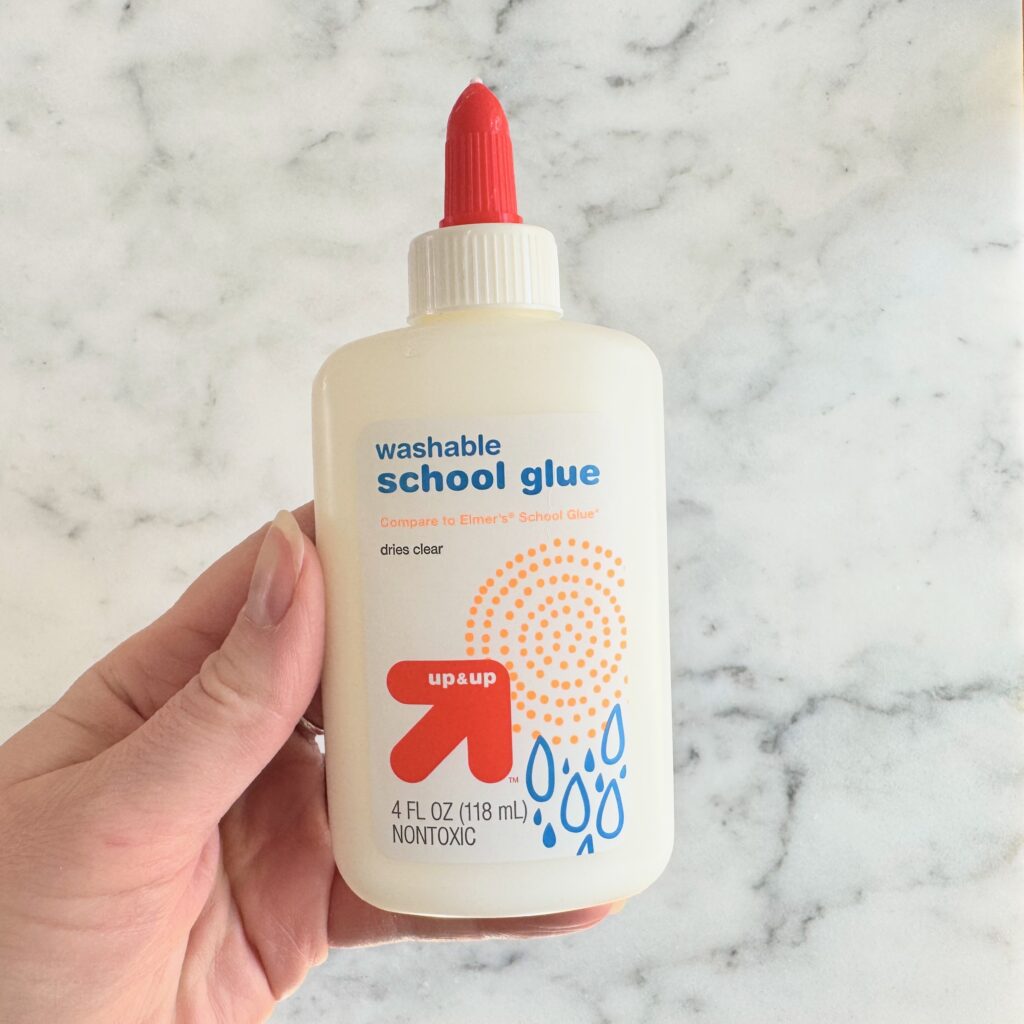
If you don’t have the resources to make the flour and water glue or paper mâché paste, you can substitute with simple white school glue (also known as PVA glue). Your creation will NOT be compostable if you use traditional glue.
Step-by-Step Instructions
1. Prepare the Egg Cartons
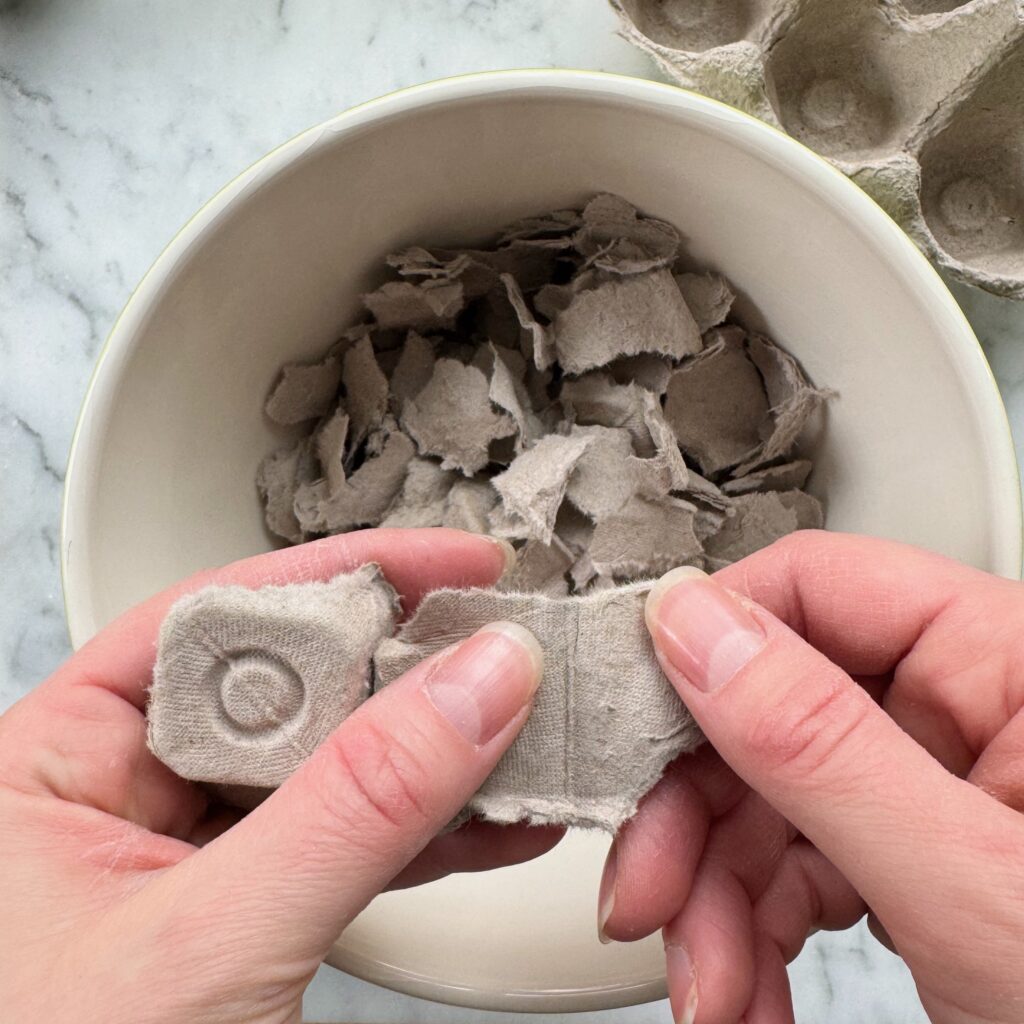
Tear the egg cartons into small pieces. The smaller the pieces, the easier they will be to process. Place the torn pieces in a bowl and cover them with warm water. Let them soak for about 1-2 hours, or until they’re completely softened.
2. Blend the Pulp
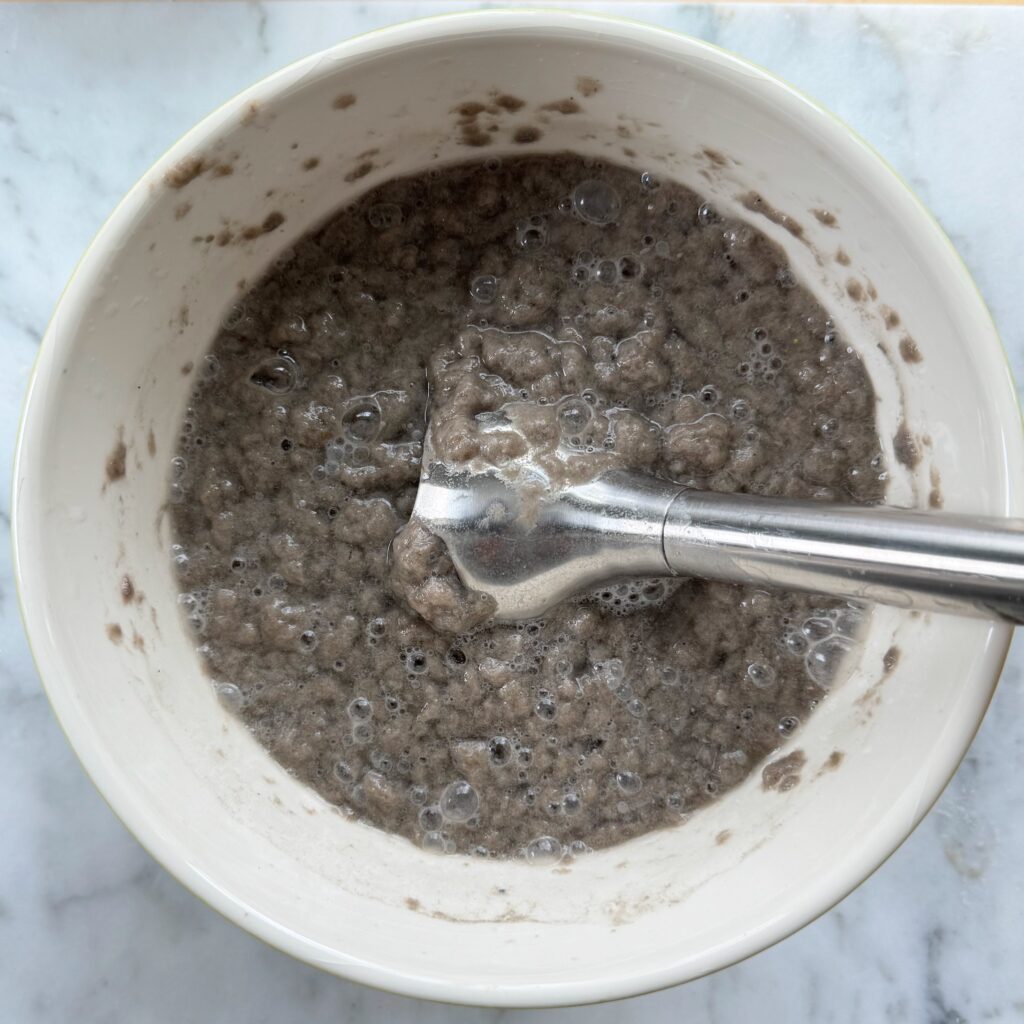
Transfer the soaked egg carton pieces and their soaking water to a blender, food processor, or leave in the bowl and process with a hand immersion blender, like I did. Blend until you have a smooth pulp. Add a little more water might be necessary to help the blending process.
3. Remove Excess Water
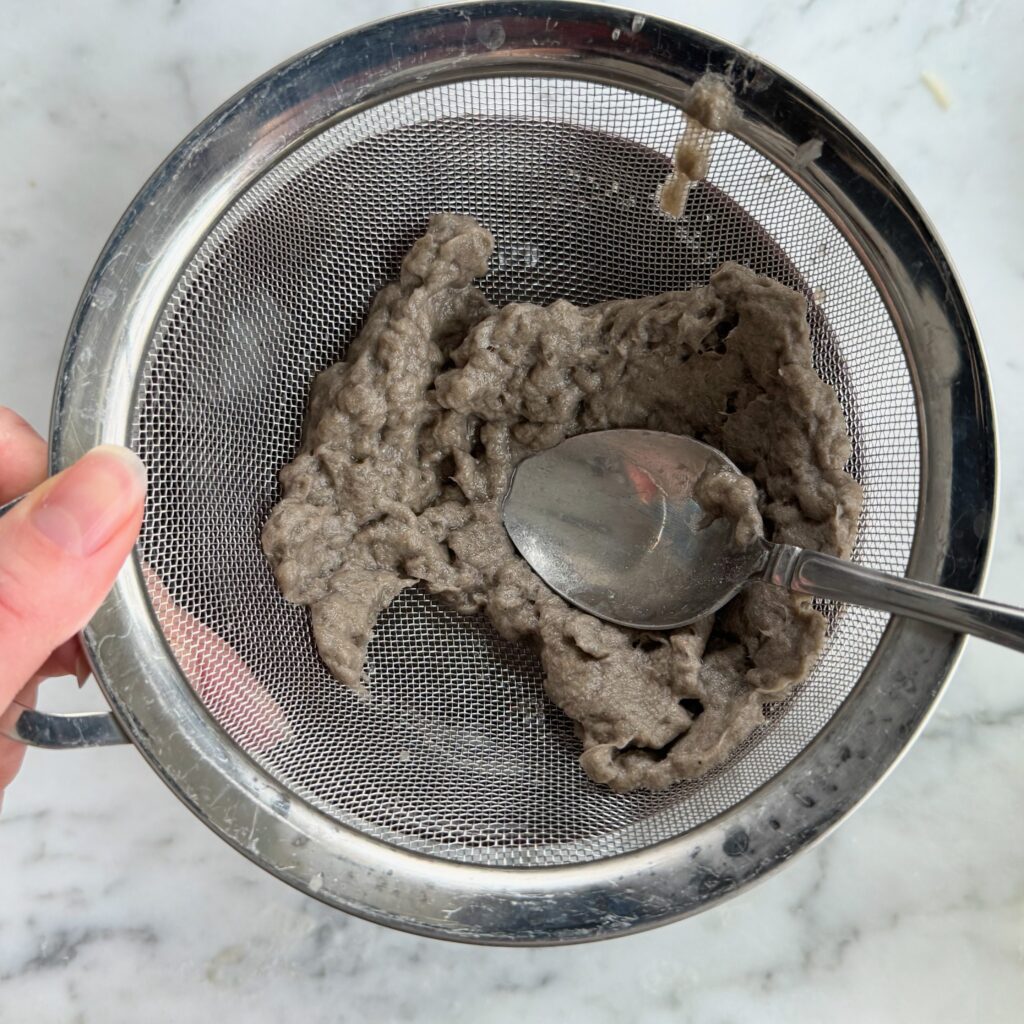
Pour the pulp into a fine mesh strainer or a piece of cheesecloth and squeeze out as much water as you can. I like to use the back of a spoon to squish out excess water. The drier the pulp, the easier it will be to form into clay.
4. Mix with Cooked Glue
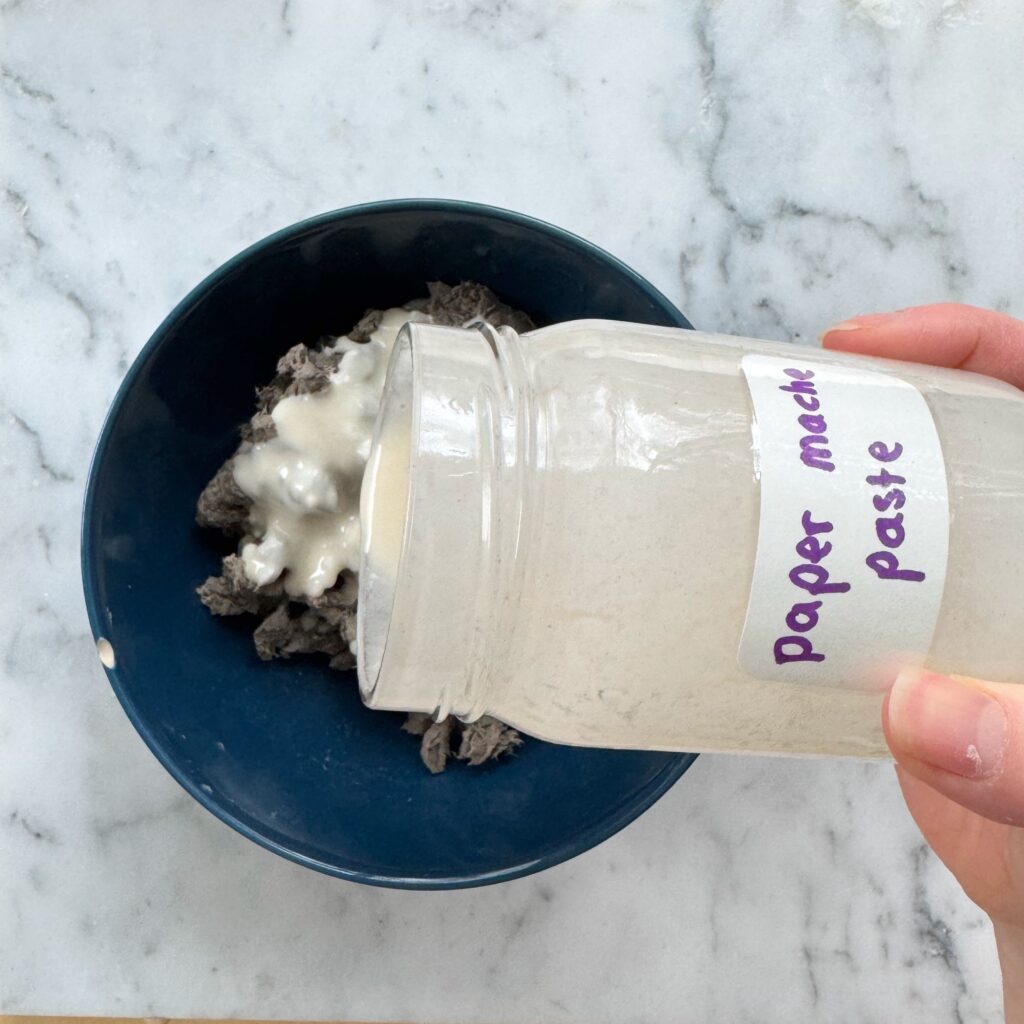
Place the pulp into a mixing bowl and gradually add the cooked flour and water glue. Start with a few tablespoons and knead the mixture until it reaches a clay-like consistency.
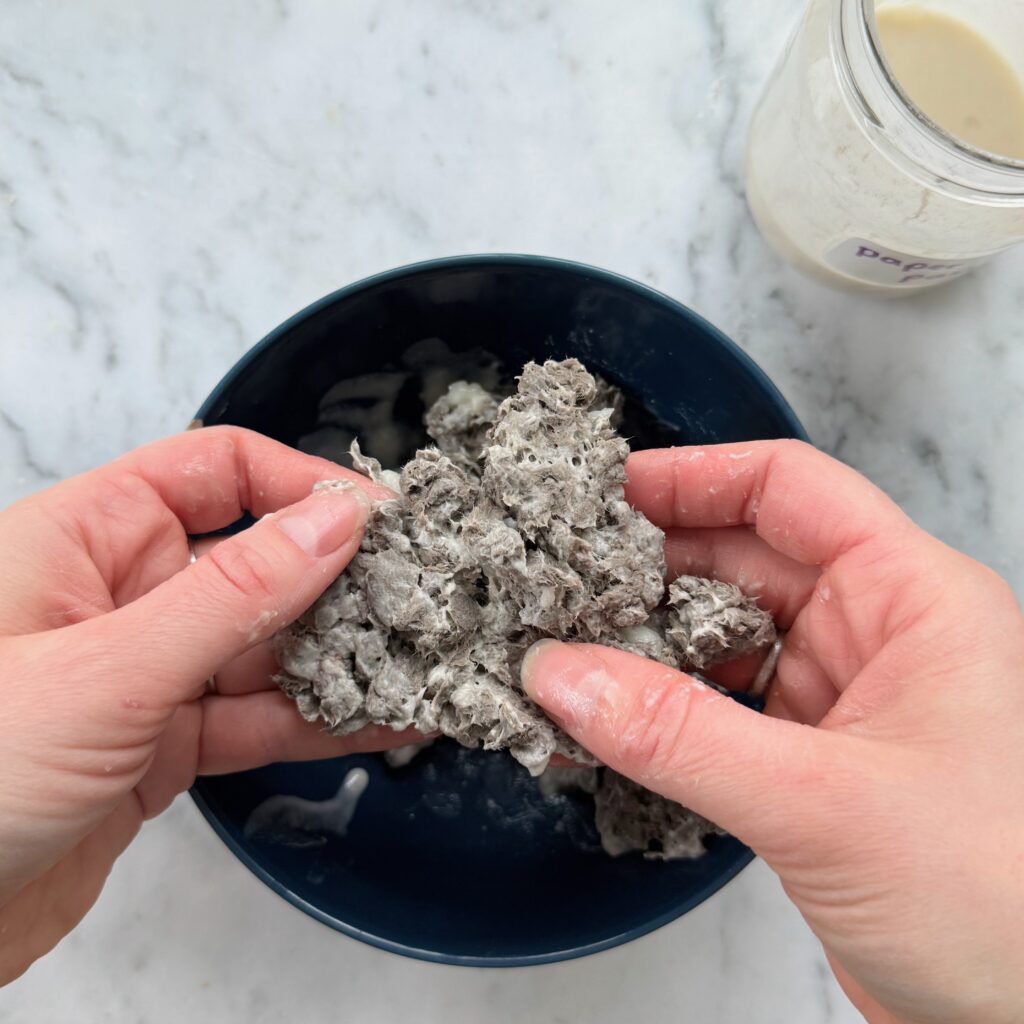
I found that it was easier to mix with my fingers. That way I could easily pick apart the smaller bits of egg carton. If it feels too sticky, add a bit more pulp (or just wait for it to dry a bit). If it’s too dry, add more glue.
5. Your Clay is Ready to Use!
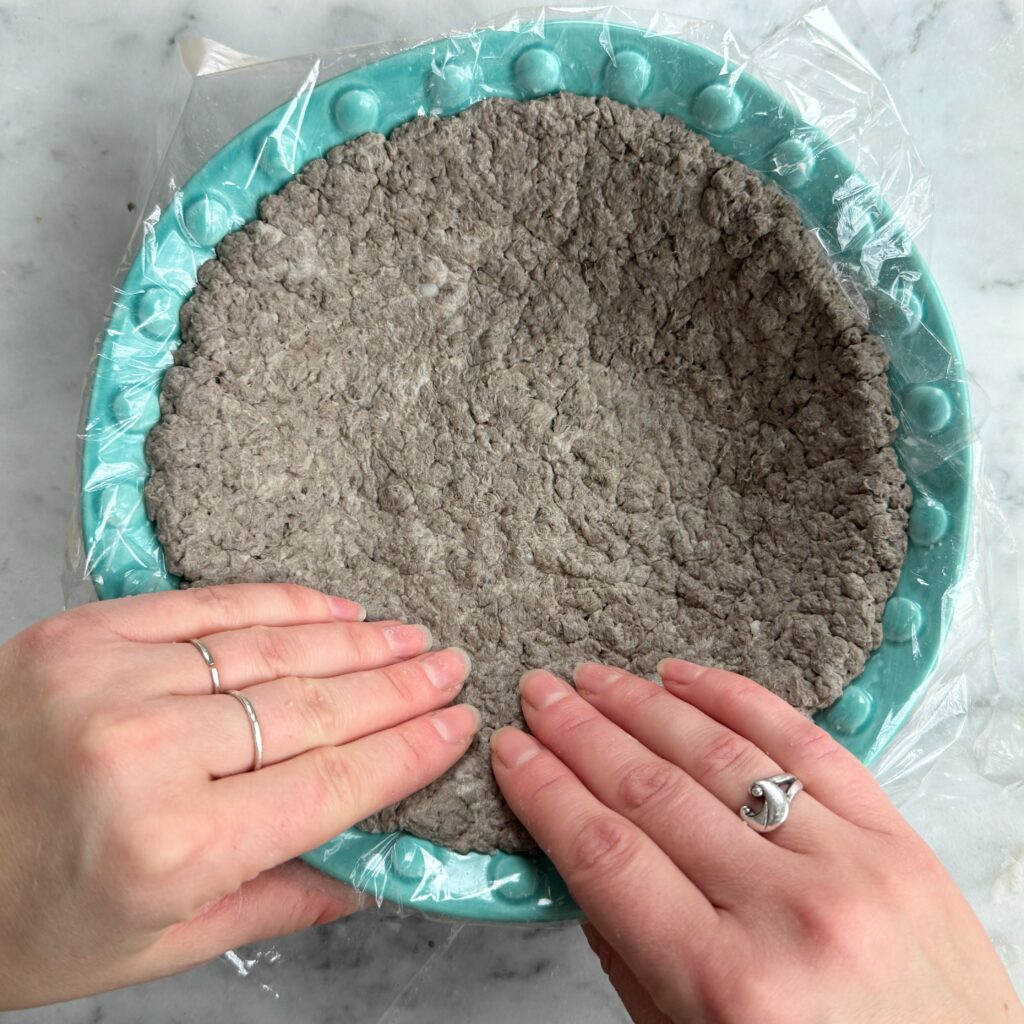
Congrats! Your clay is ready to use!
Crafting with Your Egg Carton Clay
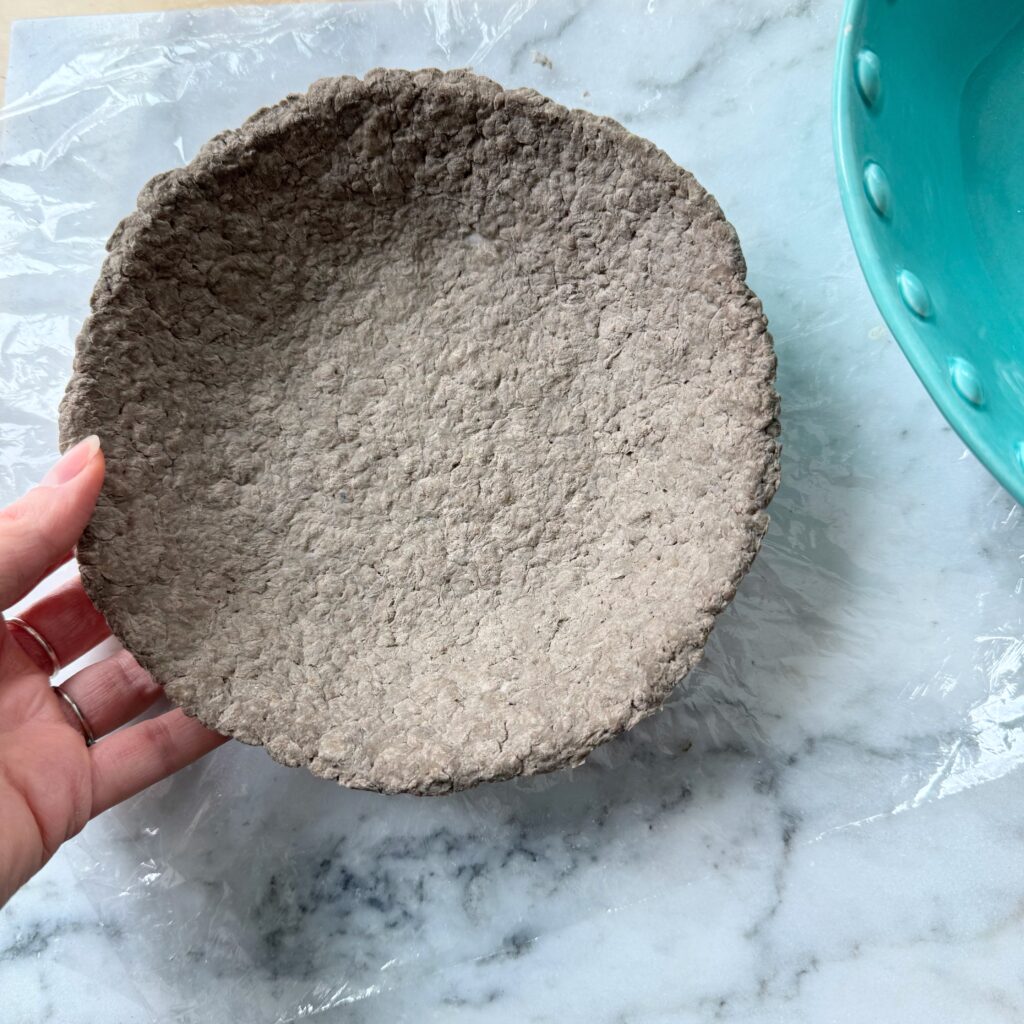
Once you’ve made clay from egg cartons, the possibilities are endless! Shape it into bowls (instructions below), beads, ornaments, small sculptures, or even use it as a textured layer for mixed-media art.
Let your creations air dry for 1-2 days, or bake them at a low temperature (200°F or 93°C) for a faster finish.
How to Make a Bowl with Egg Carton Clay
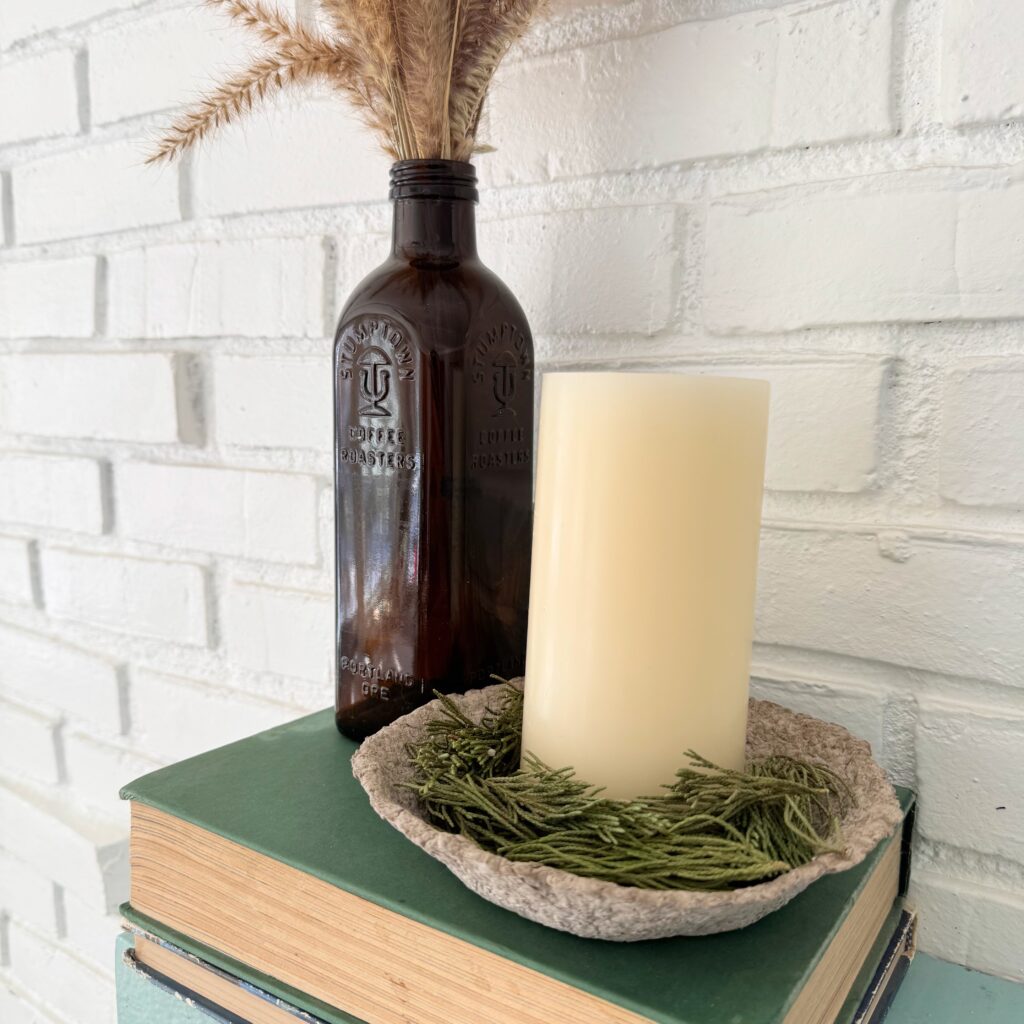
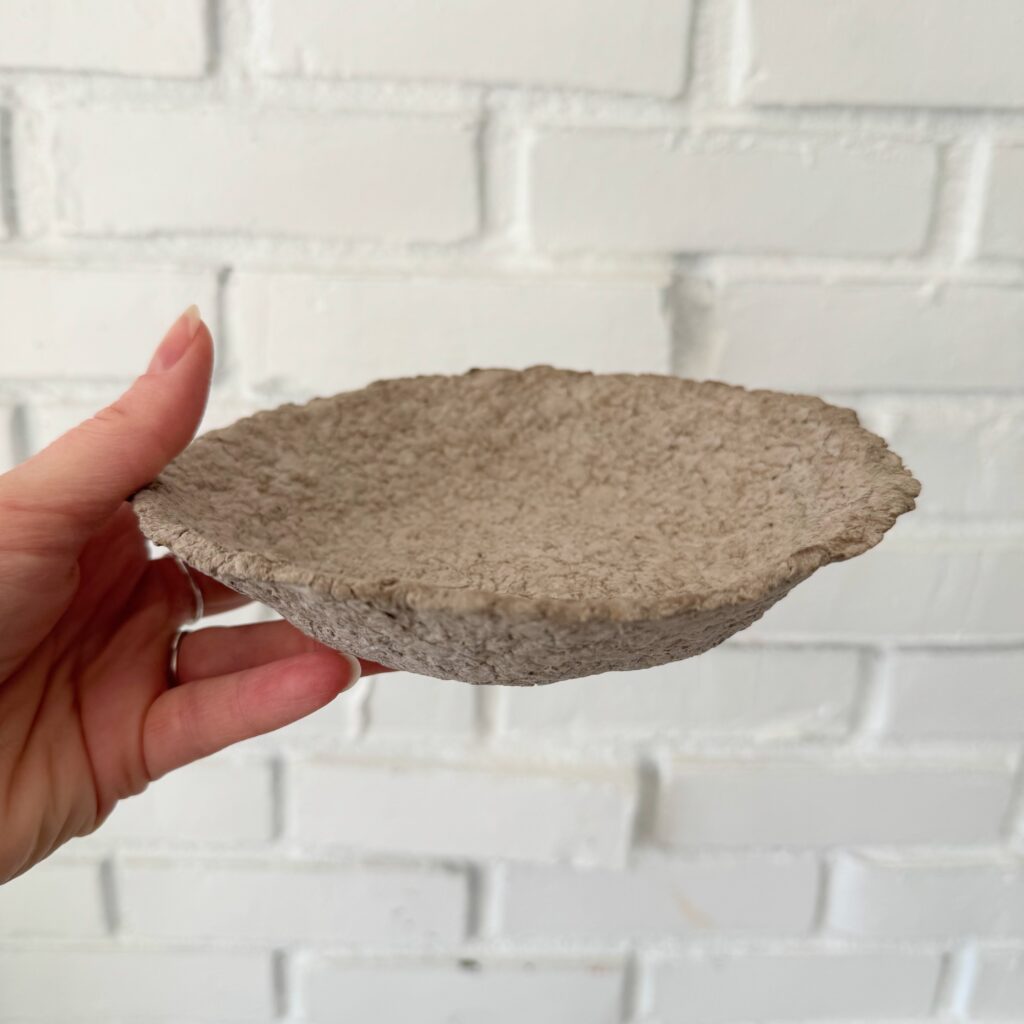
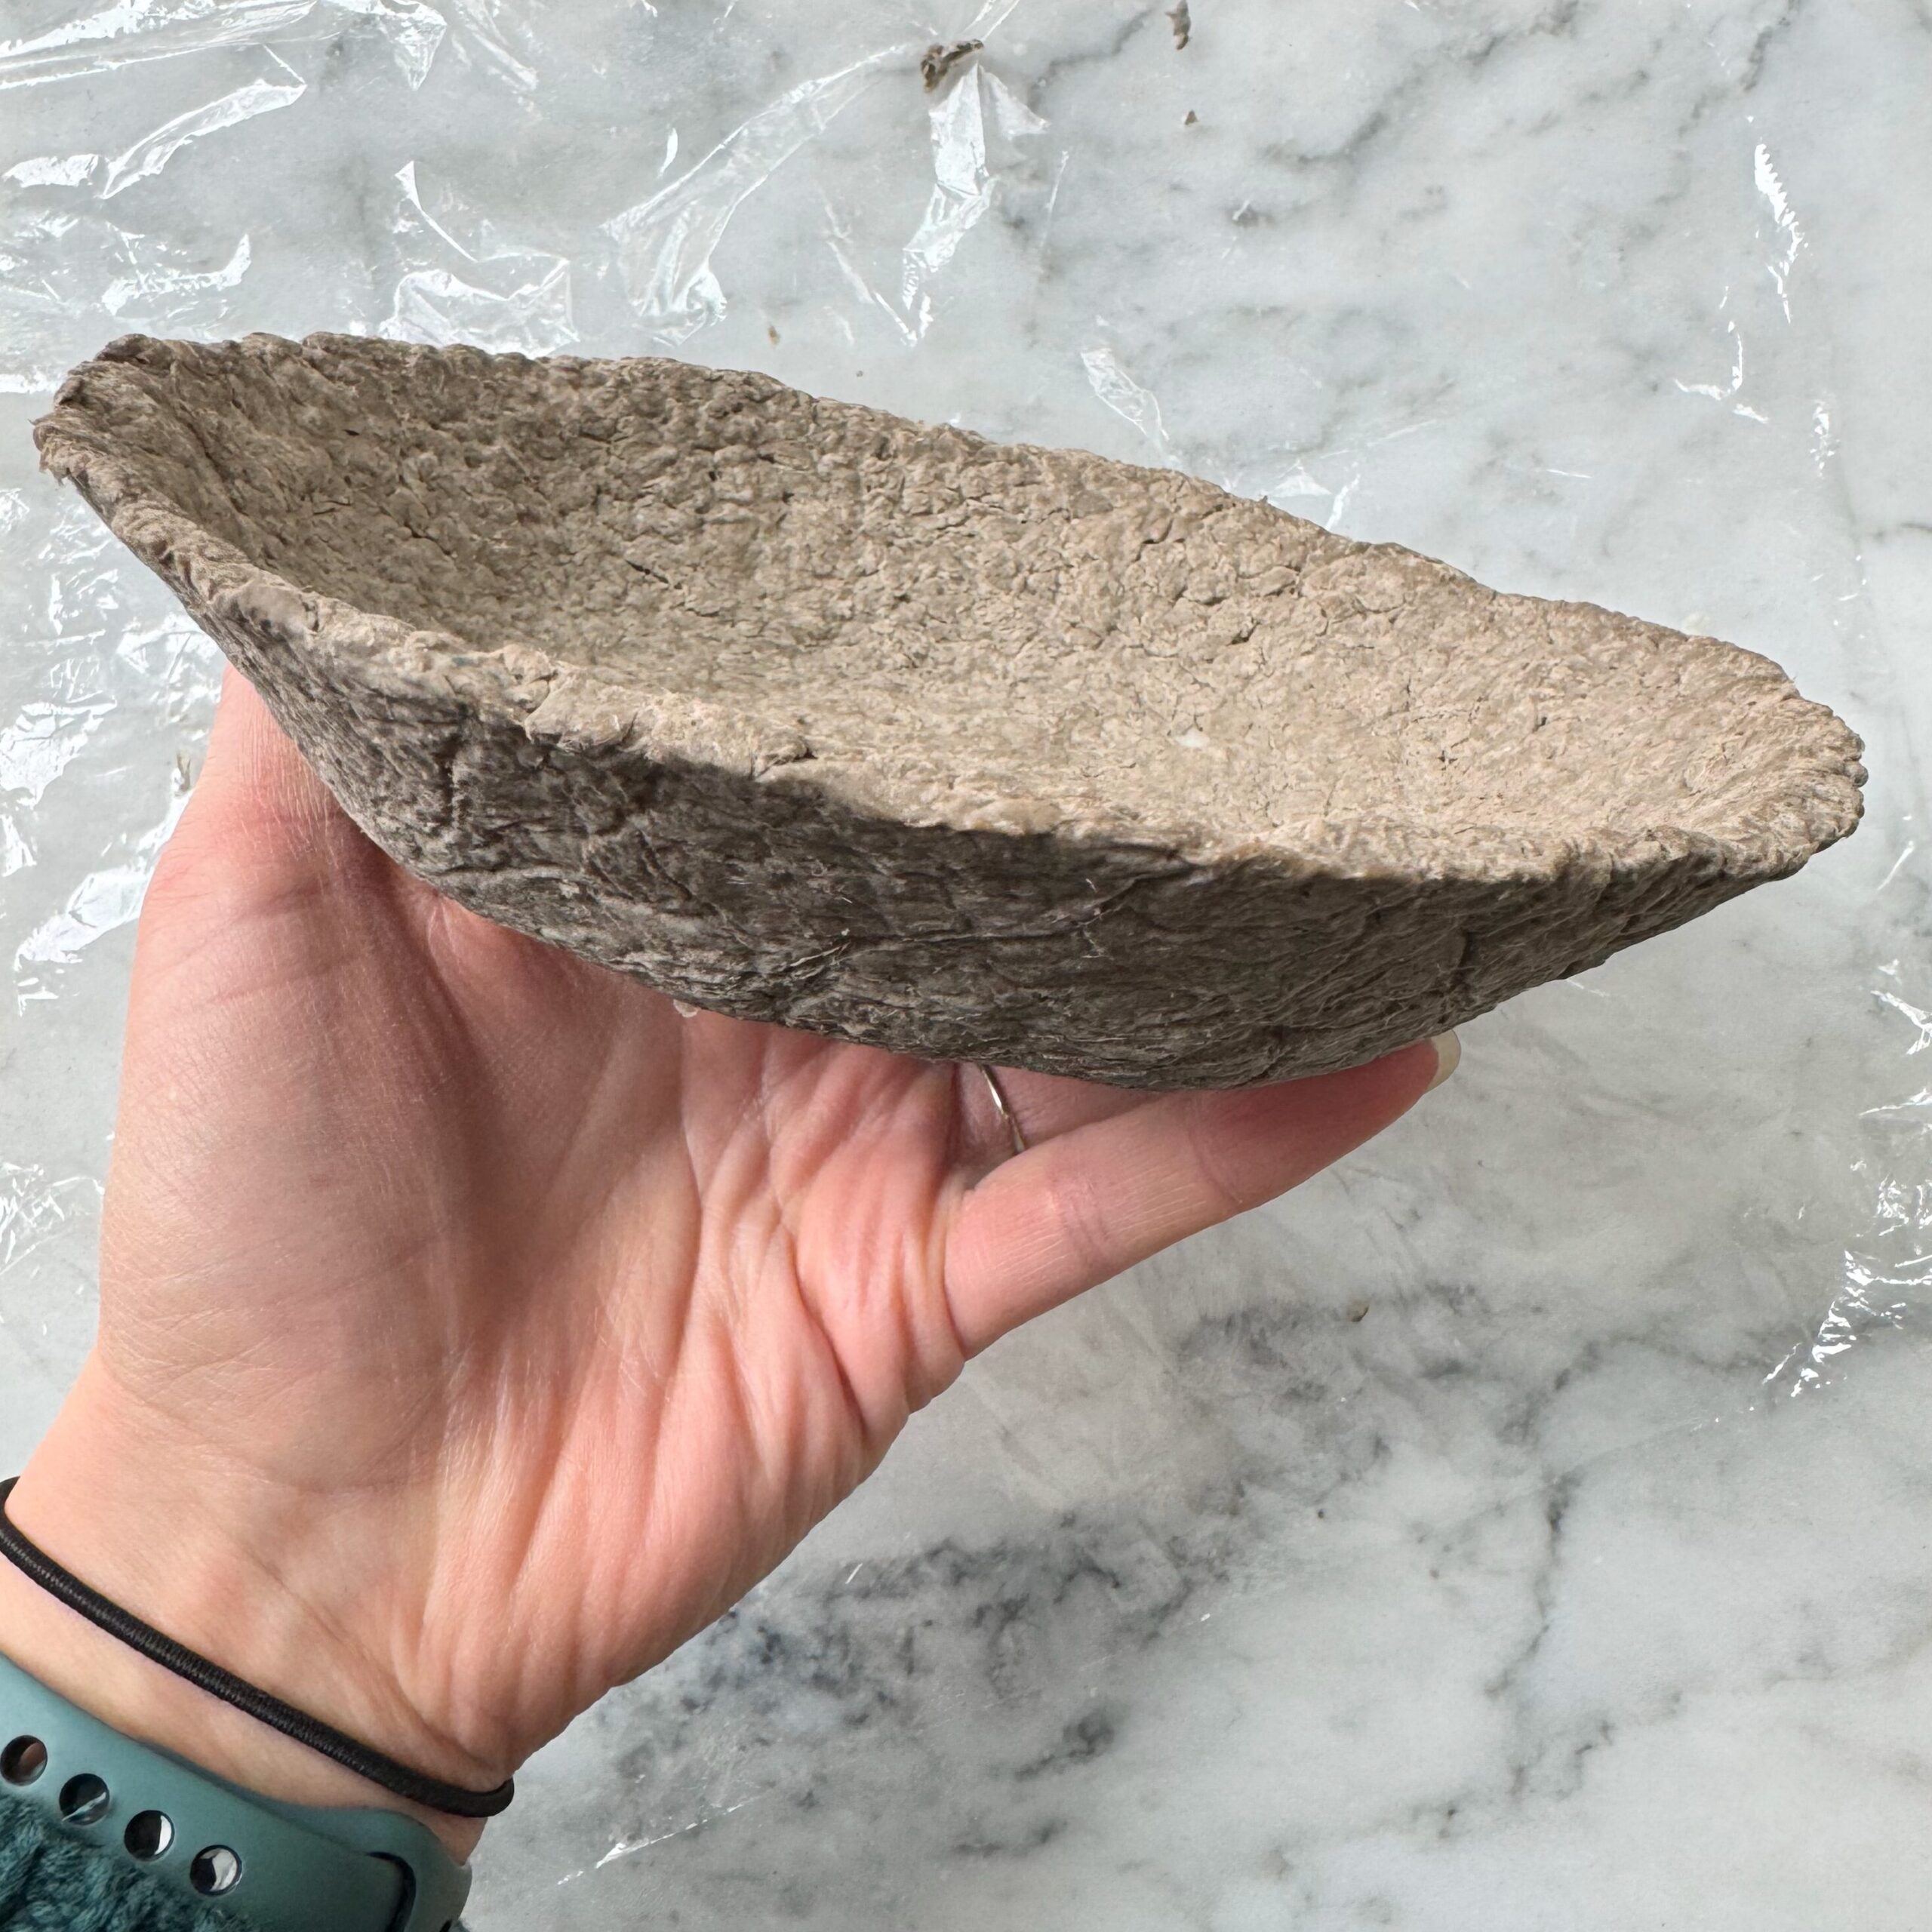
I made a simple bowl with my egg carton clay. I lined a bowl with plastic wrap and pressed the clay into the inside of the bowl. The clay does SHRINK when it dries, so if you put it on the outside of a bowl or cup, it may stick itself to the cup. I’ve read several stories of people breaking cups and bowls when this happens!
Tips for Success & Other Things to Try
- Keep It Damp: Store unused clay in an airtight container or wrap it in plastic wrap to prevent it from drying out.
- Experiment with Ratios: If the clay feels too sticky or crumbly, adjust the ratio of pulp to glue until you get the desired consistency.
- Try With Paper: After doing this project I am eager to try it again but with paper pulp, to see if I can get a more fine clay consistency.
- Add Color: You can make this clay into different colors based on the kind of egg cartons or paper you use.
- Add Texture: Mix in fine sand or sawdust for an earthy, textured look.
Why Make Clay from Egg Cartons?
Making clay from egg cartons is a fun, hands-on activity that promotes creativity and sustainability. By repurposing everyday items, you’re not only saving money but also helping the environment. Whether you’re crafting with kids or making art for yourself, this eco-friendly clay is such fun to work with.
Give this project a try and see what amazing creations you can make! Don’t forget to share your results with me on Instagram — I’d love to see what you come up with.
