How to Sew a Simple Tulle Skirt
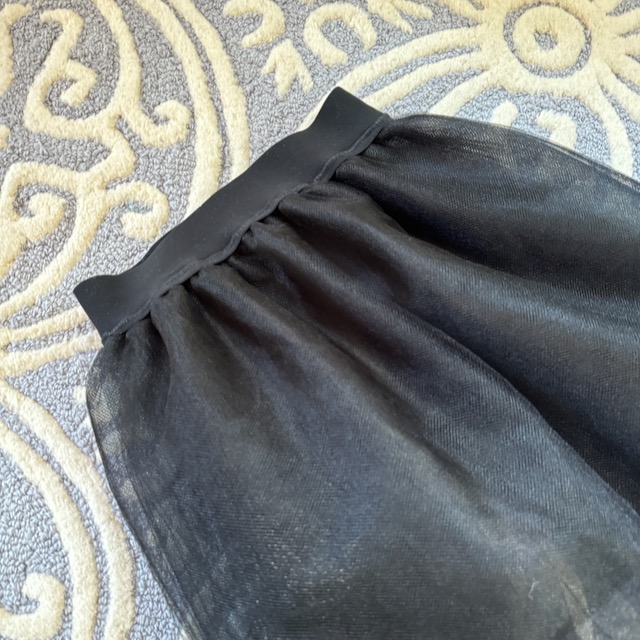
A tulle skirt is a fun, whimsical addition to any wardrobe, and making one yourself is surprisingly simple! Whether you’re creating a skirt for a costume, special event, or everyday wear, learning how to sew a simple tulle skirt can be a rewarding project because it can be used in so many different ways.
This version uses a wide, no-roll woven elastic for the waistband, which means the tulle is sewn directly onto the elastic without the need to encase it in fabric. It’s an easy, beginner-friendly project that results in a beautiful, fluffy skirt.
Materials Needed to Sew a Simple Tulle Skirt:
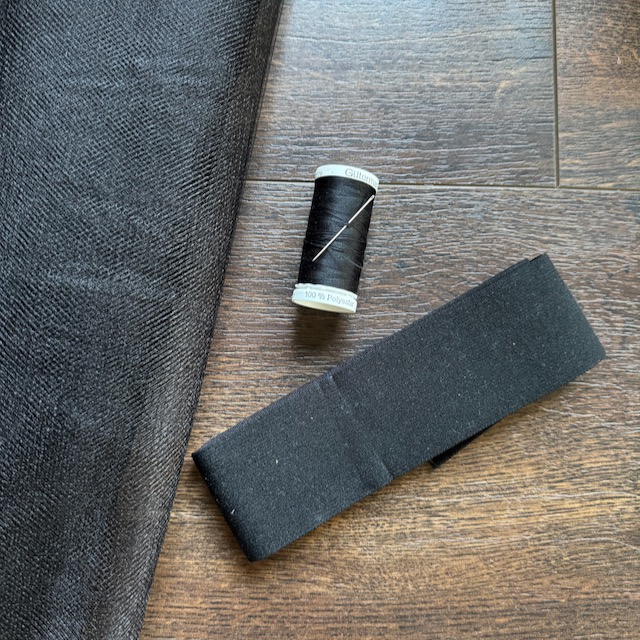
- 4-6 yards of tulle fabric (depending on your desired skirt length and fullness)
- 1-2 yards of lining fabric (optional, skirt will be see through without it)
- 2-inch wide no-roll woven elastic (enough to fit snugly around your waist)
- Matching thread
- Scissors
- Pins
- Measuring tape
- Sewing machine
Material Substitutions
Tulle: The tulle in this skirt makes it flowy poofy, and easy to assemble since it does not need to be hemmed. If you substitute this fabric the skirt will have a very different look to it, but it can still be done. Note, that you will need to hem woven fabrics, like silk or nylon.
Elastic: The no-roll woven elastic works great on its own as a waistband. I think it is also the most comfortable elastic. If you have another elastic you want to substitute, you can make a casing for the elastic with a woven fabric.
Step 1: Take Your Measurements
Start by measuring your waist and the desired length of the skirt.
- Waist: Measure around your waist where the skirt will sit.
- Length: Measure from your waist down to the length you’d like the skirt to be.
The amount of tulle and elastic you’ll need depends on these measurements.
Step 2: Prepare the Elastic
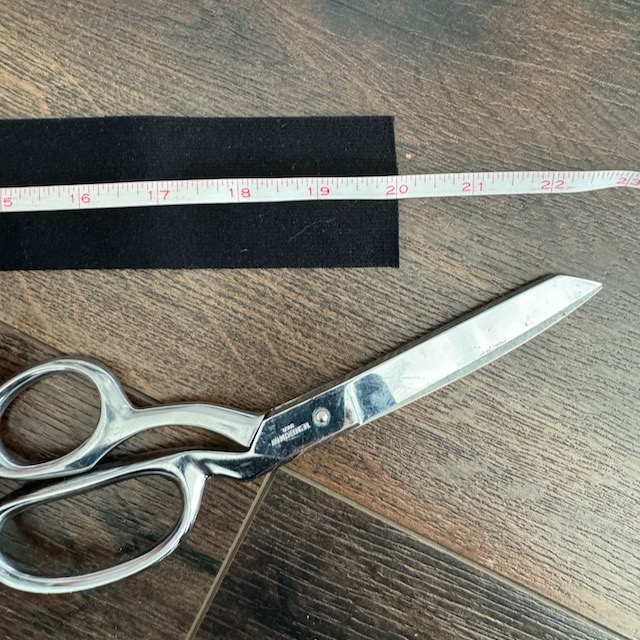
Take your no-roll woven elastic, and cut a piece that fits around your waist snugly but comfortably. This 2-inch wide elastic will serve as the waistband, and because it’s no-roll, it will hold its shape well without the need to encase it in fabric.
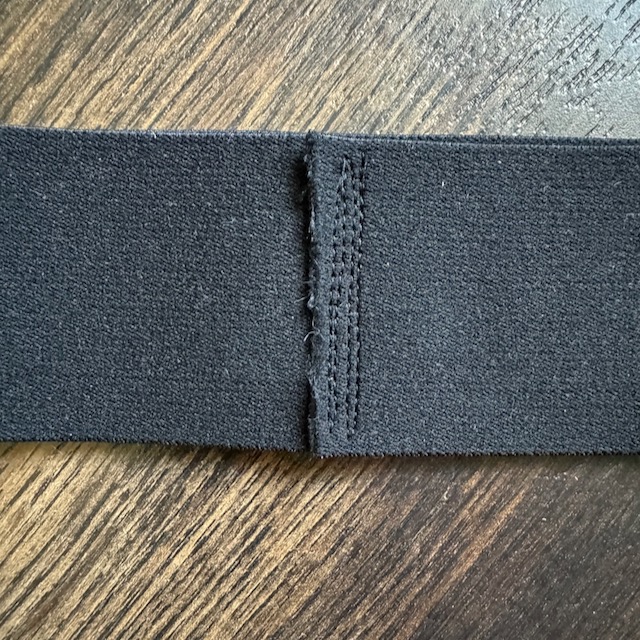
To form the waistband, overlap the ends of the elastic by about 0.5 inches, and stitch back and forth along a narrow path on you sewing machine to secure it together.
Step 3: Cut the Tulle Fabric
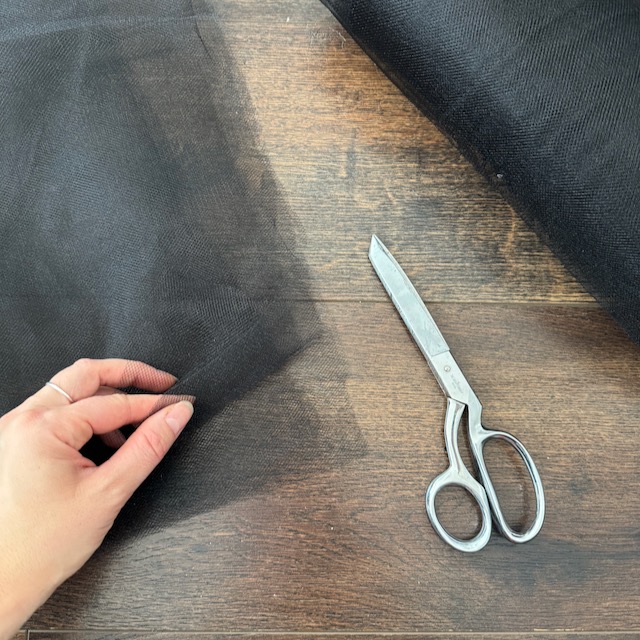
For a fuller skirt, plan to use several layers of tulle. You’ll cut the tulle fabric into rectangles. Each piece should be about twice your waist measurement in width, and the length should be the desired skirt length. You can also leave the tulle long and trim it at the end.
For example, if your waist measures 30 inches and you want the skirt to be 24 inches long, cut each layer of tulle to be 60 inches wide and 24 inches long.
You can use 5-10 layers of tulle for a nice, fluffy skirt. The more layers the fluffier it will be. Experiment with holding different numbers of layers together to see how many you would like before cutting.
If you’re adding a lining fabric, cut it to the size of the tulle + 1 inch for both the width and length of the tulle. Hem the fabric with a 1/4 inch hem on both the top, bottom, and sides. Add it to the bottom of the pile of tulle.
Step 4: Gather the Tulle
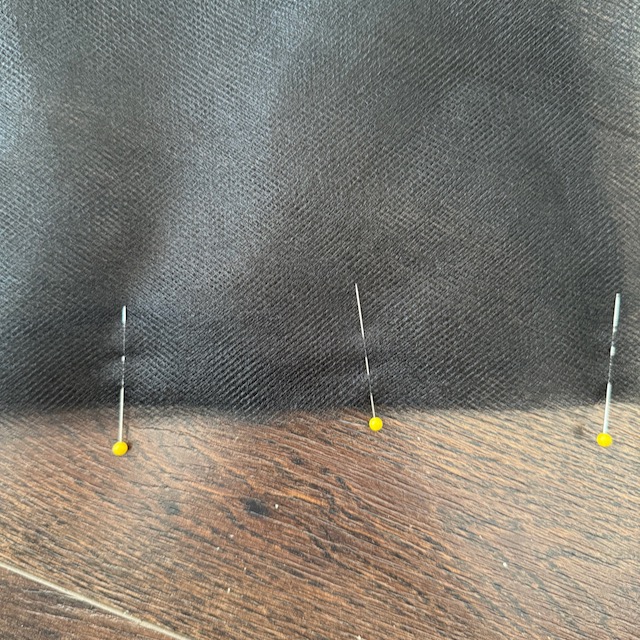
To create volume in the skirt, you’ll gather the tulle. Align the top edge of the tulle layers and pin them together.
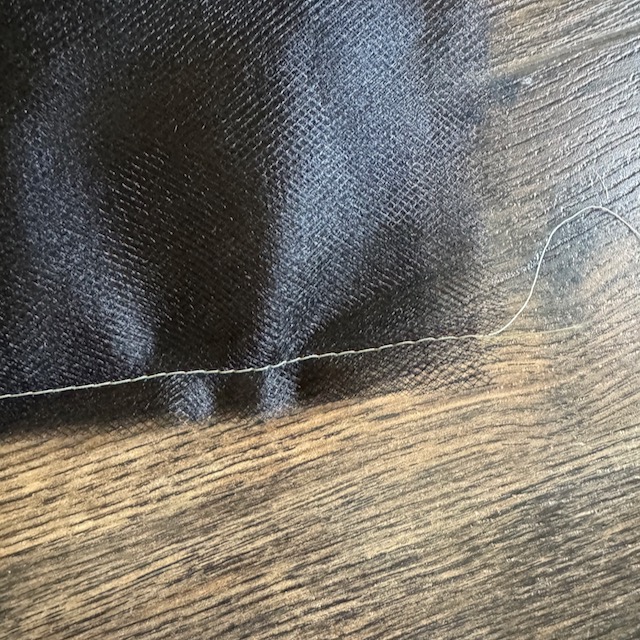
Set your sewing machine to the longest straight stitch, and sew a line across the layers of tulle about 1/2 inch from the edge, leaving long thread tails at both ends. It helps if you sew the gathering stitches in a color of thread that will stand out against the tulle.
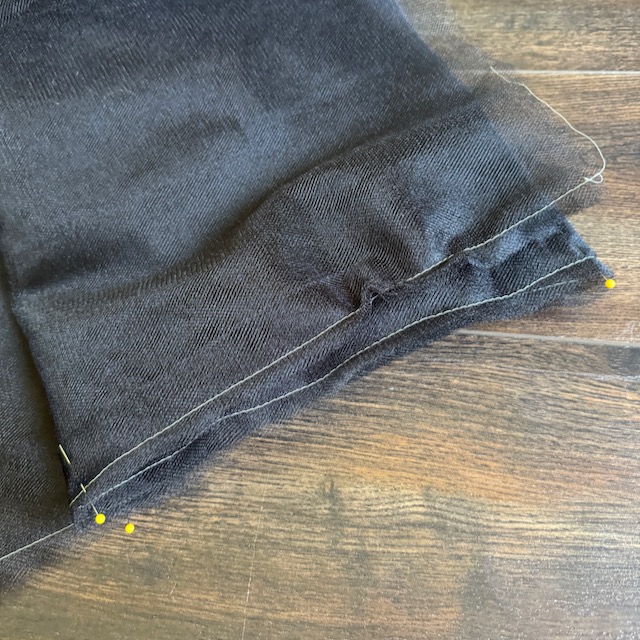
I like to add a few pins in to help with placing the gathered tulle on the elastic. So BEFORE you gather the elastic, fold the tulle in half and place a pin at the half way point. Fold each side into the half way point and add a pin to mark these 1/4 distances as well.
Gently pull the bobbin thread to gather the tulle. Continue gathering until the width of the tulle matches the width of your waistband (the elastic).
Step 5: Attach the Tulle to the Elastic
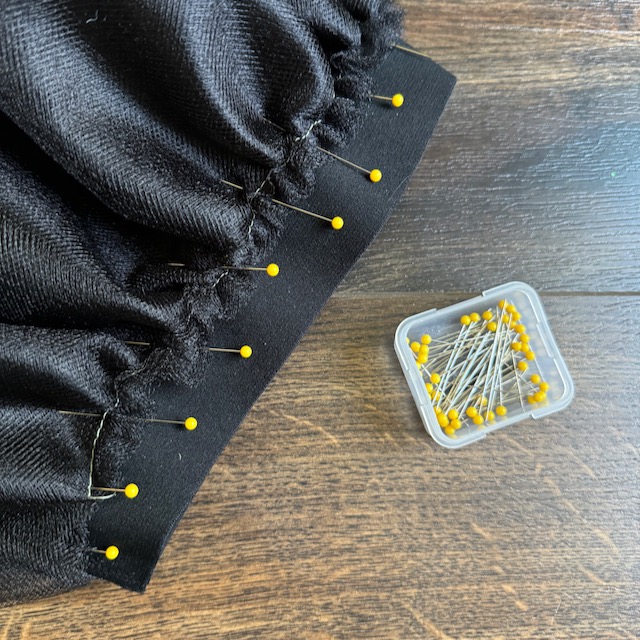
Lay the gathered tulle on top of the elastic waistband, overlapping the tulle and the bottom edge of the elastic by around a 1/2 inch.
Make sure the tulle is evenly distributed by aligning the pins that marked the 1/4 distances in the tulle with the sides and middles of the elastic. Pin the tulle in place around the waistband, making sure to distribute the gathers evenly.
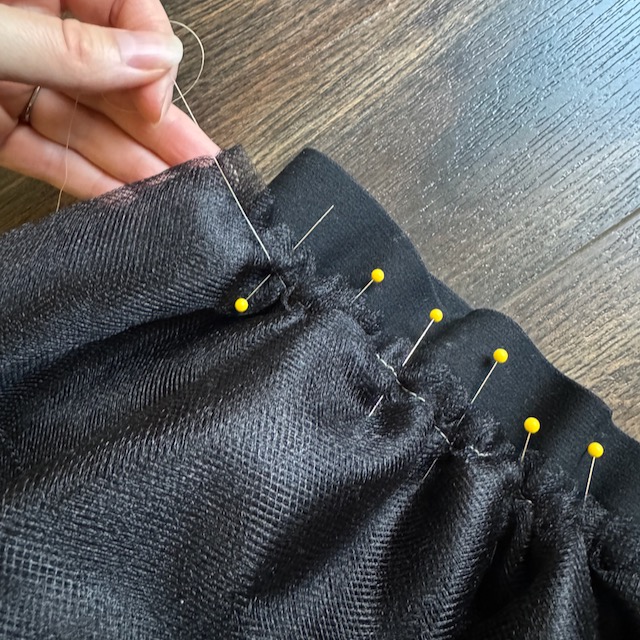
Now comes for the scary part, once you feel like you have plenty of pins securing the tulle to the waistband, you are actually going to pull out this gathering stitches. This allows us to pull the elastic while sewing the waistband and ensure the waist band will stretch when the skirt is being put on.
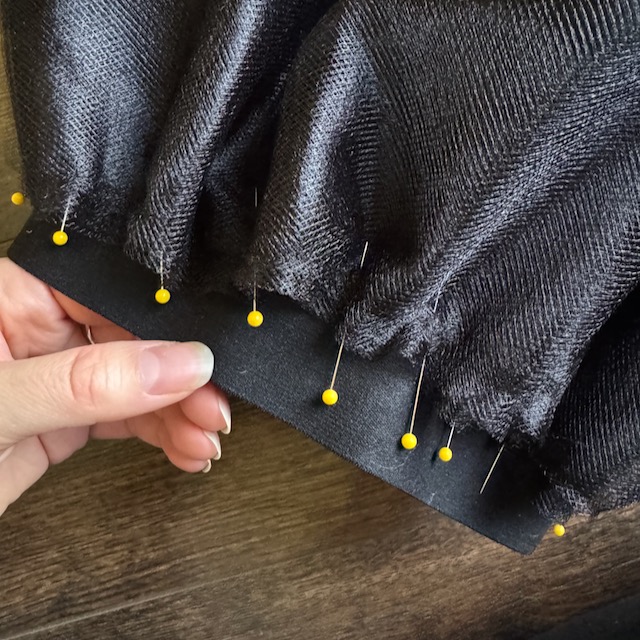
You will be left with little bumps between the needles.
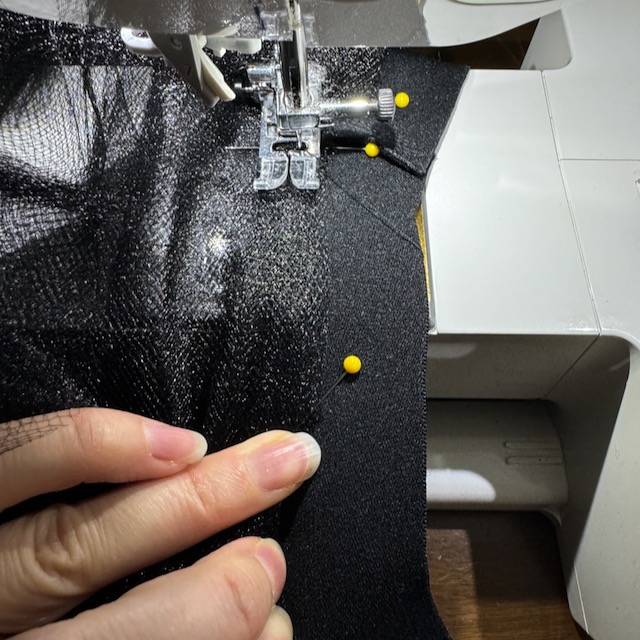
Sew the tulle directly onto the elastic using a zigzag stitch and stretching the elastic waistband to match the length of the tulle. You will need to hold the elastic stretched before and after the needle. This process includes a lot of stopping and starting at each pin.
The zigzag stitch will allow the elastic to stretch while still keeping the tulle securely attached. Work your way around the entire waistband, ensuring the tulle layers are sewn evenly and none sneak past the elastic.
Step 6: Finishing Touches
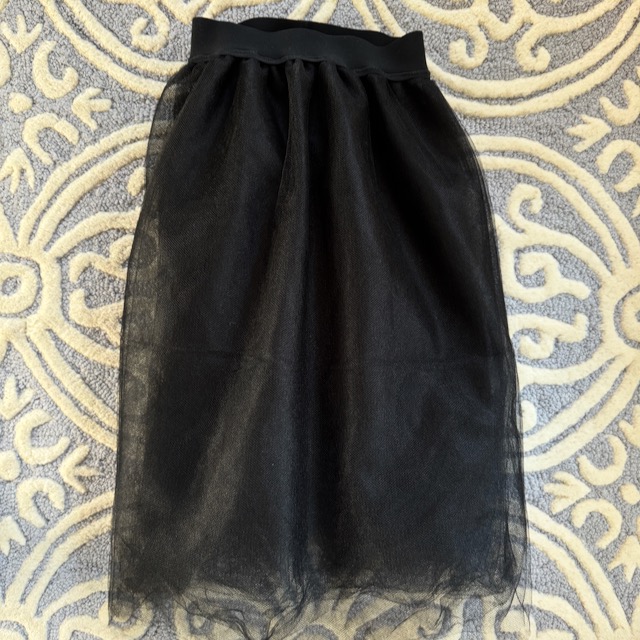
Once the tulle is sewn onto the elastic, trim any excess threads, and make sure the gathers are even all the way around.
You can sew the tulle layers together in the back or let them just simply overlap when they hang. My daughter finds it most comfortable for the layers to be left open and worn in the front. That way her legs can more easily move for longer skirts.
Your skirt is now ready to wear! The wide elastic waistband provides a comfortable fit while adding a clean, modern look to the skirt.
A Perfect Addition to a Child’s Dress-Up Box
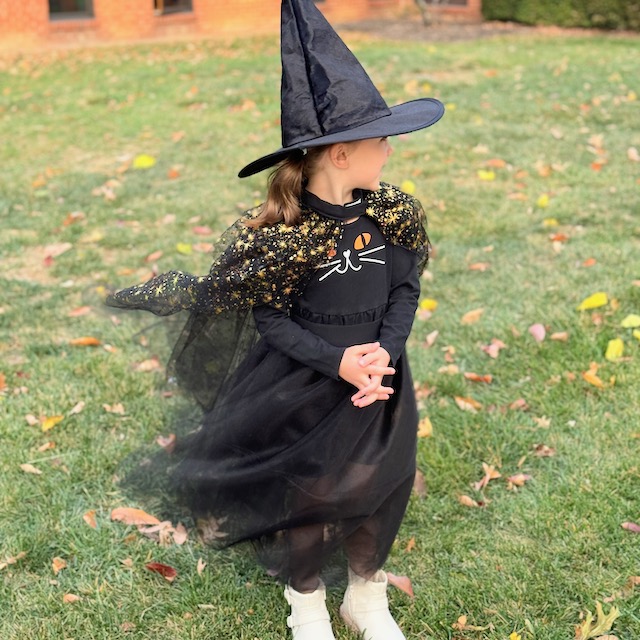
One of the best things about learning to sew a simple tulle skirt is how versatile it can be, especially for children’s imaginative play. Adding a tulle skirt to a child’s dress-up box opens up endless possibilities for costumes and creative adventures. Because it’s easy to make and light to wear, learning how to sew a simple tulle skirt is a fantastic project for creating fun and simple dress-up pieces.
For Halloween, a tulle skirt can be the foundation of countless costumes:
- Witch: Pair it with a black shirt and a witch’s hat for a classic witch costume, like I did for my daughter in the photo above.
- Fairy: Add wings and a wand to create a magical fairy outfit.
- Ballerina: For a ballerina look, a tulle skirt paired with a leotard and ballet slippers makes an adorable ensemble.
- Princesses: You can even make different colored skirts for themes like princesses, superheroes, or butterflies.
The best part? It’s easy to make a tulle skirt in any size, so you can create matching skirts for siblings or even make one for yourself to join in on the Halloween fun! With just a bit of tulle and some elastic, you can create a magical, twirl-worthy skirt that adds sparkle to any costume or playtime adventure.
What’s Next After Learning to Sew a Simple Tulle Skirt?
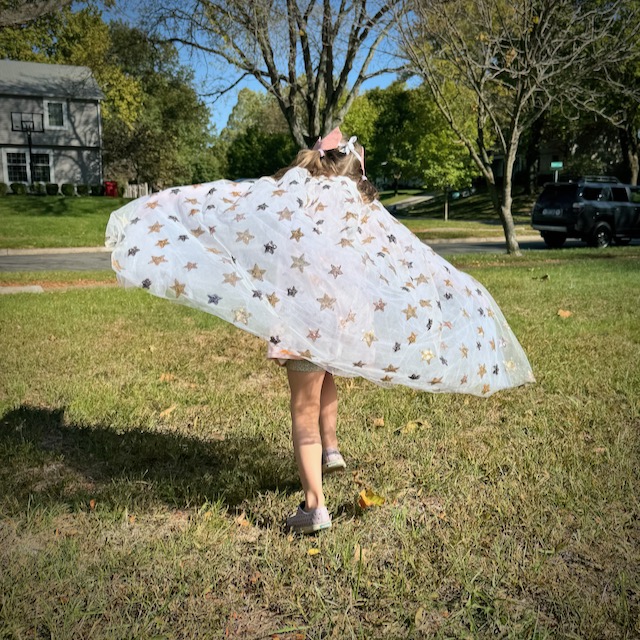
I love adding simple and versatile pieces to our family’s dress up box. Once I learned how to sew a simple tulle skirt, I was able to add a few different varieties that can be used in a variety of different imaginative scenarios.
Another fun project to add to your queue is a tulle cape, which I walk through the steps in my post, How to Sew a Tulle Cape. The tulle cape is an even easier project and is a regular in our dress up box rotation!
