How to Make 3D Paper Christmas Stars
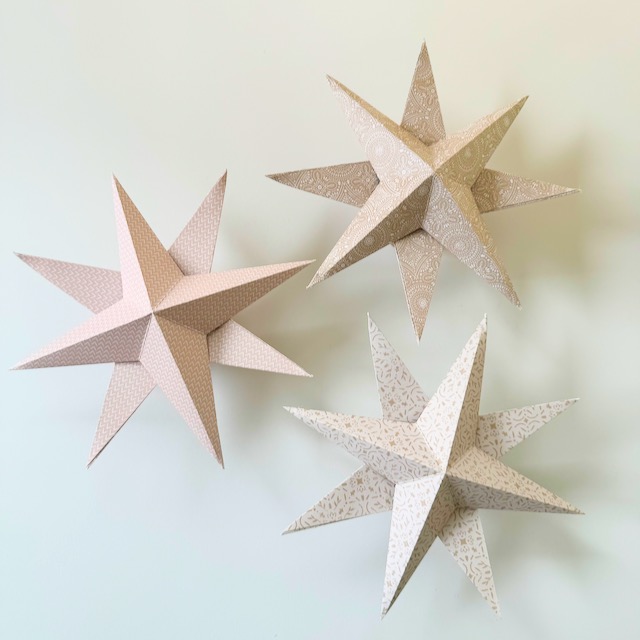
Paper Christmas stars are a beautiful and budget-friendly way to add some festive magic to your home. With just a few basic materials and simple folding techniques, you can create stunning stars to decorate your space.
This project is perfect for both adults and older kids, and it’s an excellent way to use up scraps and old paper materials creatively. In this guide, we’ll cover how to make paper stars, some creative ideas for sourcing paper, and unique ways to display your finished stars.
Creative Ways to Source Your Paper
Instead of buying new paper, try these eco-friendly and unique ideas:
- Old Magazines or Catalogs: Holiday catalogs or colorful magazines can create stunning, multicolored stars.
- Vintage Books: Look for books with interesting text or sheet music at thrift stores for a vintage, classic look.
- Brown Paper Bags: Grocery bags or other brown paper provide a rustic, earthy look, ideal for a cozy holiday feel.
- Gift Wrap Scraps: Save extra gift wrap for a festive star with holiday colors and patterns.
- Old Maps: If you have maps lying around, these can make unique stars that are fun to look at and add an adventurous vibe to your decor.
Materials You’ll Need
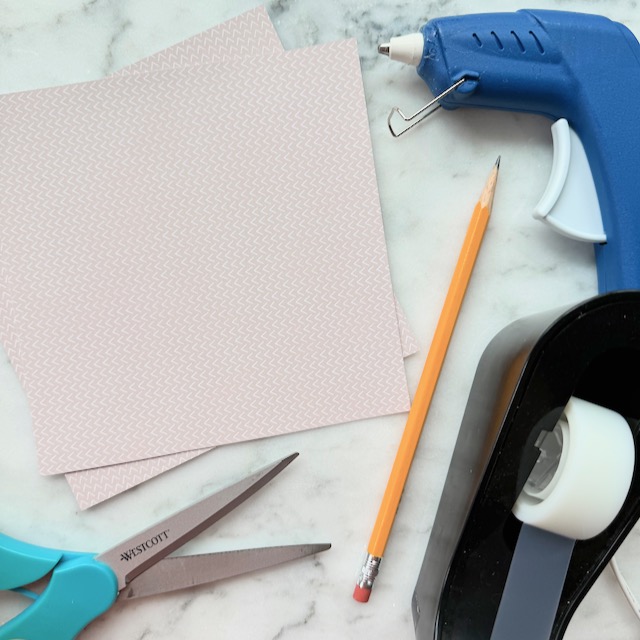
- Paper (for creative sourcing ideas, see above)
- Scissors
- Ruler
- Pencil
- Hot glue or double-sided tape
- String or ribbon (optional for hanging)
Step-by-Step Instructions for Making Paper Christmas Stars
1. Choose Your Paper Size
- To make the stars you will use two squares of paper. The width/height of the star will be the same length as the diagonal length of the paper you use.
- I made my stars with 6 inch squares, I think they are a pretty good size. If you wanted something smaller for ornaments or to hang from a garland you could try anything from 3-6 inch squares.
- Once you decide on a size, cut two squares.
2. Folding the Paper
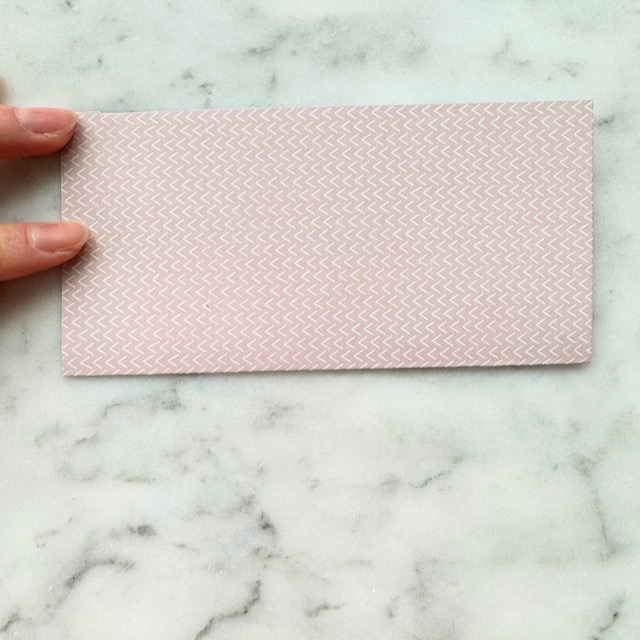
- Fold the square in half to create a crease, then unfold it. Turn the paper 90 degrees and fold again. The paper should be divided into quarters
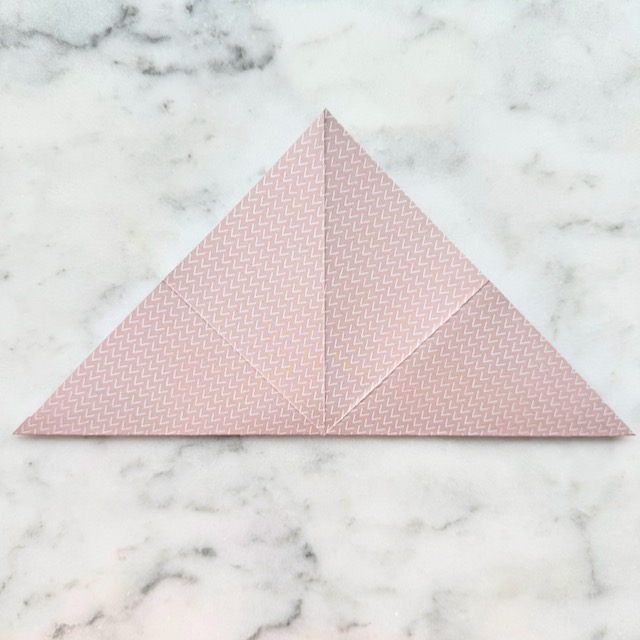
- Fold and it again, but this time align opposite corners. Crease and repeat with the other set of corners.
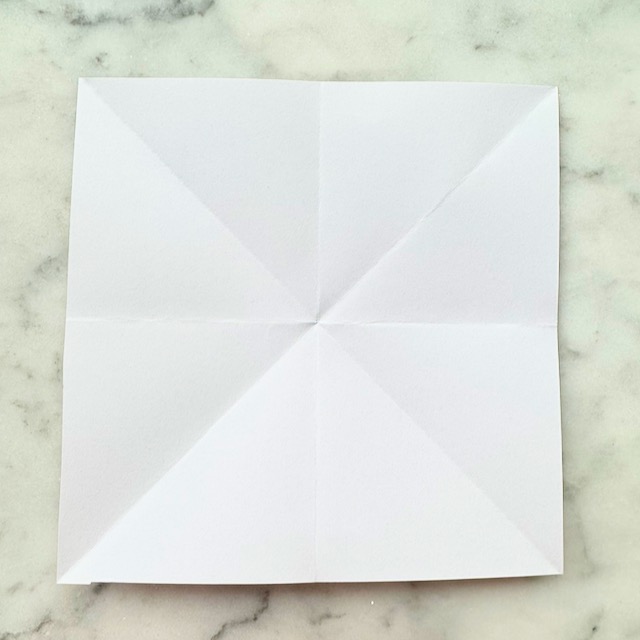
- When unfolded your paper should look like this.
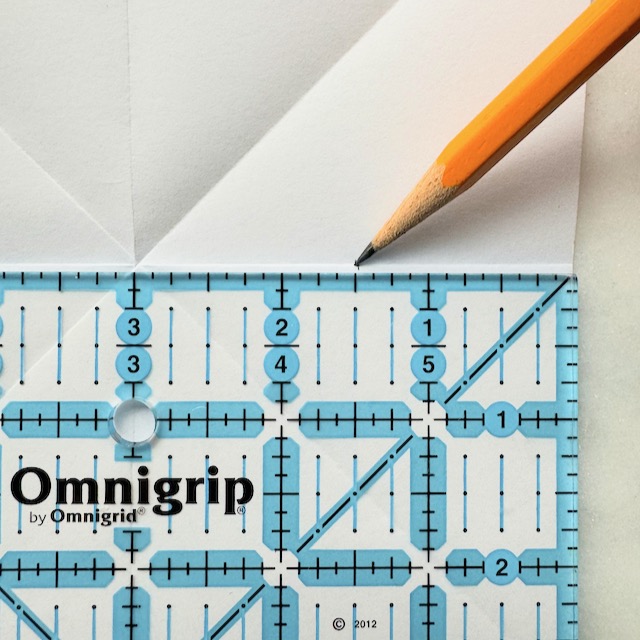
- Using a ruler, mark the half way point between the center and each side on the horizontal and vertical creases.
- My square was 6 inches, so the center was at 3 inches. I marked my paper at 1.5 inches and 4.5 inches.
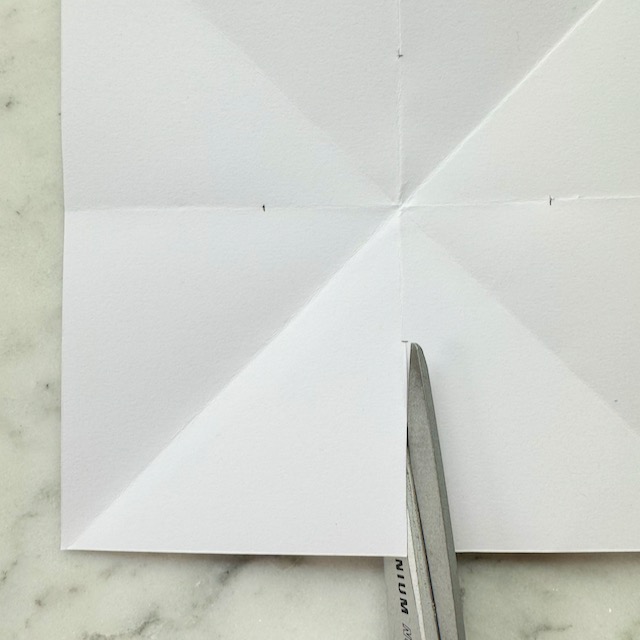
- Cut along the crease line to these markings.
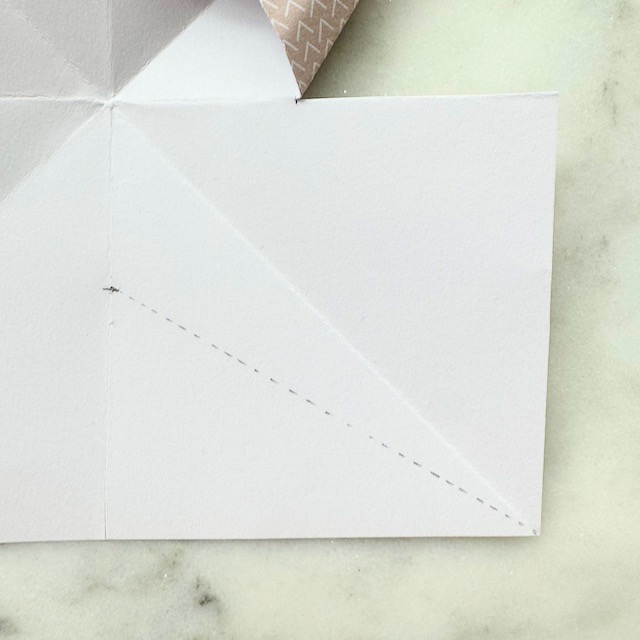
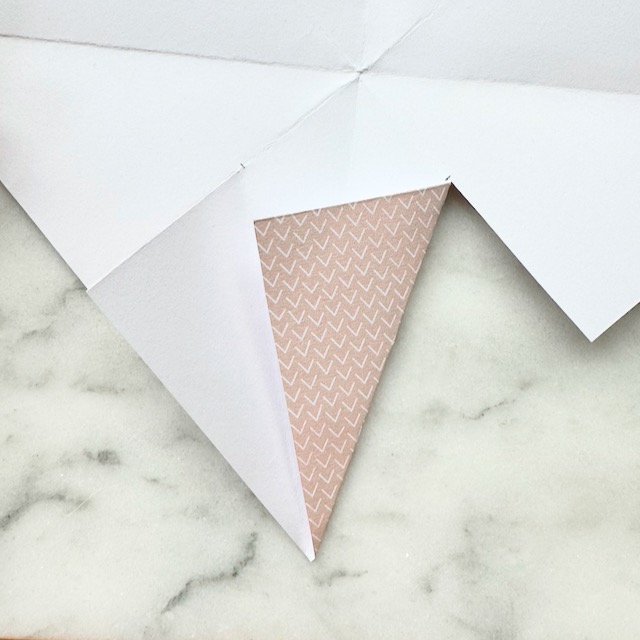
- Create a fold again so the fold line goes from the mark you made to the corner. Each corner should have two folds, eight folds total
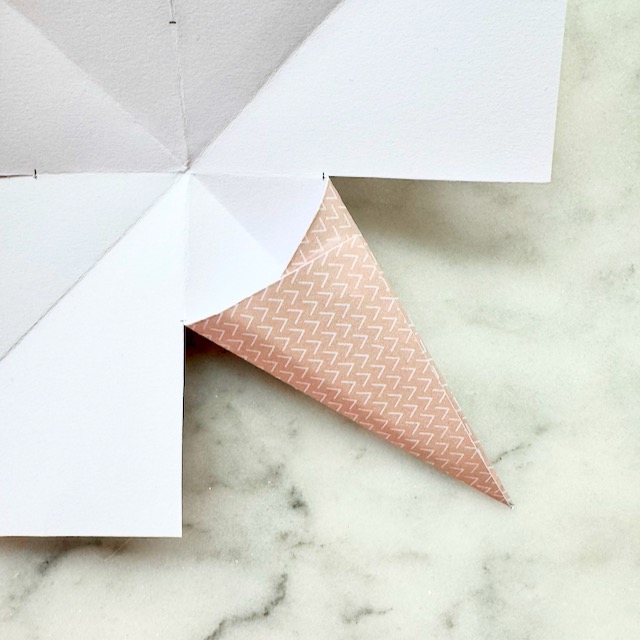
- Take the folds that you just made and for each corner try to squish them together so that the edges of the triangles come together. This will push the crease on the other side of the point out and up, which gives the star is 3D shape.
- Secure the paper together with hot glue or double sided tape.
4. Repeat & Glue
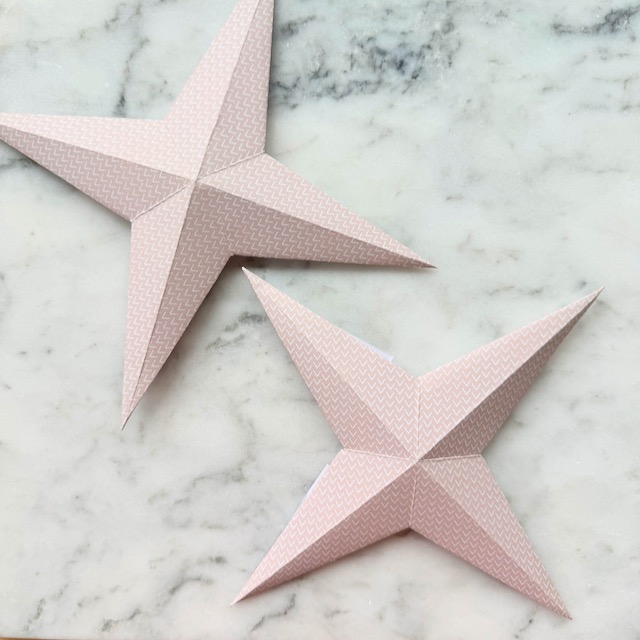
- Repeat the process again to make an identical second star.
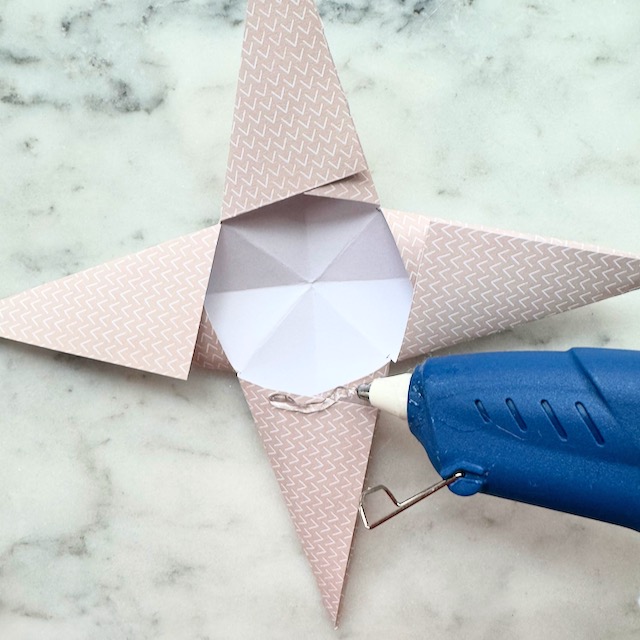
- Place hot glue or craft glue along the inside of one star.
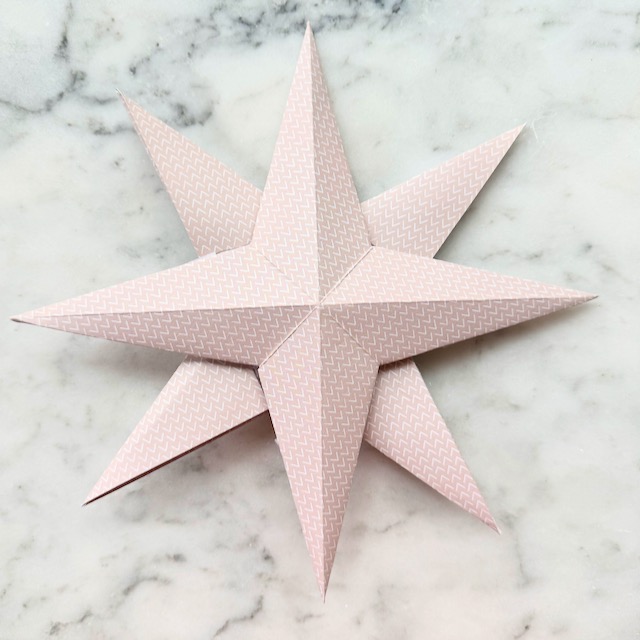
- Place the second star on top and apply some pressure to make sure the glue adheres.
3. Adding a Hanging Loop (optional)
- Depending on how you want to display your stars, you can easily hot glue a loop of string or twine to the top of a point to hang. You could also use a needle and thread or use a larger needle with embroidery floss to display smaller stars.
Ideas for Displaying Your Paper Stars
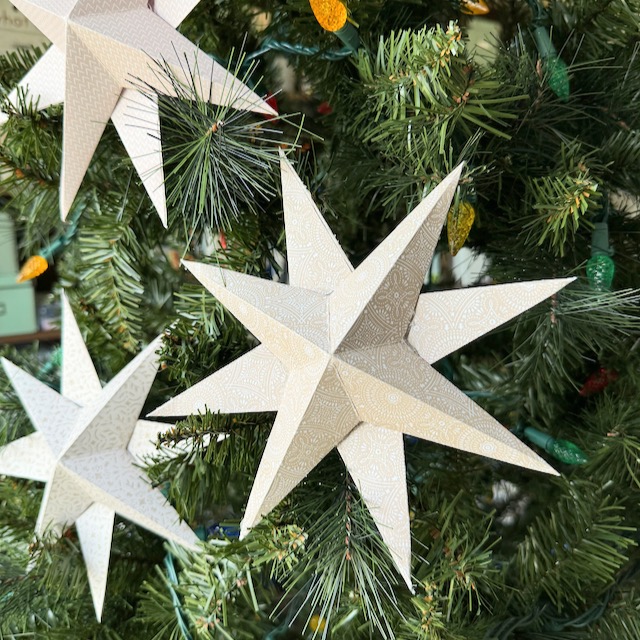
- Hang Them in Windows
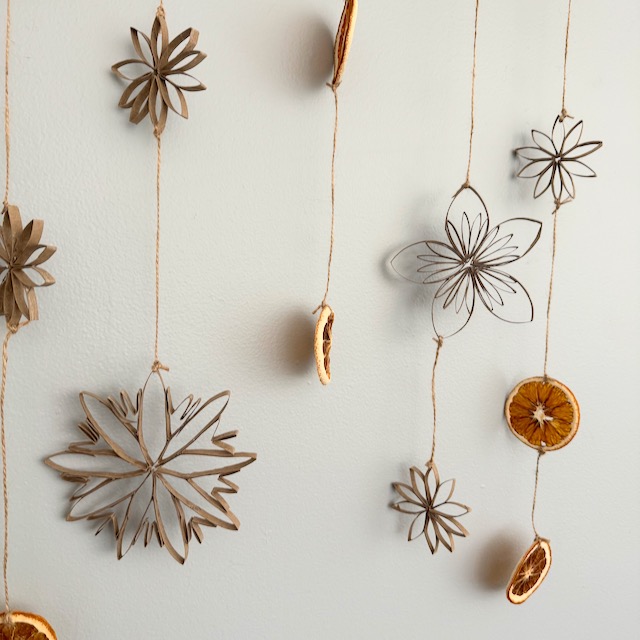
String your stars together and hang them in your windows to catch the light. Layer them at different heights for added dimension. - Create a Star Garland
Use a needle and thread to string several paper stars together, creating a beautiful garland for your mantel, stair railing, or doorway. - Ornament for Your Tree
Smaller stars can be placed on your Christmas tree as delicate ornaments. Choose colors that match your tree decor theme. - Centerpiece Decor
Use larger paper stars in the center of your dining table, surrounded by pinecones and greenery for a lovely touch. - Gift Toppers
A paper star makes a thoughtful addition to any gift. Attach a small star to your wrapped present for a unique, personalized touch. - Wall Collage
Make several stars of different sizes and colors, then arrange them on a blank wall for a DIY “starry night” effect. You can use painter’s tape or shorter loops with Command hooks to hang.
Final Thoughts
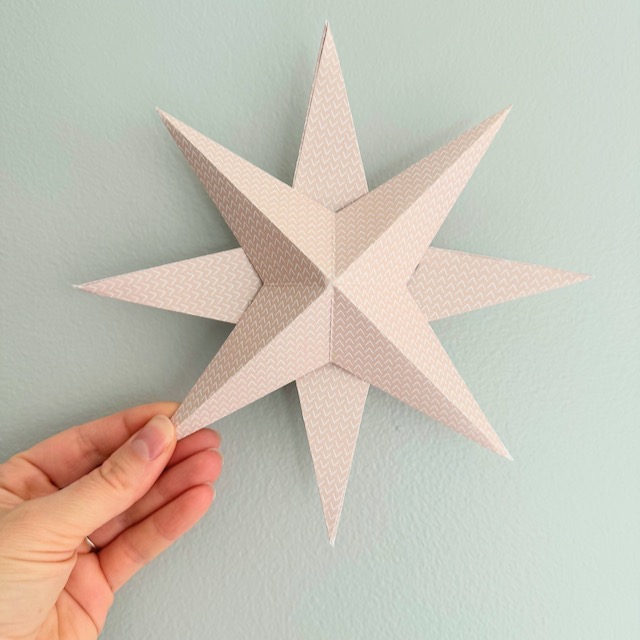
Making paper Christmas stars is a relaxing, low-cost way to celebrate the season. Not only do they add a personal touch to your holiday decorations, but they’re also a sustainable option when made with repurposed materials.
I also love holiday decor that I can easily recycle or compost at the end of the season. You don’t have to worry about storing these stars for next year since they are so easy to make and easy to divert from the landfill.
Gather your family, pick out some interesting paper sources, and have fun creating a unique starry scene for your home this Christmas!
