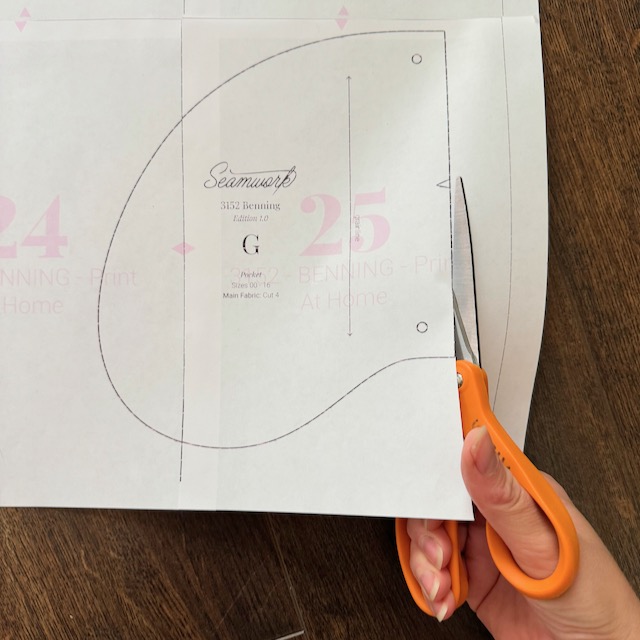
How to Sew a Lined Pencil Pouch
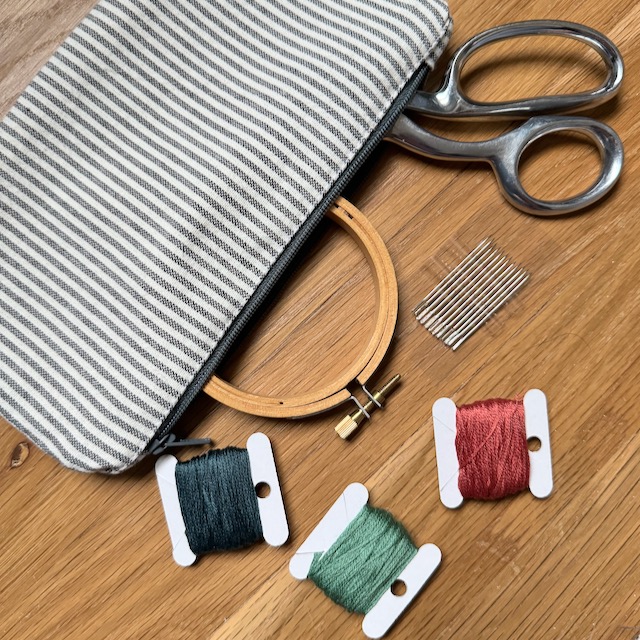
A lined pencil pouch is a perfect beginner sewing project that’s practical and a great use of scraps! Whether you’re looking to keep your pens, craft supplies, knick knacks, or small toys neatly organized, learning how to sew a lined pencil pouch is a fun and rewarding skill.
This easy DIY pouch can be customized with different fabrics and patterns, allowing you to create a unique bag for yourself or as a thoughtful handmade gift. In this guide, we’ll walk you through each step, so you can sew your own lined pencil pouch with confidence.
Sourcing Materials
FABRIC:
For this project woven fabrics work best. Woven fabrics don’t have as much stretch to them as knit fabrics and they keep the shape of the bag better.
There are multiple different ways to source fabric for a simple pencil pouch. Check out my blog post here on a few of my favorite sources of woven fabrics.
Zippers:
You can find zippers from old dresses, skirts, or pillow cases that you can deconstruct. You can also find them at your local sewing stores.
If you are going to be sewing a lot of zippers, I love to purchase from Zipit on Etsy. They have a ton of different varieties and can be purchased in bulk and used for different projects. The non-metal zippers can easily be cut down to any size, which makes them perfect for stashing for future projects since they are more versatile with flexible sizes. I use the invisible zippers all the time to make pillow covers!
Why Make Different Sizes?
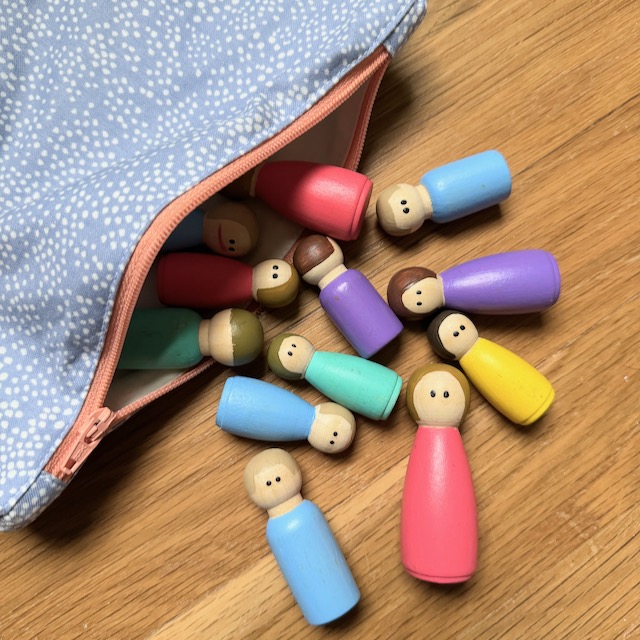
Learning how to sew a lined pencil pouch in multiple sizes is perfect for various needs:
- Small (6-inch): Great for pens, lip balm, or coins.
- Standard (8-inch): Ideal for most school supplies, including pencils, erasers, and markers.
- Large (10-inch): Use for makeup brushes, larger art tools, or as a travel organizer.
Once you know how to sew a lined pencil pouch, you can easily customize the dimensions to suit different purposes, making this project highly versatile and fun to personalize.
Materials & Tools
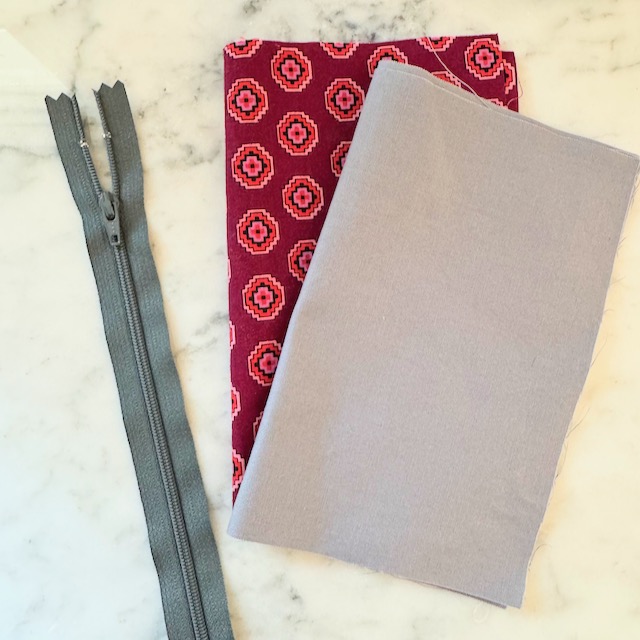
- Woven fabric for the outside of the pencil pouch (referred to as outer fabric)
- Woven fabric for the inside of the pencil pouch (referred to as lining fabric)
- Zipper
- Matching or coordinating thread
- Basic sewing supplies (sewing machine, scissors, needles, etc.)
Fabric Cut List
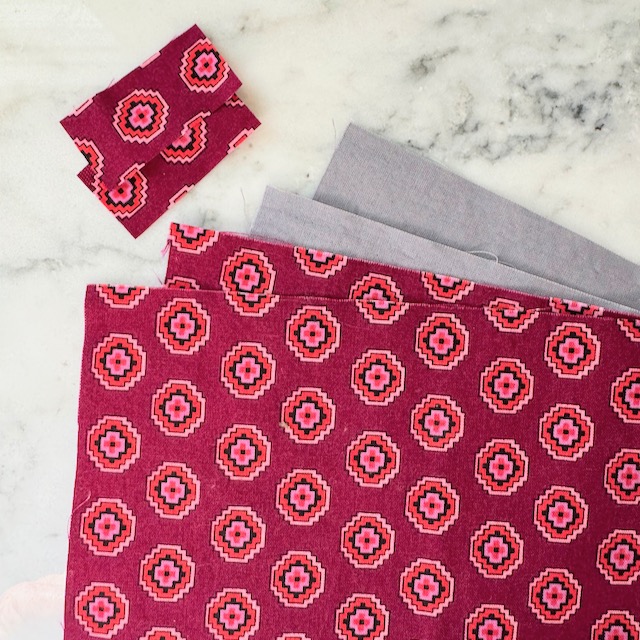
I have this tutorial written for three different sizes of pencil pouches. You can easily make whatever size pencil pouches you wish. The finished pouch will be slightly smaller than the main rectangles you cut out of the outer and lining fabrics. Just make sure you have a zipper to match the length!
- Outer fabric:
- ALL BAGS: 1.5 x 1 inches each (2 pieces)
- for zipper tags and will be on the outside, could cut out in a coordinating fabric as well
- Small: 6 x 8 inches each (2 pieces)
- Standard: 8 x 10 inches each (2 pieces)
- Large: 10 x 12 inches each (2 pieces)
- ALL BAGS: 1.5 x 1 inches each (2 pieces)
- Lining fabric:
- Small: 6 x 8 inches each (2 pieces)
- Standard: 8 x 10 inches each (2 pieces)
- Large: 10 x 12 inches each (2 pieces)
- One zipper: (if it is a non-metal zipper it can be larger than measurements given and trimmed to size)
- Small: 6-inch zipper
- Standard: 8-inch zipper
- Large: 10-inch zipper
Step 1: Prepare Your Fabric and Zipper
Select the size you’d like to make and cut your outer and lining fabric to the dimensions listed above. Be sure to cut out the smaller zipper tabs out of the outer fabric as well.
If you’d like to add any embellishments, such as patches or embroidery, do that now before sewing the pieces together.
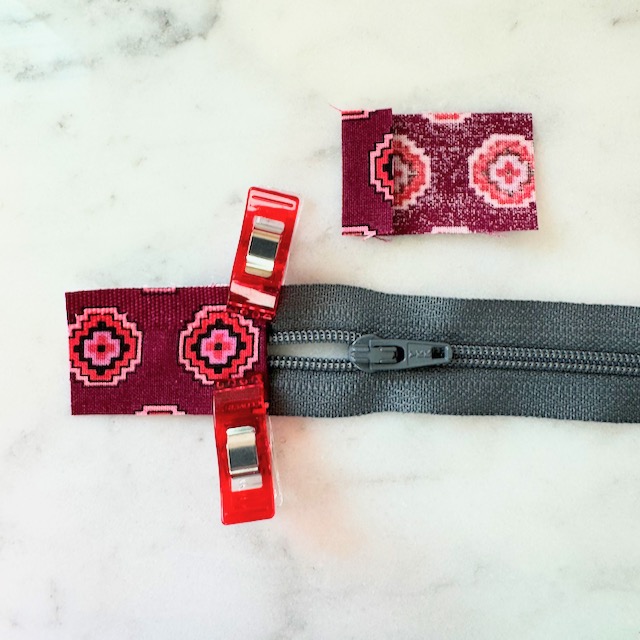
To insert the zipper tabs, iron a 1/4 inch hem on the 1 inch side of each zipper tab.
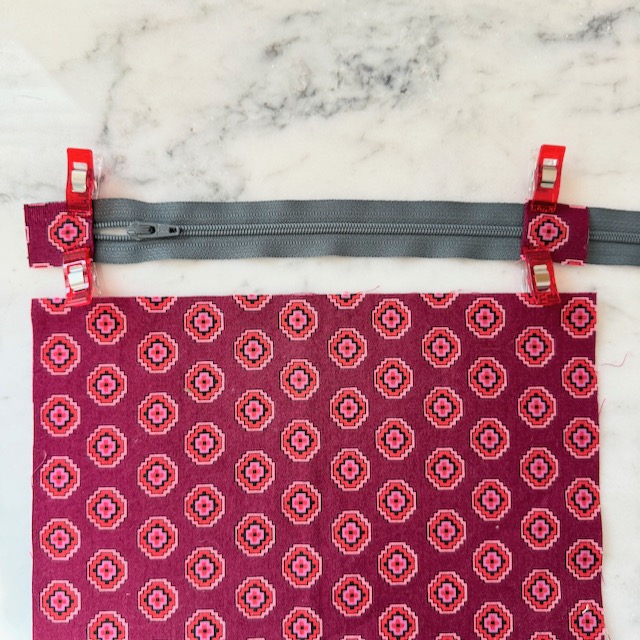
Place one of the rectangles on a table, place the zipper above the rectangle, and then place the two zipper tabs with their hemmed sides facing one another on either side of the zipper. Ensuring that the sides of the zipper tab matches the sides of the rectangle. (See photo above.)
You want the zipper and zipper tabs together to be the same length as the rectangle.
Pin the zipper tabs in place and sew them to secure. Be careful when stitching over the zipper teeth (can only be done with plastic zippers).
Trim any excess zipper
Step 2: Attach the Zipper
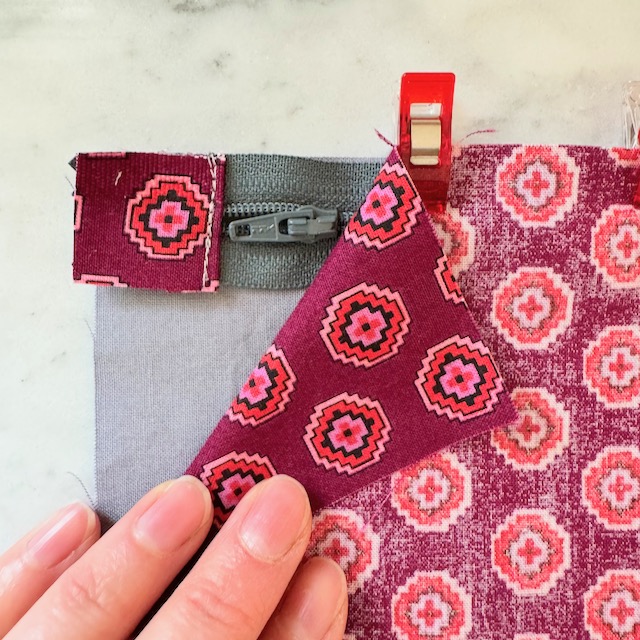
To attach a zipper, you need to make what I like to call a “zipper sandwich”
- Place one lining fabric piece right side up, with the long side of fabric facing you.
- Place the zipper along the top edge, with the zipper pull facing up.
- Position an outer fabric piece on top of the zipper, right side down, so it aligns with the outer fabric and zipper edge.
Pin or clip to hold the layers in place. Using a zipper foot (or do your best with a normal foot), stitch along the top edge with a 1/4 inch seam allowance. This will attach the zipper to both fabric layers.
4. Pull the fabrics away from the zipper and iron them flat. Be careful when using a hot iron around the zipper, it can melt!
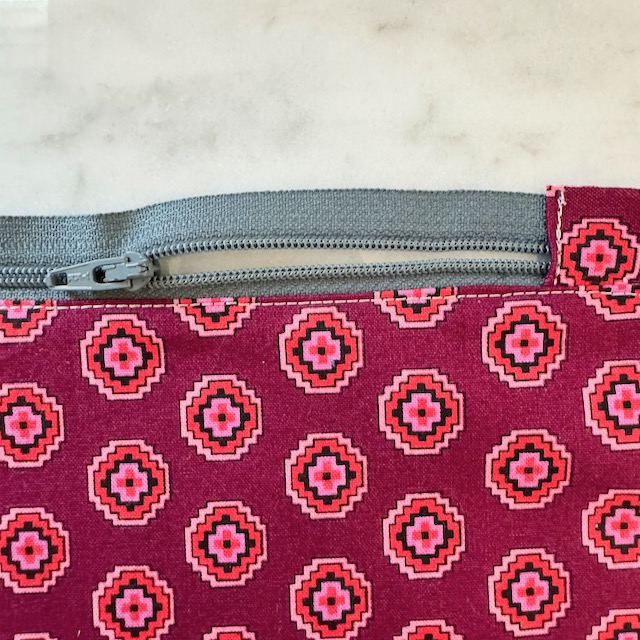
5. Topstitch along the side of the zipper to keep the fabric from getting caught in the zipper and to give the pouch a polished look.
Step 3: Sew the Other Side of the Zipper
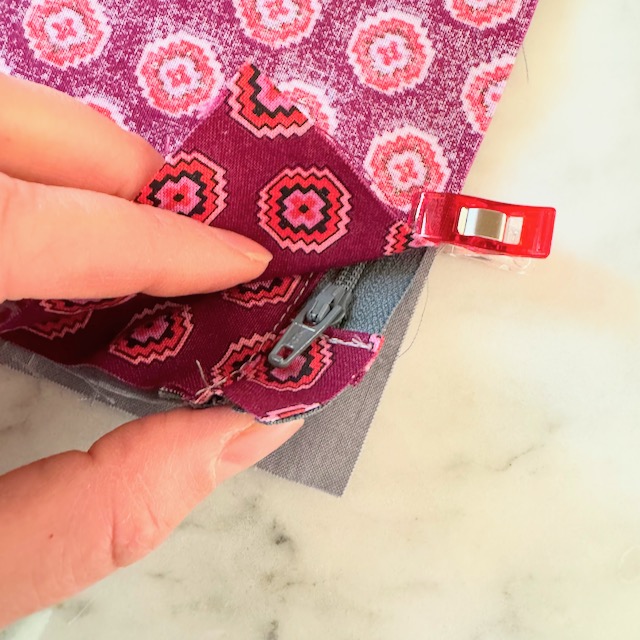
Repeat the previous step on the opposite side of the zipper:
- Lay the second lining fabric piece right side up.
- Place the zipper (with attached fabrics) on top, zipper pull up, aligning the edge.
- Add the second outer piece on top, right side down, aligning all edges.
Pin and sew along the zipper edge to secure the second side. After this, your zipper will be attached to both sides of the fabric.
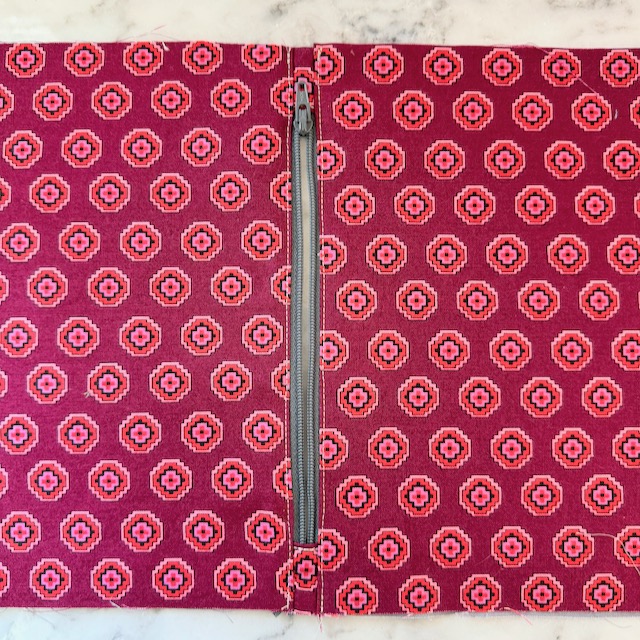
Iron and top stitch the fabric again on the other side of the zipper pull.
Step 5: Sew the Outer and Lining Pieces Together
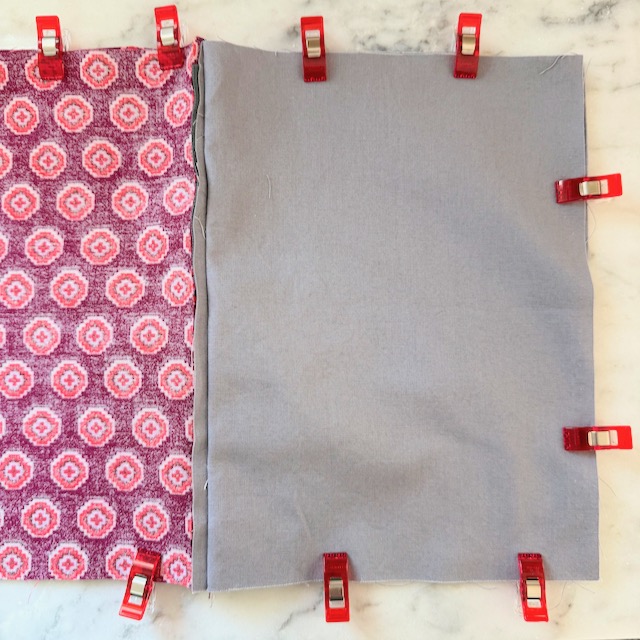
OPEN THE ZIPPER HALFWAY! (If you sew this step with the zipper closed you will not be able to open the bag.) Then:
- Place the outer fabric pieces together, right sides facing, and do the same with the lining pieces.
- Pin around the edges, leaving a 2-3 inch gap at the bottom of the lining for turning.
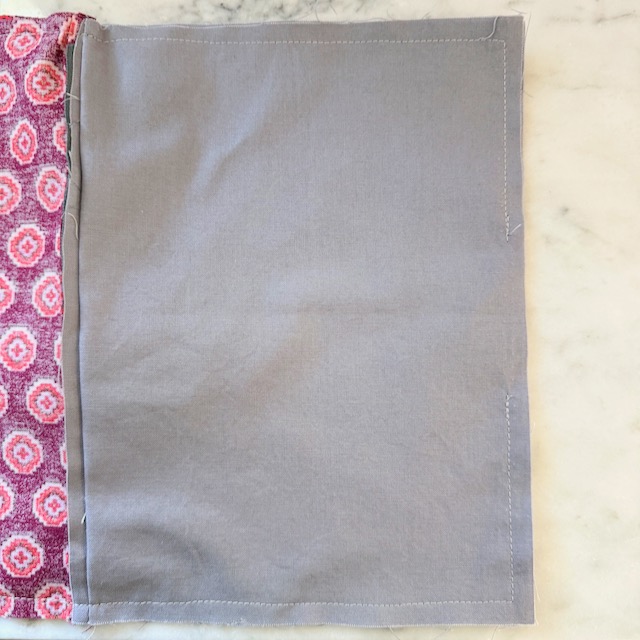
Using a 1/4-inch seam allowance, sew around the entire edge of the pouch. Be sure to leave the gap open in the lining.
Step 6: Turn the Pouch Right Side Out
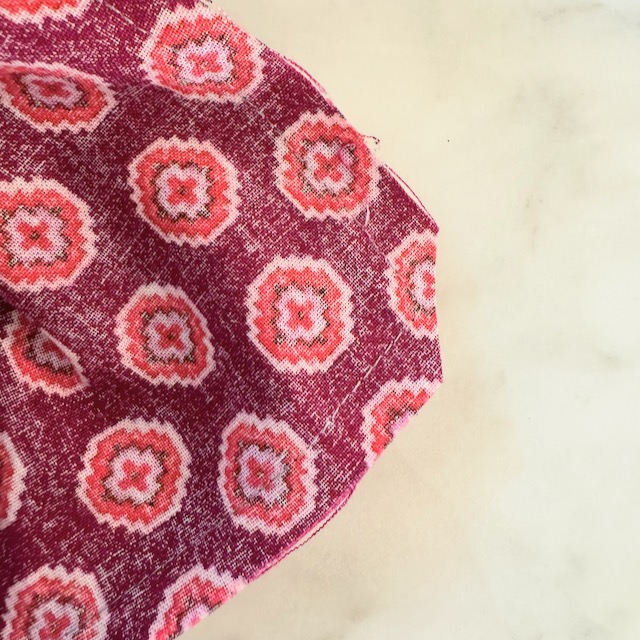
Clip the corners. Turn the pouch right side out through the gap. Push out the corners gently and press the seams for a neat finish.
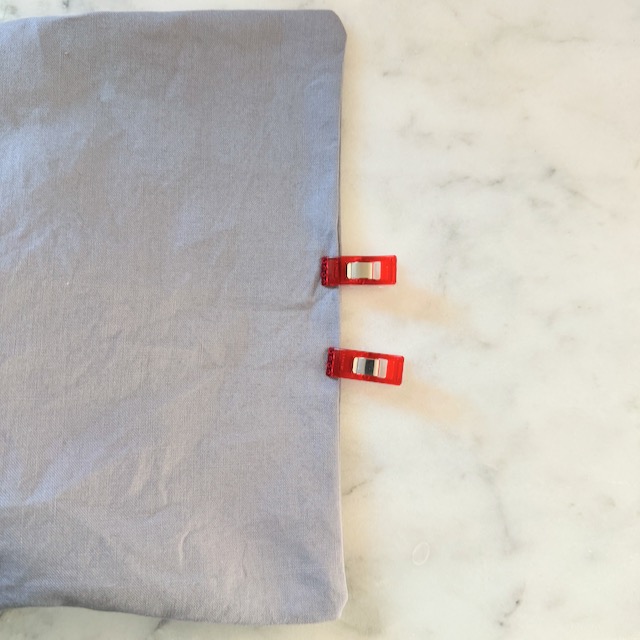
Finally, tuck in the raw edges of the gap in the lining, pin the gap closed, and sew. Push the lining inside, press the pouch, and enjoy your finished creation!
Final Thoughts
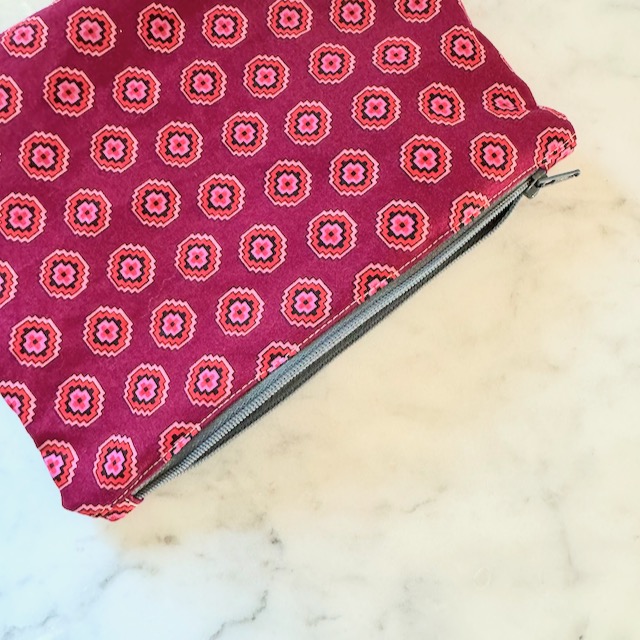
These little zipper pouches are one of my favorite projects. They are great to batch sew and have so many uses. We love storing little toy collections in them, or I like to use them to help organize the many bags that I carry around as a mother.
I hope you found this tutorial useful! Happy sewing!
