DIY Frayed Fabric Ribbon
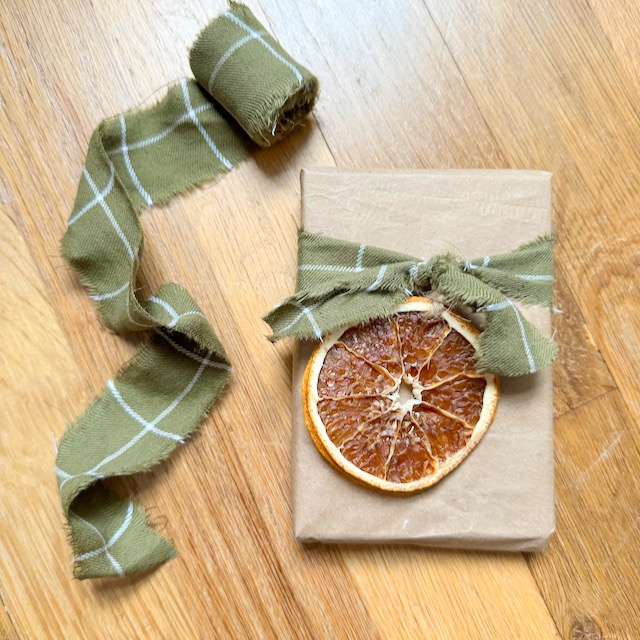
If you’re looking for a charming alternative to traditional ribbons, making your own DIY frayed fabric ribbon is the perfect eco-friendly and sustainable solution.
These ribbons add a soft, handmade touch to gift wrapping, floral arrangements, holiday decor, or craft projects. Best of all, they’re incredibly easy to create and a fantastic way to repurpose old fabric. With a little time and effort, you can make stunning DIY frayed fabric ribbon that suits any style or occasion.
Why Make Your Own Ribbons?
There are so many reasons to try your hand at DIY frayed fabric ribbon. It offers a personal, handmade touch that store-bought options simply can’t replicate. Additionally, making your own is cost-effective and an excellent way to reduce waste by reusing fabric. Whether you’re crafting for the holidays, a special event, or everyday projects, these ribbons are a versatile, beautiful, and easy-to-create addition to your toolkit.
What You’ll Need
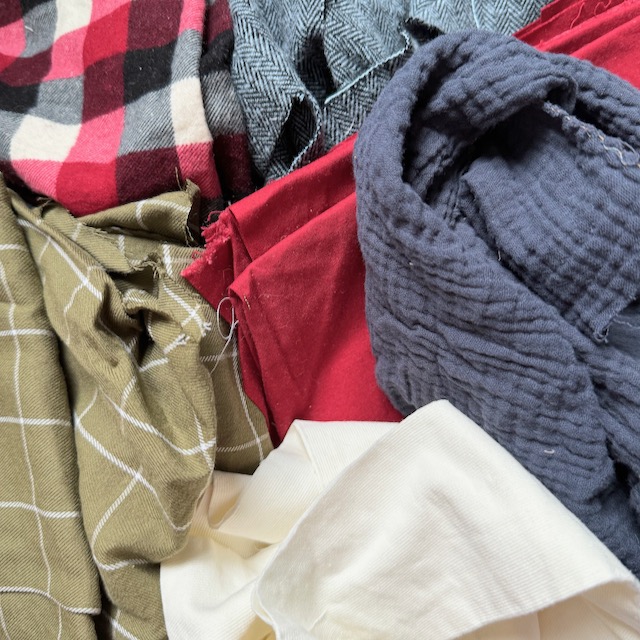
- Woven fabric of your choice (cotton, linen, muslin, or any lightweight woven fabric works best)
- Scissors
- Iron (optional, for a polished look)
Choosing the Right Fabric
When creating DIY frayed fabric ribbon, it’s important to choose the right material. Lightweight, woven fabrics like cotton or linen are ideal because they fray easily and hold their shape.
Look for fabrics in solid colors, patterns, or prints that match the theme of your project. For an eco-friendly approach, consider upcycling old garments, sheets, or fabric scraps. This not only saves money but also gives your ribbons a unique, one-of-a-kind character.
How to Make DIY Frayed Fabric Ribbon
There are two different methods to make fabric ribbons:
- Method 1: tearing – This is quick and results in more frayed and rustic edges.
- Method 2: cutting: This is a bit slower but creates a neater look, though edges can still fray over time since the edges aren’t finished.
Method 1 – Tearing
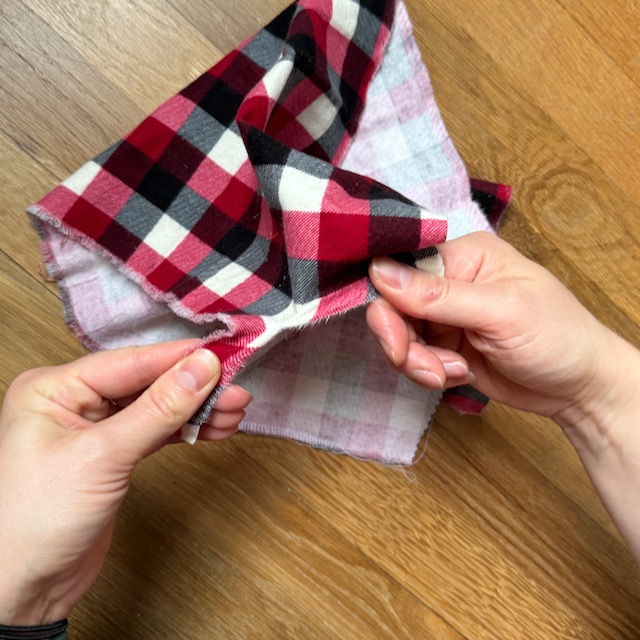
Step 1: Find the Grainline of the Fabric
- Tear the fabric along the grainline, which runs parallel to the cut edge. To find the grainline, make a small cut near the edge and try tearing the fabric. If it resists, make another cut perpendicular to the first and try again.
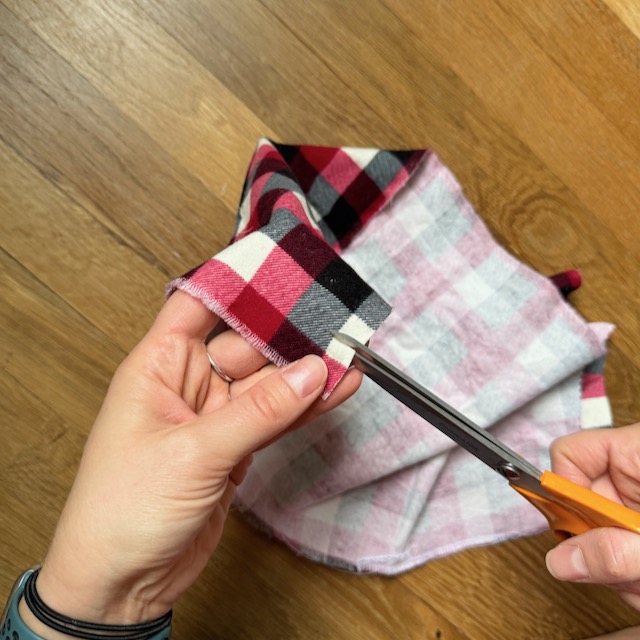
Step 2: Tear Strips
- Decide on the desired ribbon width, snip the fabric, and tear along the grainline. Repeat until you have several strips. If needed, sew or glue strips together for longer ribbons.
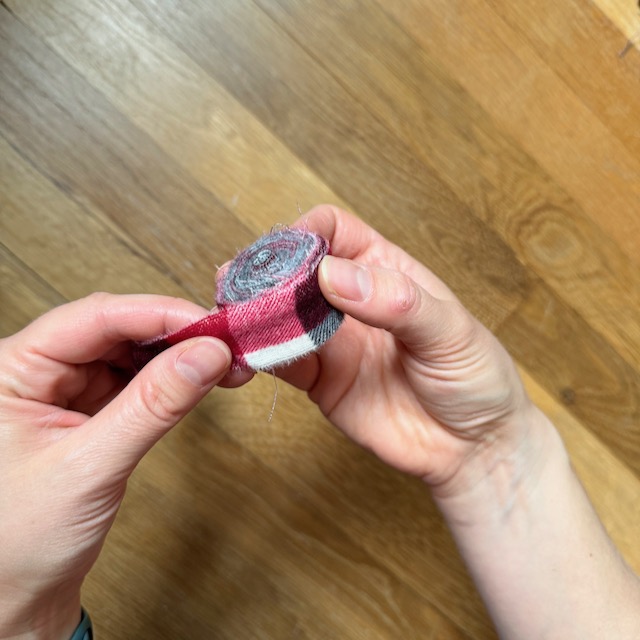
(Optional) Step 3: Roll Ribbon for Storage
- Once your ribbons are ready, roll them for easy storage. To keep the edges from unraveling further, secure the end with a small pin or wrap with a rubber band.
Method 2: Cutting Fabric Ribbon
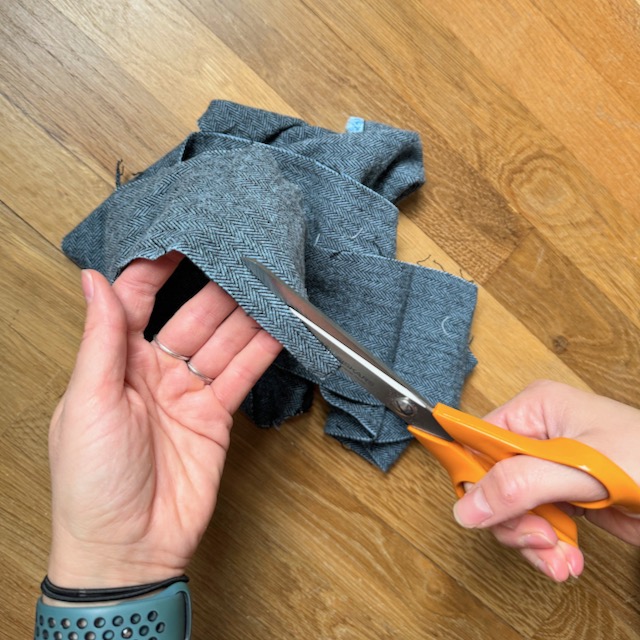
Step 1: Prepare Your Fabric
- Lay your fabric flat on a clean surface. If it’s wrinkled, iron it first for easier cutting.
Step 2: Cut Strips of Fabric
- Measure and cut straight strips along the fabric length.
(Optional) Step 3: Create Frayed Edges
- Pull a few threads along the edges to achieve the signature frayed effect. Be gentle to avoid distorting the fabric.
- For a neater look, trim any loose or overly long threads.
Step 4: Roll or Fold Your Ribbon
- Once your ribbons are ready, roll them neatly and secure the ends to prevent further unraveling.
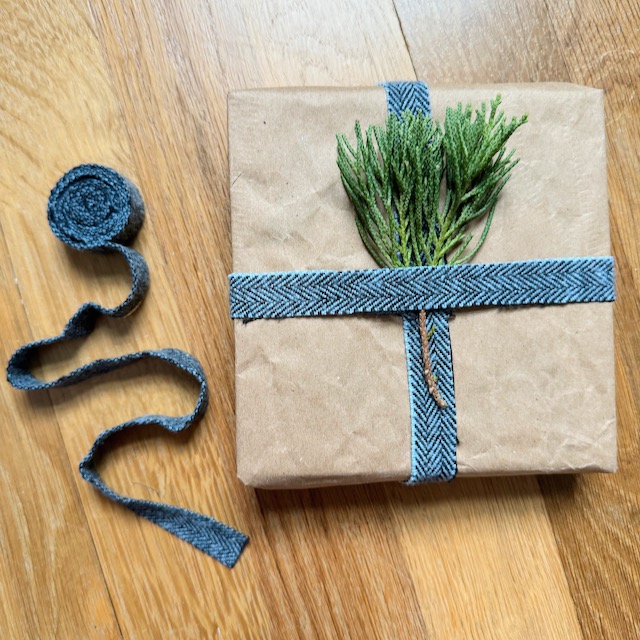
Ways to Use DIY Frayed Fabric Ribbon
- Gift Wrapping: Wrap it around packages for a cozy, handmade aesthetic. Pair with kraft paper or plain gift bags for a minimalist look.
- Floral Arrangements: Tie it around bouquets, wreaths, or vases to add a soft, vintage touch.
- Holiday Decor: Use it to hang ornaments, wrap around a Christmas tree, or adorn stockings and garlands.
- Craft Projects: Incorporate it into scrapbooks, journals, or sewing projects for added texture and interest.
- Wedding or Event Decor: Use it for chair bows, table runners, or napkin ties to create a romantic, rustic vibe.
Tips for Perfecting Your DIY Frayed Fabric Ribbon
- Experiment with Colors: Try dyeing white fabric with natural dyes like tea, coffee, or berries for unique, custom hues.
- Mix and Match: Combine ribbons of different widths and fabrics for a layered, textured effect.
- Keep It Sustainable: Use leftover fabric scraps or thrifted materials to make your ribbons.
Have Fun and Create Some Homemade Holiday Cheer!
Homemade decorations like DIY frayed fabric ribbons bring a sense of warmth and intentionality to the holiday season. This craft is easy, enjoyable, and perfect for both solo projects and family crafting time.
So grab some fabric, get creative, and start making your own DIY frayed fabric ribbon today. You’ll love the unique charm it brings to all your creative endeavors!
