DIY Beeswax Candles
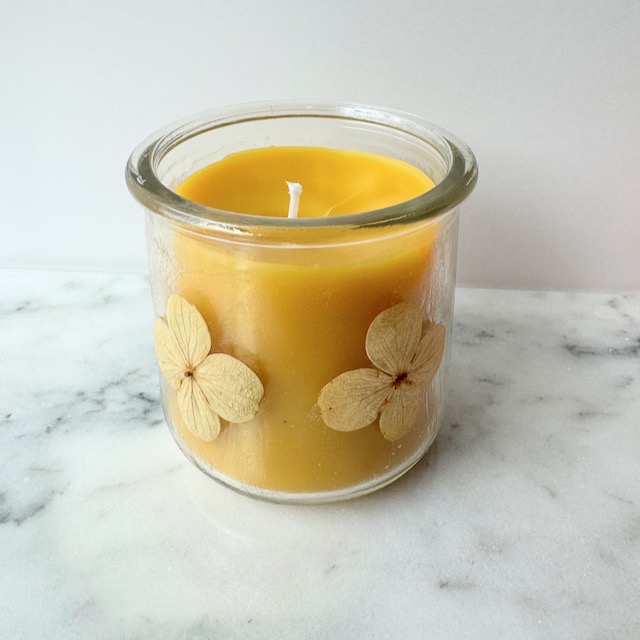
Making your own candles is a fun and rewarding way to add a cozy, natural touch to your home. With just a few materials, you can create DIY beeswax candles that look beautiful, smell amazing, and are healthier for your environment.
Unlike store-bought candles that often contain synthetic ingredients, beeswax burns cleanly and has a naturally sweet honey scent. In this guide, I will walk you through the steps to make your own beeswax candles in jars – perfect for gifting or creating a relaxing hygge atmosphere.
Why Choose Beeswax?
Beeswax is a natural byproduct of honey production and is known for its many benefits:
- Clean Burning: Beeswax emits little to no smoke and releases negative ions that can help purify the air.
- Eco-Friendly: It’s a renewable resource and biodegradable, making it a sustainable choice for candles.
- Long-Lasting: Beeswax candles burn longer than many other types of candles.
Materials You’ll Need
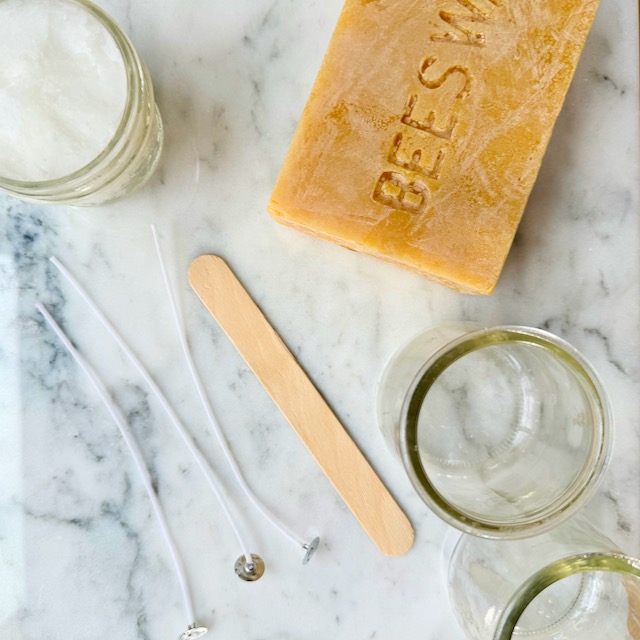
- Beeswax pellets or a block of beeswax
- Coconut oil
- Cotton candle wicks (pre-waxed or natural)
- Jars for your candle (mason jars, small glass jars, or emptied candle jars – no plastic)
- Glass jar for melting wax
- Pot
- Metal trivet (see step 2 – melting beeswax)
- Wooden skewer or chopstick (to hold the wick)
- Optional: Essential oils for added scent
How to Make DIY Beeswax Candles
Step 1: Prepare Your Jars and Wicks
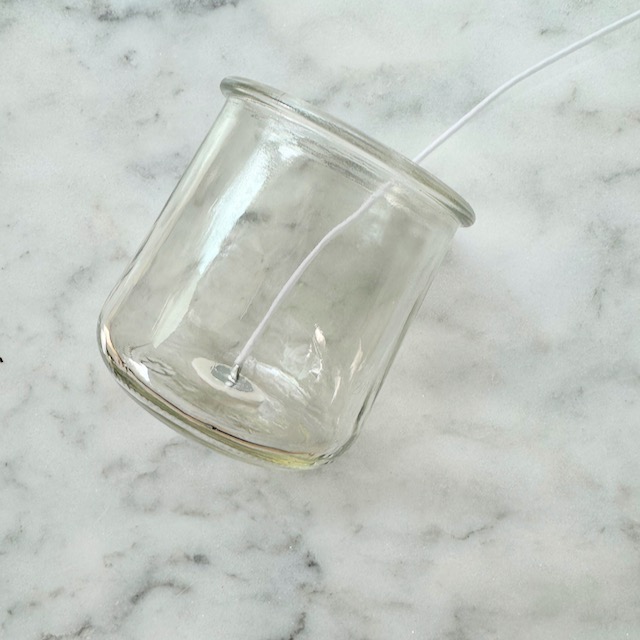
- Start by cleaning and drying your candle jars. Remove any labels or residue for a polished look.
- Attach a wick to the center of each jar. Most wicks come with a metal base. Secure it in place using a dab of melted beeswax or adhesive.
- Wrap the top of the wick around a wooden skewer or chopstick laid across the jar’s opening. This will keep the wick centered while you pour the wax.
2: Melt the Beeswax

- For every 1/2 pound of beeswax you use, you will need to add 4 tablespoons of coconut oil. The coconut oil helps the beeswax melt at a lower temperature, which ensures a better burn. Just use whatever beeswax you think is best and adjust your coconut oil accordingly.
- 1 pound beeswax : 8 tablespoons coconut oil
- If using a block of beeswax, chop it into smaller pieces for easier melting.
- Place the beeswax and coconut oil in a scrap glass jar. I like to use a scrap jar because beeswax is super hard to clean and shouldn’t go down your sink.
- Place a metal trivet or a few mason jar rings in the bottom of a pot. This prevents the glass jar from sitting directly on the bottom of the pan, which could cause it to crack.
- Fill the pot with water until it is level with the beeswax in the jar.
- Turn on the stove to bring the water to nearly a simmer. Beeswax can burn if heated too high, so just be patient.
- Stir occasionally to ensure even melting.
3: Pour the Wax
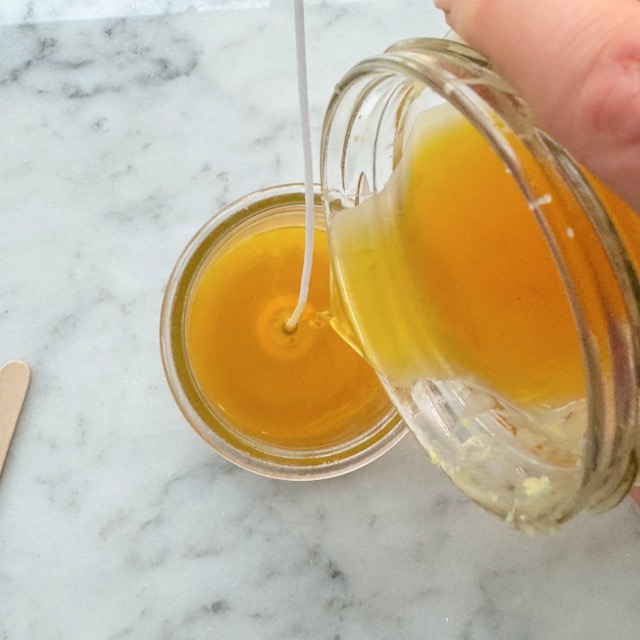
- Once the wax is melted, carefully pour the beeswax/coconut oil into each candle jar, leaving about 1/2 inch of space at the top.
- Hold the wick steady with chopsticks, clothes pins, tape, or whatever you can find to ensure it remains upright as the wax sets.
- Allow the candles to cool and harden completely. This can take up to 24-48 hours.
4: Trim the Wick
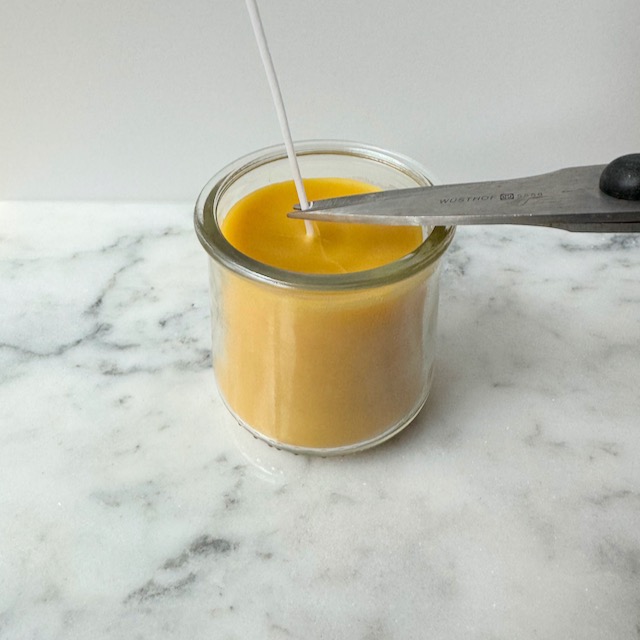
- Once the wax has fully hardened, trim the wick to about 1/4 inch above the wax surface. This length helps the candle burn evenly.
Adding Pressed Flowers to DIY Beeswax Candles
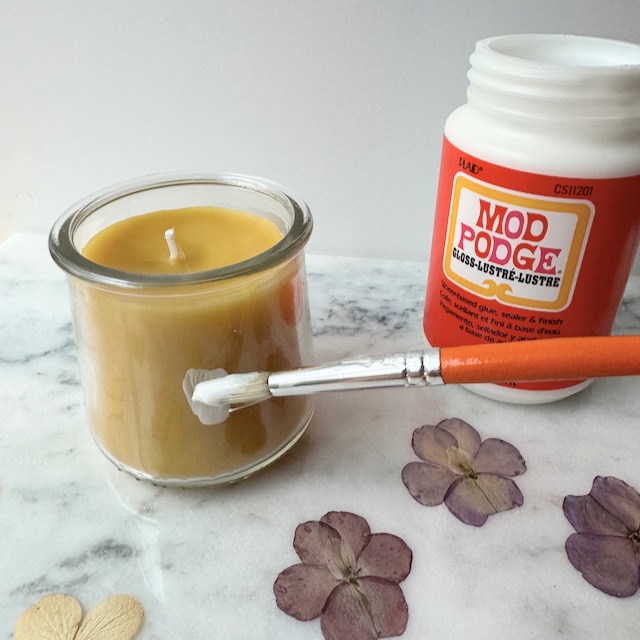
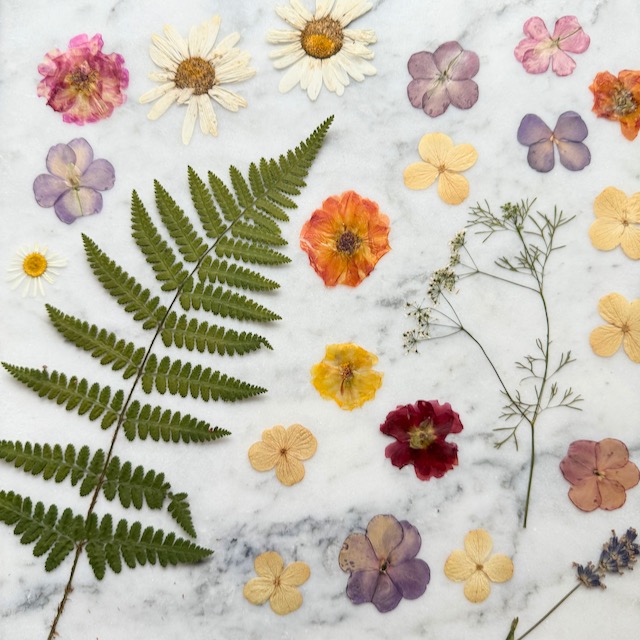
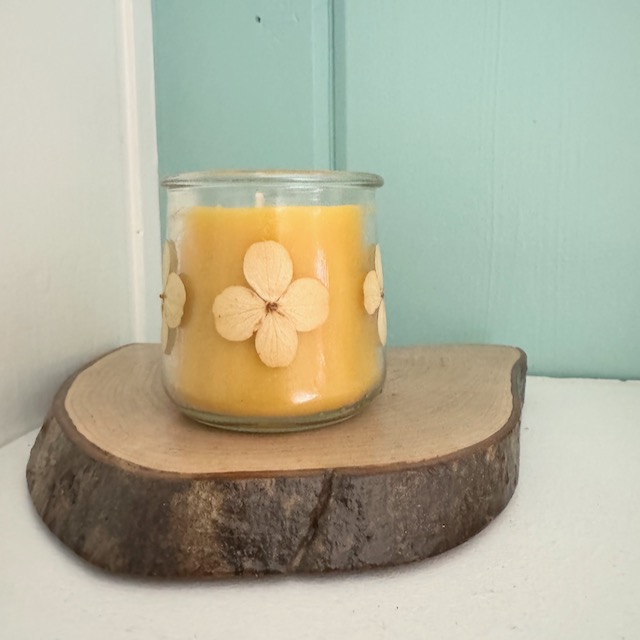
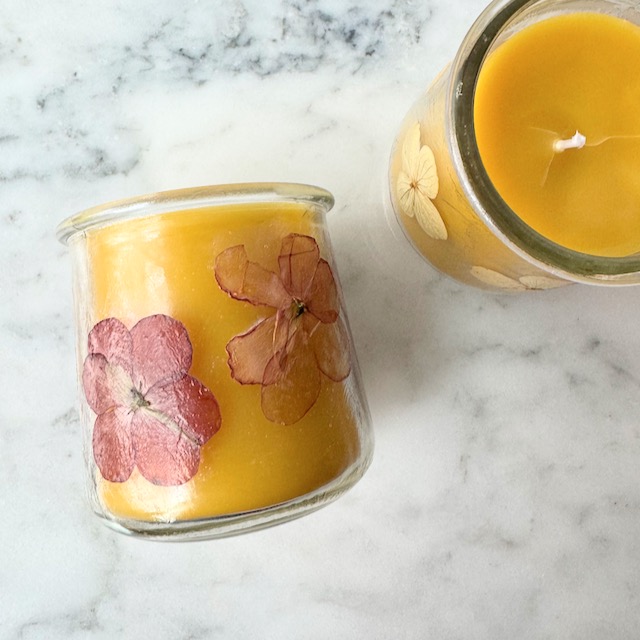
I wanted to make my beeswax candles have a bit more personality, so I added some pressed flowers. These flowers were collected and pressed over the summer season. I wrote a blog post on THREE different ways to create a flower press. Even if it is winter, you can still press or hang dry store bought flowers. It’s one of my favorite ways to preserve them!
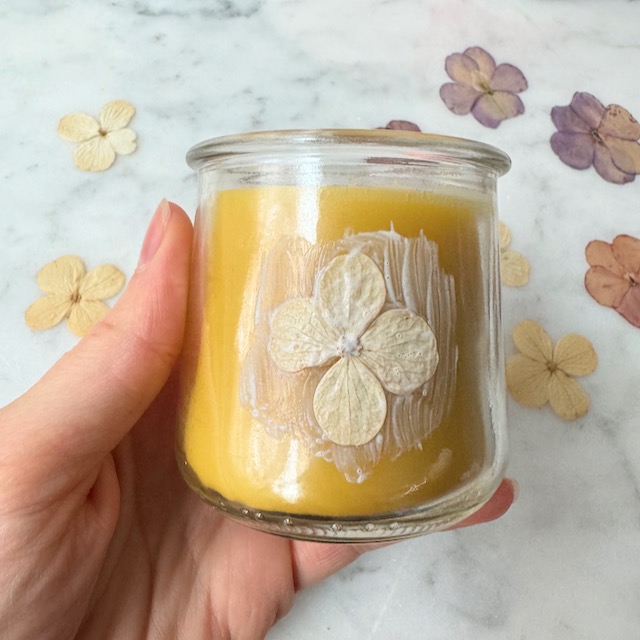
To add pressed flowers, simply add some Mod Podge or glue to the jar, then press in the flower, and add another layer of glue to seal everything in.
Uses for DIY Beeswax Candles
- Gifts: Handmade beeswax candles make thoughtful gifts for holidays, birthdays, or housewarmings.
- Relaxation: Light a beeswax candle during your evening routine to create a calming atmosphere. We love to do candle lit dinners as a family during the darker winter months.
- Decor: Place them in clusters for a warm, inviting centerpiece.
- Eco-Friendly Living: Incorporating DIY beeswax candles into your home is a small step toward reducing synthetic products in your space.
Why You’ll Love DIY Beeswax Candles
Making DIY beeswax candles is not only a creative and fun activity, but also an environmentally conscious choice. By using natural materials and repurposed jars, you can reduce waste and create something beautiful. These candles burn longer, smell delightful, and are free of harmful chemicals, making them a healthier option for you and your family.
Whether you’re crafting for yourself or creating gifts for loved ones, DIY beeswax candles are a project you’ll want to make again and again.
