Three Different Ways to Make a Flower Press
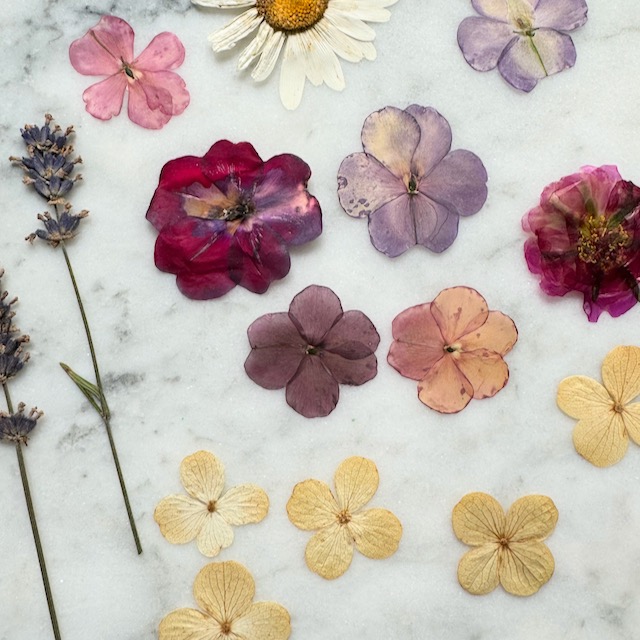
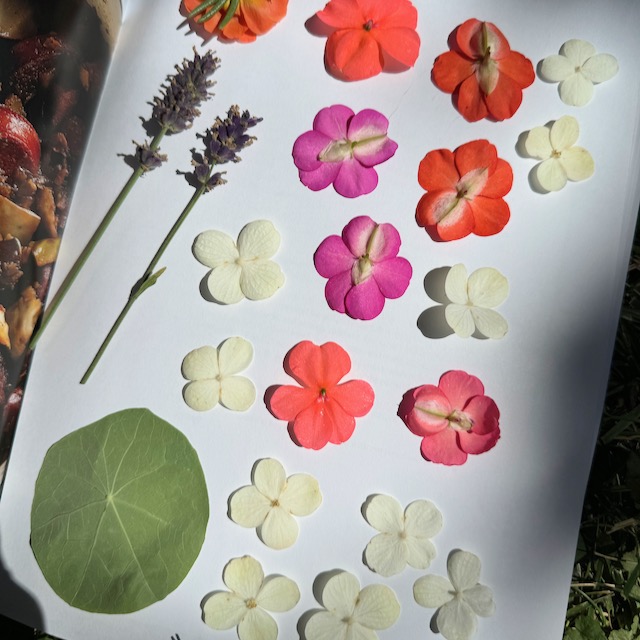
Pressing flowers is a timeless craft that captures the delicate beauty of nature in a preserved, flat form. Whether you’re creating artwork, keepsakes, or simply enjoying the process, making a flower press can be a fun and rewarding experience. Here are three different ways to make a flower press, each with its own unique method and time/material commitments.
Quick Note on Blotting Paper
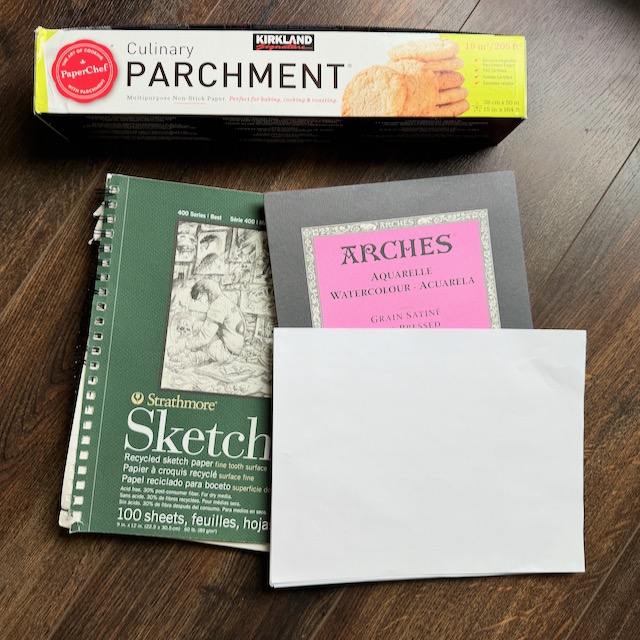
You’ll see that all three methods include blotting paper. When pressing flowers you need have something to sandwich the flowers with. You want this material to be absorbent to help quickly dry the flowers. You can use blotting paper specifically made for pressing flowers. But I also like to be resourceful and use what I have, so here are a few other options:
- standard printer paper (should use a few sheets between flowers)
- newsprint paper (a cheap thin paper that is absorbent, but thin, use a few sheets, or use newspaper but be aware the ink could transfer to your flowers. Test first!)
- watercolor paper
- thin fabric
- parchment paper (doesn’t absorb well, but does a good job not having delicate flowers stick to paper)
1. Flower Press Using Books
The simplest and most accessible way to press flowers is by using books. This method requires minimal materials and is perfect for those who want to start immediately. This method is straightforward and effective, though it requires patience and occasional monitoring.
Materials Needed:
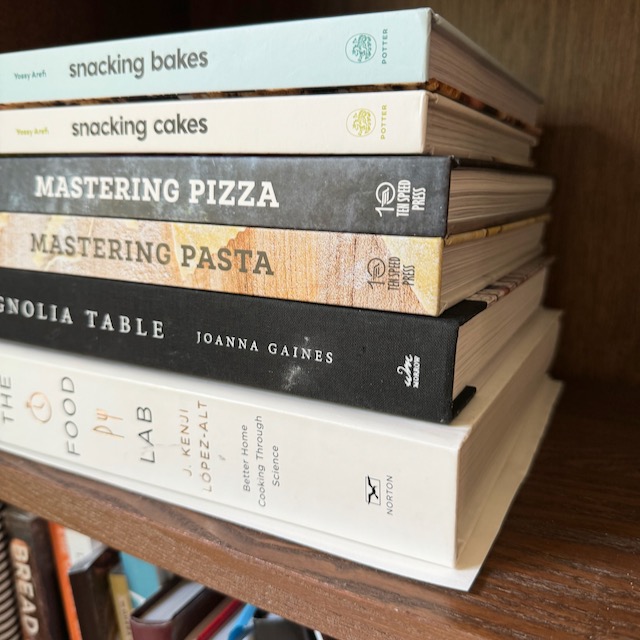
- Heavy books (cookbooks, coffee table books, encyclopedias, or large textbooks work best)
- Blotting paper (see above)
Instructions:
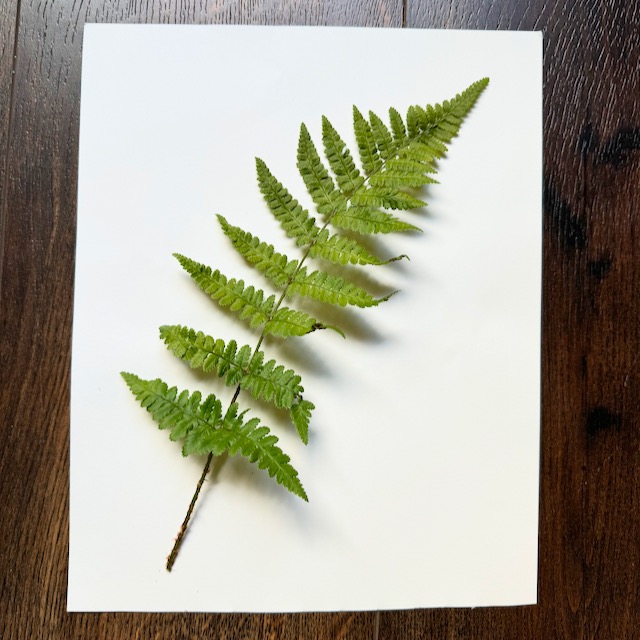
1. Collect and Prepare Flowers: Gather flowers and foliage you wish to press. Ensure they are clean and dry.
2. Place Flowers Between Paper: Lay the flowers flat between sheets of paper (see above). This will protect the pages of your books and help absorb moisture.
3. Insert into Book: Carefully place the paper with flowers inside a heavy book. If pressing multiple flowers, layer them with more sheets of paper between pages. (Don’t use a precious heirloom book for this project, you do run a risk of the flowers staining the pages)
4. Add Weight: Close the book and place additional heavy books or objects on top to apply pressure.
5. Wait and Check: Leave the flowers to press for 2-4 weeks. Check periodically to ensure they are drying properly and replace the paper if it becomes damp.
2. Flower Press with Cardboard and Rubber Bands
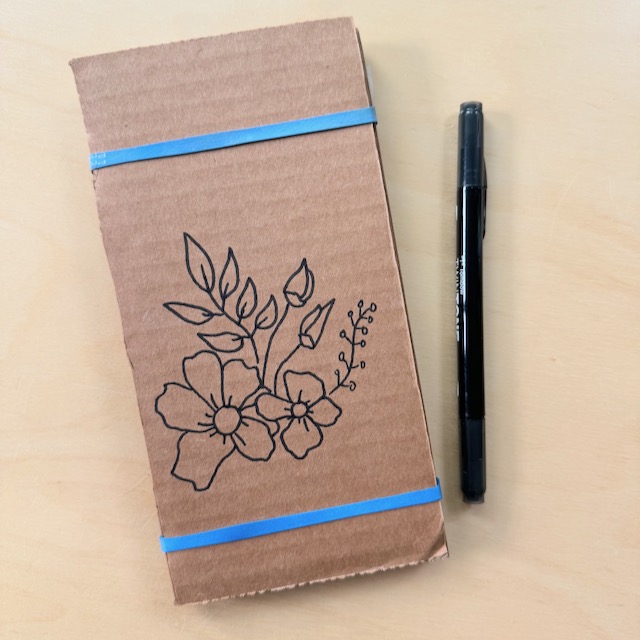
A slightly more structured method involves using cardboard and rubber bands. This approach is still simple but offers more control over the pressing process. This method is more portable than using books and allows for multiple flowers to be pressed at once without taking up too much space. It is best for pressing smaller flowers since the rubber bands need to wrap around the entire cardboard.
Materials Needed:
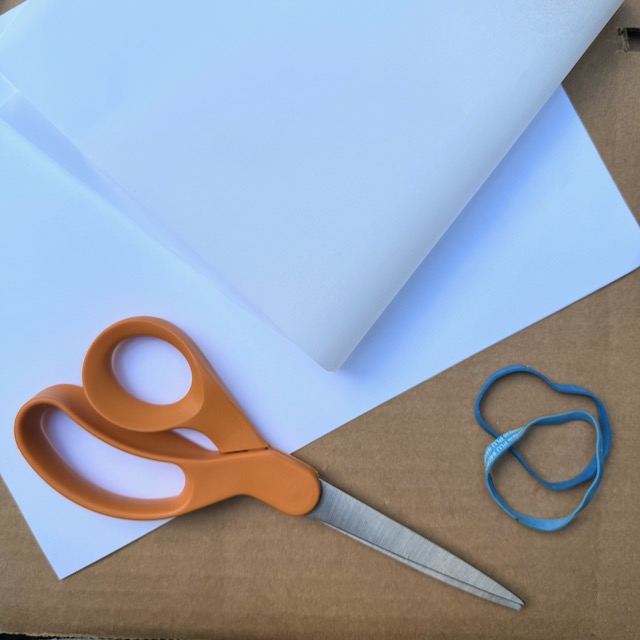
- Cardboard (cut into equal-sized pieces)
- Blotting paper (see above)
- Rubber bands
Instructions:
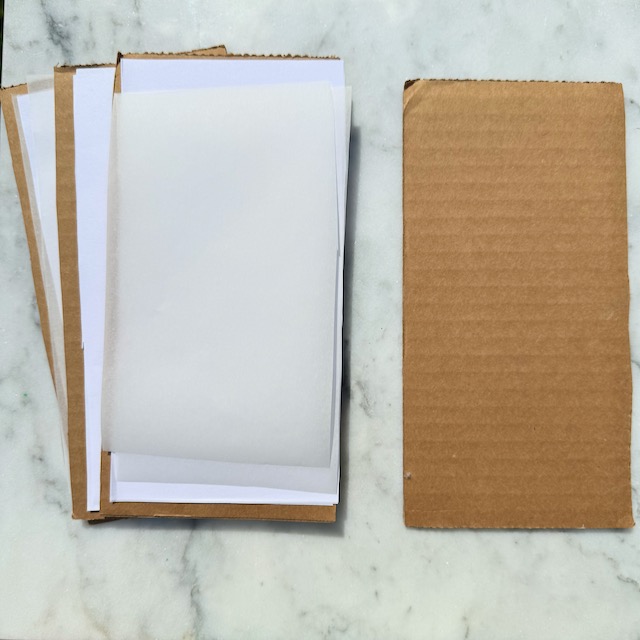
1. Cut Cardboard and Paper: Cut the cardboard into pieces of the same size. Prepare sheets of blotting paper slightly smaller than the cardboard.
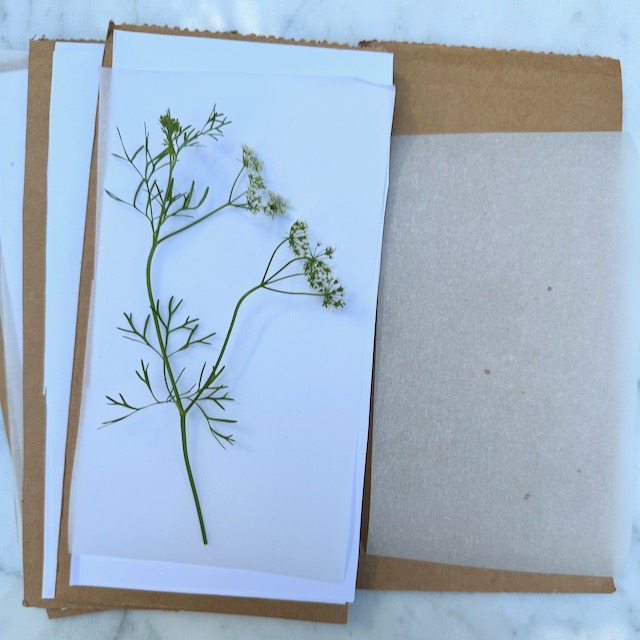
2. Layer the Flowers: Place a sheet of paper on a piece of cardboard, arrange the flowers on the paper, then cover with another sheet of paper. Repeat this process, creating layers of cardboard and paper with flowers in between.
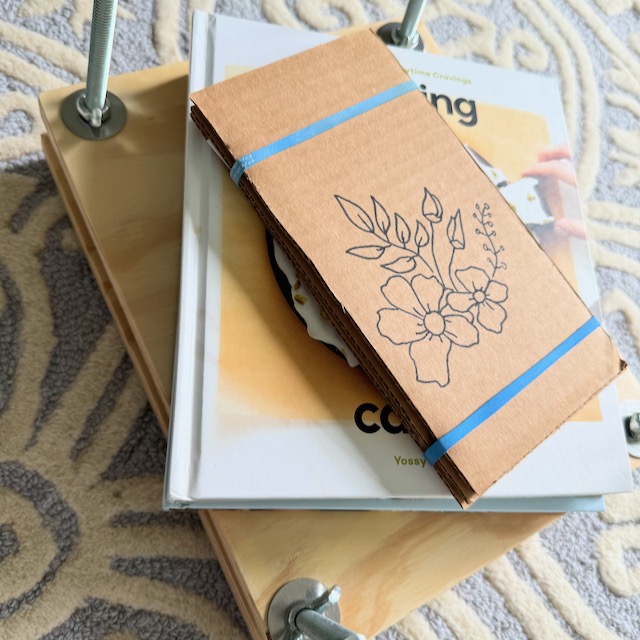
3. Stack and Secure: Once you have your layers, stack them together. Use rubber bands to secure the stack by wrapping them around the cardboard, one on each side to ensure even pressure.
4. Press and Dry: Leave the stack in a dry, undisturbed place for 2-4 weeks. Check periodically to monitor the progress and change the paper if necessary.
3. Traditional Wooden Flower Press

For those who enjoy woodworking or want a more permanent and reusable solution, a traditional wooden flower press is ideal. This method requires a bit more effort and materials but results in a durable tool for flower pressing. This traditional method provides consistent pressure and is ideal for pressing larger quantities of flowers or larger blooms.
Materials Needed:

- Two wooden boards cut to the same size (mine were 9.5 x 12 inches)
- Screws and wing nuts
- Drill
- Blotting paper
- Cardboard
Instructions:
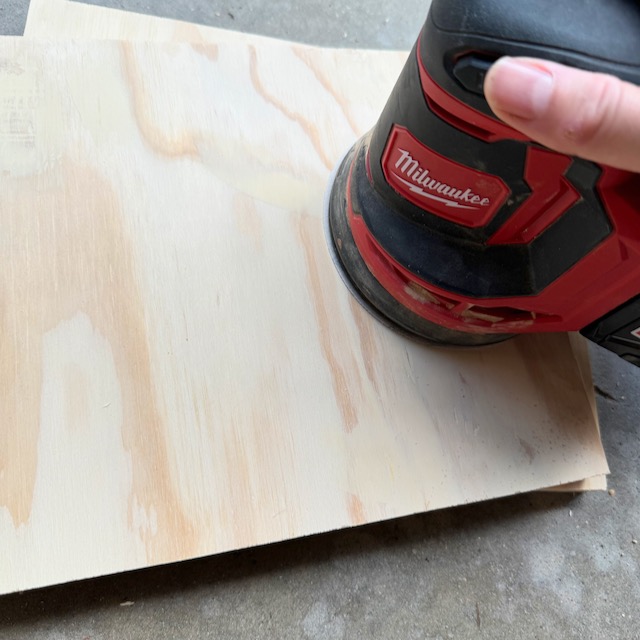
1. Prepare the Boards: Cut two pieces of wood to the desired size. Sand the edges to smooth out any roughness.
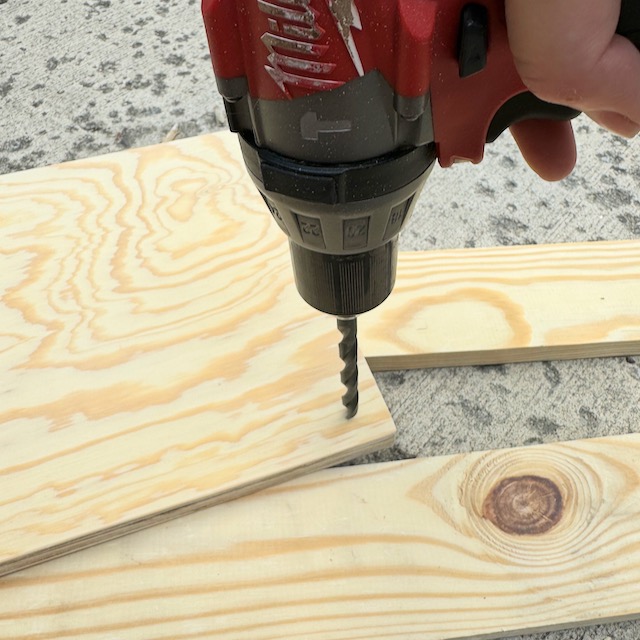
2. Drill Holes: Drill holes in each corner on one of the boards. These holes need to be wide enough to fit the screws. I drilled my 0.75 inches away from each side. To drill holes in the second board, place the second board under the first one and align the sides. Hold both boards steady (or place clamps on them) and place the drill bit through the first board to drill out the bottom board. Repeat for all four holes. This ensures that the holes are perfectly aligned! Place the screws in the bottom board so they are pointing up.
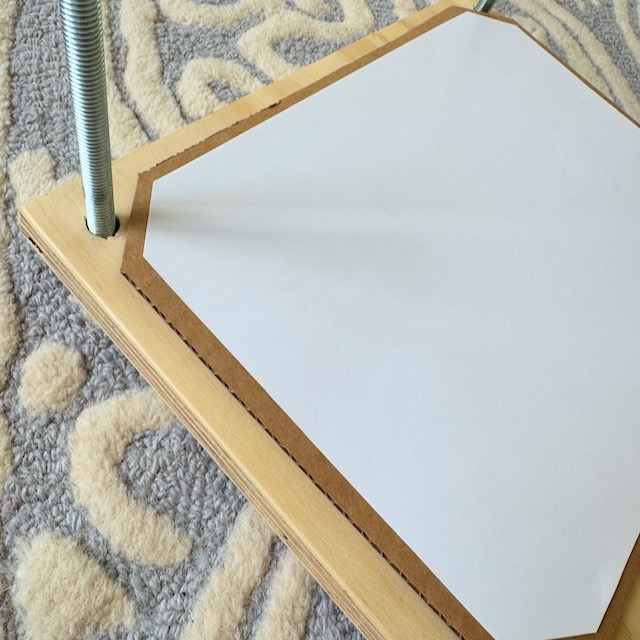
3. Layer the Flowers: Place a sheet of cardboard and then a piece of paper on the bottom board, arrange the flowers on the paper, and cover with another sheet of paper. Continue layering cardboard and paper for however many layers you like. The pieces of cardboard between each flower layer to ensure adequate airflow for drying.
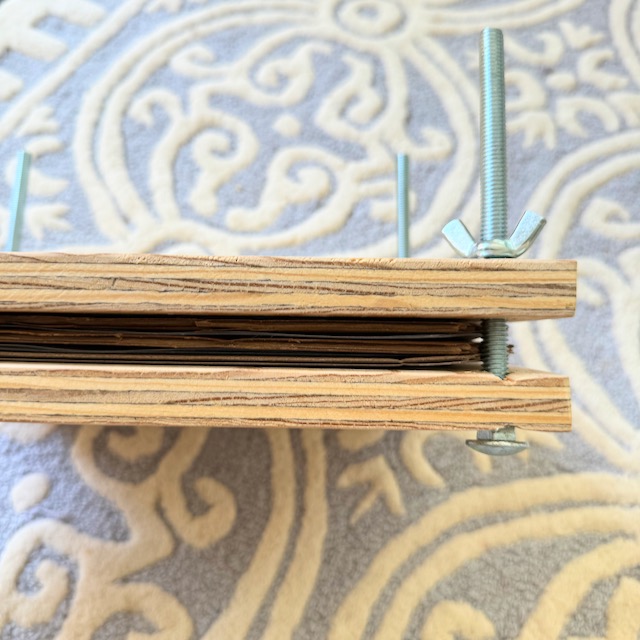
4. Assemble the Press: Place the top board over the layers. Secure the top board with wing nuts. Tighten the wing nuts to apply pressure evenly across the boards.
5. Press and Monitor: Leave the press in a dry place for 2-4 weeks, periodically tightening the wing nuts to maintain pressure. Check the flowers occasionally to ensure they are drying.
Have Fun!
Whether you choose the simplicity of books, the flexibility of cardboard and rubber bands, or the durability of a wooden flower press, each method offers a unique way to preserve the beauty of flowers. By trying these different techniques, you can find the one that best suits your needs and enjoy the timeless art of flower pressing.