DIY: Confetti Paper with Crayons
Creating confetti paper with bits of shaved crayon is a fun and colorful craft project that can be enjoyed by both kids and adults. This method combines the vibrant hues of crayons with the creativity of papermaking, resulting in unique and eye-catching paper. Whether you use it for special occasions, card-making, or just as a creative project, here’s a step-by-step guide on how to make confetti paper with bits of shaved crayon.
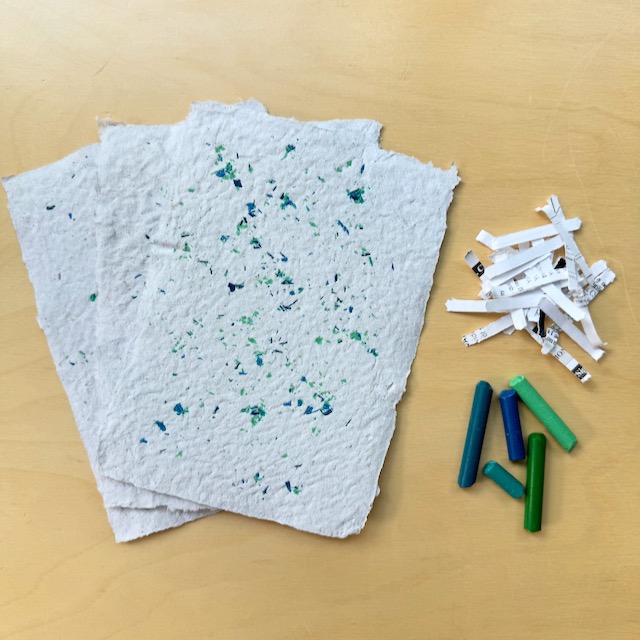
I also love how this creative endeavor only needs a few materials that you probably already have at home. With just some scrap paper, crayons, and a homemade mold and deckle made out of old picture frames, you are able to create fun and unique paper.
Materials Needed:
- recycled paper (old newspapers, printer paper, or any scrap paper)
- crayons
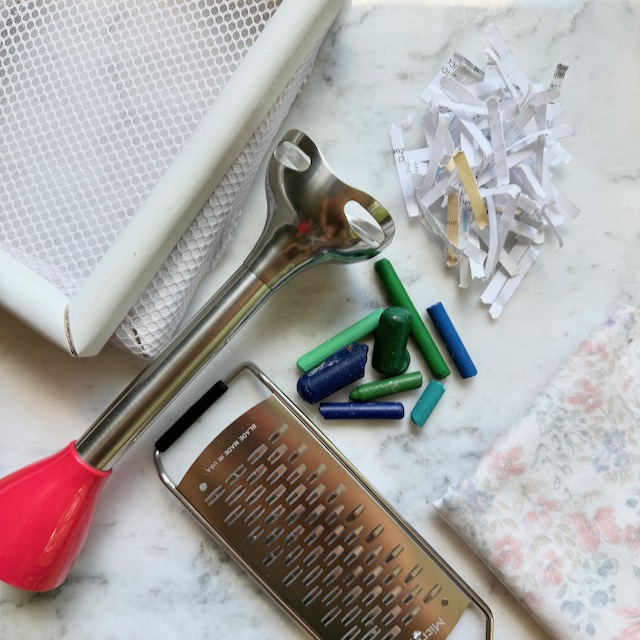
- grater or pencil sharpener
- blender, food processor, or immersion blender
- large bowl or container
- water
- mold and deckle (learn to DIY one here!)
- scrap fabric the size of the mold (could cut up an old t-shirt or sheets)
- towels
Instructions:
1. Gather and Prepare Your Paper:
Start by collecting recycled paper. You can use old newspapers, junk mail, or any used paper that is no longer needed. Tear the paper into small pieces, roughly one-inch squares, to make it easier to blend.
If you shred paper at home, this is a great use for shredded paper since shredded paper cannot be recycled!
2. Soak the Paper:
Place the torn smaller pieces of paper into a large bowl and cover it with warm water. Let the paper soak for at least a few hours, or overnight if possible. This helps to soften the paper fibers, making them easier to blend into a pulp.
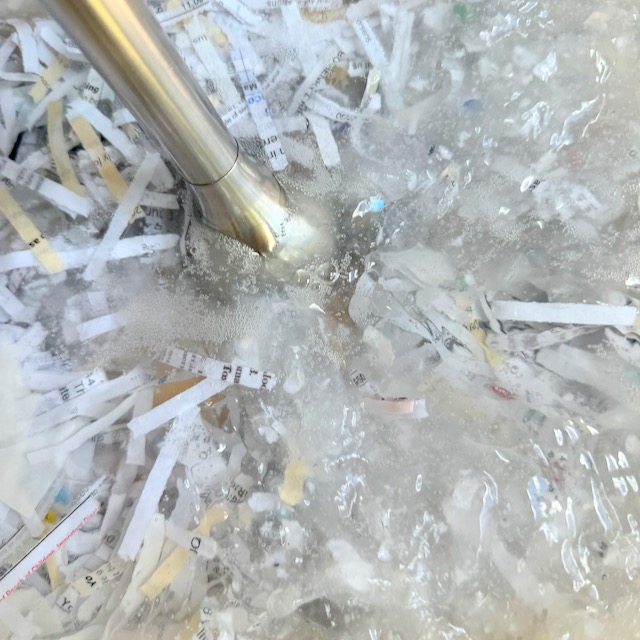
3. Blend the Paper Pulp:
After soaking, transfer the paper and water mixture into a blender, food processor, or use an immersion blender and blend right in the container. Blend the mixture until it becomes a smooth pulp. You can add more water if needed to achieve a smooth consistency. Once you have a smooth pulp, pour it back into the large container.
4. Add the Confetti:
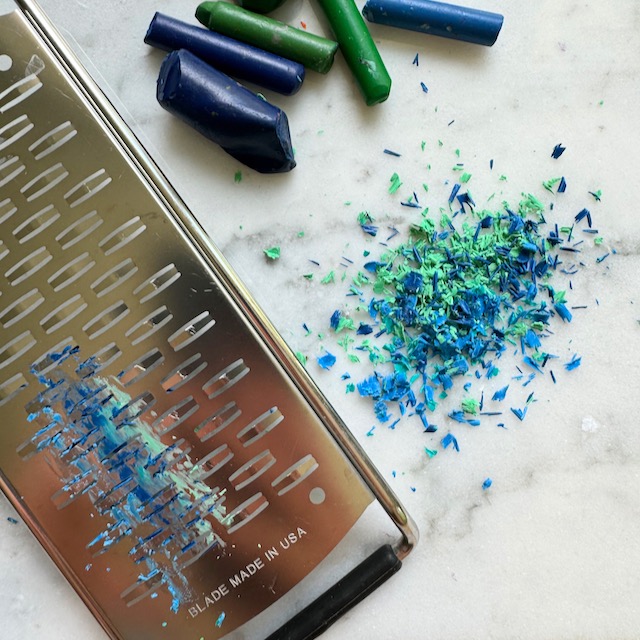
Turn the crayons into confetti by grating the crayons over a grater or by shaving some in a hand held pencil sharpener.
5. Use the Mold & Deckle:
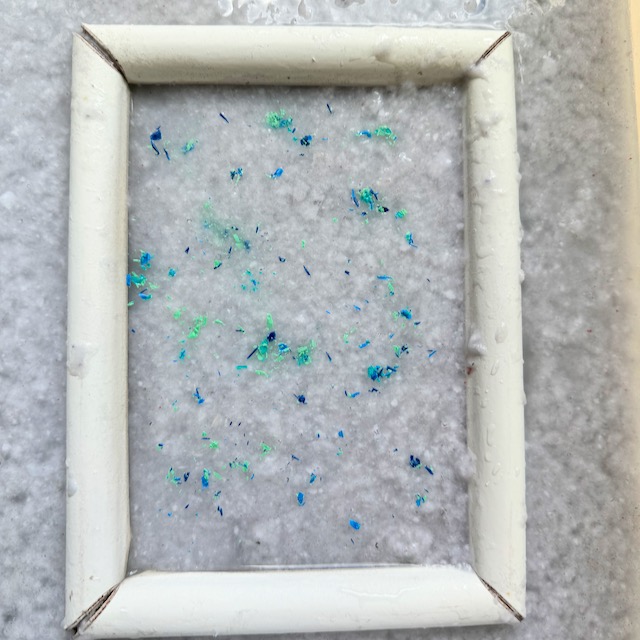
Place the mold, screen side up, and deckle together and submerge them into the water. Move them gently back and forth to ensure the pulp spreads evenly over the mold.
Lift the mold and deckle out of the water, allowing some of the excess water to drain away. You should see a thin layer of pulp forming on the screen. Gently sprinkle some of the crayon shavings into the pulp.
6. Remove Excess Water:
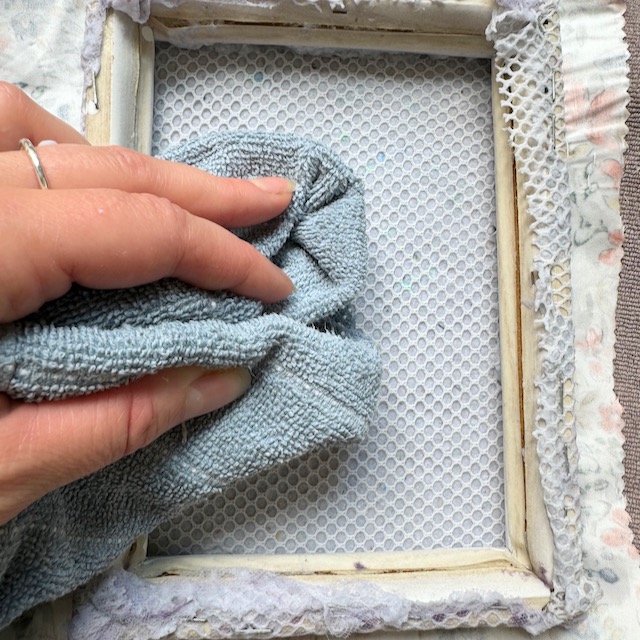
Remove the mold. Place a piece of scrap cloth over the pulp and turn the deckle over. Use a towel to gently press and remove more water from the pulp. This step helps to bond the fibers together, embeds the crayon confetti into the paper, and smooth out the surface.
7. Dry the Confetti Paper:
Once you’ve removed as much water as possible, gently lift the mold, leaving the wet paper sheet on the cloth. Allow the paper to dry completely, which can take anywhere from 24 hours to a few days, depending on the thickness and humidity.
8. Flatten the Confetti Paper:
After the confetti paper has dried completely, you may notice that it has curled or warped slightly. To flatten it, place a heavy book on top and leave it for a few hours.
9. Cut and Use the Confetti Paper:
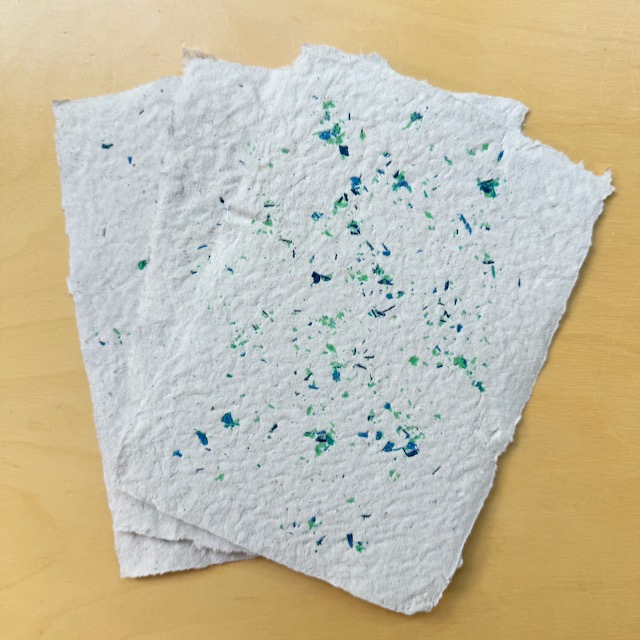
Once your confetti paper is dry and flat, you can cut it into any shape or size you desire. This colorful paper can be used for a variety of projects, such as making greeting cards, gift tags, used in decor, or using it as the cover in a handmade book.
Have Fun!
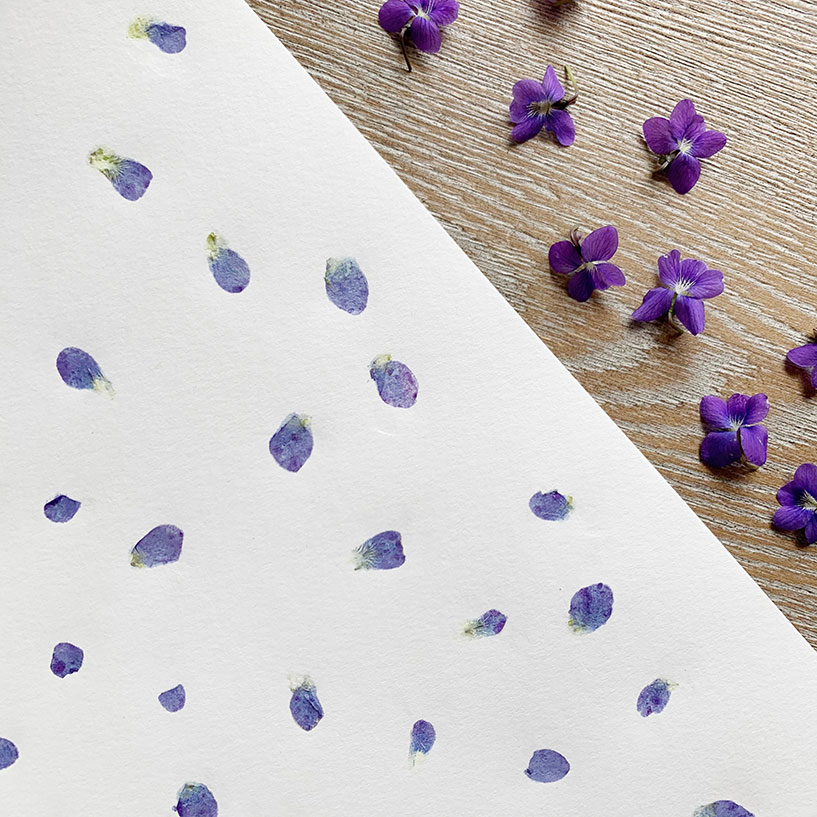
Making confetti paper with bits of shaved crayon is a delightful and eco-friendly craft project that adds a splash of color to your papermaking endeavors. The process is simple and enjoyable, resulting in beautiful, custom-made paper that can be used for numerous creative endeavors!
I’ve fallen in love with paper making. Check out my blog posts on how to make a mold and deckle out of frames and scrap fabric, how to make basic paper, and how to make seed paper!