How to Make Seed Paper
Seed paper, also known as plantable paper, is an eco-friendly and creative way to recycle paper while giving new life to plants and flowers. This DIY project is perfect for making unique greeting cards, gift tags, or even invitations that can be planted to grow beautiful blooms. Follow this step-by-step guide to make your own seed paper at home.
Which Seeds to Use in Seed Paper
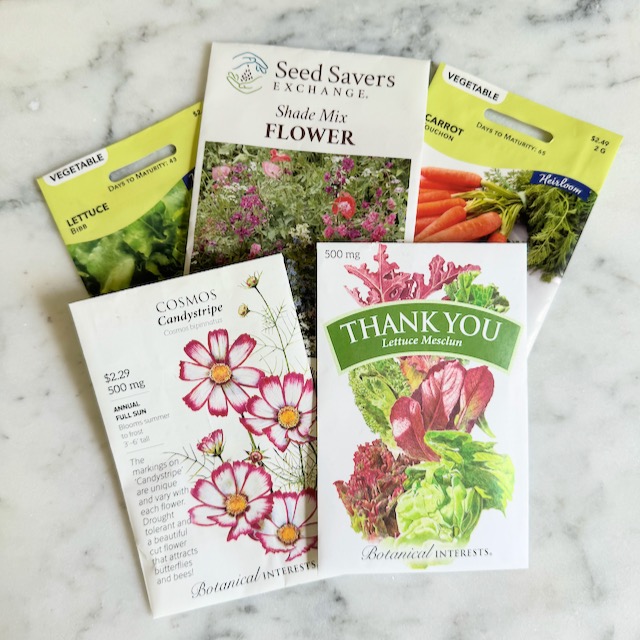
It is always a great idea to use what you already have! If you have extra seeds lying around, perhaps make up a blend of your favorite and use those in your seed paper.
I think vegetable seeds are overlooked when making seed paper. A lettuce bowl mix or herb mix would be a great gift to receive.
If you want to use flower seeds it is best to buy native seeds. (Find out what is native to your state here!) Native plants help support local wildlife. Homegrown National Park is a great resource about why we should all be planting native plants.
Materials Needed:
- recycled paper (old newspapers, junk mail, or used printer paper)
- blender or food processor
- large container or bowl (comfortably fits the mold & deckle)
- water
- flower or vegetable seeds (smaller seeds work best)
- mold and deckle (learn to DIY one here!)
- scrap fabric the size of the mold (could cut up an old t-shirt or sheets)
- towels
Instructions:
1. Gather and Prepare Your Paper:
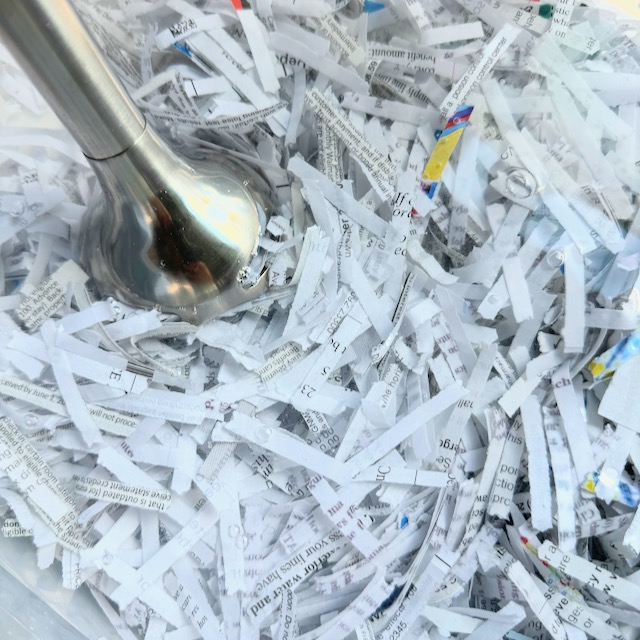
Start by collecting recycled paper. You can use old newspapers, junk mail, or any used paper that is no longer needed. Tear the paper into small pieces, roughly one-inch squares, to make it easier to blend.
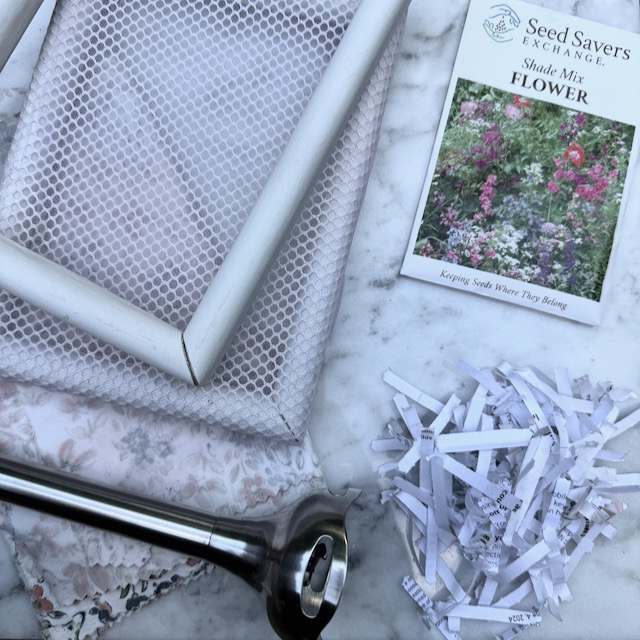
If you shred paper at home, this is a great use for shredded paper since shredded paper typically cannot be recycled.
2. Soak the Paper:
Place the torn smaller pieces of paper into a large bowl and cover it with warm water. Let the paper soak for at least a few hours, or overnight if possible. This helps to soften the paper fibers, making them easier to blend into a pulp.
3. Blend the Paper Pulp:
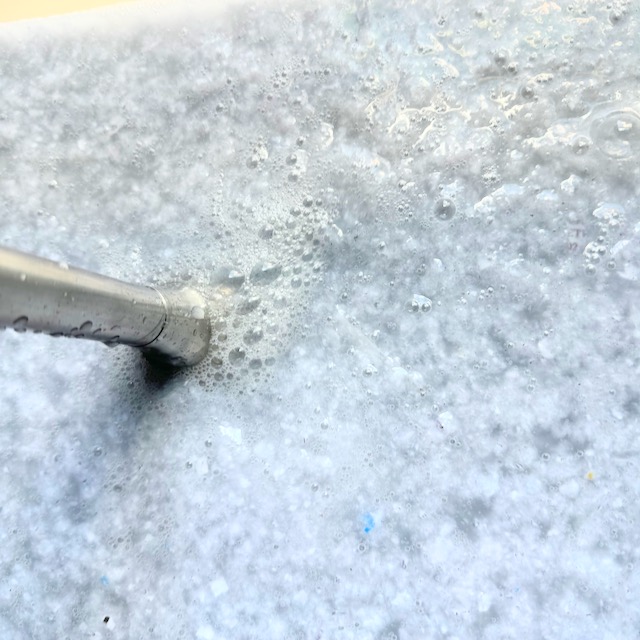
After soaking, transfer the paper and water mixture into a blender, food processor, or use an immersion blender and blend right in the container. Blend the mixture until it becomes a smooth pulp. You can add more water if needed to achieve a smooth consistency.
4. Add the Seeds:
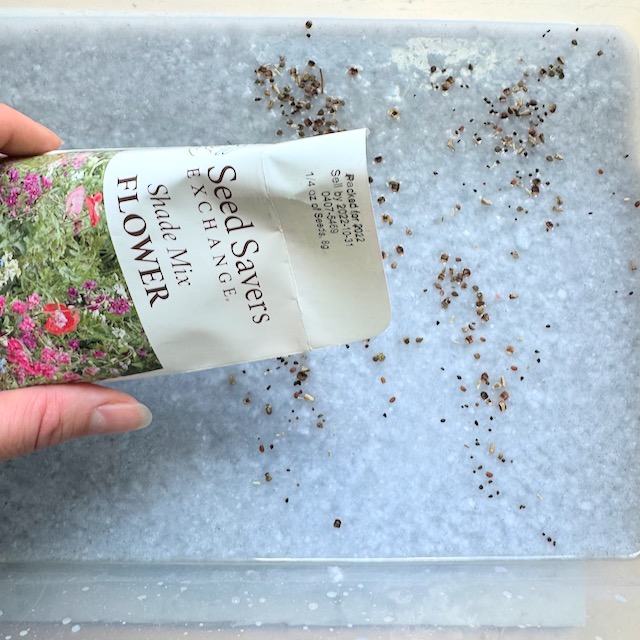
Once you have a smooth pulp, pour it back into the large container. Gently stir in your chosen seeds. Be sure to use small seeds, such as wildflowers, herbs, or lettuce, as they will blend more easily into the paper. Avoid using too many seeds, as this can make the paper too thick and difficult to work with.
5. Use the Mold & Deckle:
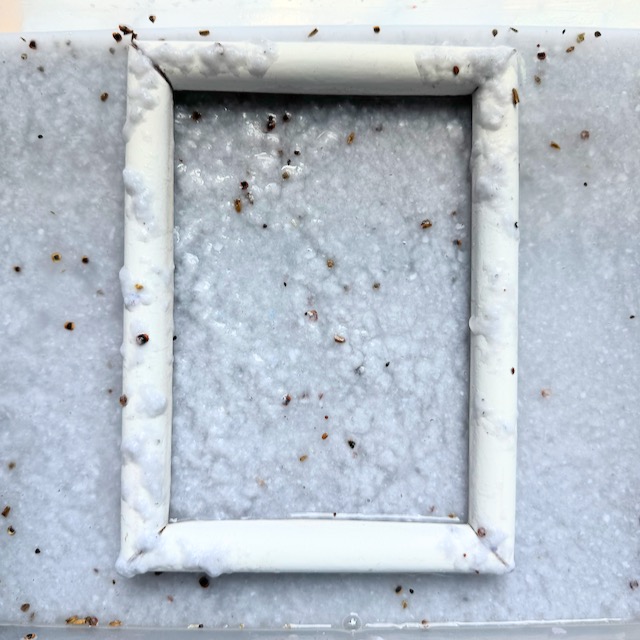
Place the mold, screen side up, and deckle together and submerge them into the water. Move them gently back and forth to ensure the pulp spreads evenly over the mold.
Lift the mold and deckle out of the water, allowing excess water to drain away. You should see a thin layer of pulp forming on the screen.
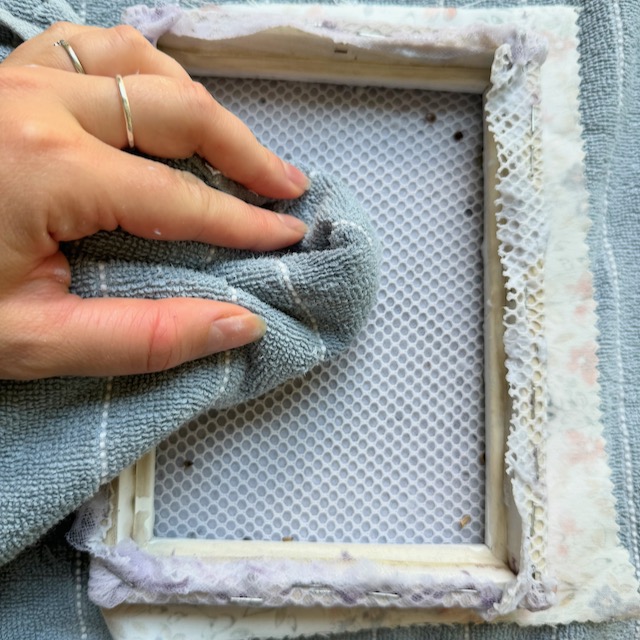
6. Remove Excess Water:
Place a piece of scrap cloth over the pulp and turn the deckle over. Use a sponge to gently press and remove more water from the pulp. This step helps to bond the fibers together and smooth out the surface.
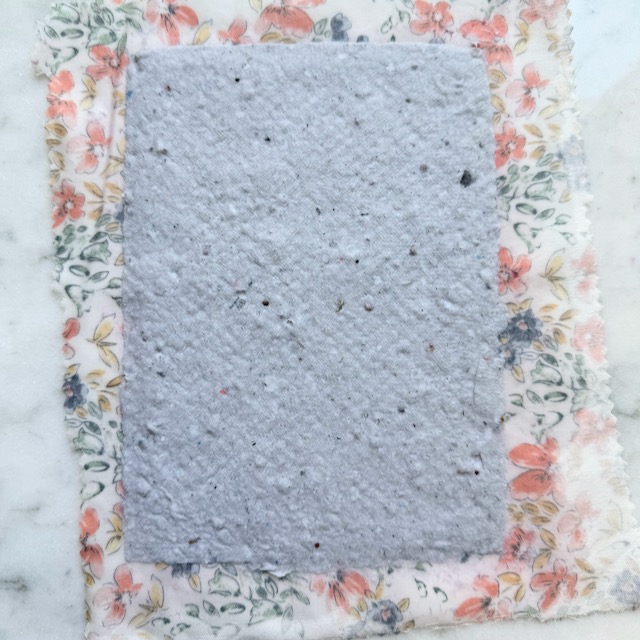
7. Dry the Seed Paper:
Once you’ve removed as much water as possible, gently lift the mold, leaving the wet paper sheet on the cloth. Allow the paper to dry completely, which can take anywhere from 24 hours to a few days, depending on the thickness and humidity.
8. Flatten the Seed Paper:
After the seed paper has dried completely, you may notice that it has curled or warped slightly. To flatten it, place a heavy book on top and leave it for a few hours.
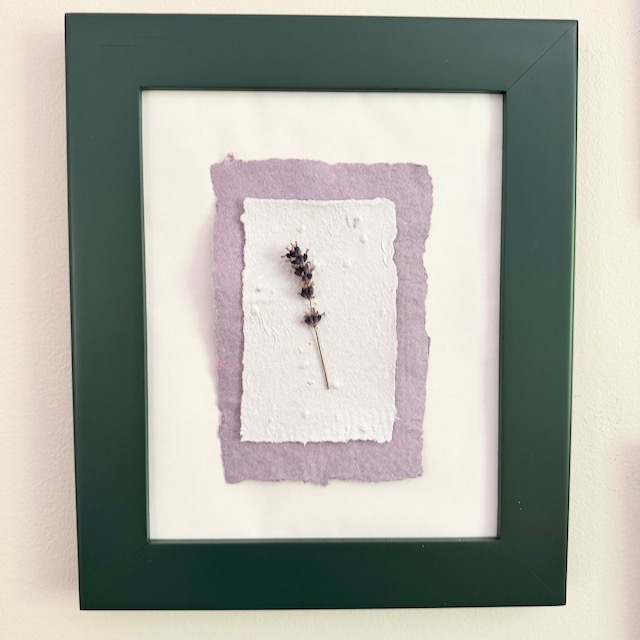
9. Cut and Use the Seed Paper:
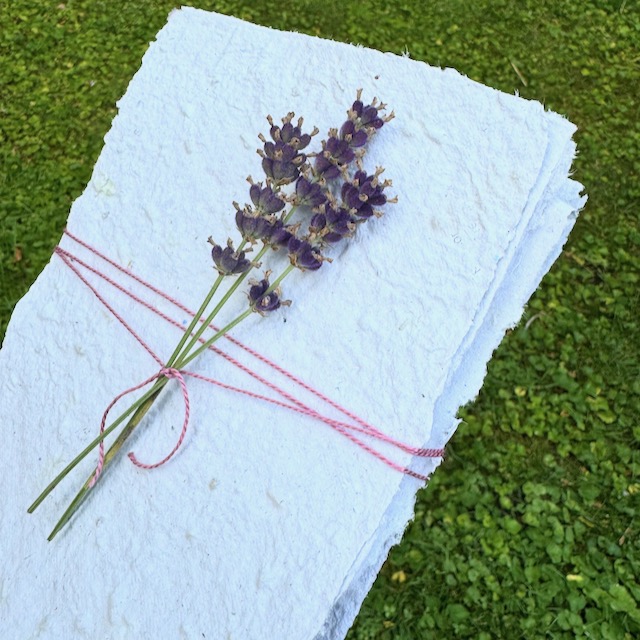
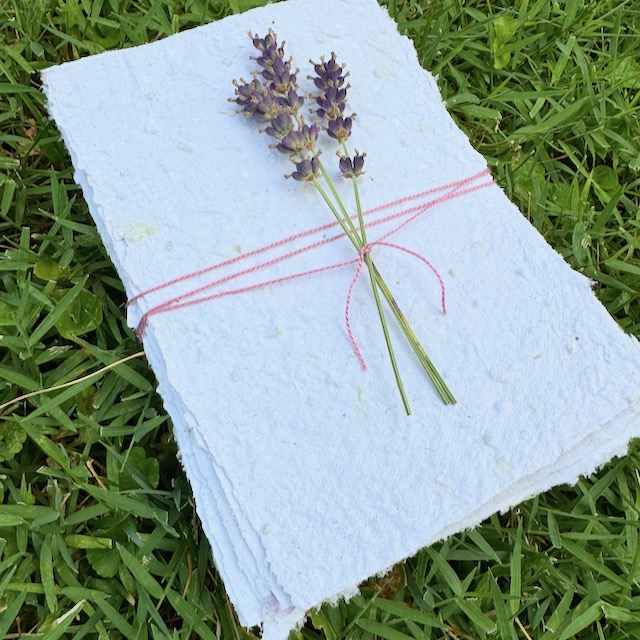
Once your seed paper is dry and flat, you can cut it into any shape or size you desire. Use it to make greeting cards, gift tags, bookmarks, or any other creative project. I used the seed paper I made for this project, some plain paper I made earlier, and a little sprig of dried lavender to make this simple piece of art.
How to Use Seed Paper
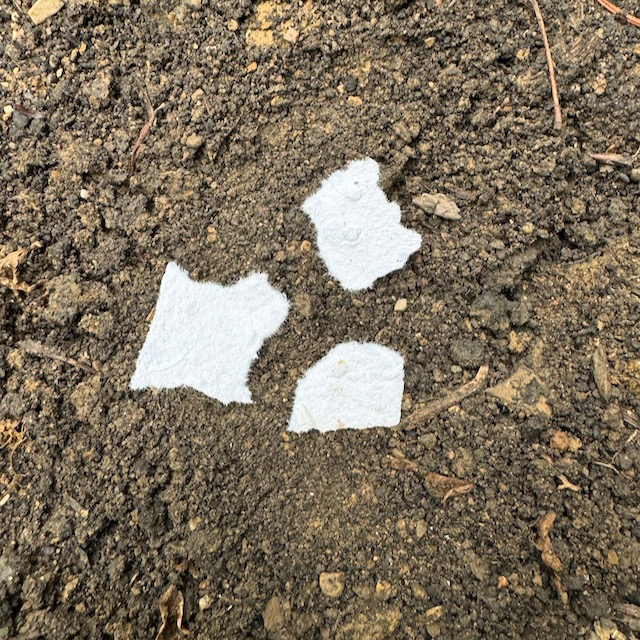
To use seed paper, start by preparing a pot or a garden bed with soil. Place the seed paper flat on the soil’s surface, then cover it lightly with a thin layer of additional soil, about 1/8 inch thick. Gently water the area, ensuring the soil stays moist but not waterlogged. Place the pot in a sunny spot or ensure the garden bed receives plenty of sunlight. Continue to water regularly, keeping the soil consistently moist. Within a few weeks, the seeds embedded in the paper will begin to germinate and grow into beautiful plants or flowers.
Have Fun!
Making seed paper is a fun and rewarding project that not only recycles old paper but also promotes new plant growth. This eco-friendly craft is perfect for anyone looking to add a personal touch to their gifts and cards while contributing positively to the environment. Give it a try and enjoy the beauty of watching your handmade paper bloom into flowers or herbs.