How to Make a DIY Mold and Deckle
With Things from Your Home
Papermaking is a rewarding craft that allows you to recycle materials and create beautiful, unique paper. At the heart of this process are the mold and deckle, essential tools used to shape and drain the pulp into sheets. Surprisingly, making a DIY mold and deckle is simple and affordable, especially using common household items like picture frames and mesh fabric that you probably already have. Here’s a step-by-step guide to get you started.
What kind of Fabric/Mesh to Use
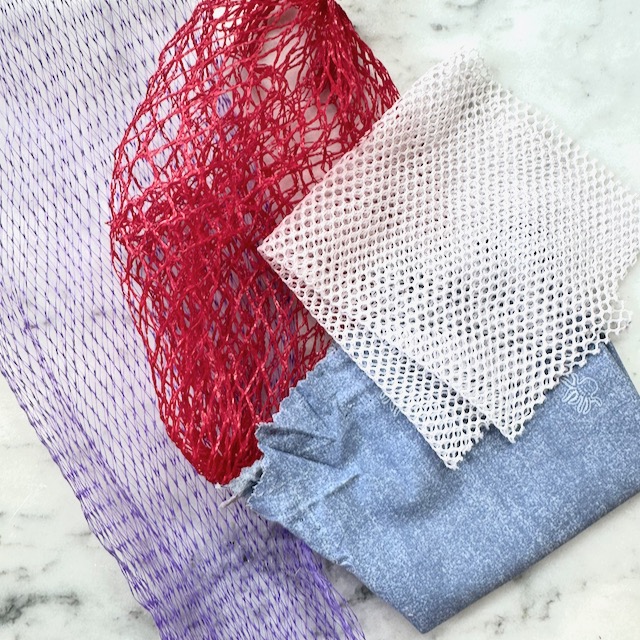
My personal philosophy is to try to use whatever I have at home to complete a project. I really try to not go out and buy things for a project. I try to be as resourceful as possible, so I don’t create waste and add more things to my home.
When choosing a mesh fabric you want one that is sturdy and also has relatively small holes. The water should drain away and the paper pulp should be left behind. Some people will layer different larger holed meshes to achieve a more closed holed mesh.
I have tried using a simple loosely woven cheaper quilting cotton and it worked okay! It was a little difficult to get the paper to come off of it, but in a pinch it would absolutely work!
With all that said, I’ve tried a few things and thought of several possibilities for the mesh or fabric to use in the DIY mold and deckle. Here are my ideas:
- window screen (Best case scenario. Anyone you know getting new windows?)
- mesh fabric from a window of an old tent
- polyester mesh fabric (from a delicates wash bag or old jersey)
- pantyhose or tights
- light weight fabric (lawn, gauze, a tighter lace, or maybe a quilting cotton)
- produce bags (reusable ones or maybe the mesh bags onions come in)
Materials Needed
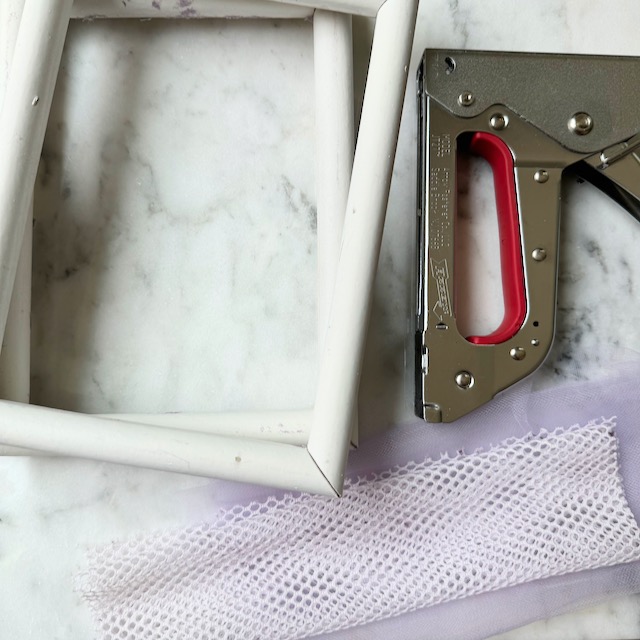
- two identical picture frames with glass and cardboard removed
- mesh fabric (see above)
- staple gun
- scissors
Step-by-Step Instructions
1. Choose Your Frames:
Start with two identical picture frames. They don’t have to perfectly match, but the openings should line up. Frames that are smooth and plain work better compared to frames with decorate molding and texture. The size of the frames will determine the size of your paper sheets, so select based on your desired paper size.
2. Prepare the Mesh Fabric:
Cut the mesh fabric to fit over one of the picture frames. Ensure it covers the entire frame with a bit of excess on all sides to secure it properly. The mesh should be fine enough to hold the pulp while allowing water to drain through.
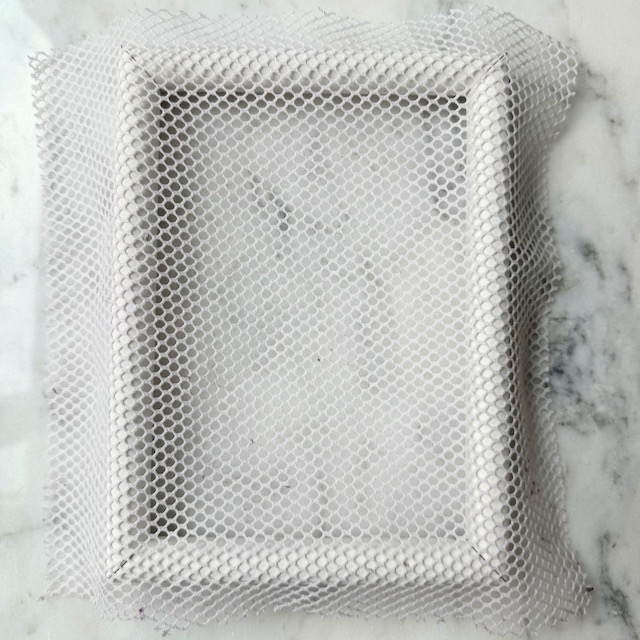
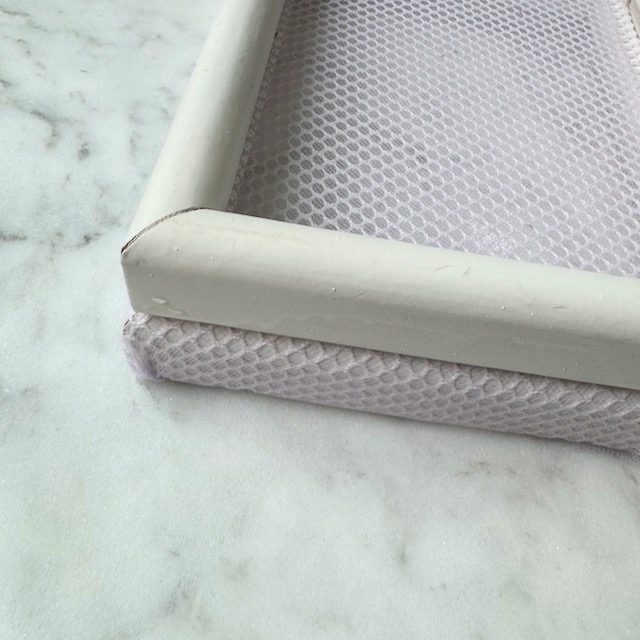
I used a more delicate tulle fabric and a stronger, but larger hole, nylon mesh fabric. I put the tulle fabric on the frames first (so the paper pulp rested on the tulle) and then the nylon to help support the tulle.
3. Attach the Mesh to the Frame:
Place the mesh over one of the frames, pulling it taut to avoid any wrinkles. Using a staple gun, staple the mesh to the back of the frame, ensuring it’s securely attached. Start by stapling the center of each side and then work towards the corners, pulling the mesh tight as you go.
If you don’t have a staple gun, you could try to use strong adhesive and use thumb tacks or something similar to hold the fabric in place while the glue dries.Ensure it’s fully dry before proceeding.
4. Trim the Excess Mesh:
After securing the mesh, trim the excess fabric around the edges using scissors. Be careful not to cut too close to the staples or adhesive, as this could cause the mesh to easily rip.
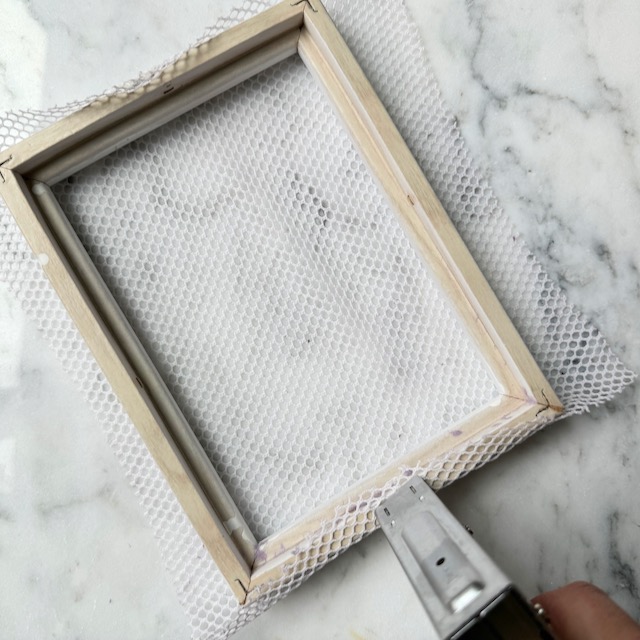
5. Create the Deckle:
The second frame will serve as the deckle, which shapes the pulp into a uniform sheet. There’s no need to add anything to this frame, but if you want a more precise edge for your paper, you can wrap duct tape or electrical tape around the inner edge of the frame. This will slightly elevate the deckle, providing a cleaner edge for your paper.
6. Assemble the Mold and Deckle:
To use your mold and deckle, place the frame with the mesh (the mold) mesh-side up. Lay the second frame (the deckle) on top of the mold. The deckle will hold the pulp in place and define the edges of your paper.
Using Your Mold and Deckle
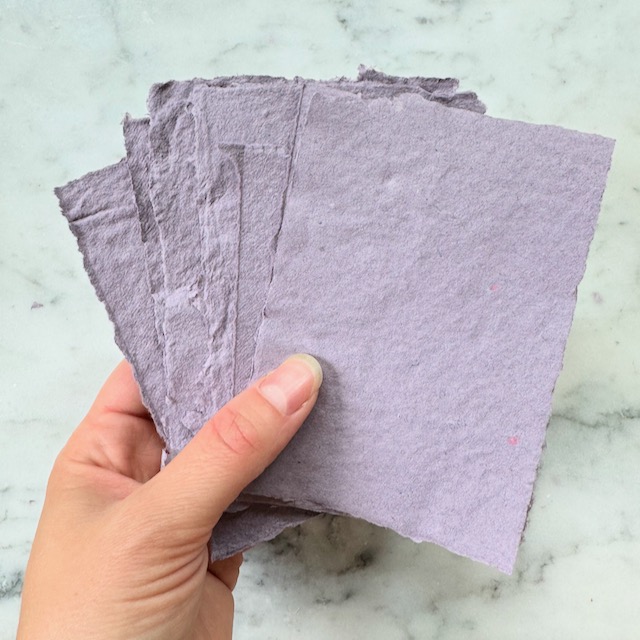
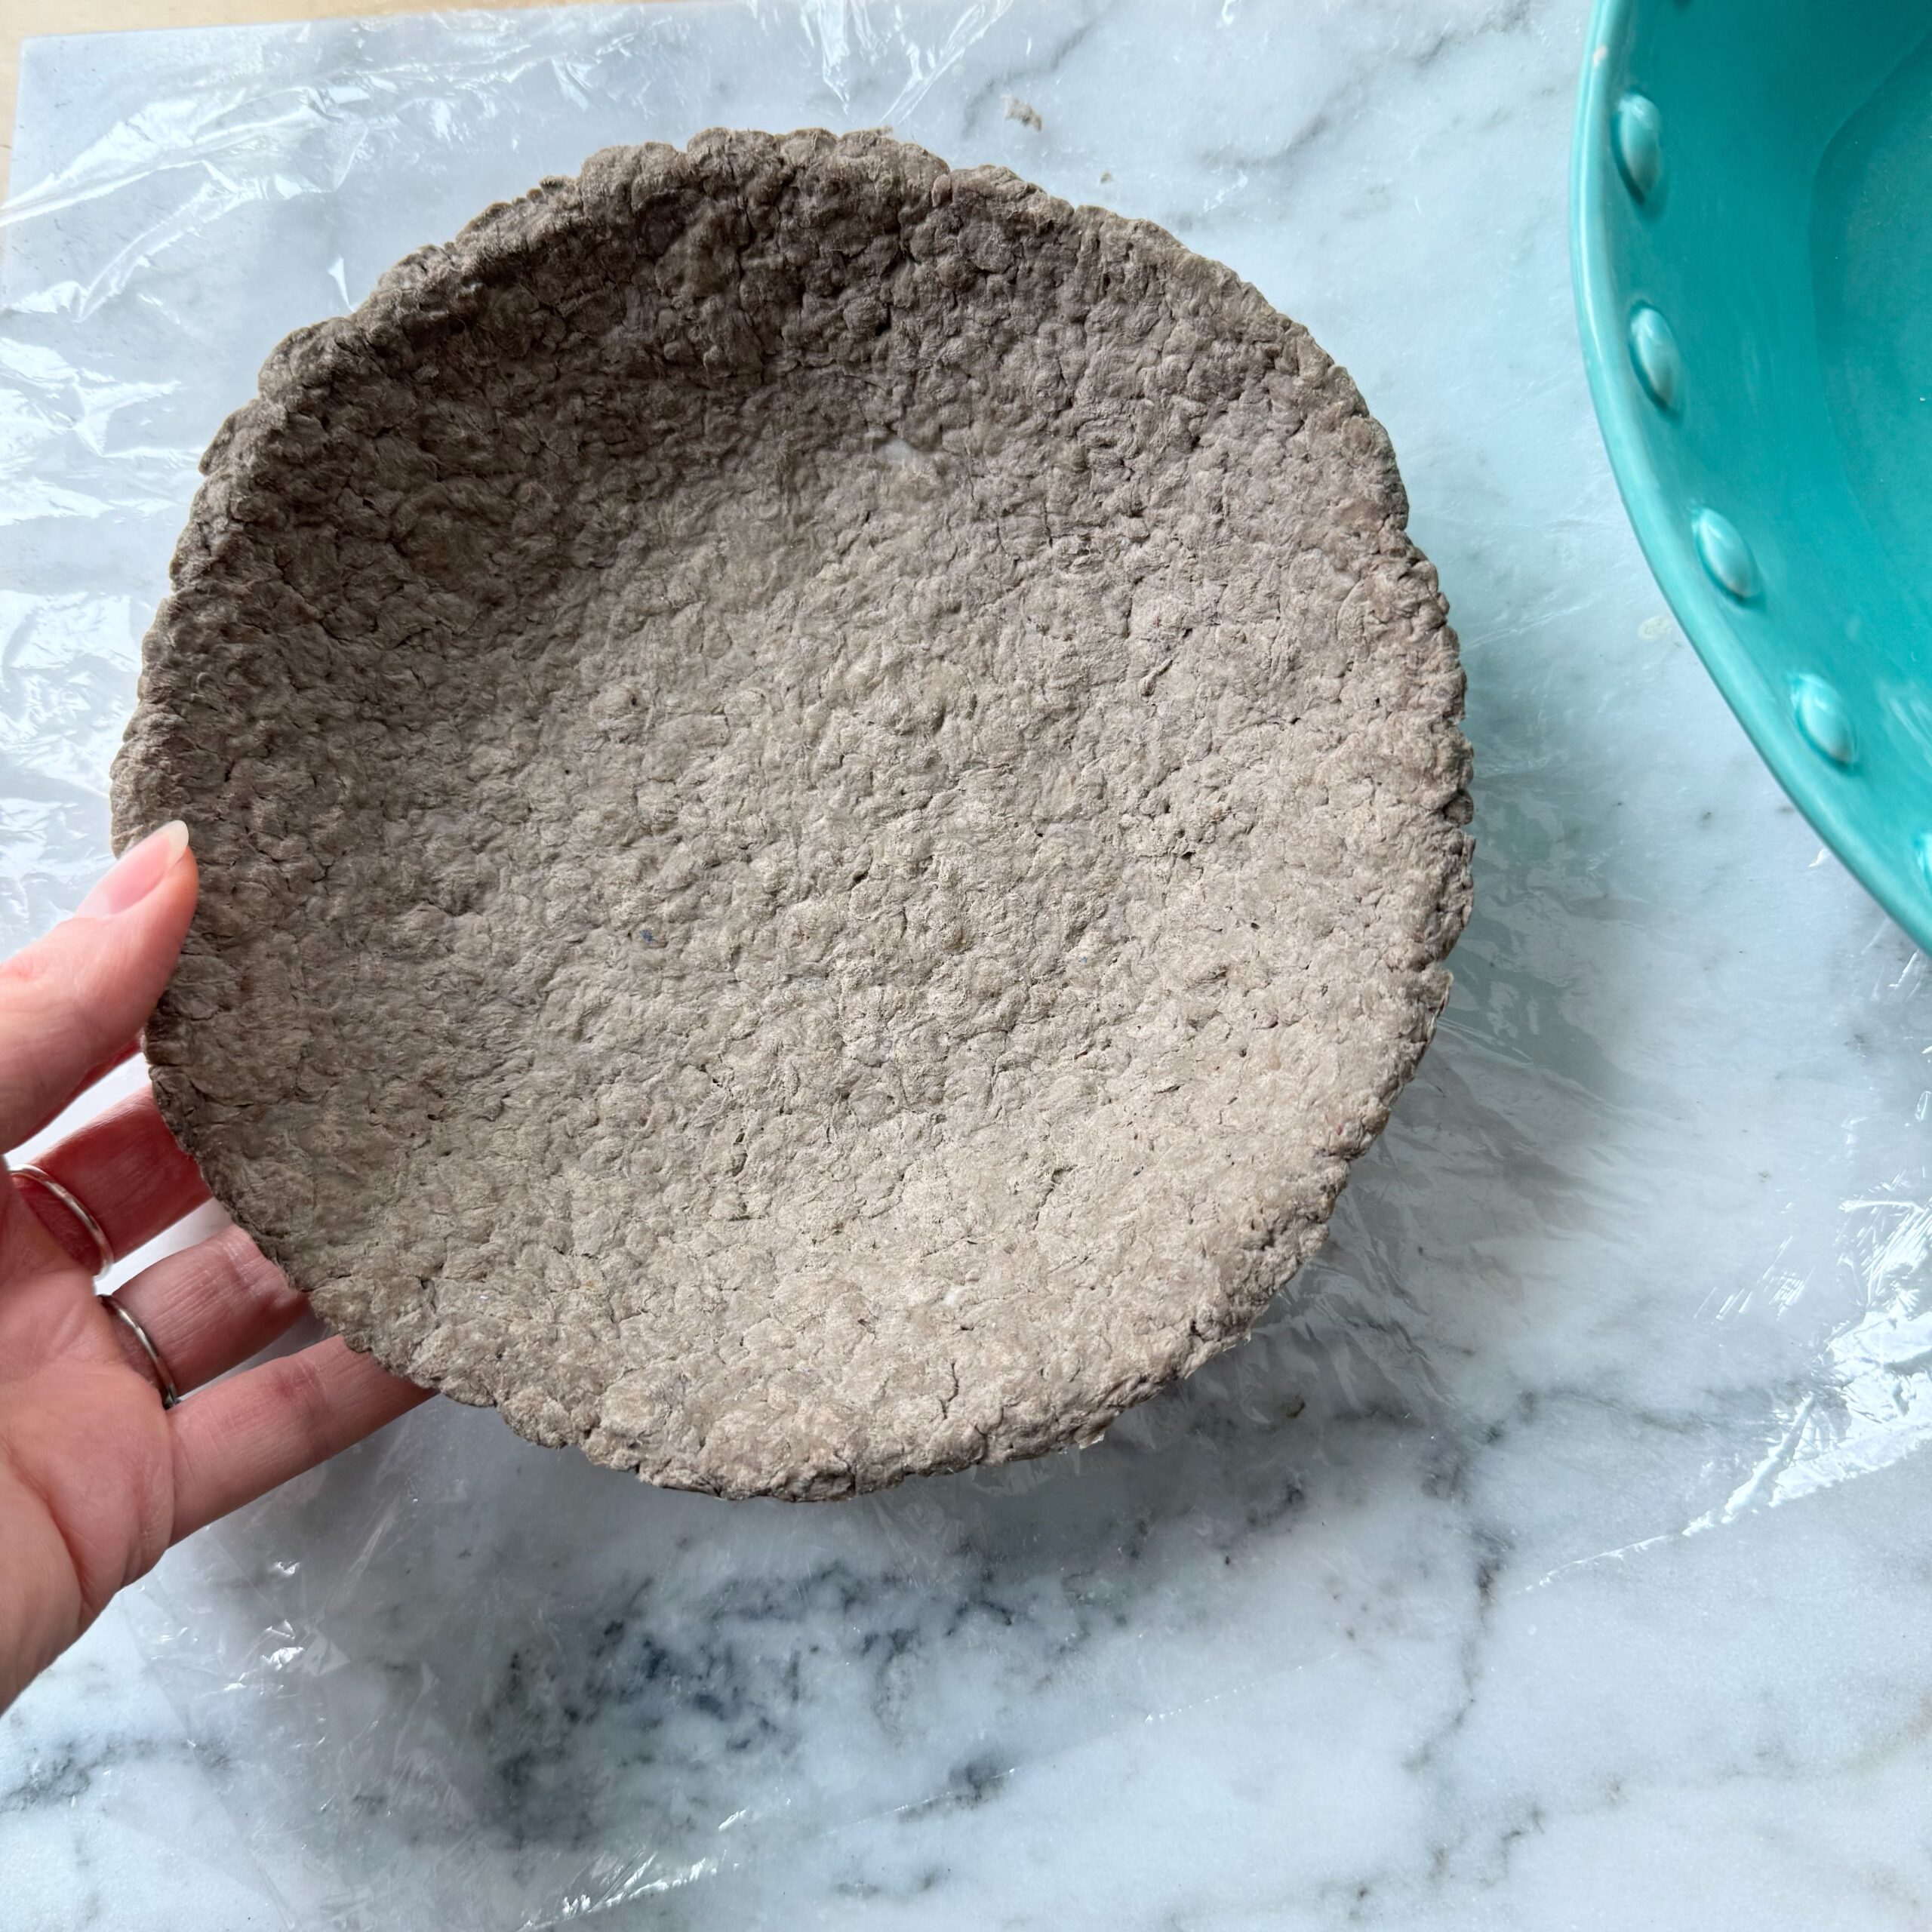
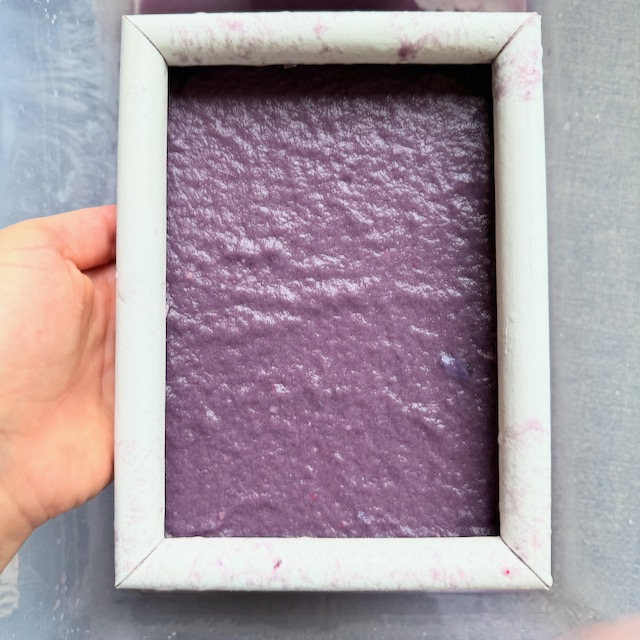
You can use the DIY mold and deckle for making homemade paper. This is one of my favorite activities to do with kids. It’s a great way to use up scrap paper from kiddos art projects, shredded junk mail, store paper bags, or egg cartons!
If you want to learn how to make paper, check out this blog post here. I also have a blog post on how to make seed paper and confetti paper!