DIY Journal – Simple Book Binding
Why Learn Simple Book Binding – DIY Journal
After learning how to DIY journals I surprisingly make them all the time. My daughter is in an artistic phase and sometimes I’ll whip up a quick journal for her to make notes and drawings in for when we go on a nature walk. Sometimes we bring them over to a friends house to share. I also love them notes and project diaries.
The beauty in these journals is you can make them exactly how you like! Want a smaller notebook for your purse? Or one with graph paper? Have a lovely patterned paper you want to cherish and use in a special way? This tutorial will walk you through how to make a journal with a simple book binding technique.
Choosing Which Paper to Use
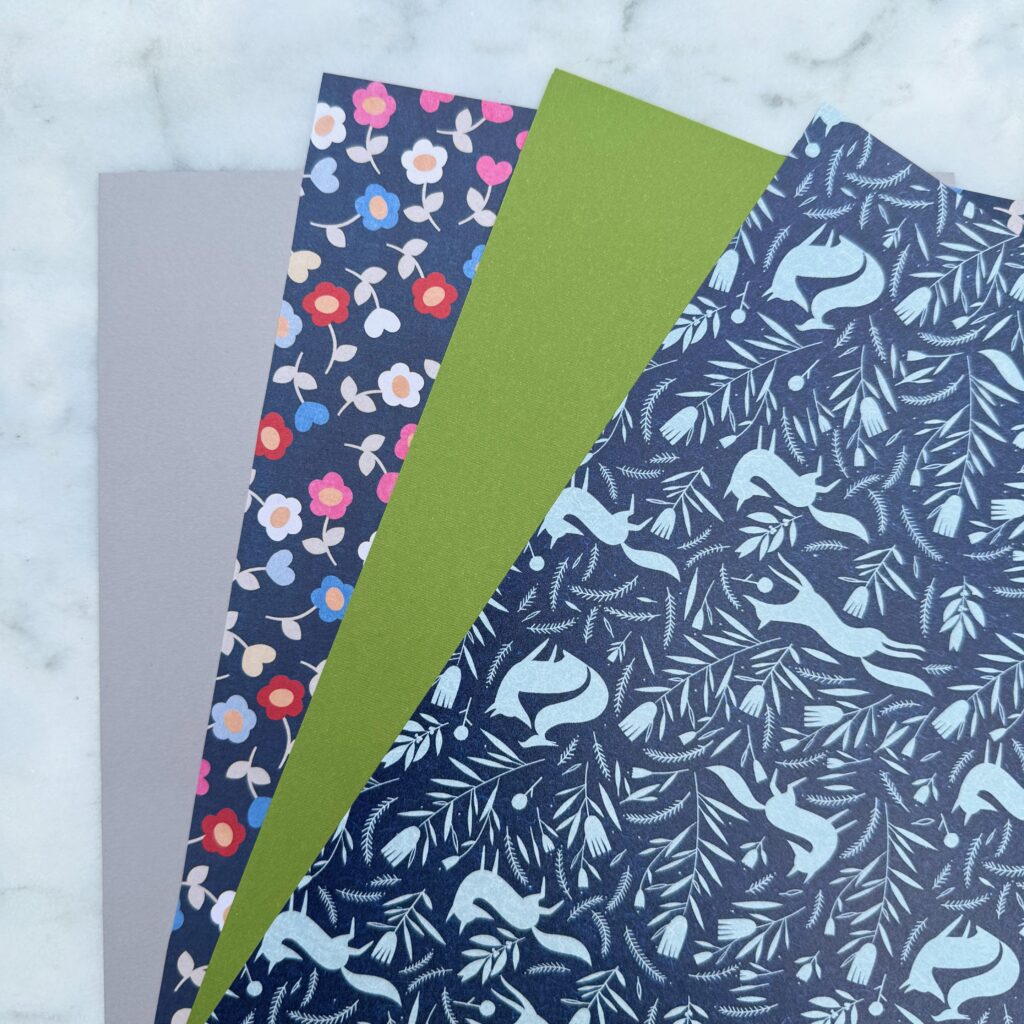
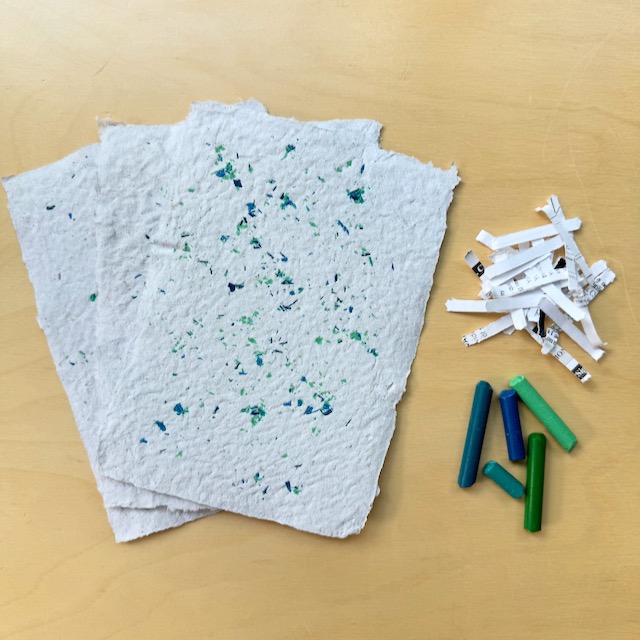
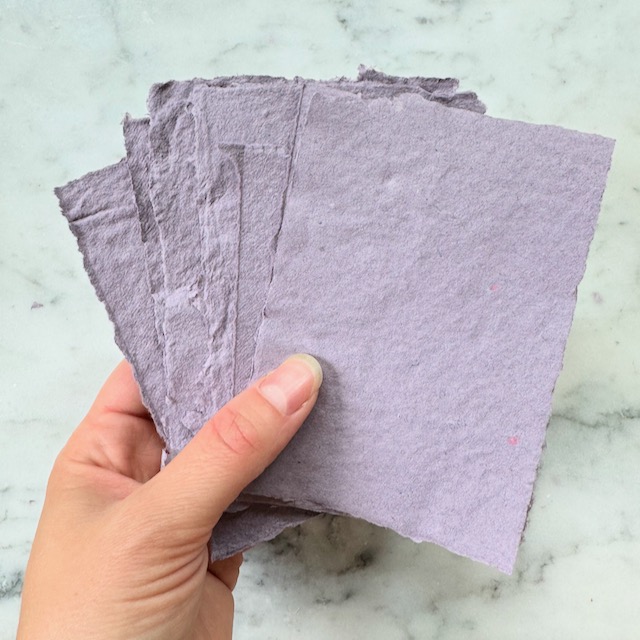
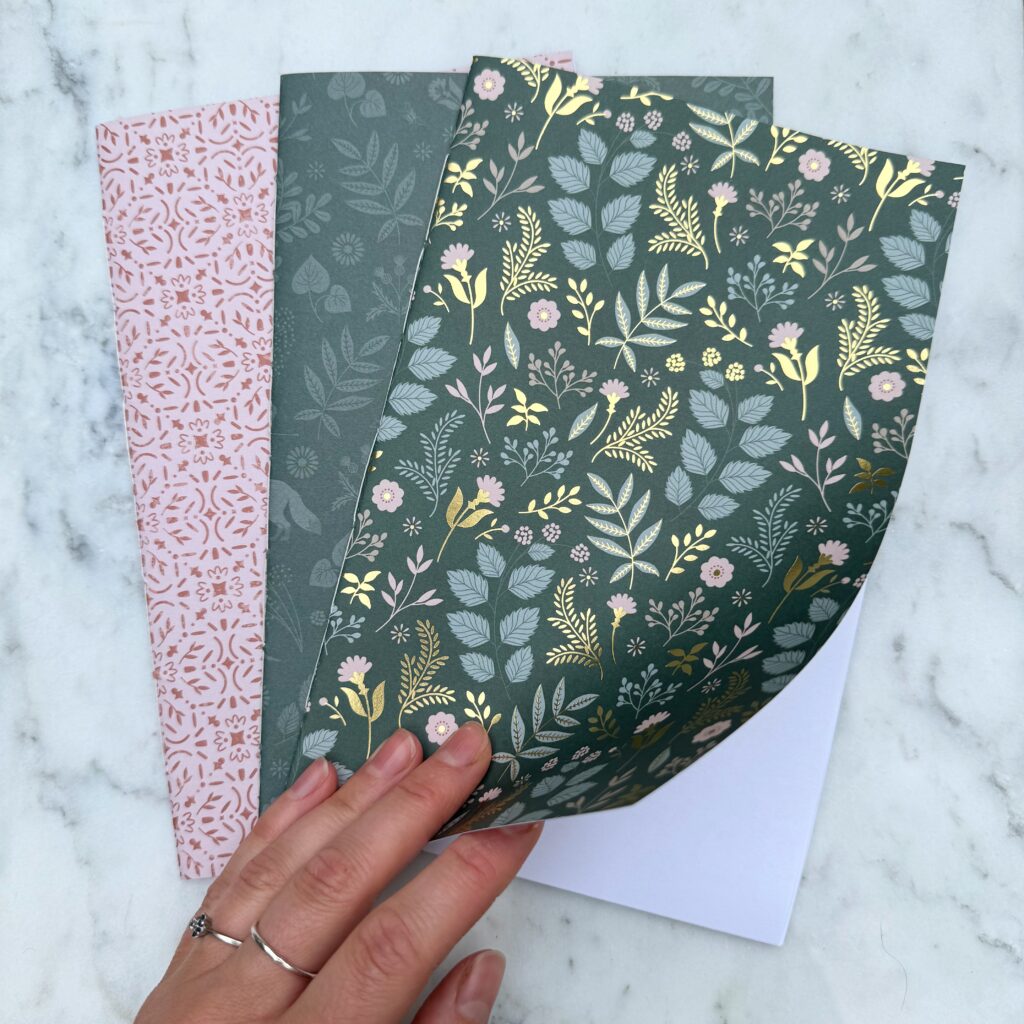
COVER PAPER: The paper used for the cover should be thick, but not too thick. I used a scrapbook paper. Any card stock should do well. If the paper splits when folded it is too thick. If you’re not going to be too rough on the journal, you could also do a thinner paper, like a traditional sheet of paper and glue it to a piece of card stock. I like this look because it looks different on the inside and outside!
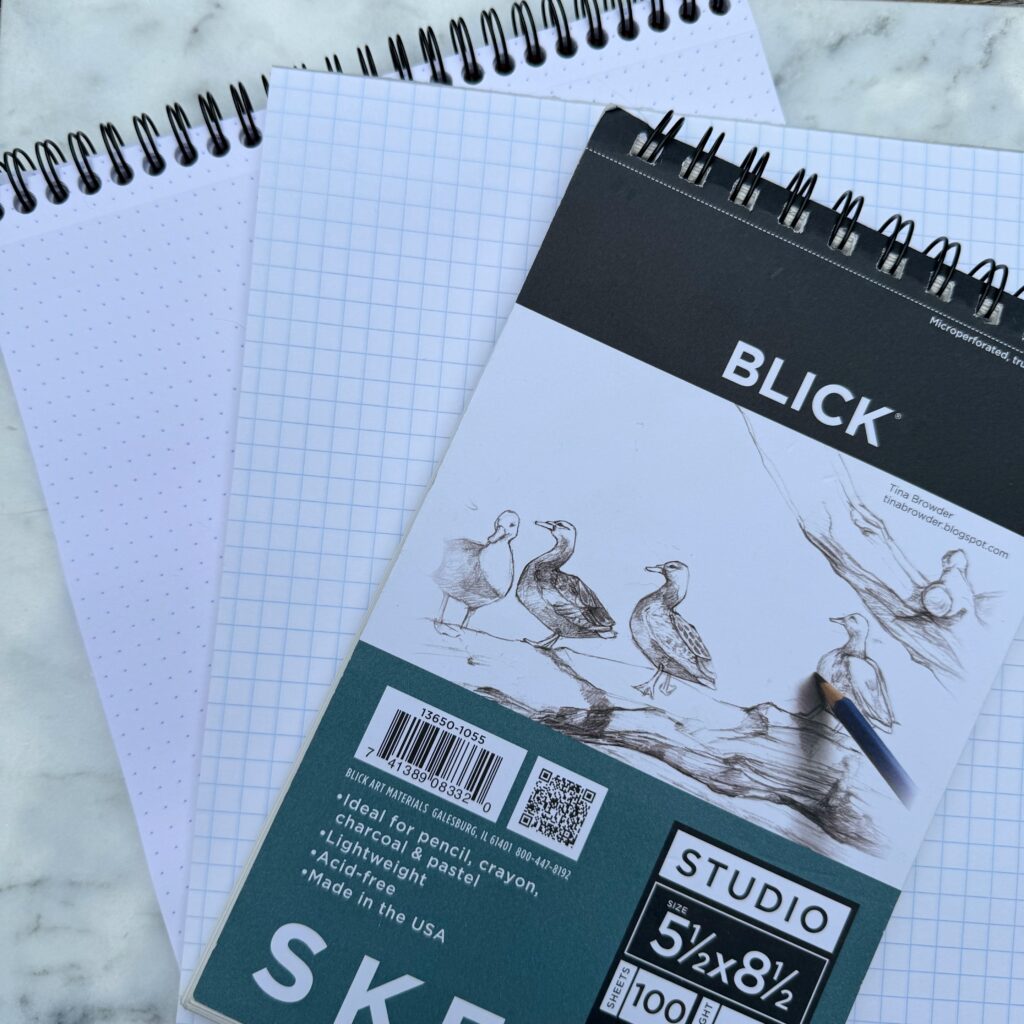
INSIDE PAPER: The paper for the pages within the journal should be a thinner paper so it can easily fold and stack and still remain flat. I typically use printer paper, but you could also use graph paper, news print, or a lighter sketchbook paper.
Materials
- thicker paper for the outside cover (see above for more details)
- thinner paper for inside pages(see above for more details)
- scissors
- pencil
- awl (can use a safety pin or your needle)
- needle
- book binding thread, embroidery floss, or thin yarn
How to Make a DIY Journal
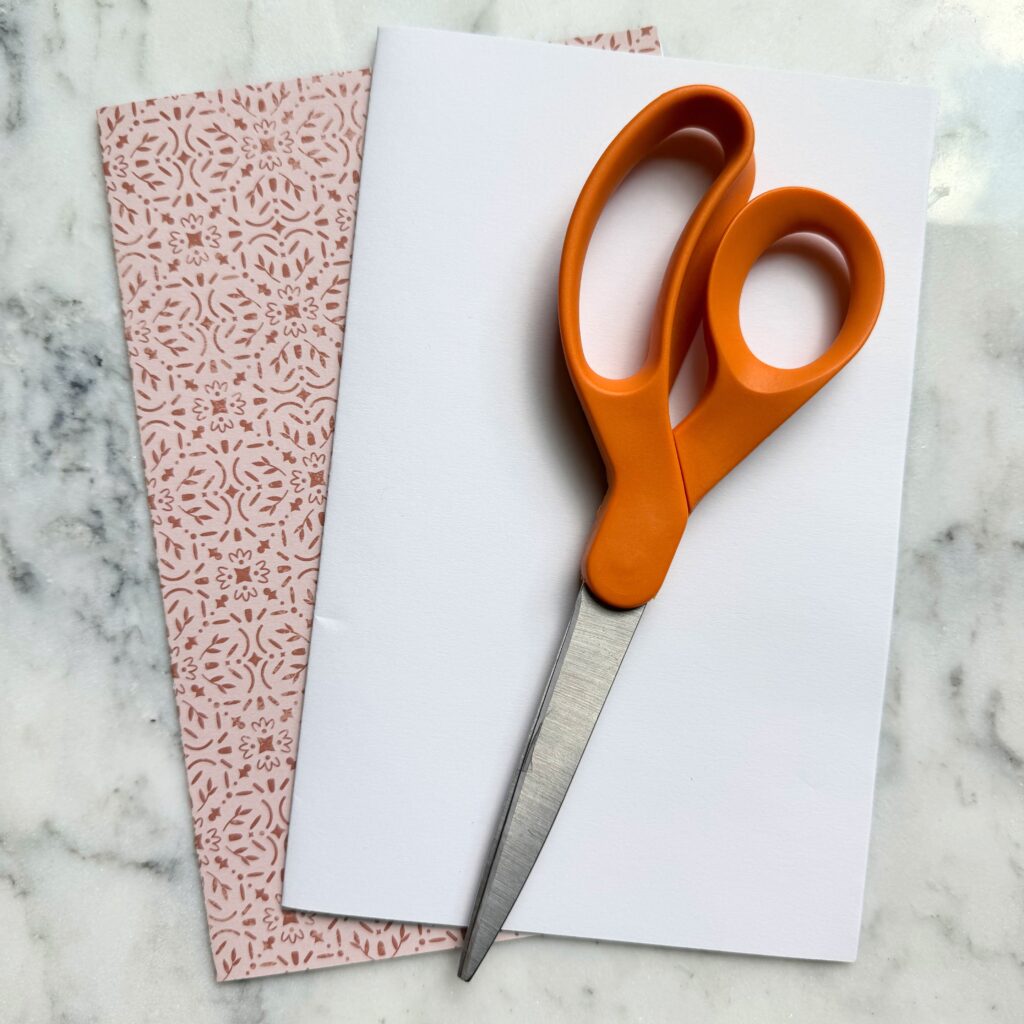
Step 1: Fold the cover paper and inside papers in half. Trim the pages so they are the same size. Stack the inside papers so they are all nestled together. If you have too many pages, it may not sit flat. I used 5 pieces of paper for my journal.
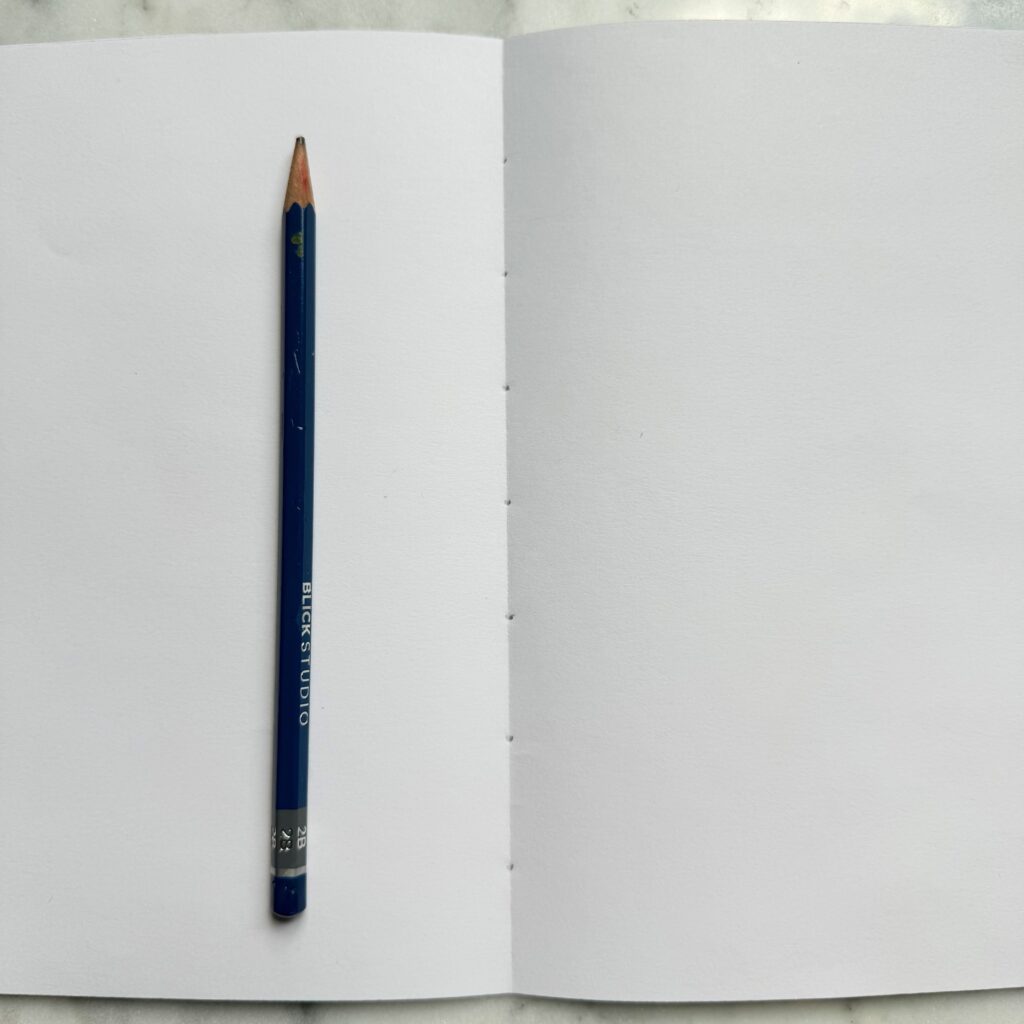
Step 2: Nestle the inside pages into the cover. Open the inside of the book so everything lays flat. Mark an odd number of dots evenly spaced down the middle fold of the paper. These dots mark your stitches. (If I’m in a hurry I just make three holes. If I’m taking my time I make more. It’s up to you!)
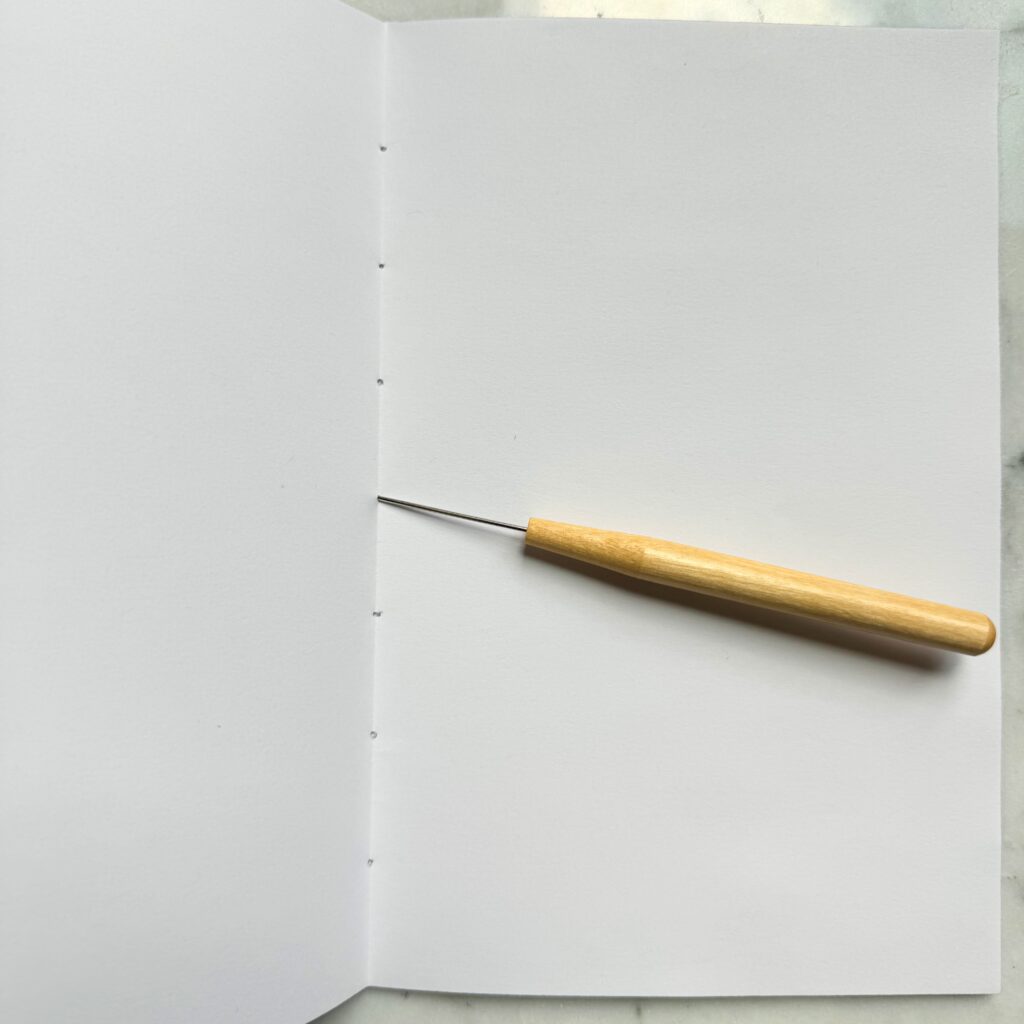
Step 4: Using an awl, safety pin, or needle punch holes through each dot. Make sure to hold the book pages together while doing this. (You can use binder clips to hold everything together if you’re having trouble keeping the pages aligned.)
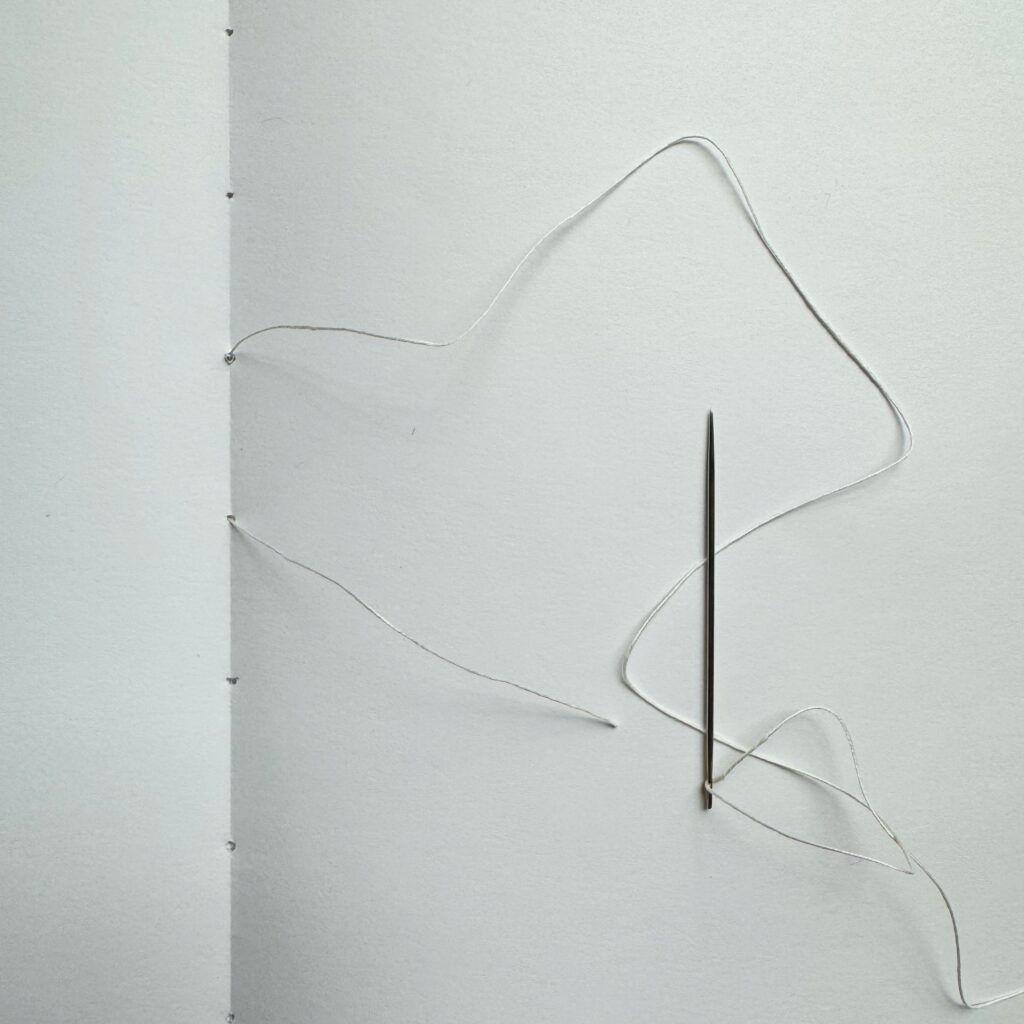
Step 5: Thread the needle and move it through the middle hole from the inside of the book to the outside. Thread the needle back through the hole right above it.
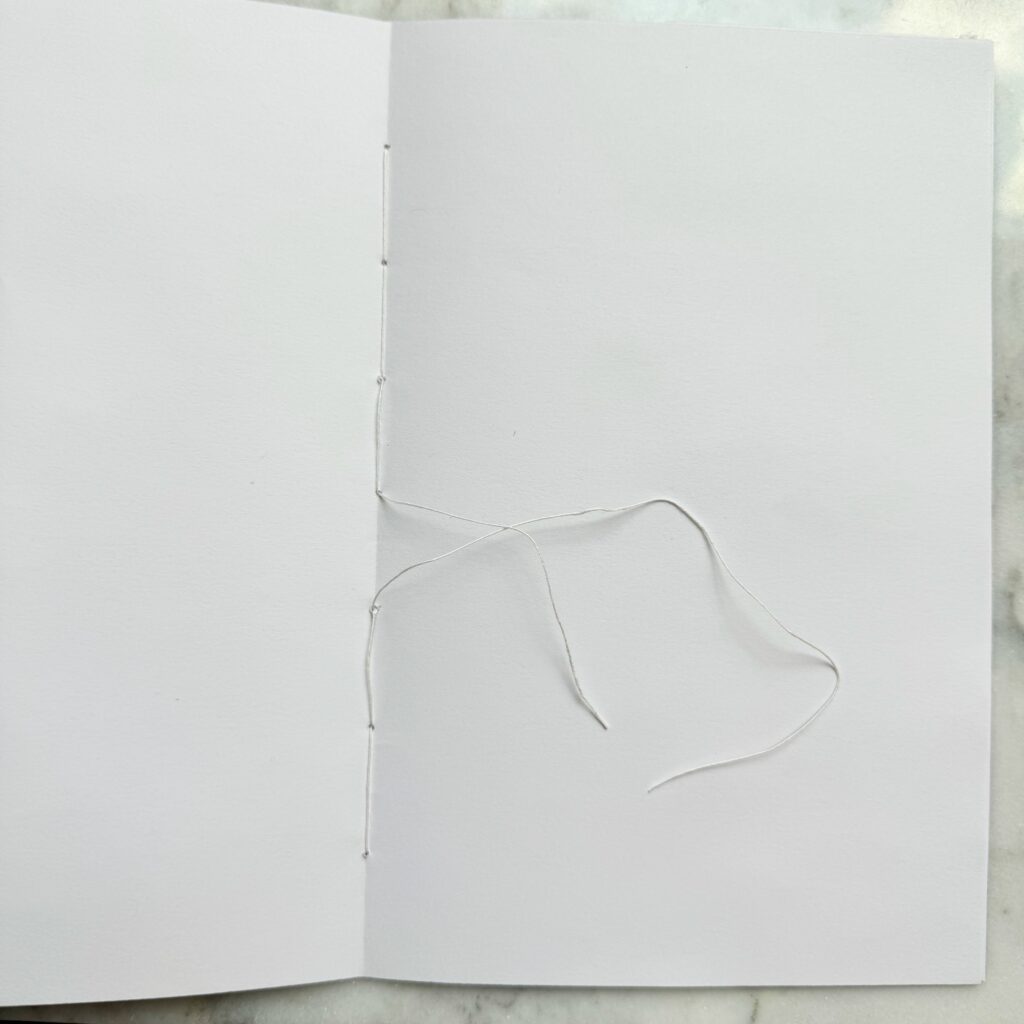
Step 6: Continue to move your way up the book, then down to the bottom, and back up to the middle. All while moving the needle in an out of the journal.
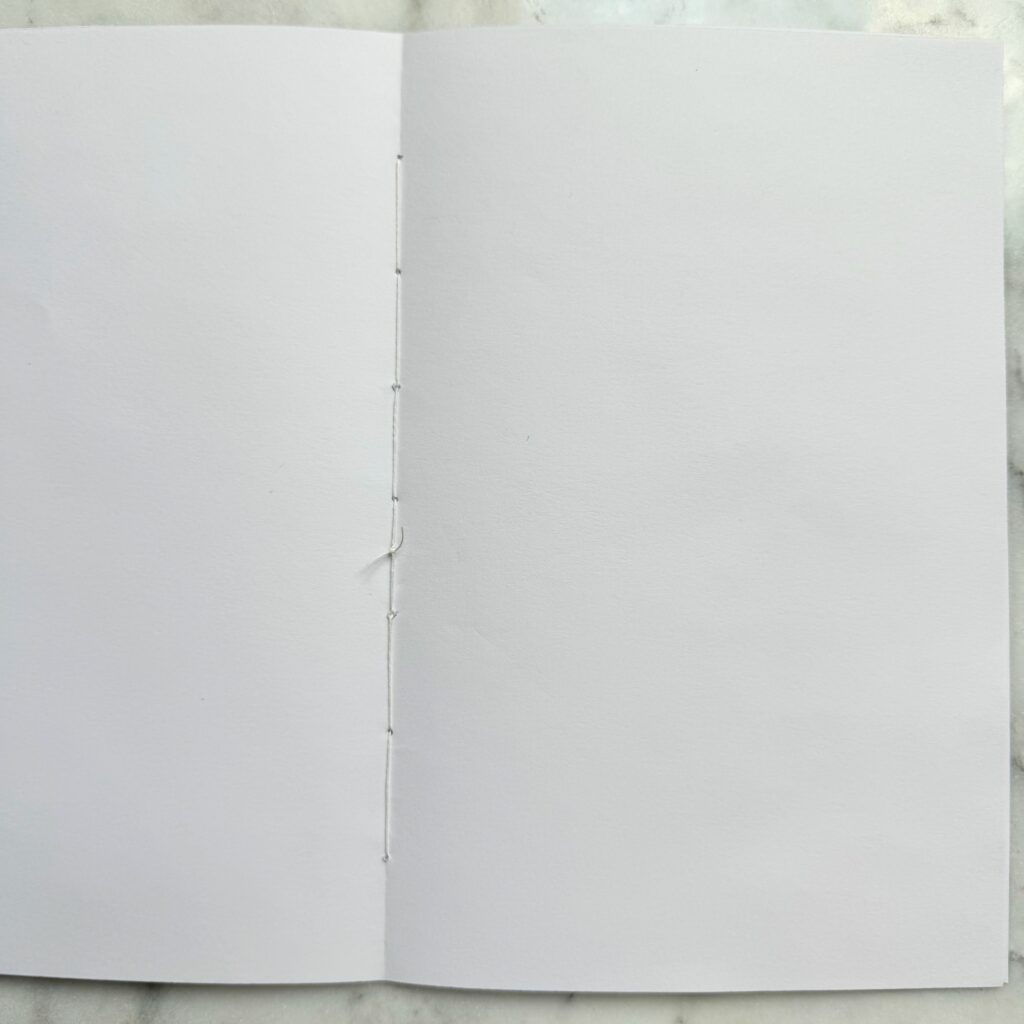
Step 7: Once you’re done, you should reach where you started. Pull the threads taught and tie off the thread with 3 knots. Trim the threads short. You’re done! Congrats! You made a book!
TIP: Sometimes new journals have a hard time laying closed. To fix this, just simply put the journals under a pile of books for a day or so.
Fun Uses for a DIY Journal
Once you made a DIY journal you may be wondering what to do with it. Here are some of my favorite ideas:
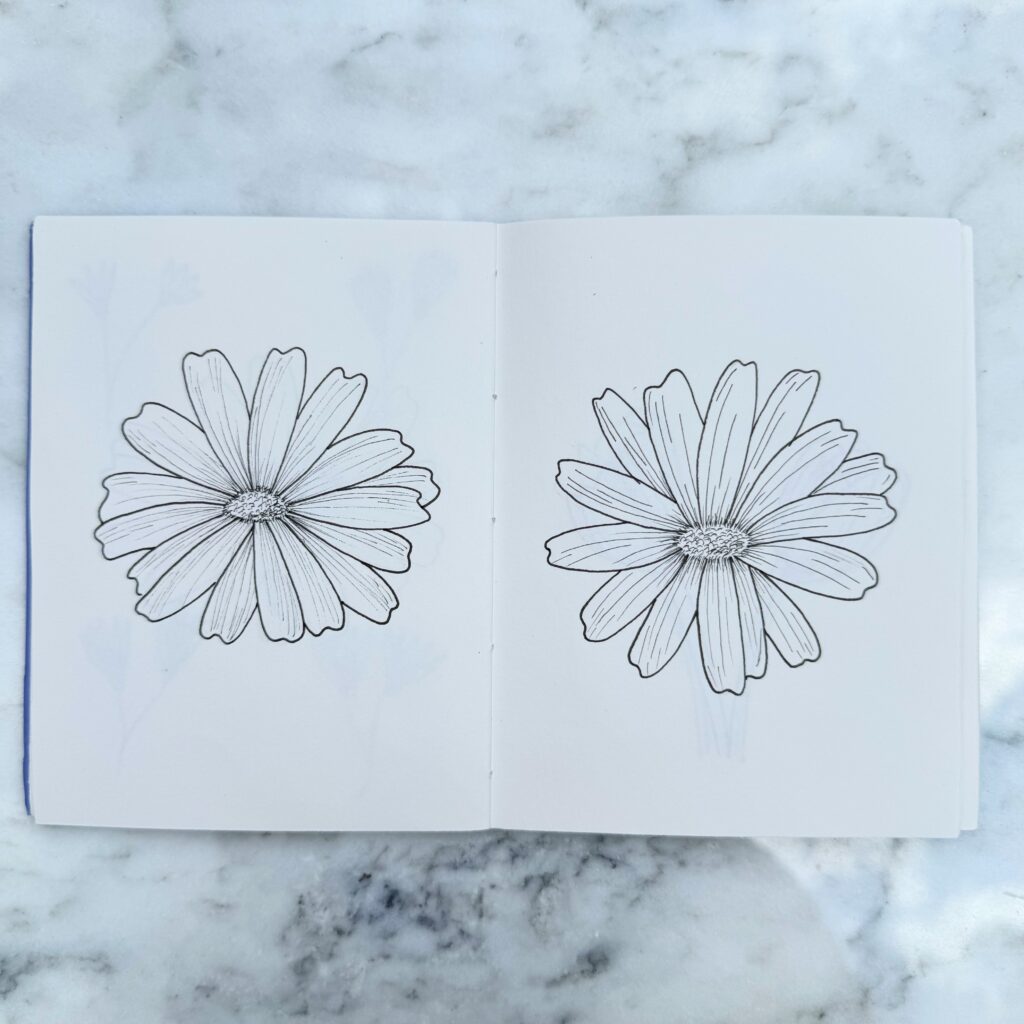
- daily sketchbook (there are so many fun prompts online)
- grocery or shopping list journal
- nature sketches and notes (I’ve recently been learning about the trees in our neighborhood with my daughter. Its fun to paste in leaves and do sketches and take notes.)
- pair it with some art supplies and use as a party favor
- use this technique to bind a book (our wedding favor was our favorite recipes bound in a book with this technique)
- kid’s art journal
- bullet journal
- fitness journal
The list goes on! I hope you enjoy this tutorial on how to make a DIY journal.