How to Add Yarn Hair to a Doll
It’s no surprise that I love to make toys for my kids. I recently made them a set of rag dolls, which I detailed in this blog post here. One of my favorite parts of making the rag doll is adding some personality to the doll with yarn hair. In this blog post, I walk you through my favorite way to add yarn hair to a doll.
Gather Your Materials to Add Yarn Hair to a Doll
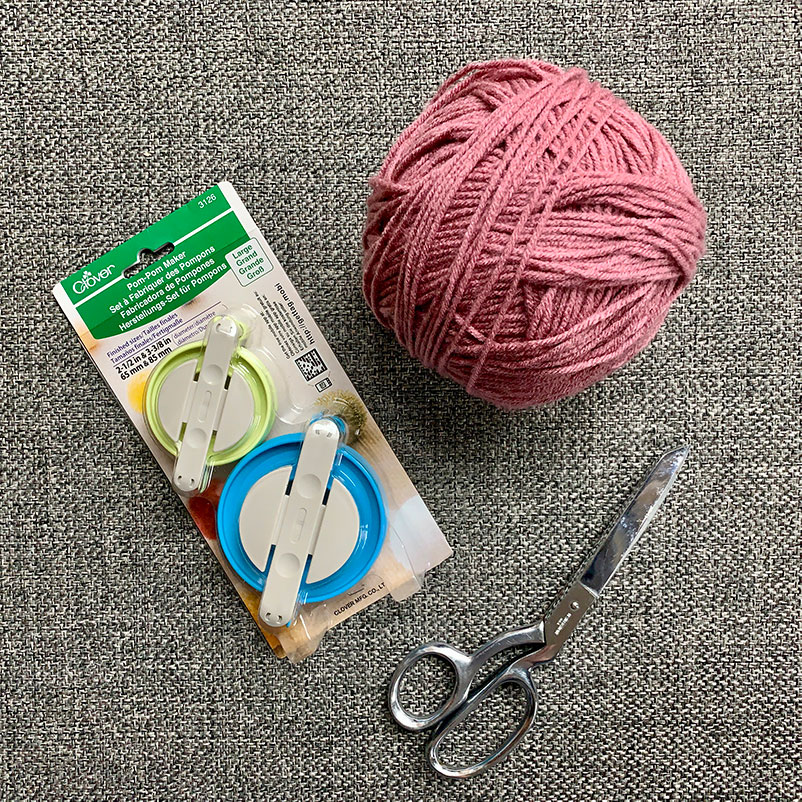
Before diving into the process, ensure you have all the necessary materials at hand. You’ll need:
- doll (check out my blog post here on how to sew a rag doll)
- yarn in your desired color(s)
- thread that matches the yarn
- square or rectangular object to help cut the yarn lengths for the hair
- scissors
- sewing machine
- hand sewing needles
Choosing Your Yarn for the Yarn Hair
Select yarn that matches the desired hair color and texture for your doll. Consider the style you’re aiming for, whether it’s long and flowing locks or a short, textured cut.
I find the best size of yarn to use is a worsted weight. If you use a finer yarn you will have to sew more of it into the doll to achieve a fuller look and to make sure bald spots are covered. If you choose a chunkier yarn, you may have trouble with it laying how you want.
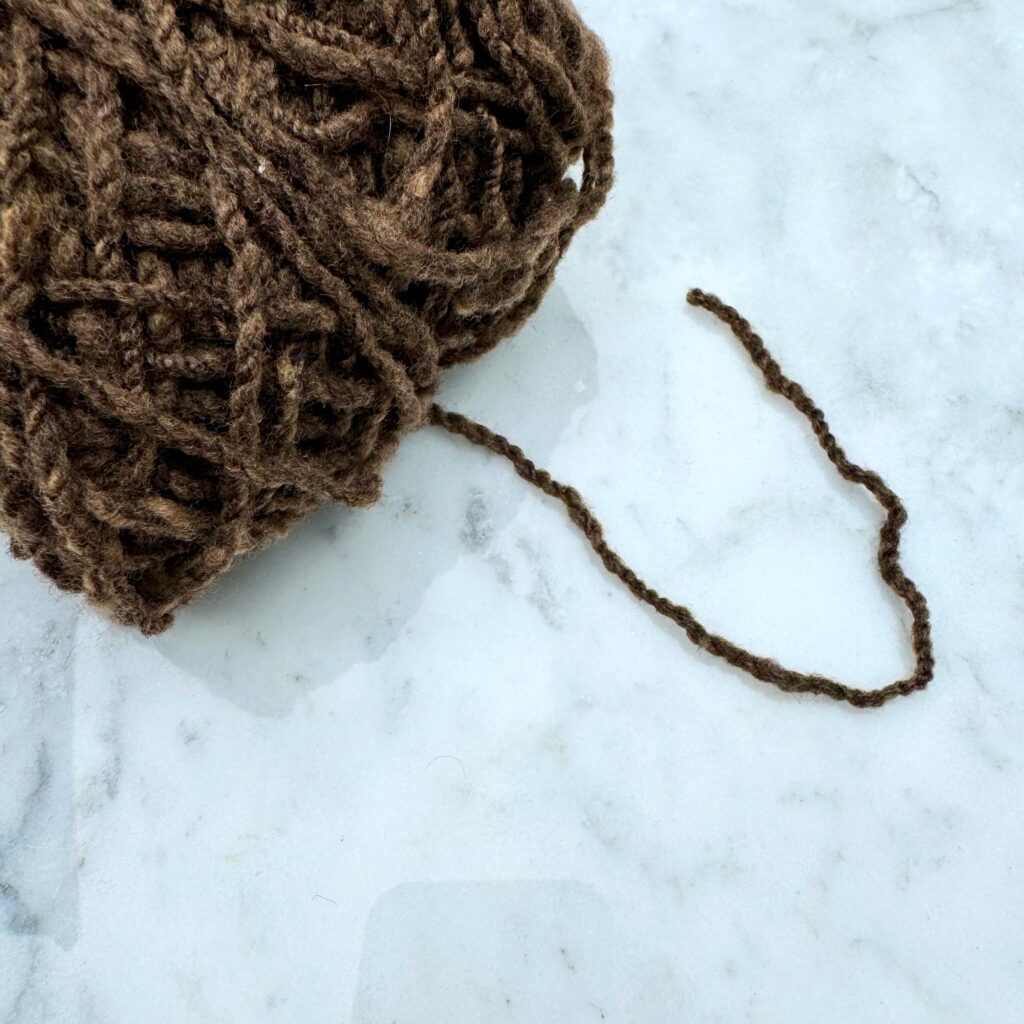
I am so lucky to have a friend that spins yarn and she gifted me this gorgeous spun yarn to use. I love the variation in color, which I think brings a lot of life to the doll hair.
Preparing the Yarn Hair
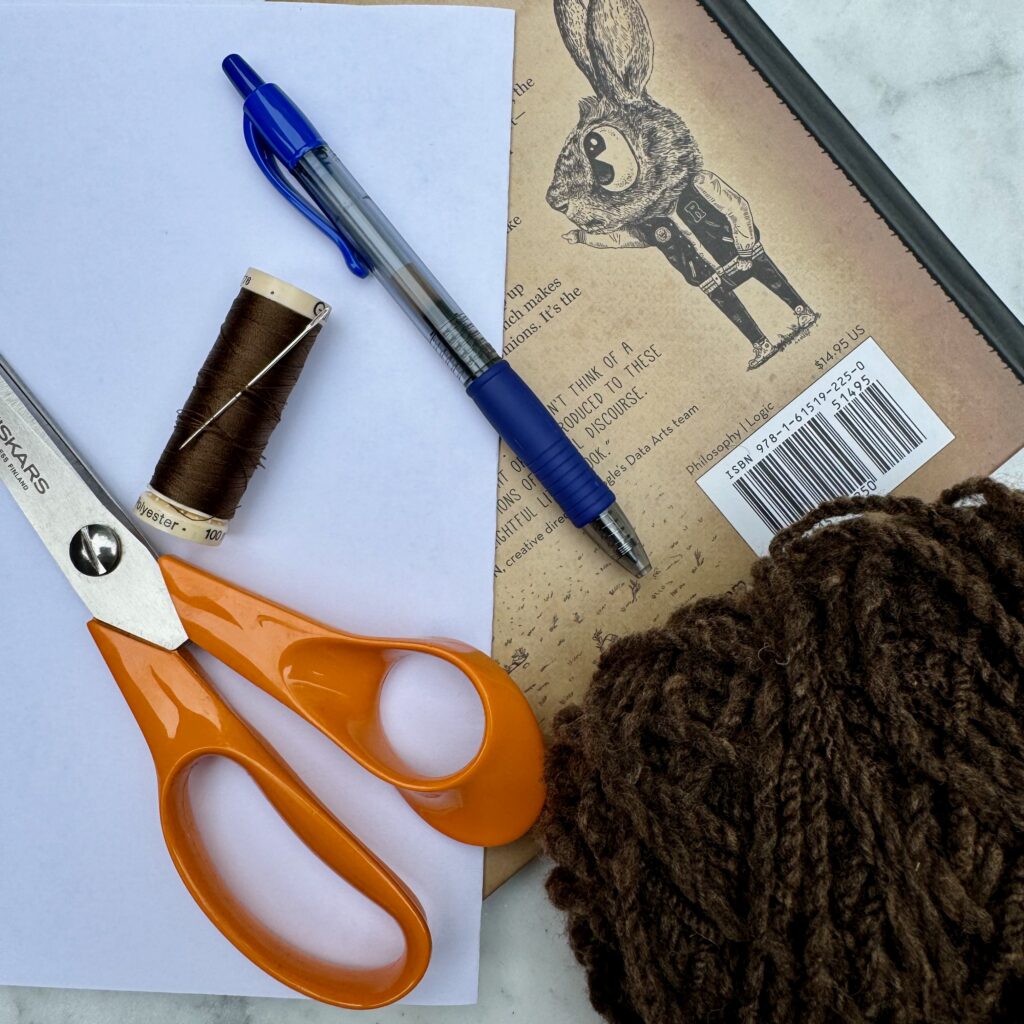
Figure out how long you want the hair to be by holding up some yarn to the top of your doll’s head and draping it so it hangs to the desired length. Then go find something in your house that is a rectangle or square and has a similar length and not too much height. A book works perfectly for this!
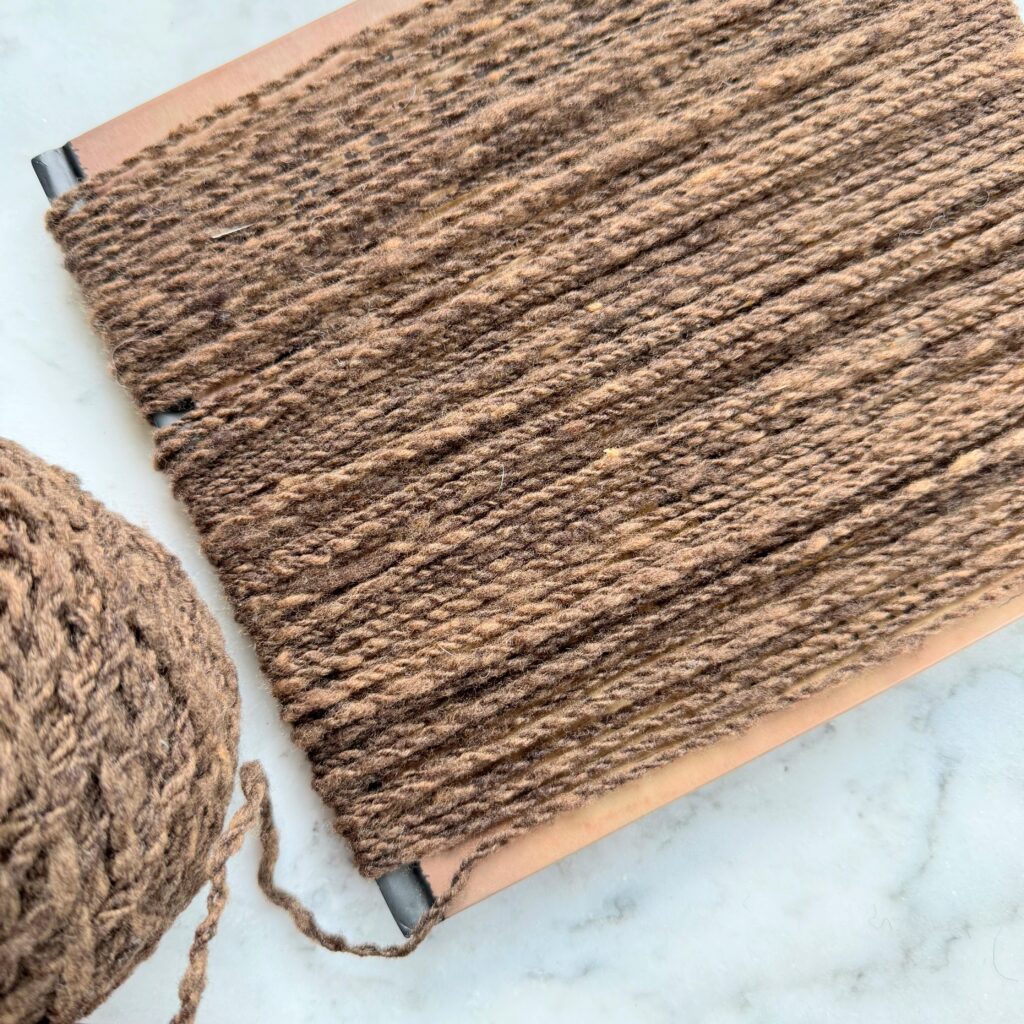
Gently wrap the yarn around your book (or other rectangular object) working from one side over. You want to try to not overlap the yarn or stretch the yarn while you are wrapping.
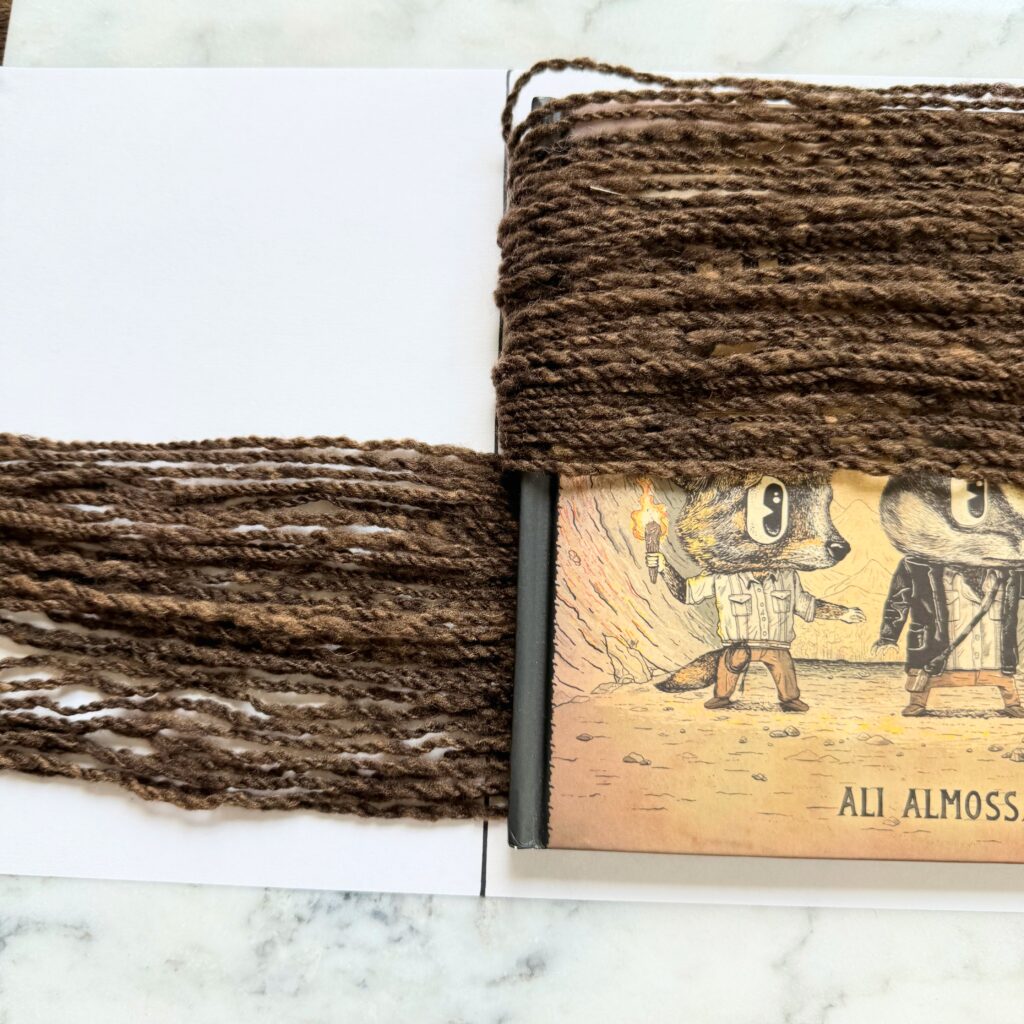
Take two pieces of paper and draw a line down the center. Place one of these pieces of paper on a flat surface. Place your book on top with the spine of the book nearly lining up with the line on the paper.
Gently start to cut the yarn and unfold it so it lays across the paper.
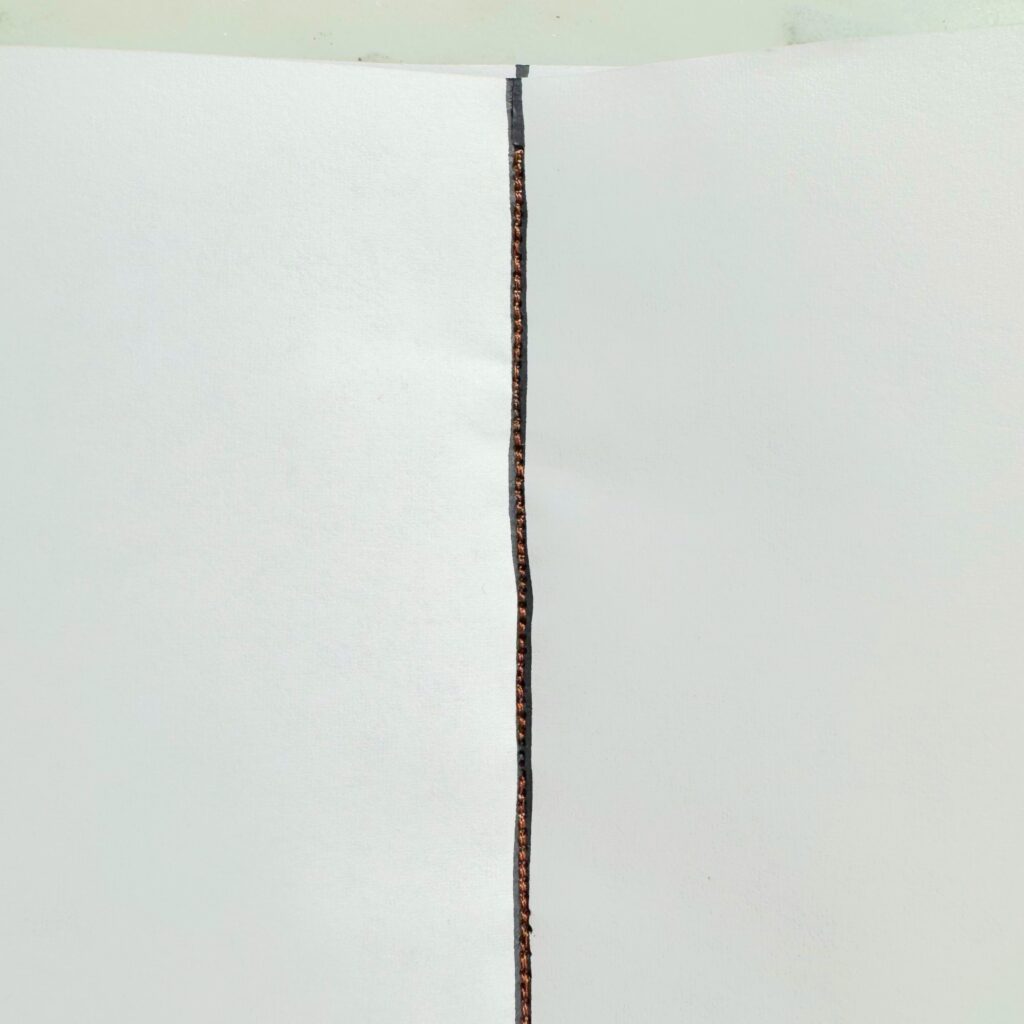
Place the second piece of paper on top, lining up the lines. Carefully, take it to your sewing machine and stitch through the paper yarn sandwich three times with a smaller stitch length.
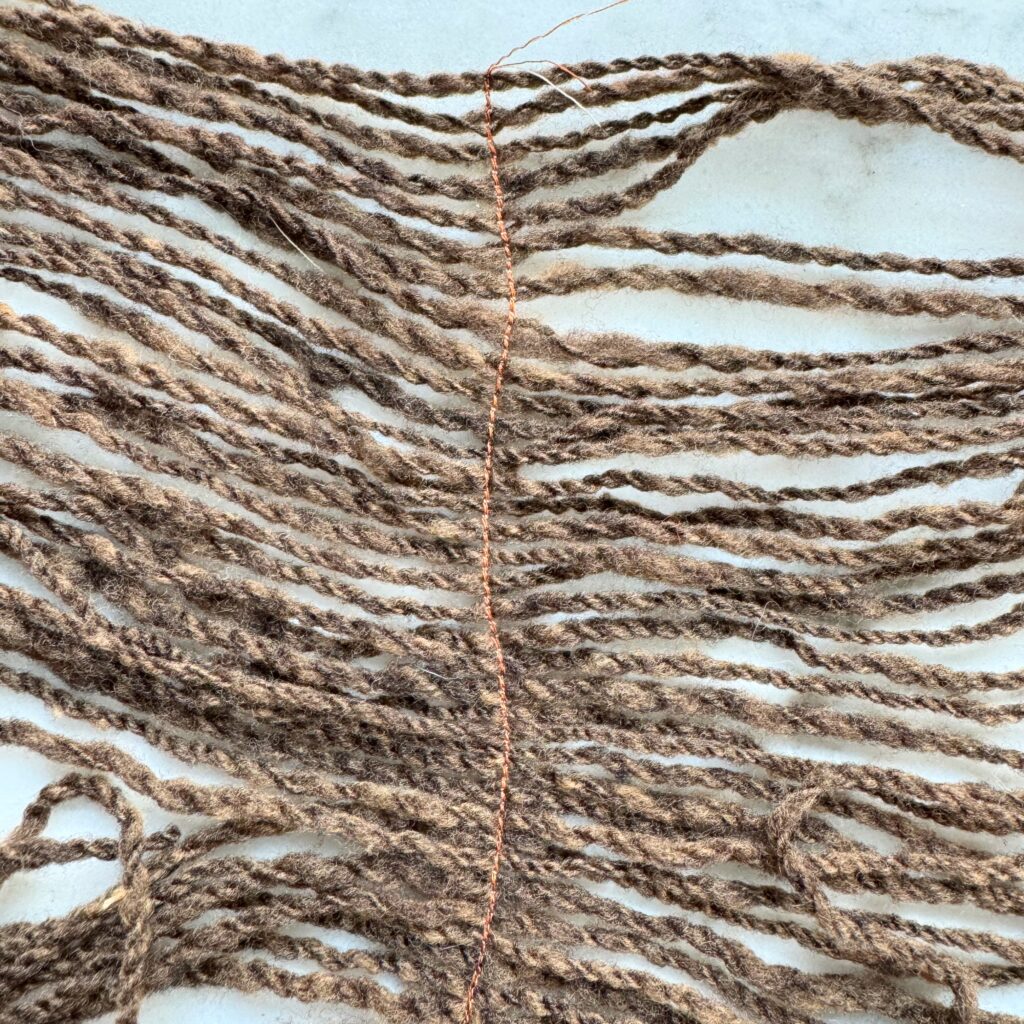
Tear away the paper and you should be left with the yarn held together by the thread. You will use this “string” of yarn hair to sew onto the doll.
You will most likely need to make more than one. I like to make a string of yarn hair, sew it on, and assess how much more I will need.
Sew Yarn Hair to Your Doll
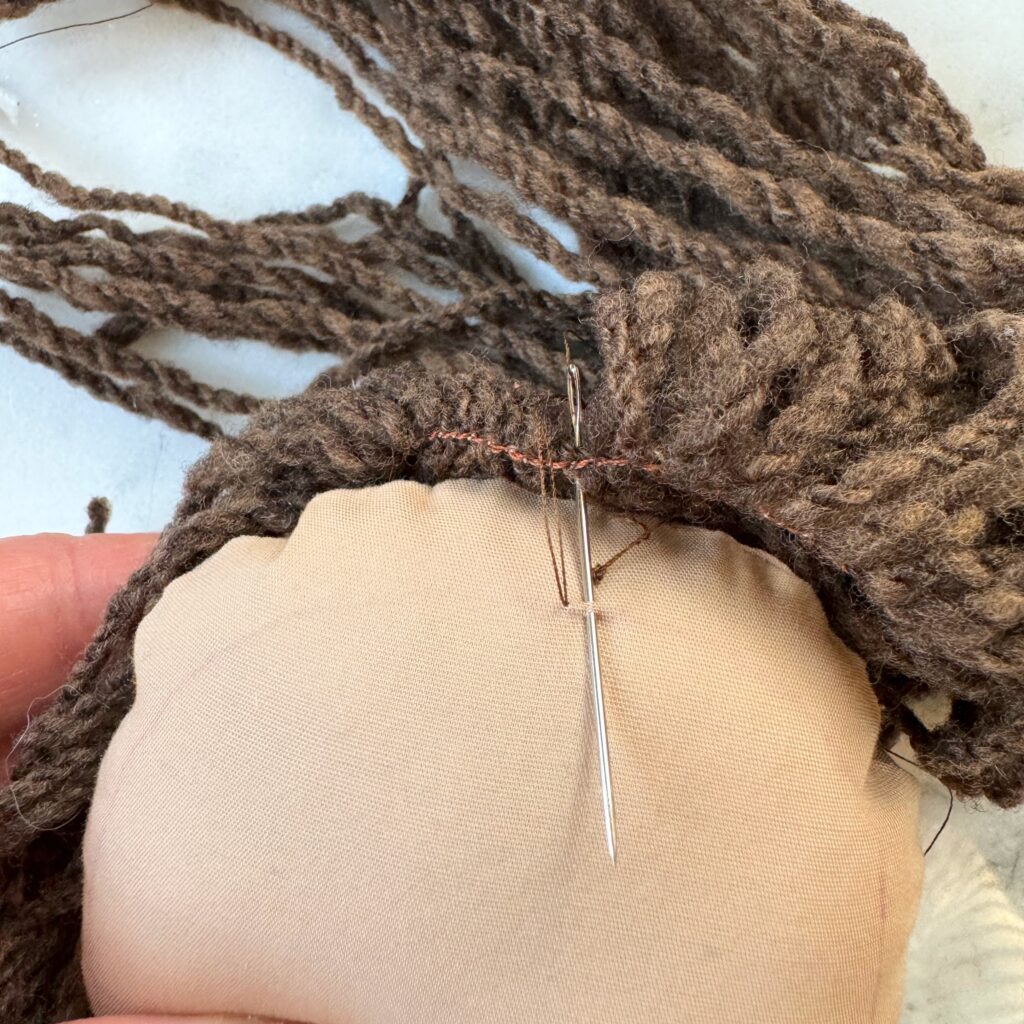
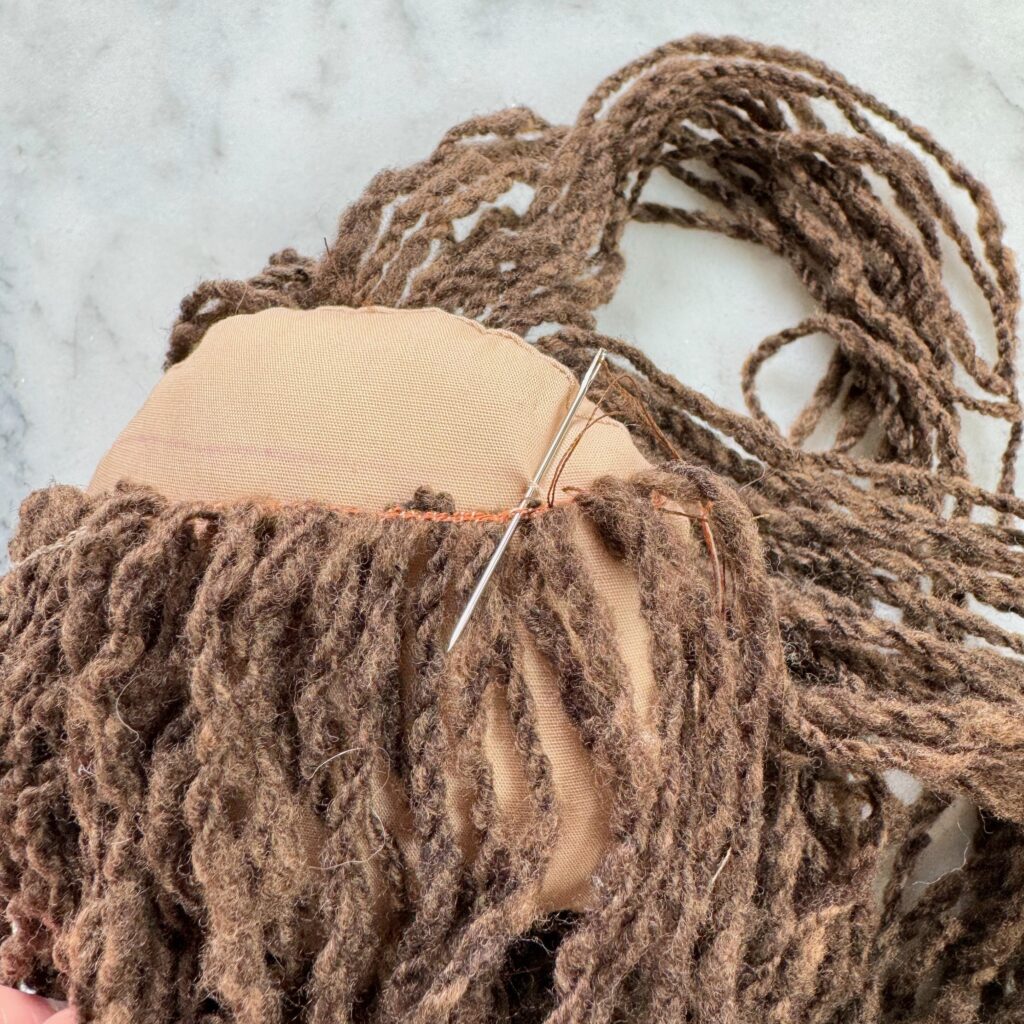
If you want you can mark a line on the dolls head for where you will sew the doll hair. I marked mine with a faint air soluble marker. I find it best if you apply the hair a 1/4 inch down from the middle of the doll head. That way the hair can cover the sewn line.
I found the middle of my “string” of doll hair and placed in the middle of the dolls head. Using a simple under over stitch I picked up with thread portion of the “string” of doll hair to secure the hair to the doll,
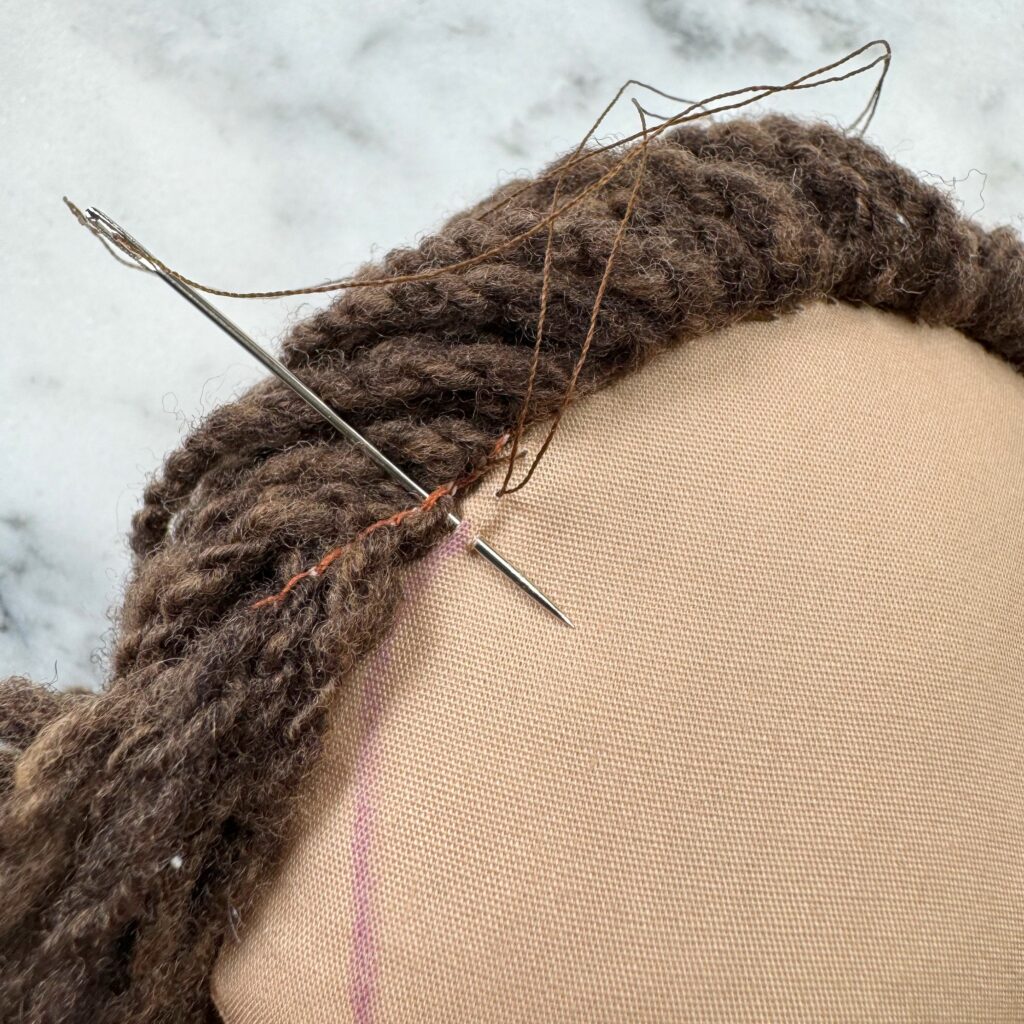
As I continued to sew I was able to pull the stitches a bit more taut, so the stitching peaked out less and less. I continued to wrap this thread of yarn around to the nape of the dolls head. If you did not have enough to make it around the dolls head, make another “thread” of doll hair and continue to sew it in.
Once I finished one half of the face I went back and did the other side.
This single line of hair was not enough for my doll. I found that it was very apparent that the back of her head was bald.
So I went back and made two more “strings” of yarn and sewed them in a wide horizontal zig zag pattern down the back of her head.
This fills in the hair, but also adds a lot of weight in hair to the doll. So be careful you don’t make it so your dolls head tips back when being held.
Adding the Yarn Hair to Your Doll
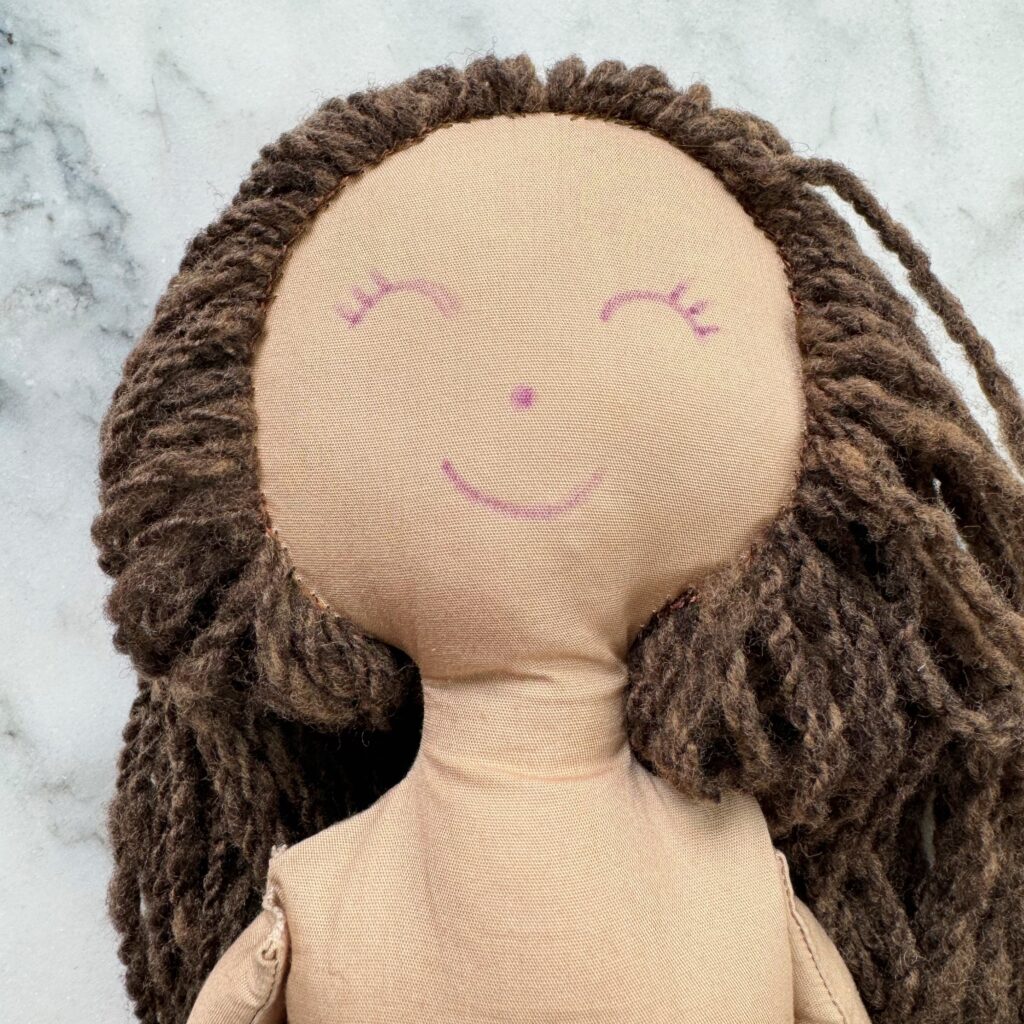
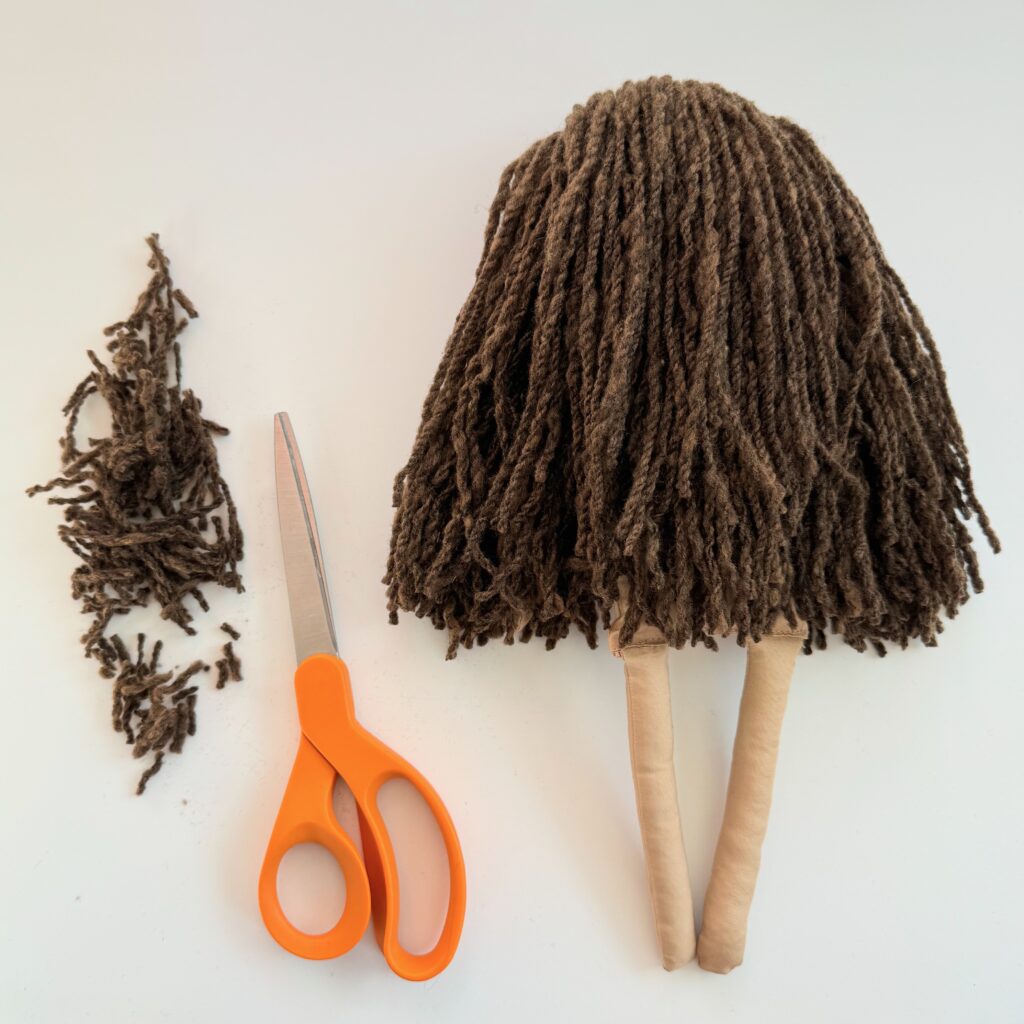
Now that the yarn hair is securely attached, it’s time to style and trim it to your liking. Use your scissors to shape the hair into your desired style, whether it’s a neat bob, cascading curls, or anything in between. Get creative and experiment with different hairstyles to give your doll its own unique look.
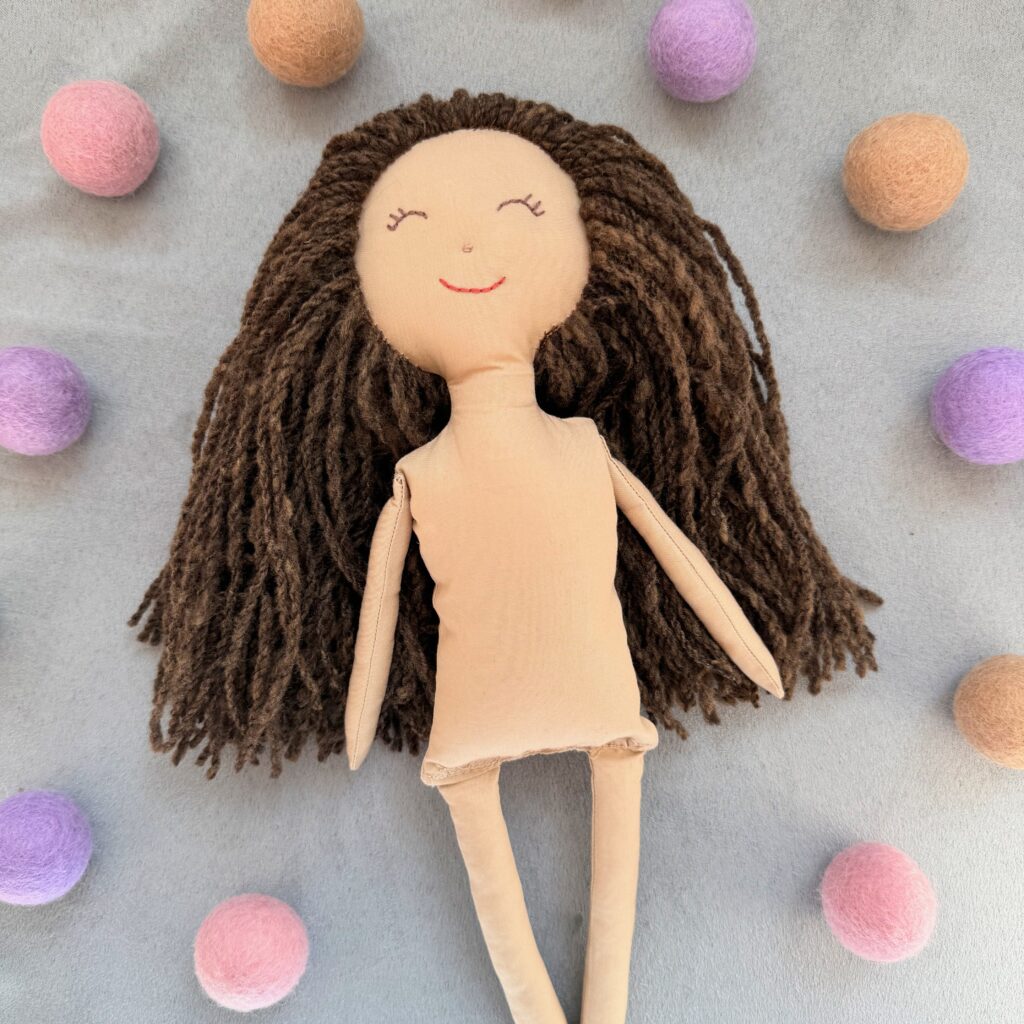
I trimmed mine so it has a bit of layers. I think this gives a more organic natural look to the doll.
Take into consideration if you want to braid the dolls hair or put it up into a pony tail or bun.
Add Finishing Touches
Once you’re satisfied with the hairstyle, take a step back and admire your work.
One of my favorite ways to add a little special touch to a doll is to style their hair. You could pull the yarn hair back in a braid, bun, pig tails, or half pony. A little braid as a hair band could also look adorable.
If you are having issues with the yarn resting in the way you would like, you can always throw in a few stitches to hold things in place.